
Building a semi acoustic guitar, hand carved from solid wood
In this article, we will take you through the process of how we craft a high quality custom arch top guitar, from the raw billet of wood to the nicely polished and shiny, finished instrument. The entire process can take up to six months (!!!)
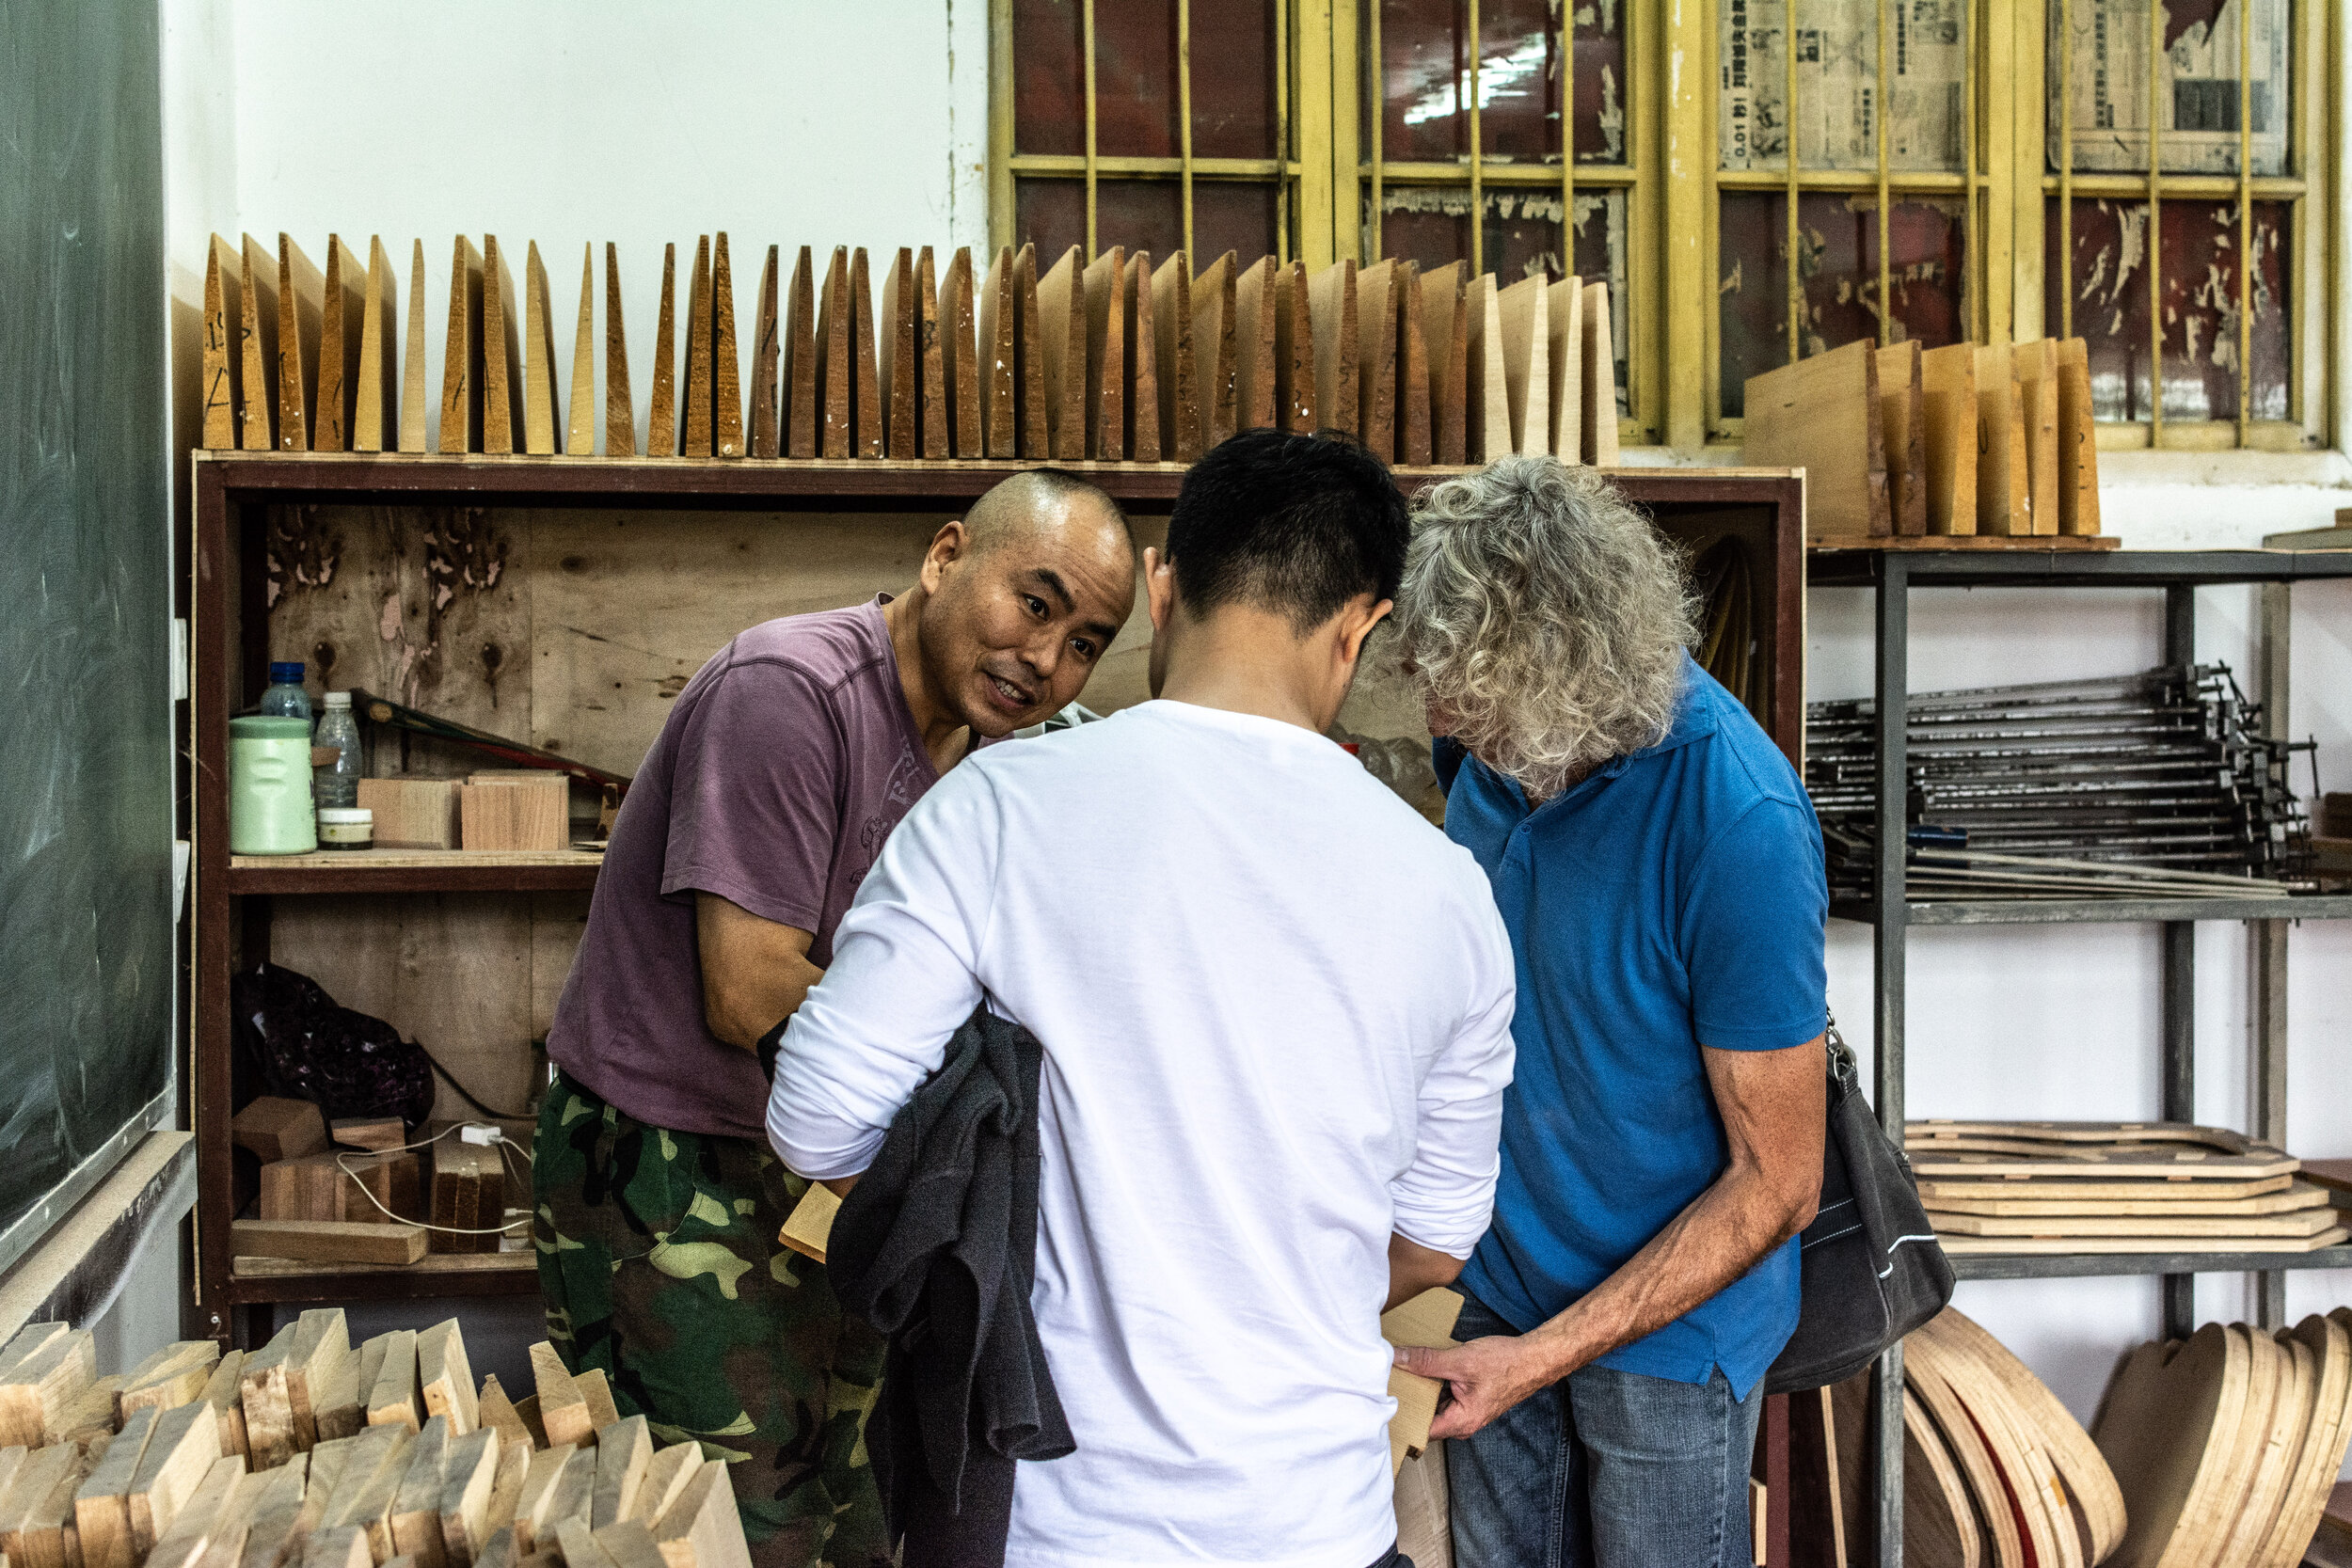
HAND MADE
The building process can roughly be divided into four stages: Stage 1: Design, Stage 2: Woodwork, Stage 3: Painting, lacquering & polishing and fretting, Stage 4: Hardware & Electronics. Almost all production processes are carried out by hand without the use of modern CNC-machines. However, we do have some machines like a band saw. Many of the woodworking tools that Dongming uses are made by himself.
Stage 1: Design, LOTS OF GUITARTALK
Building a Dejawu Guitar starts with making a design. We thoroughly discuss all the details on how the end result should look. We decide (together with the customer) on the model, body size, wood types, neck shape and length, body thickness, color, fret distance, nut width, bindings, inlays and so on. Options are endless.
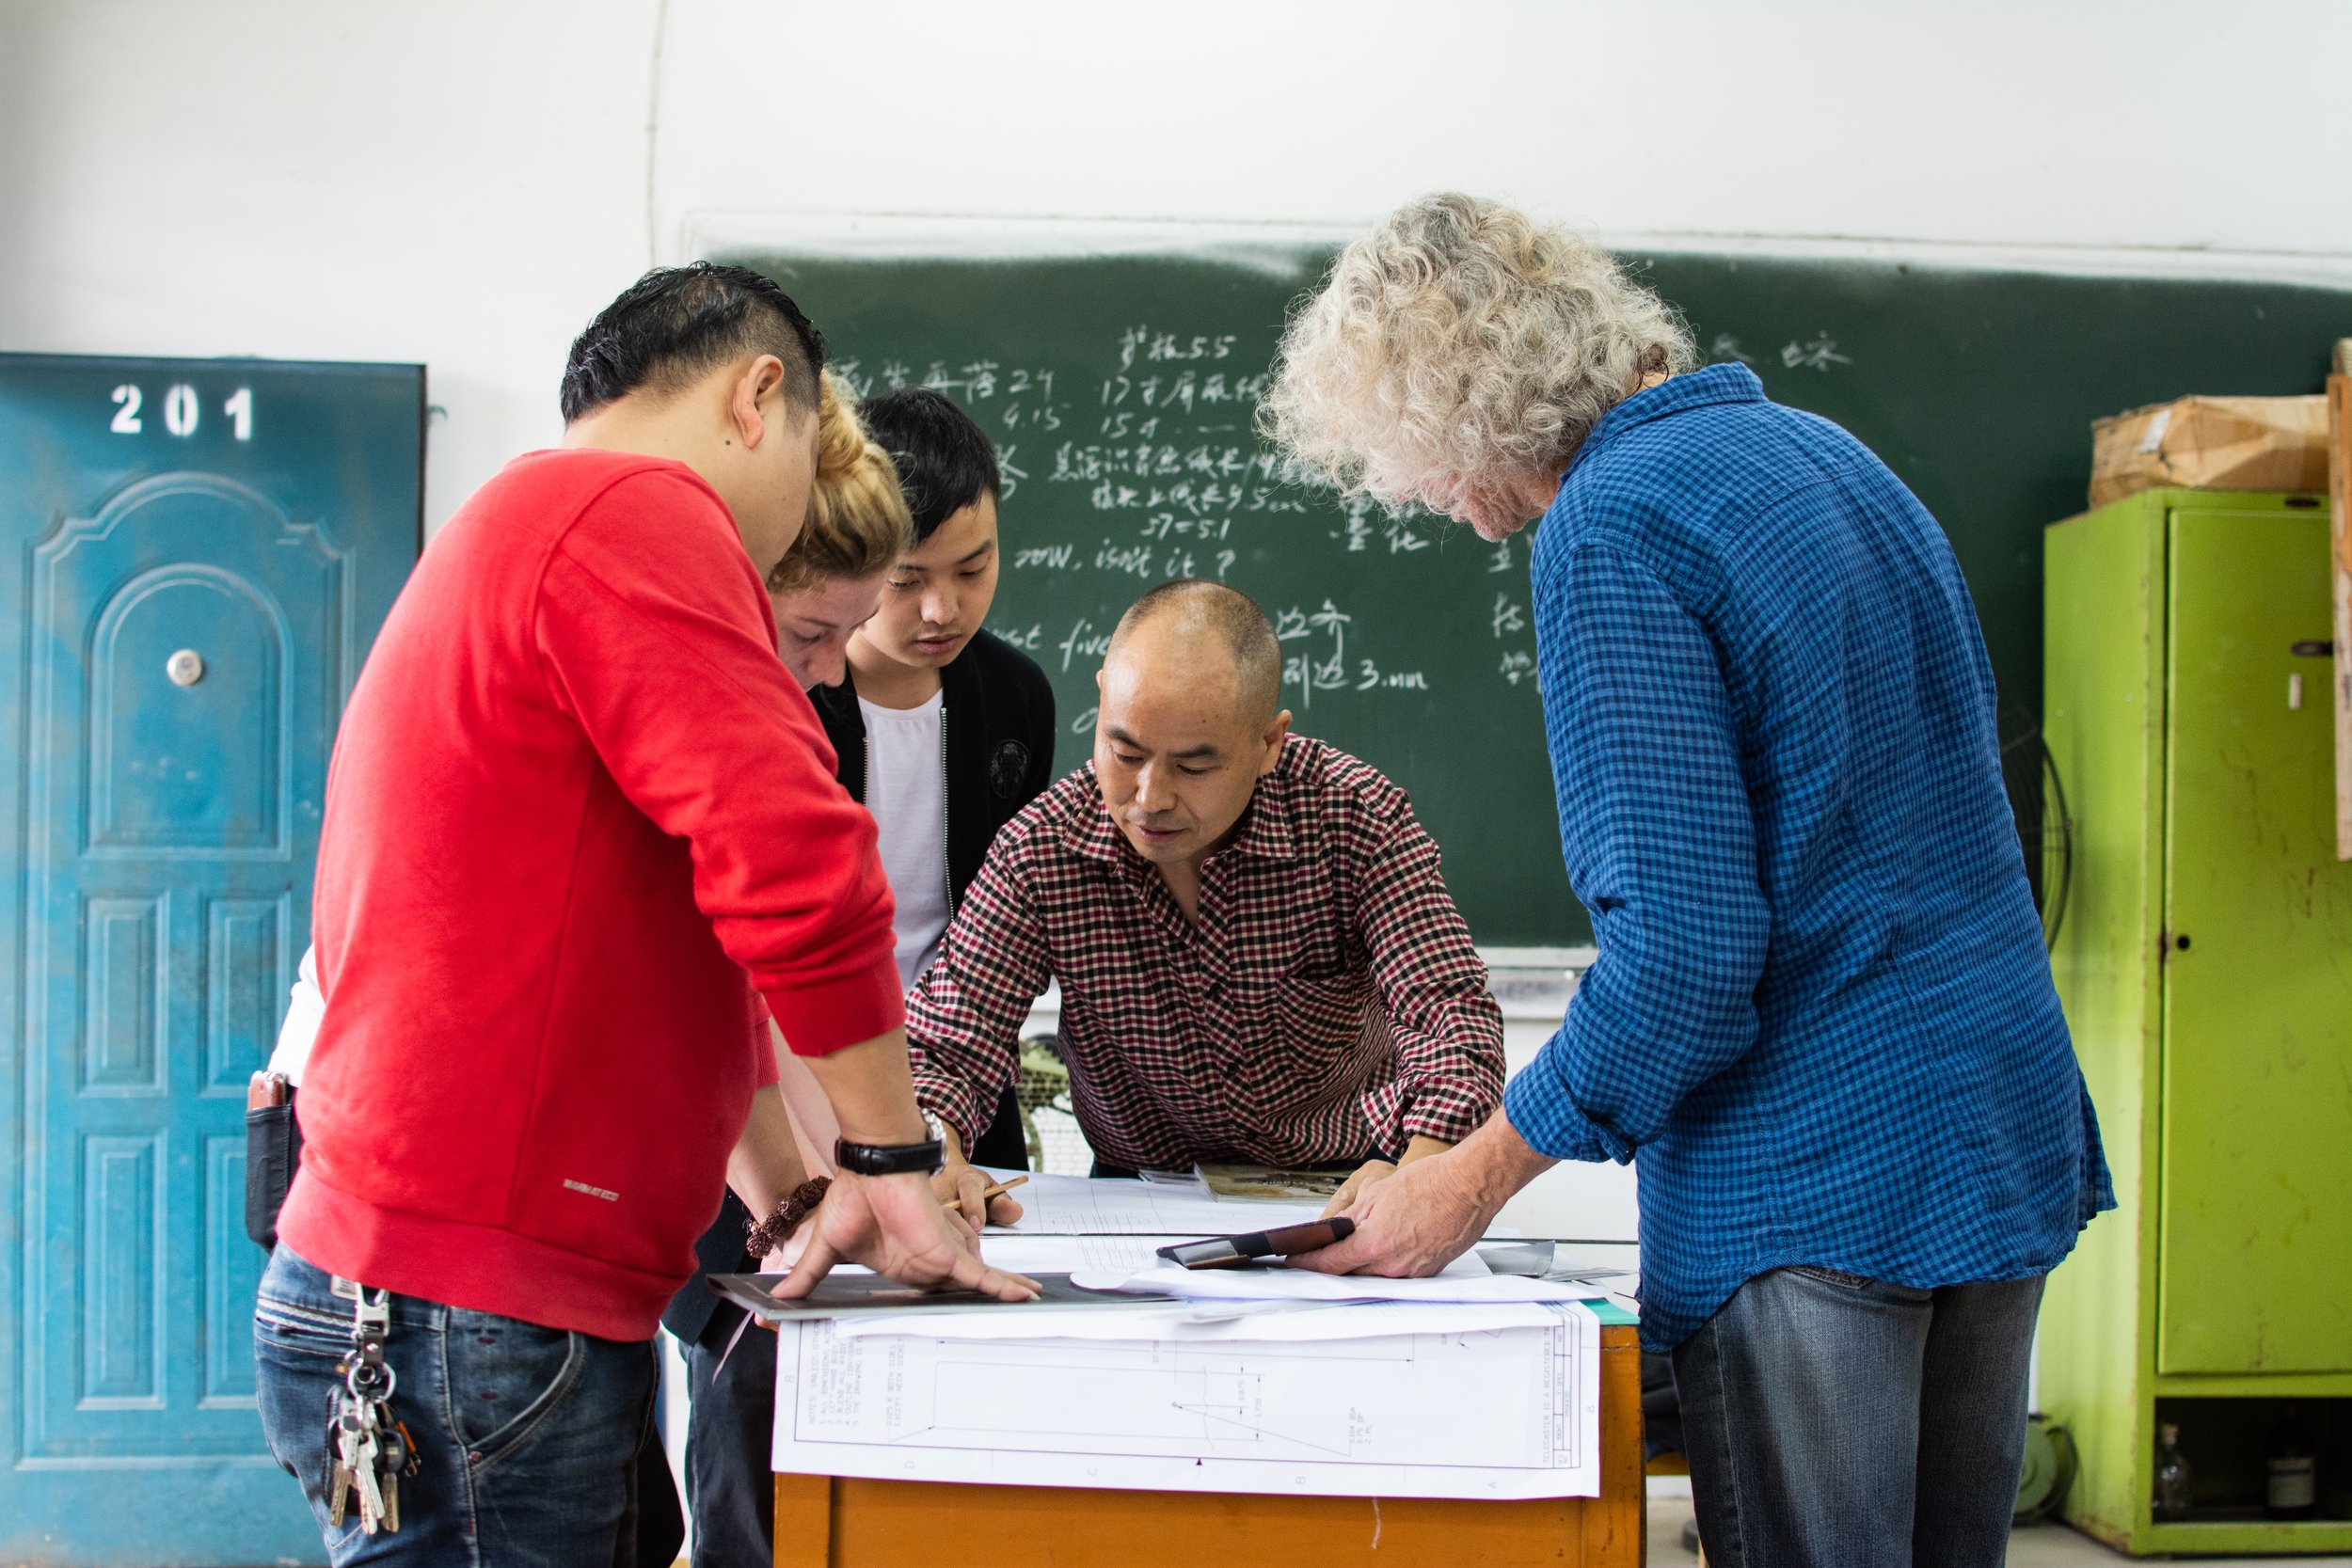
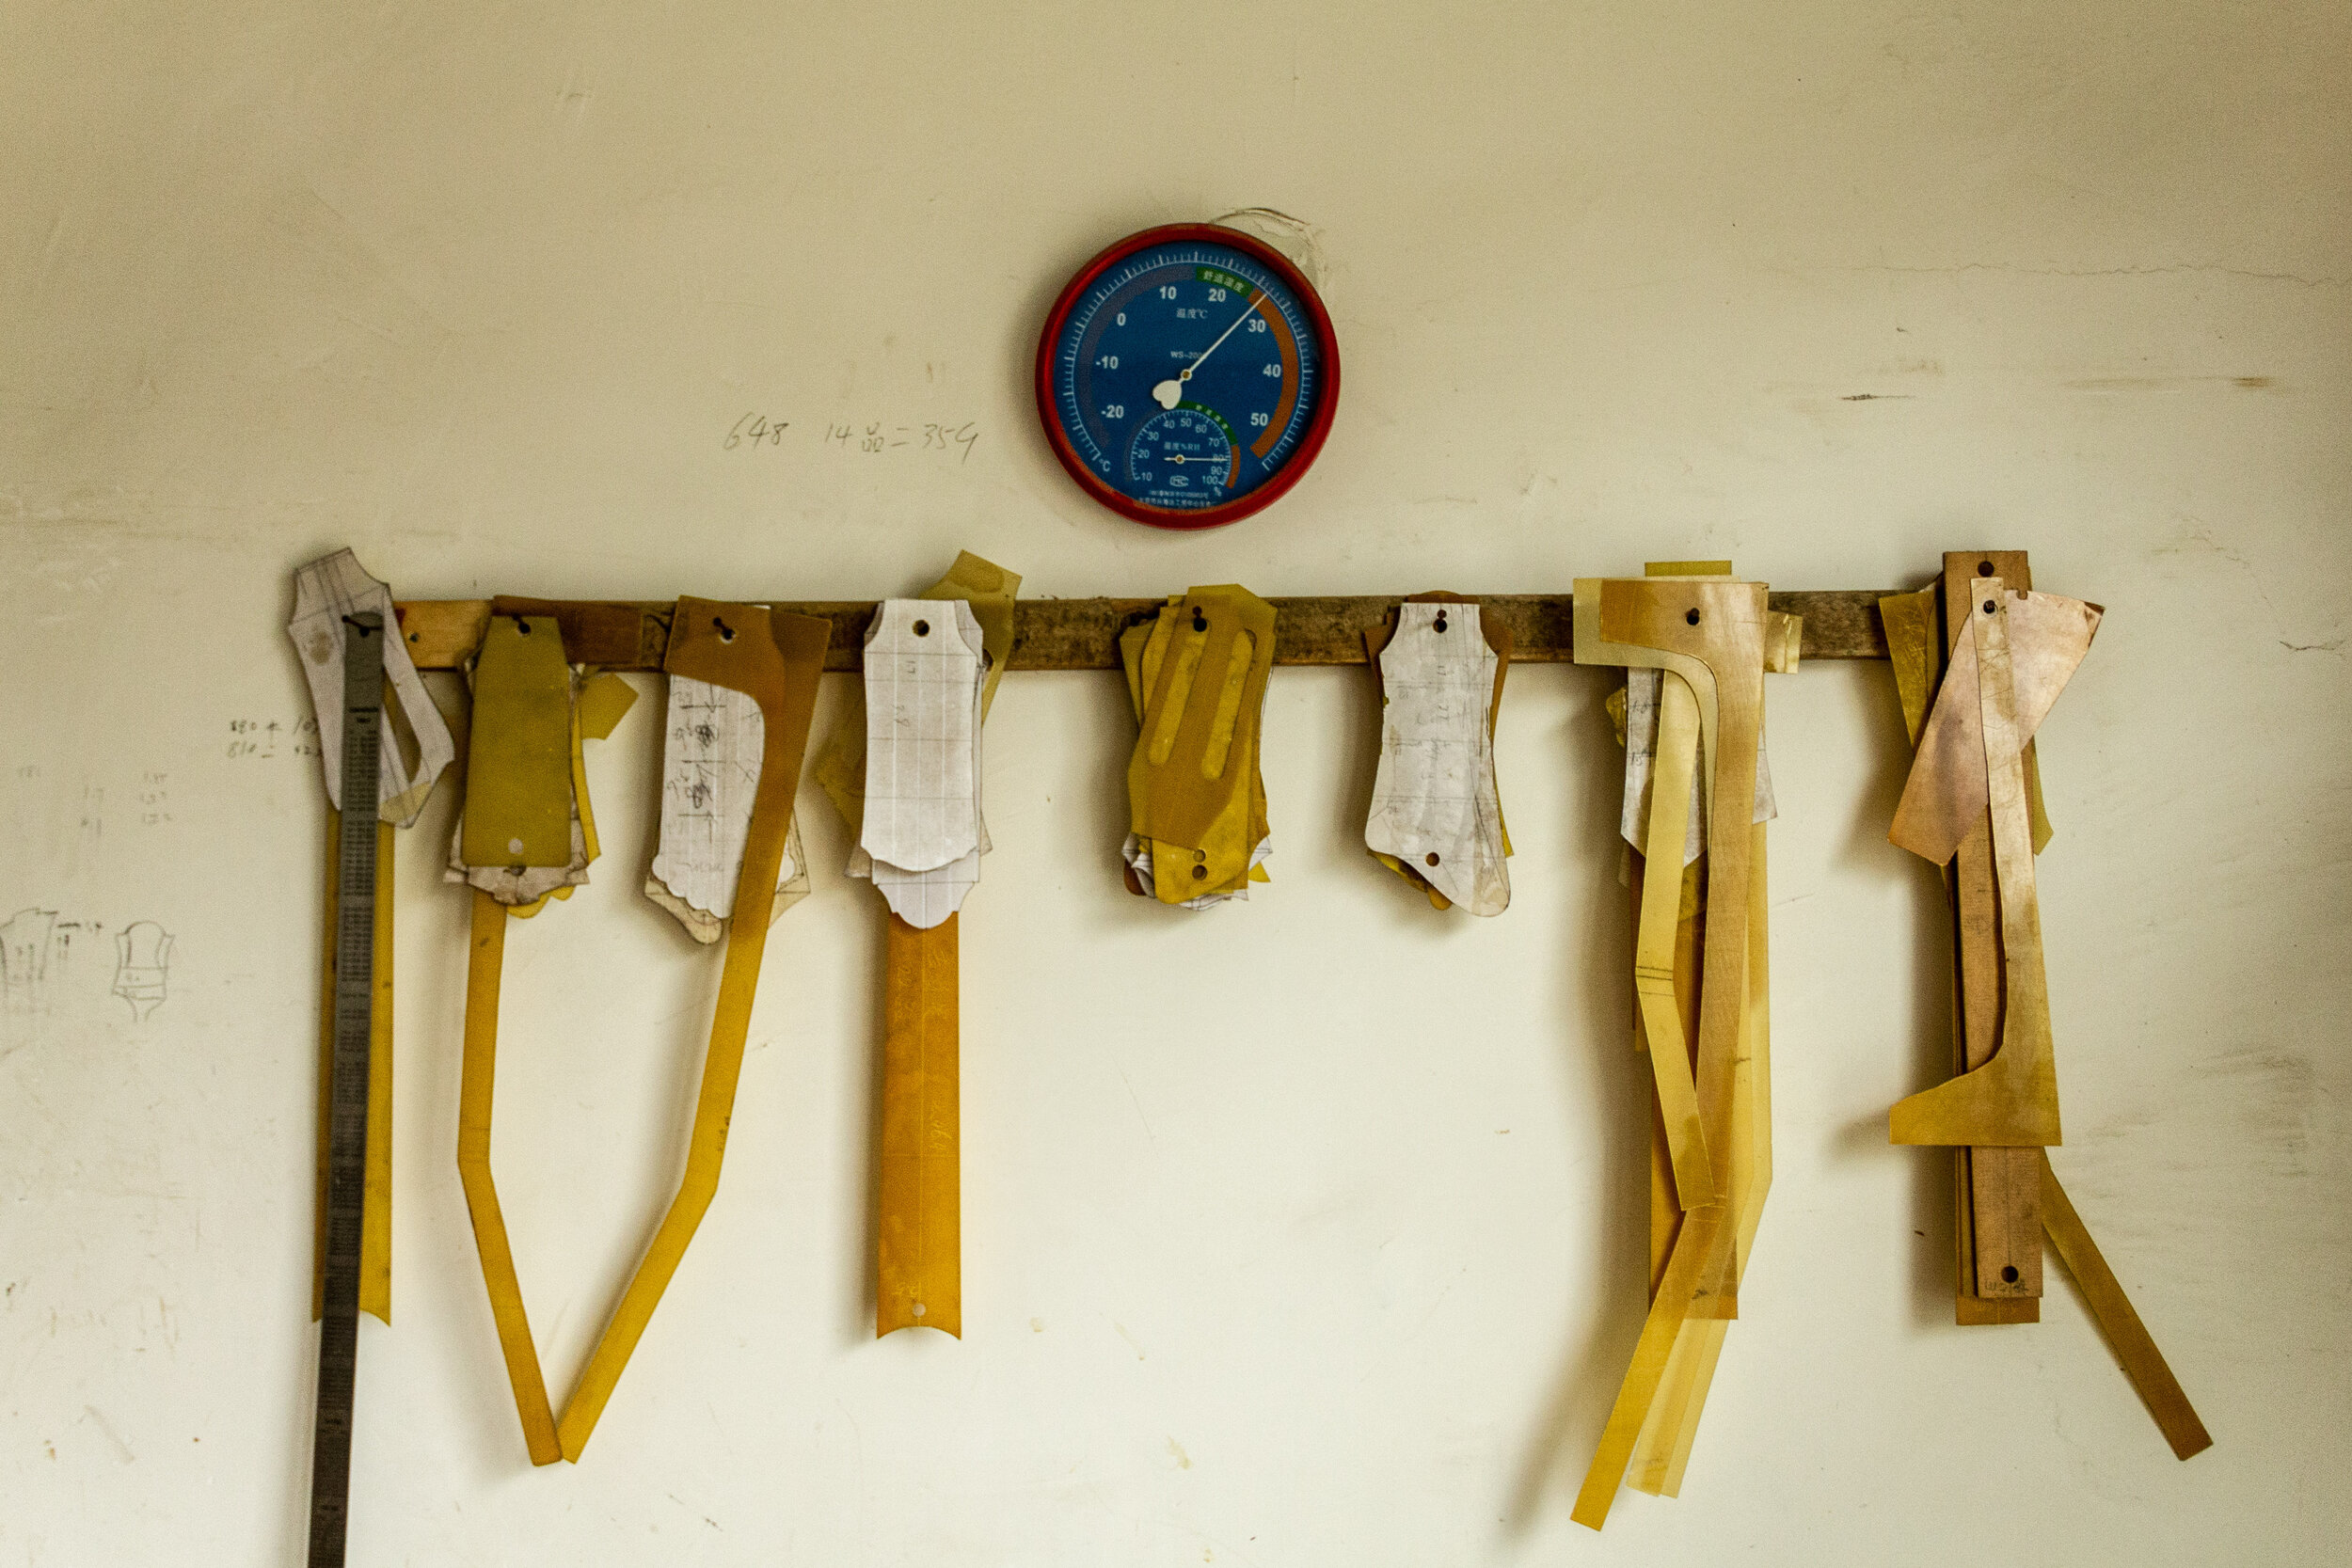
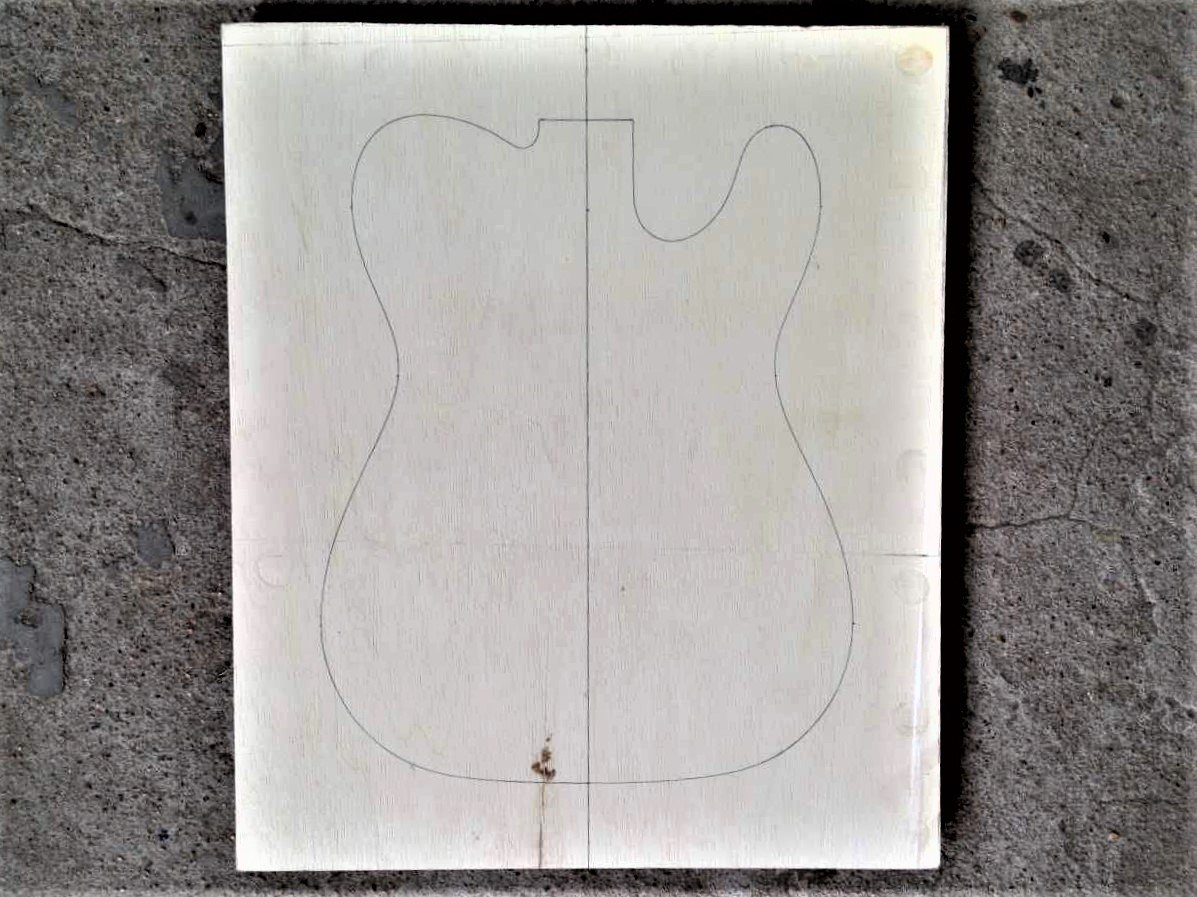
To the drawing table
When all is decided, detailed drawings are made of the guitar with its exact measurements and specifications. With these drawings, plastic cut-outs are made which function as a template for cutting out the different components of the guitar. The pictures below show a variety of different templates of guitar models that Dongming has built over the years.
Stage 2: Woodwork
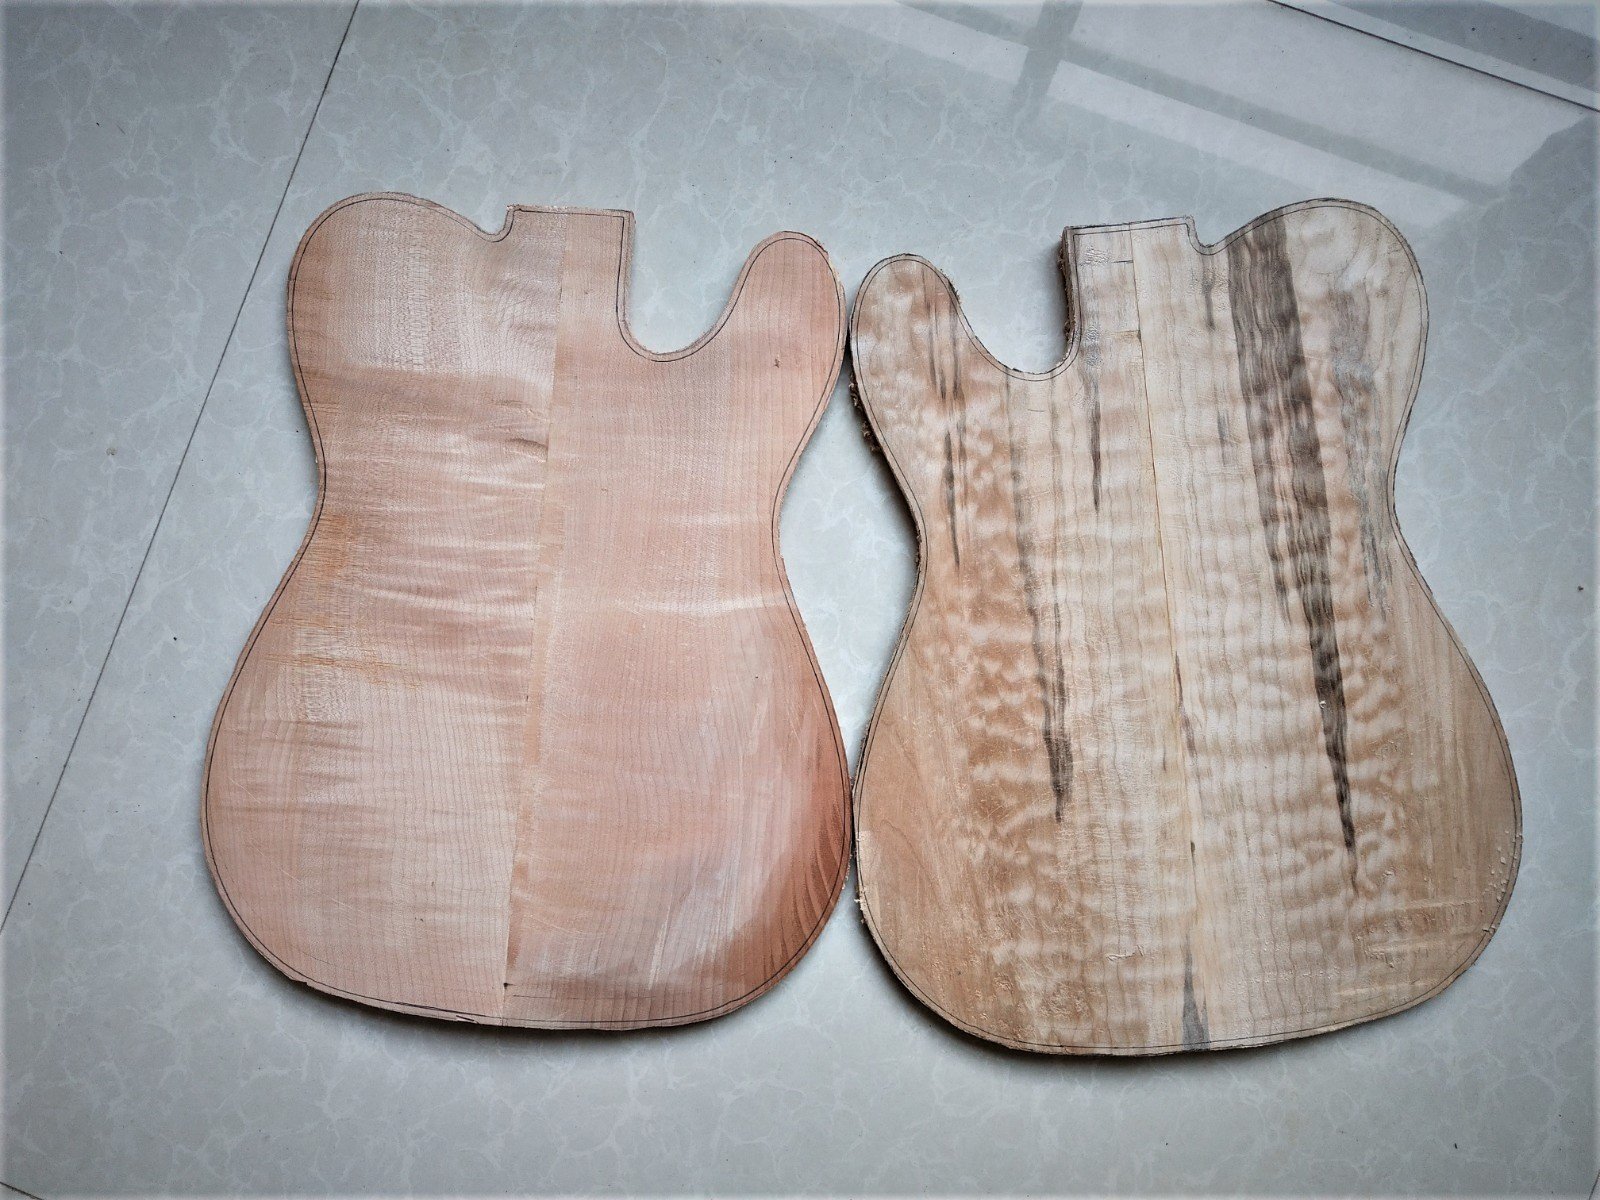
Choosing the wood
All woods that we use for our guitars are chosen in the first place for their proven suitability and individual sound characteristics. These include (solid) flame maple, mahogany and spruce. Choosing the right type of wood is of utmost importance, if not the most important step in the process of building a guitar. We solely make use of solid tone woods. We very much prefer the tonal qualities of solid wood over laminated wood. In addition, the structure and shine of lacquered solid wood is much more evident. An inseparable consequence is that you never can order a guitar that looks exactly the same as one we have made before. We always have a sufficient number of tops and backs in stock.


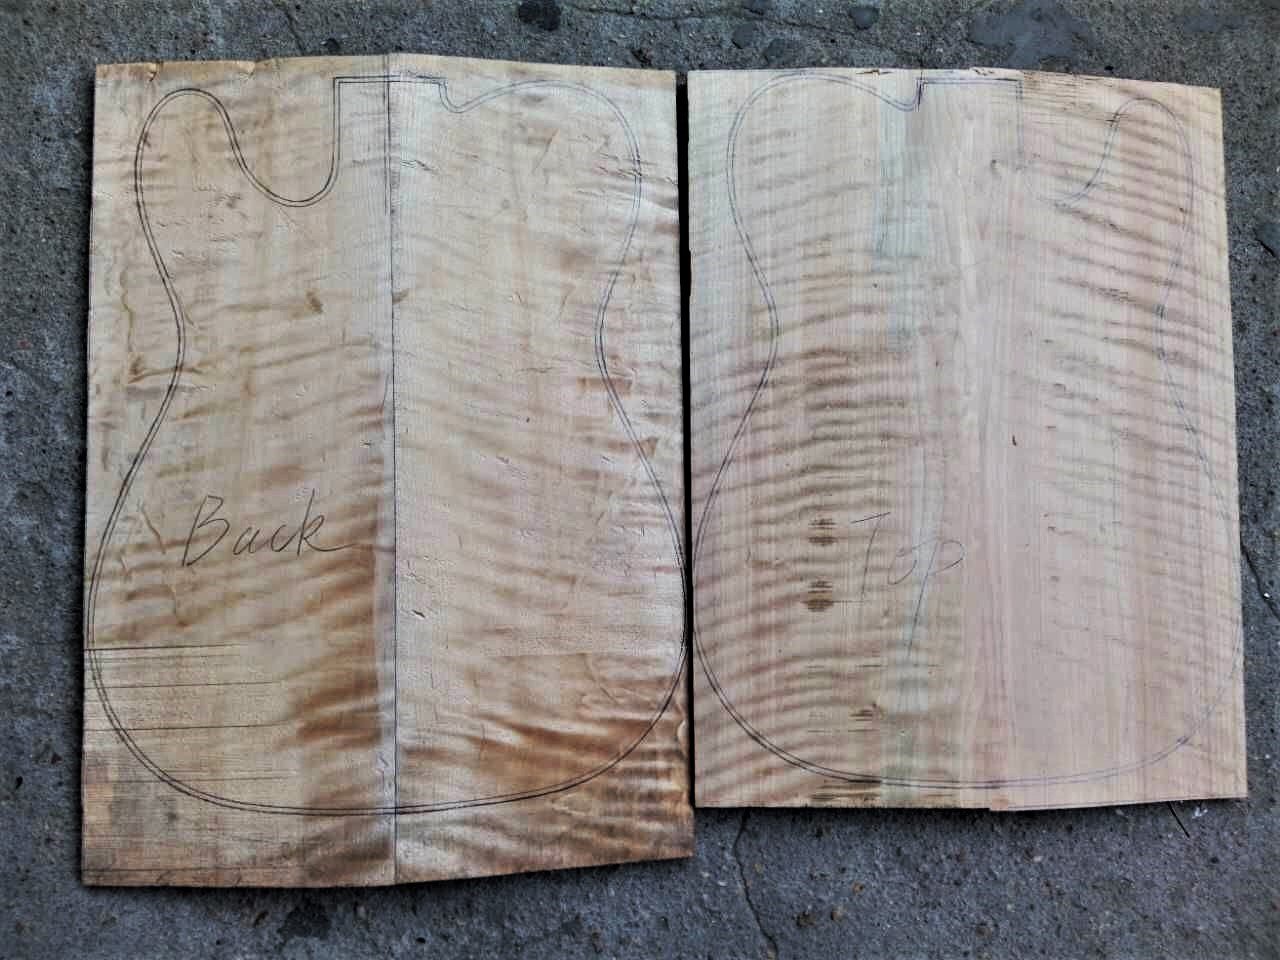
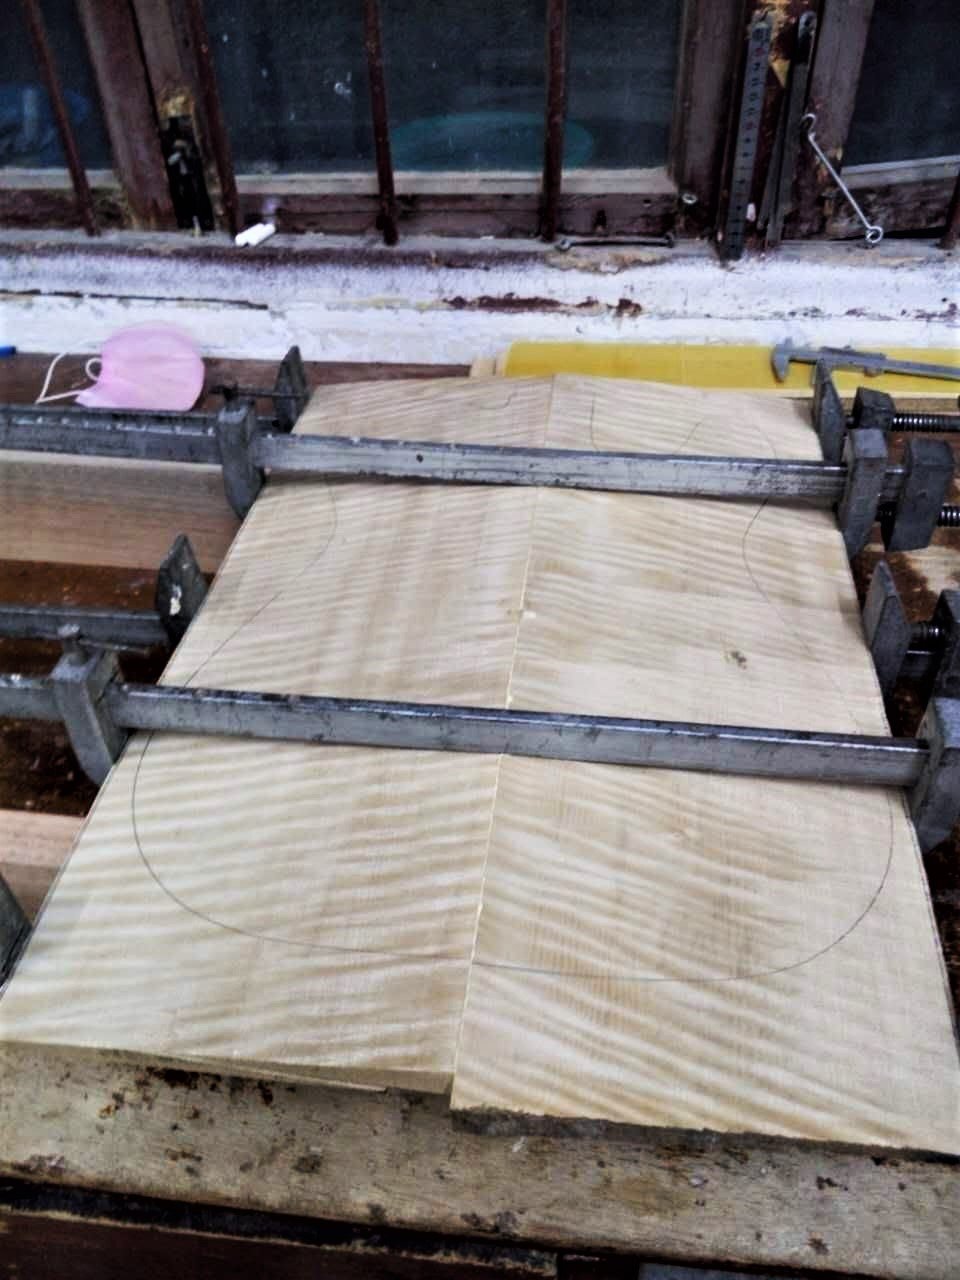
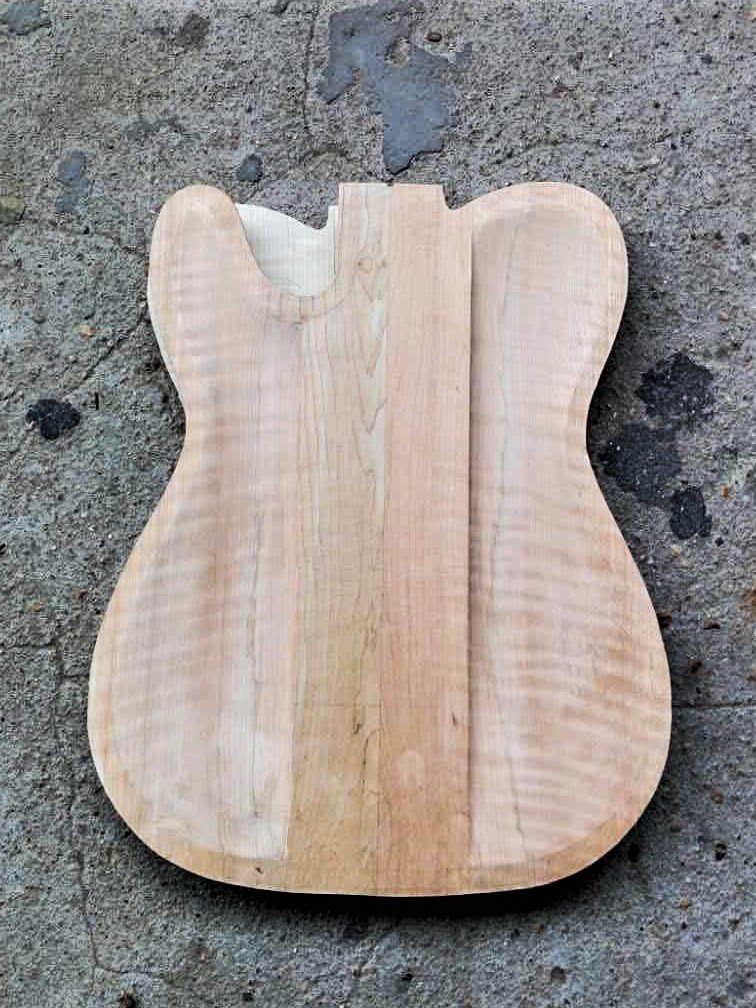
Book matching
After we decided on the perfect piece of wood, the raw billet is then sawn in half (diagonally, in length). The sides of these two pieces are then book-matched and glued together. If possible, we not only book-match the two sides of a top or a back but also the top and back itself. As you can see in the pictures, the figuring in the wood is clearly visible.

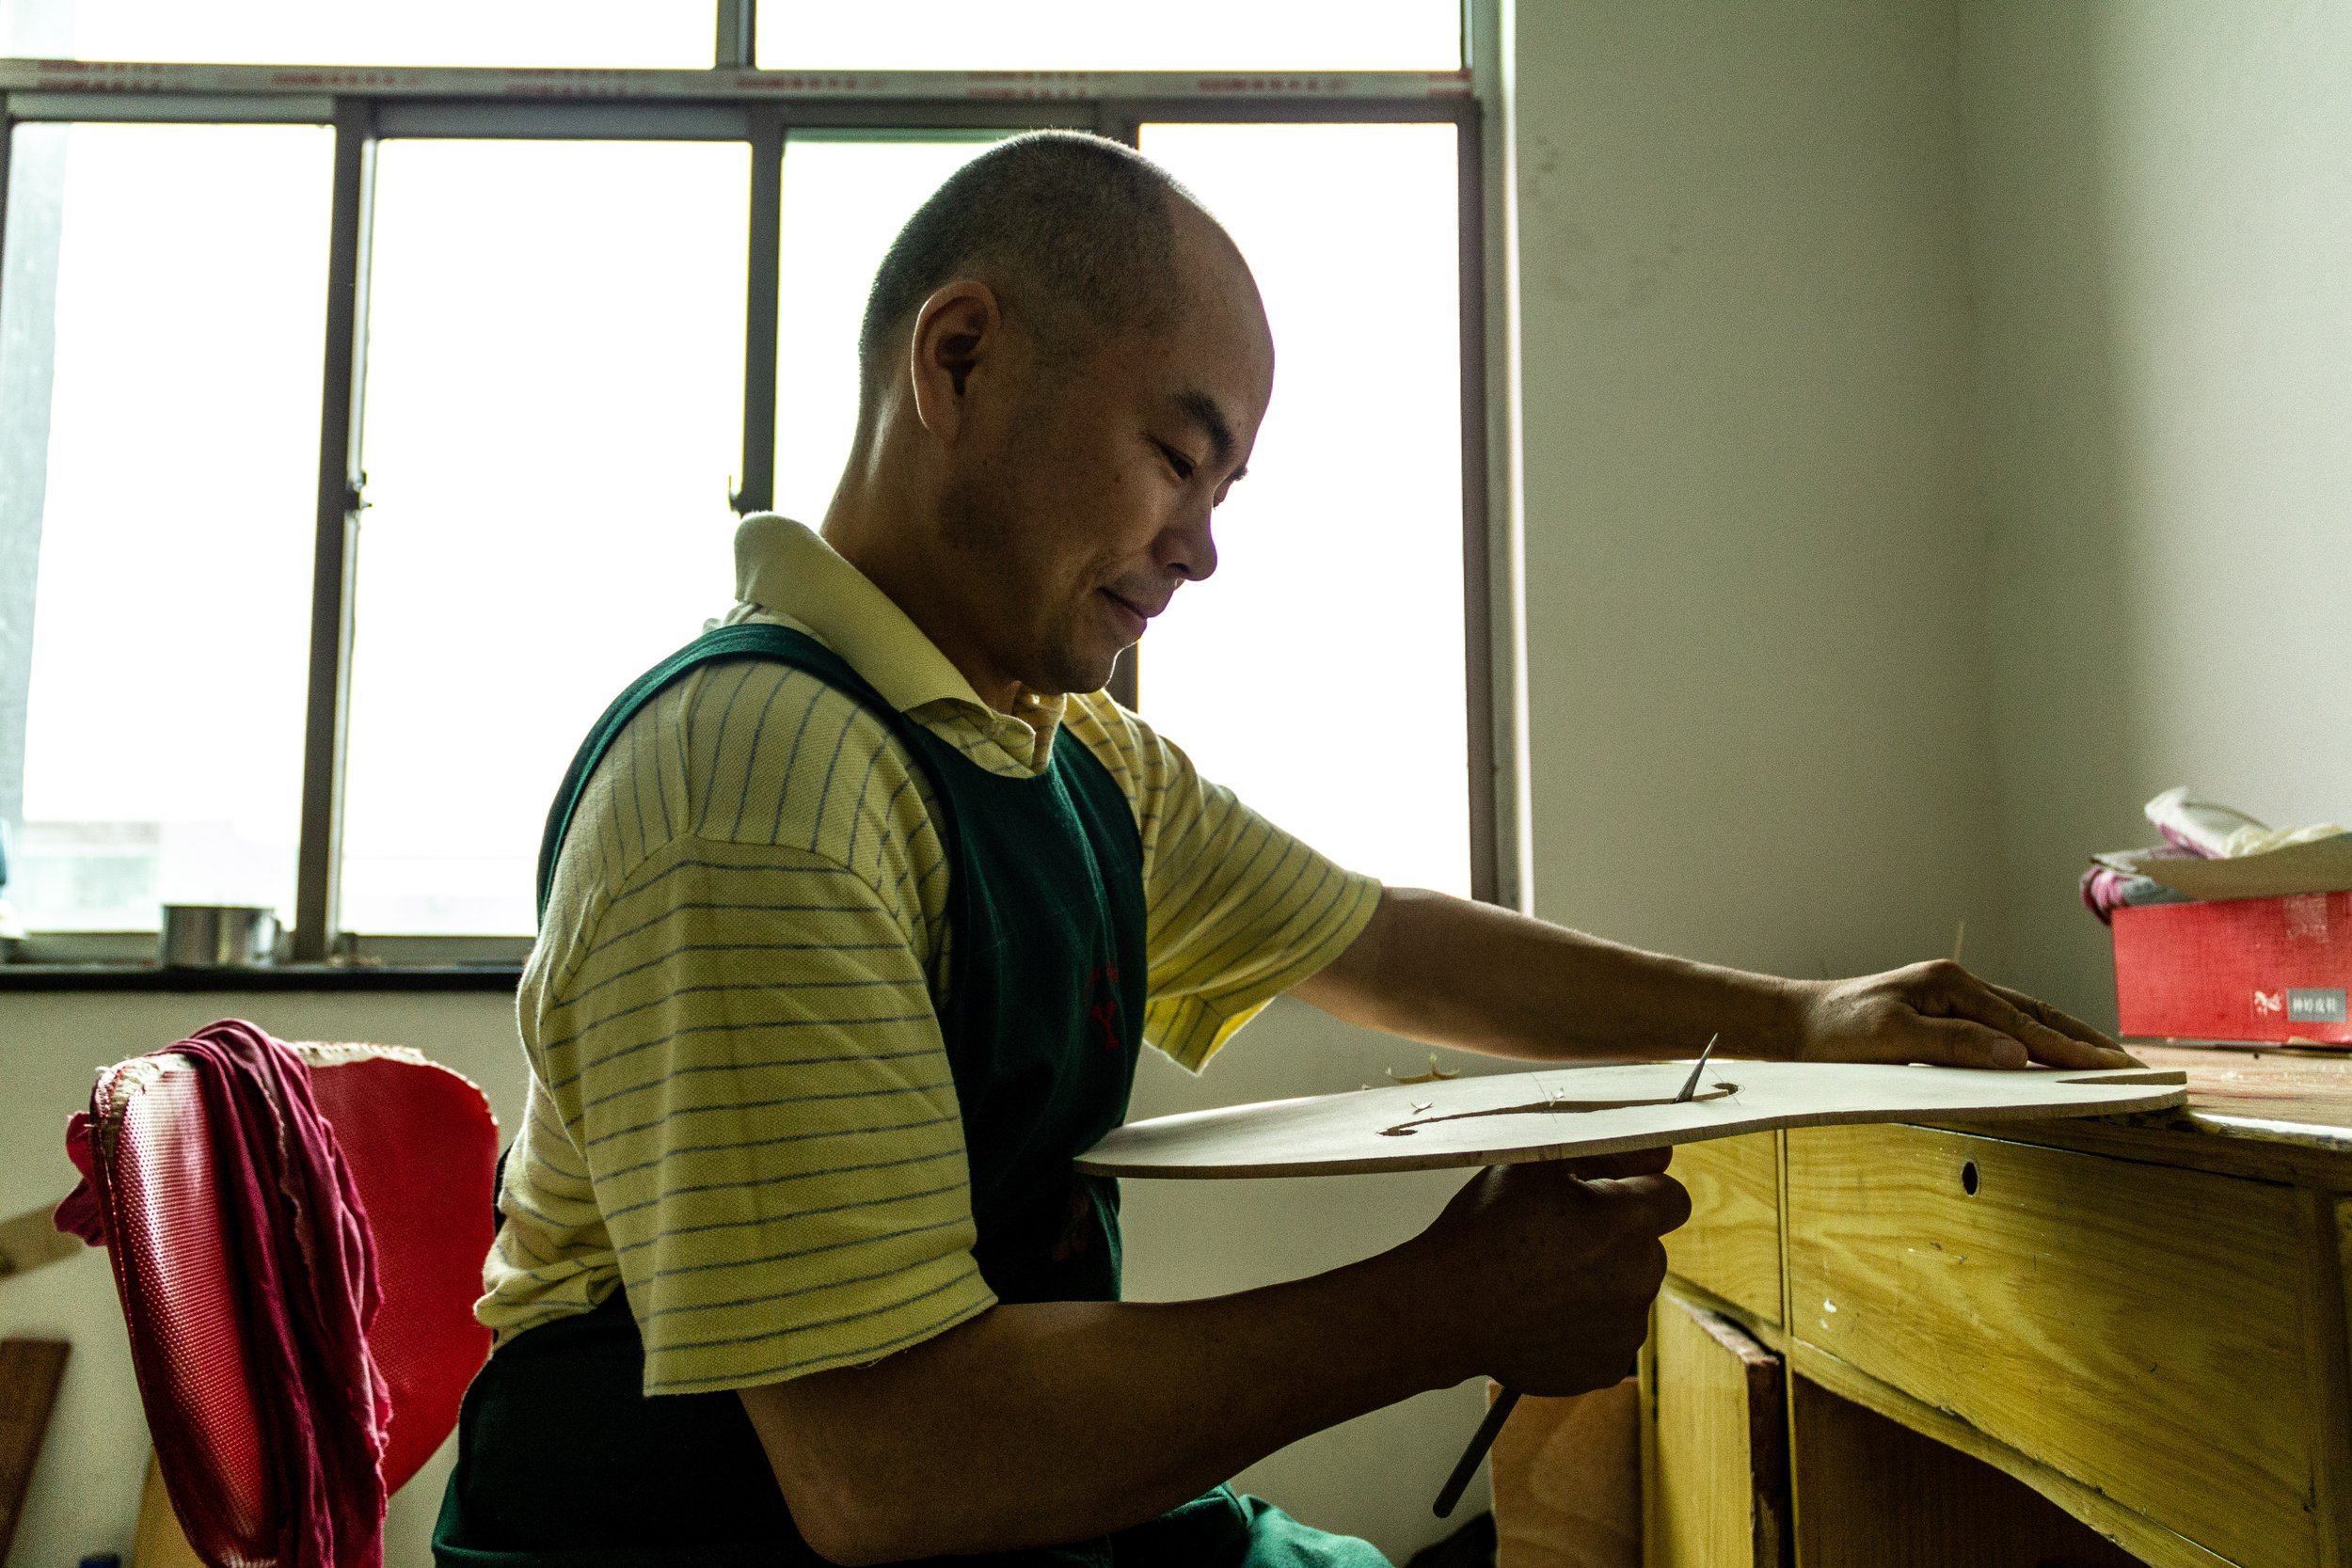
A whole lotta shaving going on!
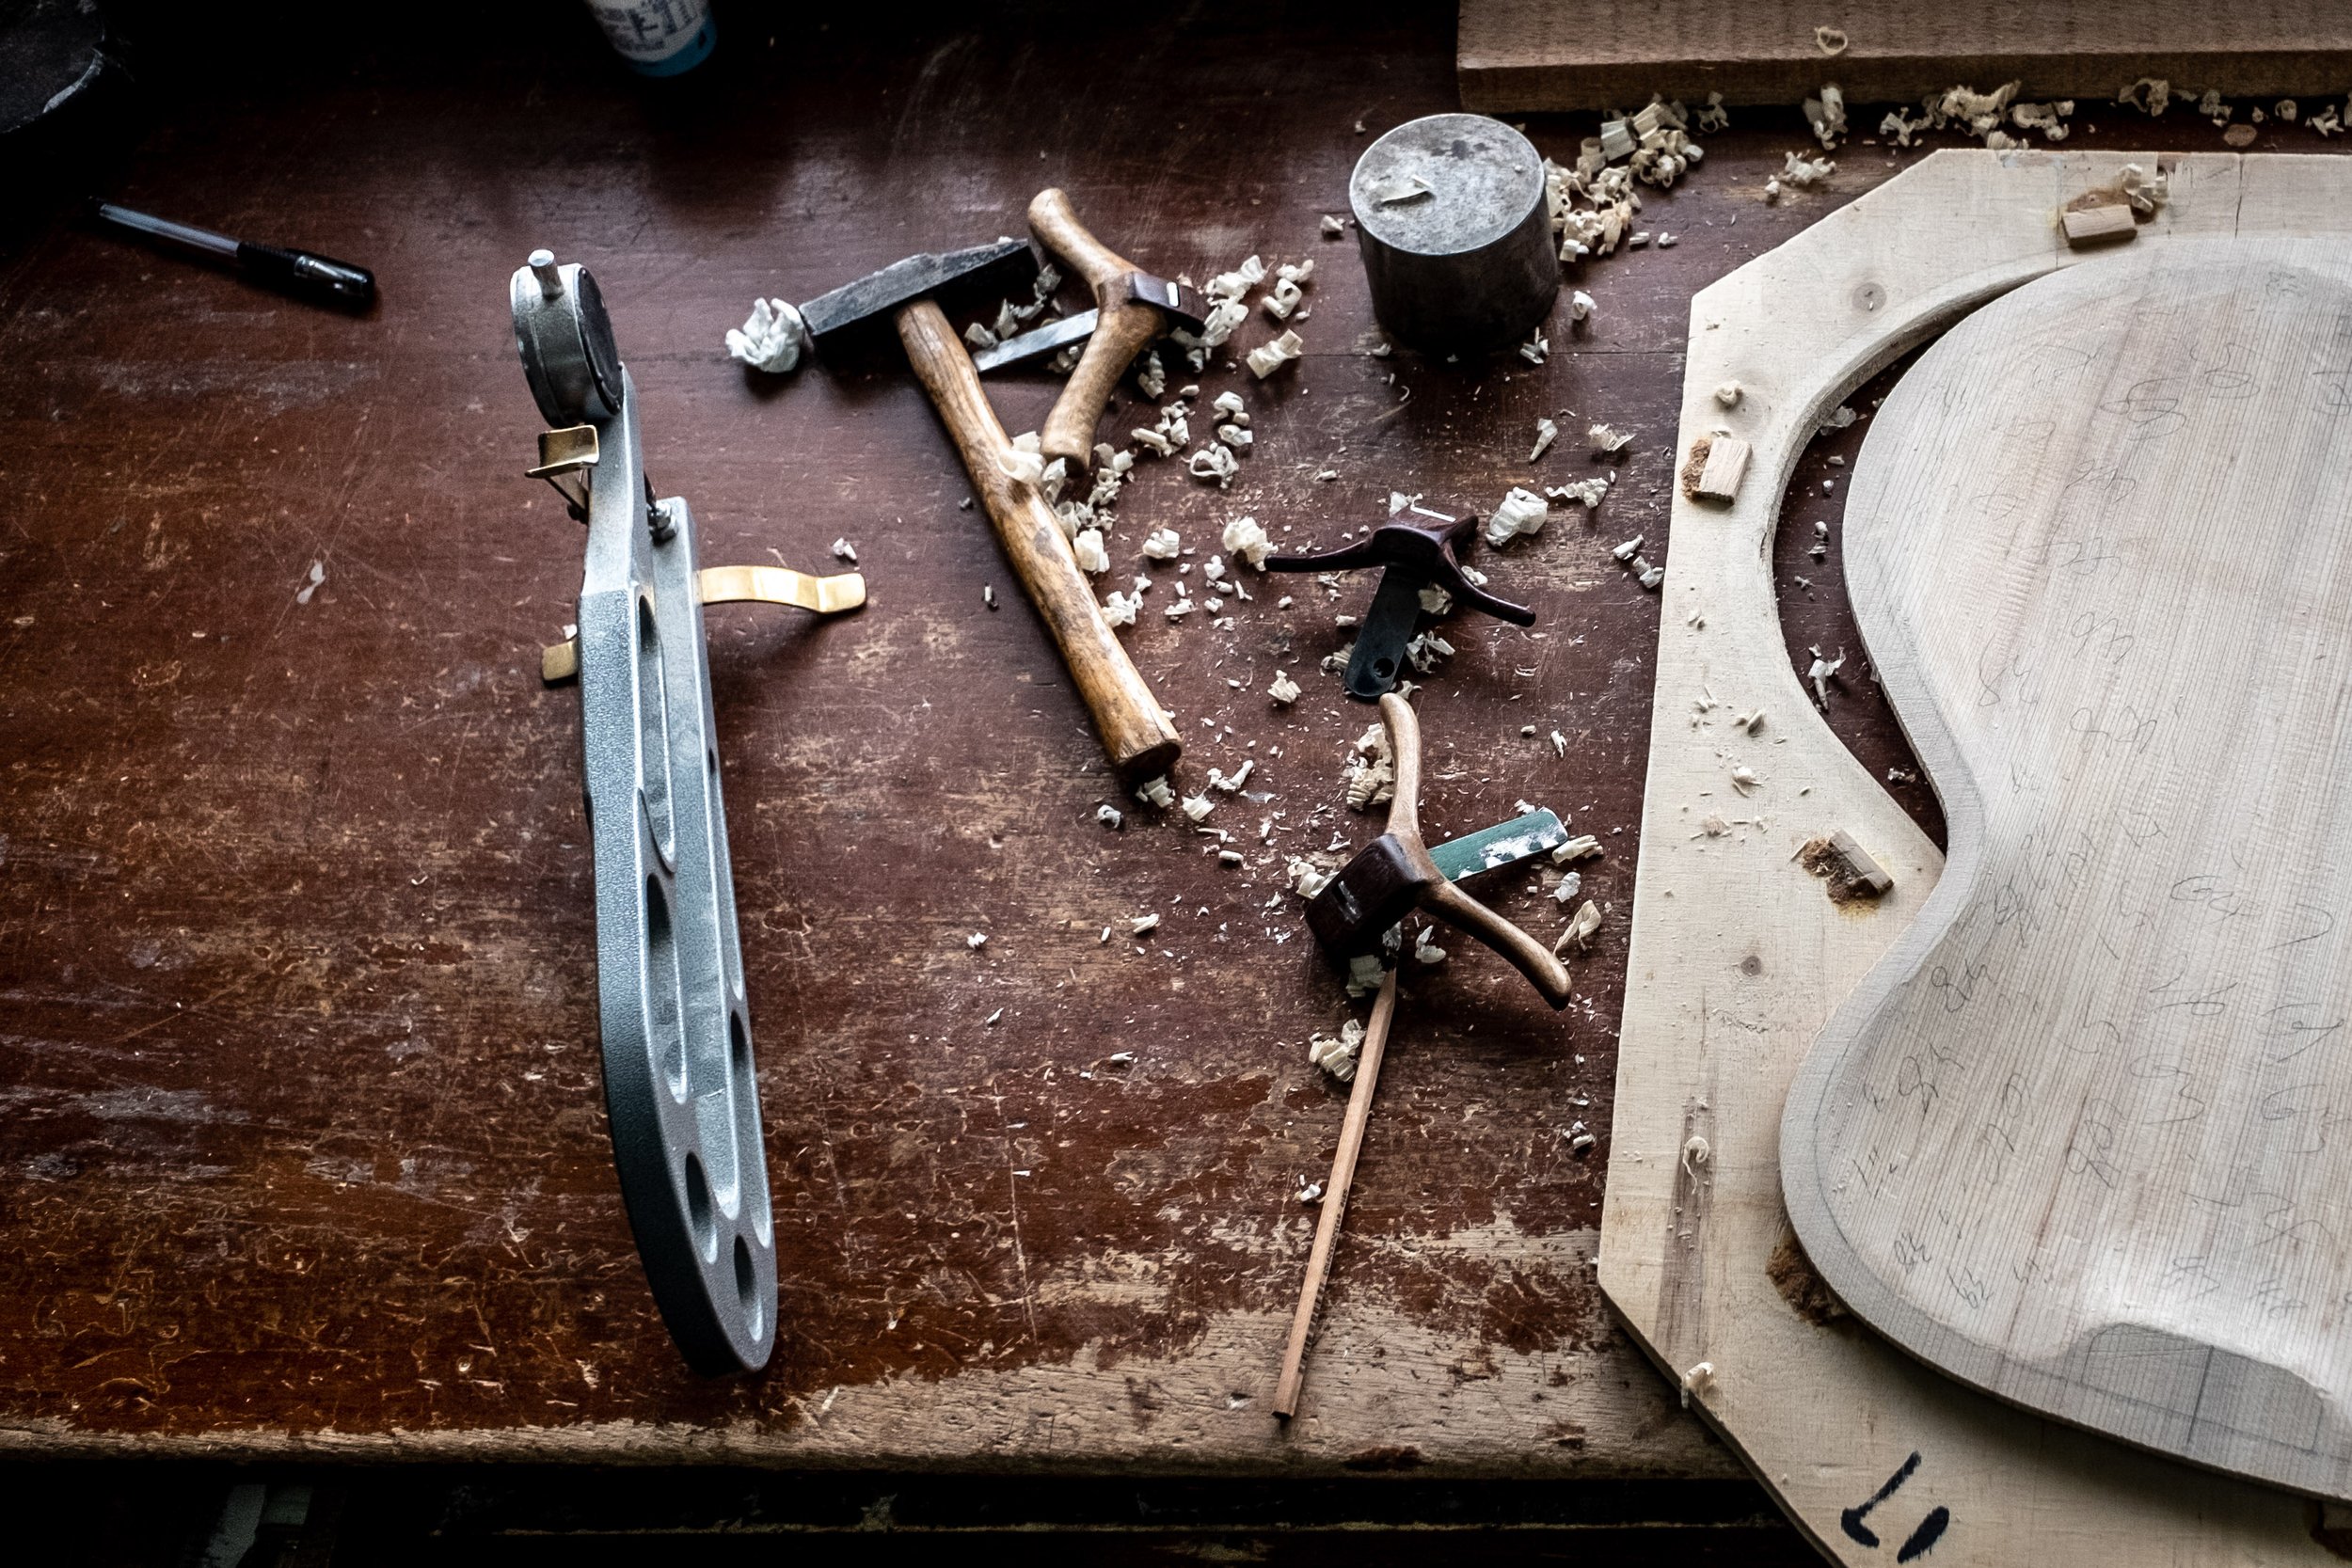
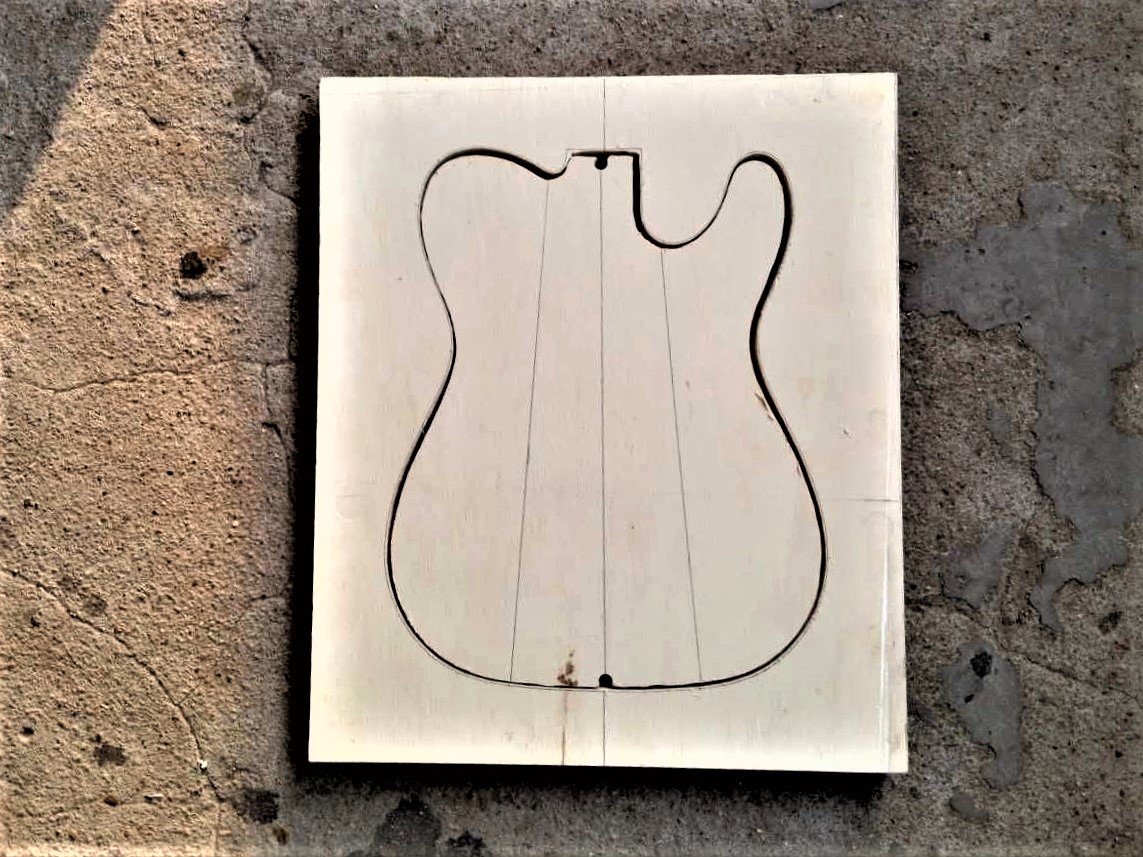
Carving the tops and backs
Dongming still uses a traditional construction method that he mastered when he was an apprentice of a famous Chinese classical instruments builder in Beijing during the 90s. His way of working is very similar to that of luthiers 400 years ago, when they first started building violins. This method lends itself perfectly well for building semi acoustic (arch top) guitars like ours. After rough wood cut-outs are made of these different parts, such as the body’s silhouette, we start shaving, carving, sculpting and sanding the wood. This is a very labor intensive and delicate process and requires a very steady hand. The wood we use for our guitars is not laminated and pressed into shape (as you can only carve solid wood :). Instead, the tops, backs and necks of our guitars are completely hand carved. A whole lotta shaving going on in the workshop, you could say!
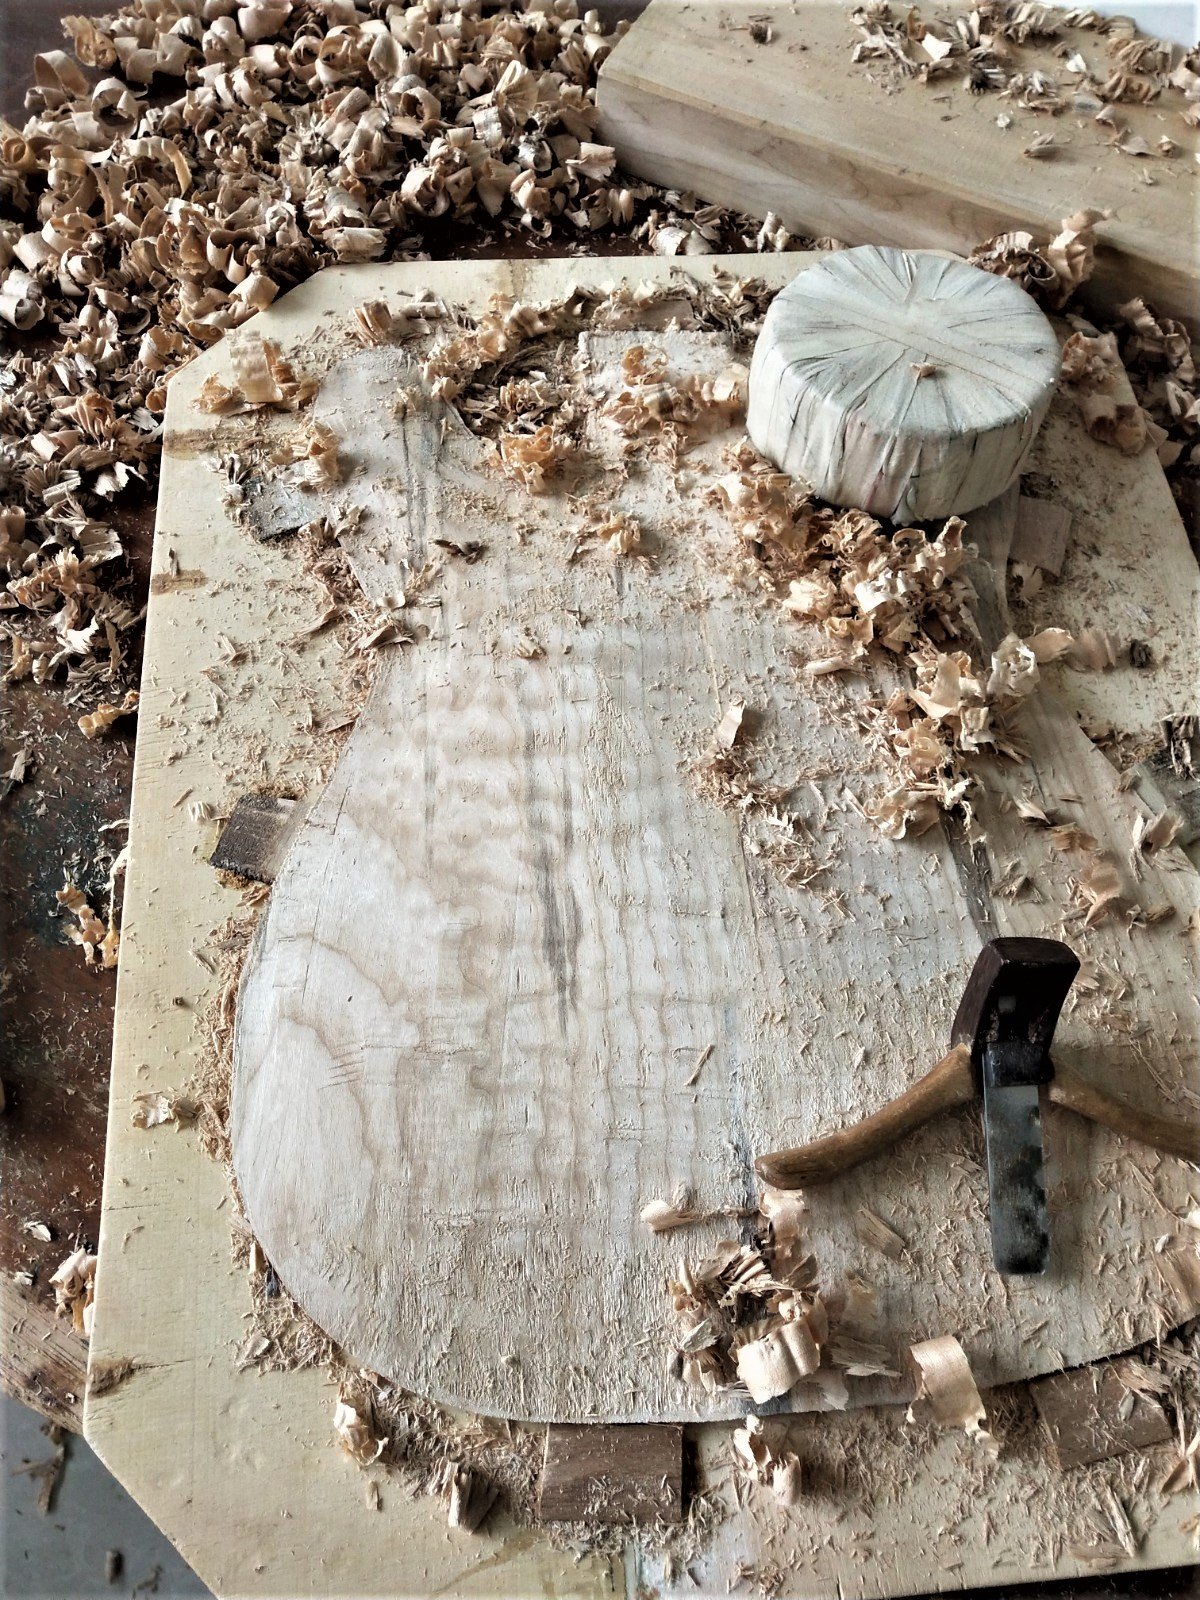
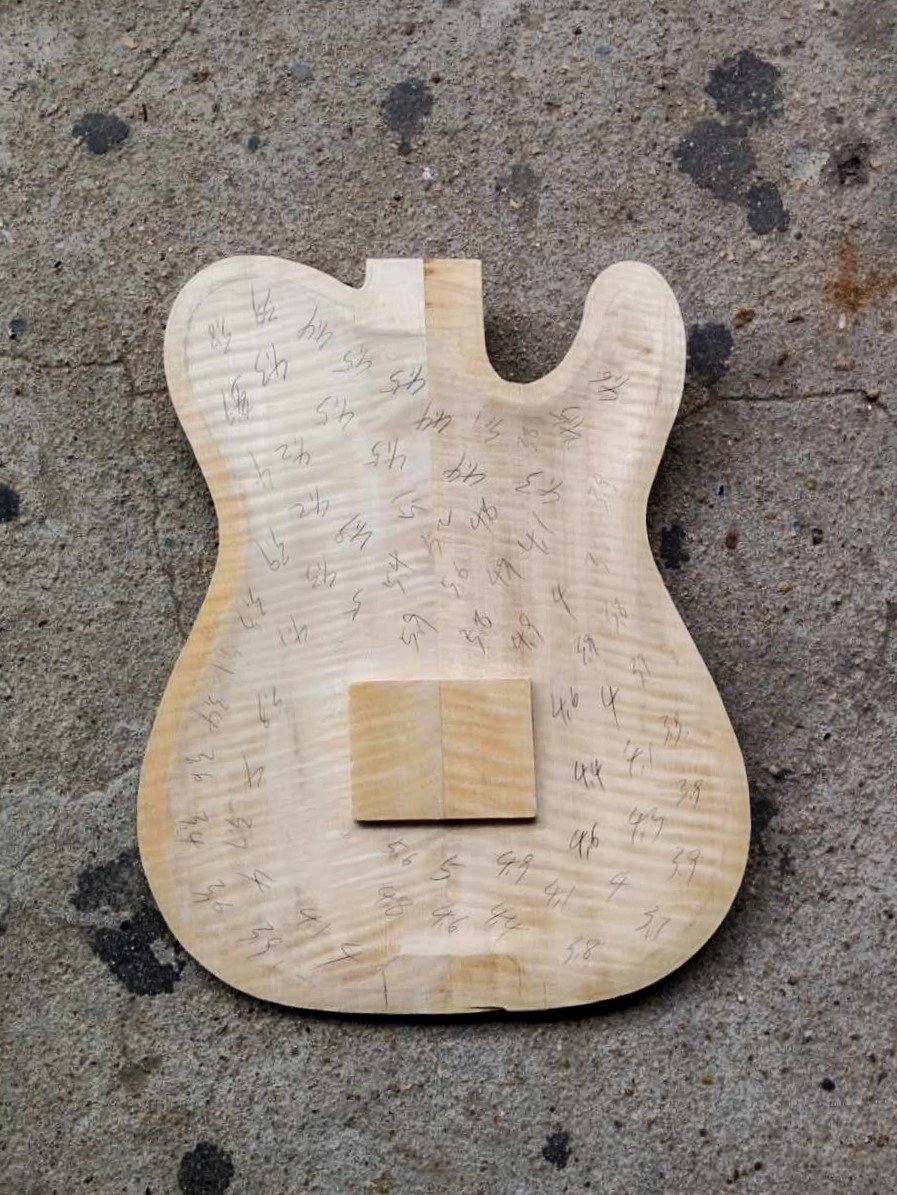
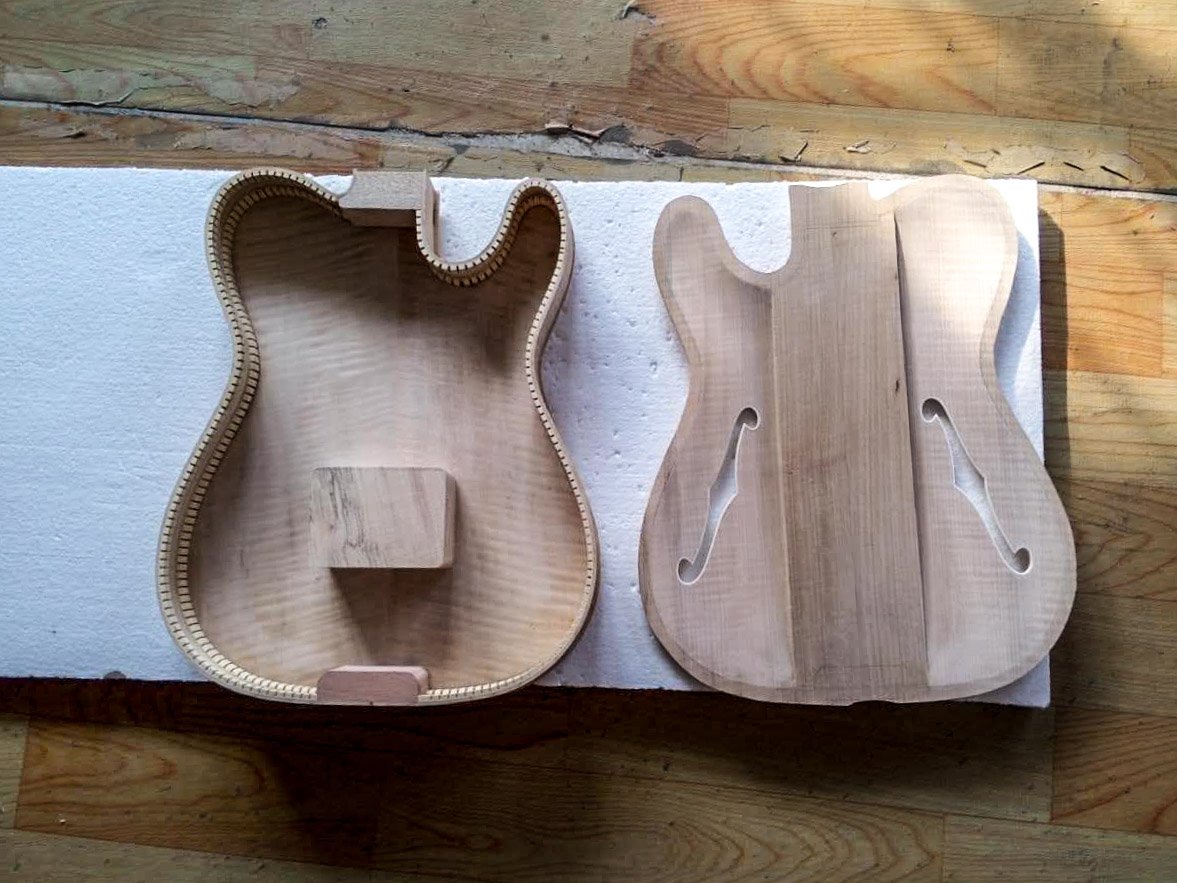
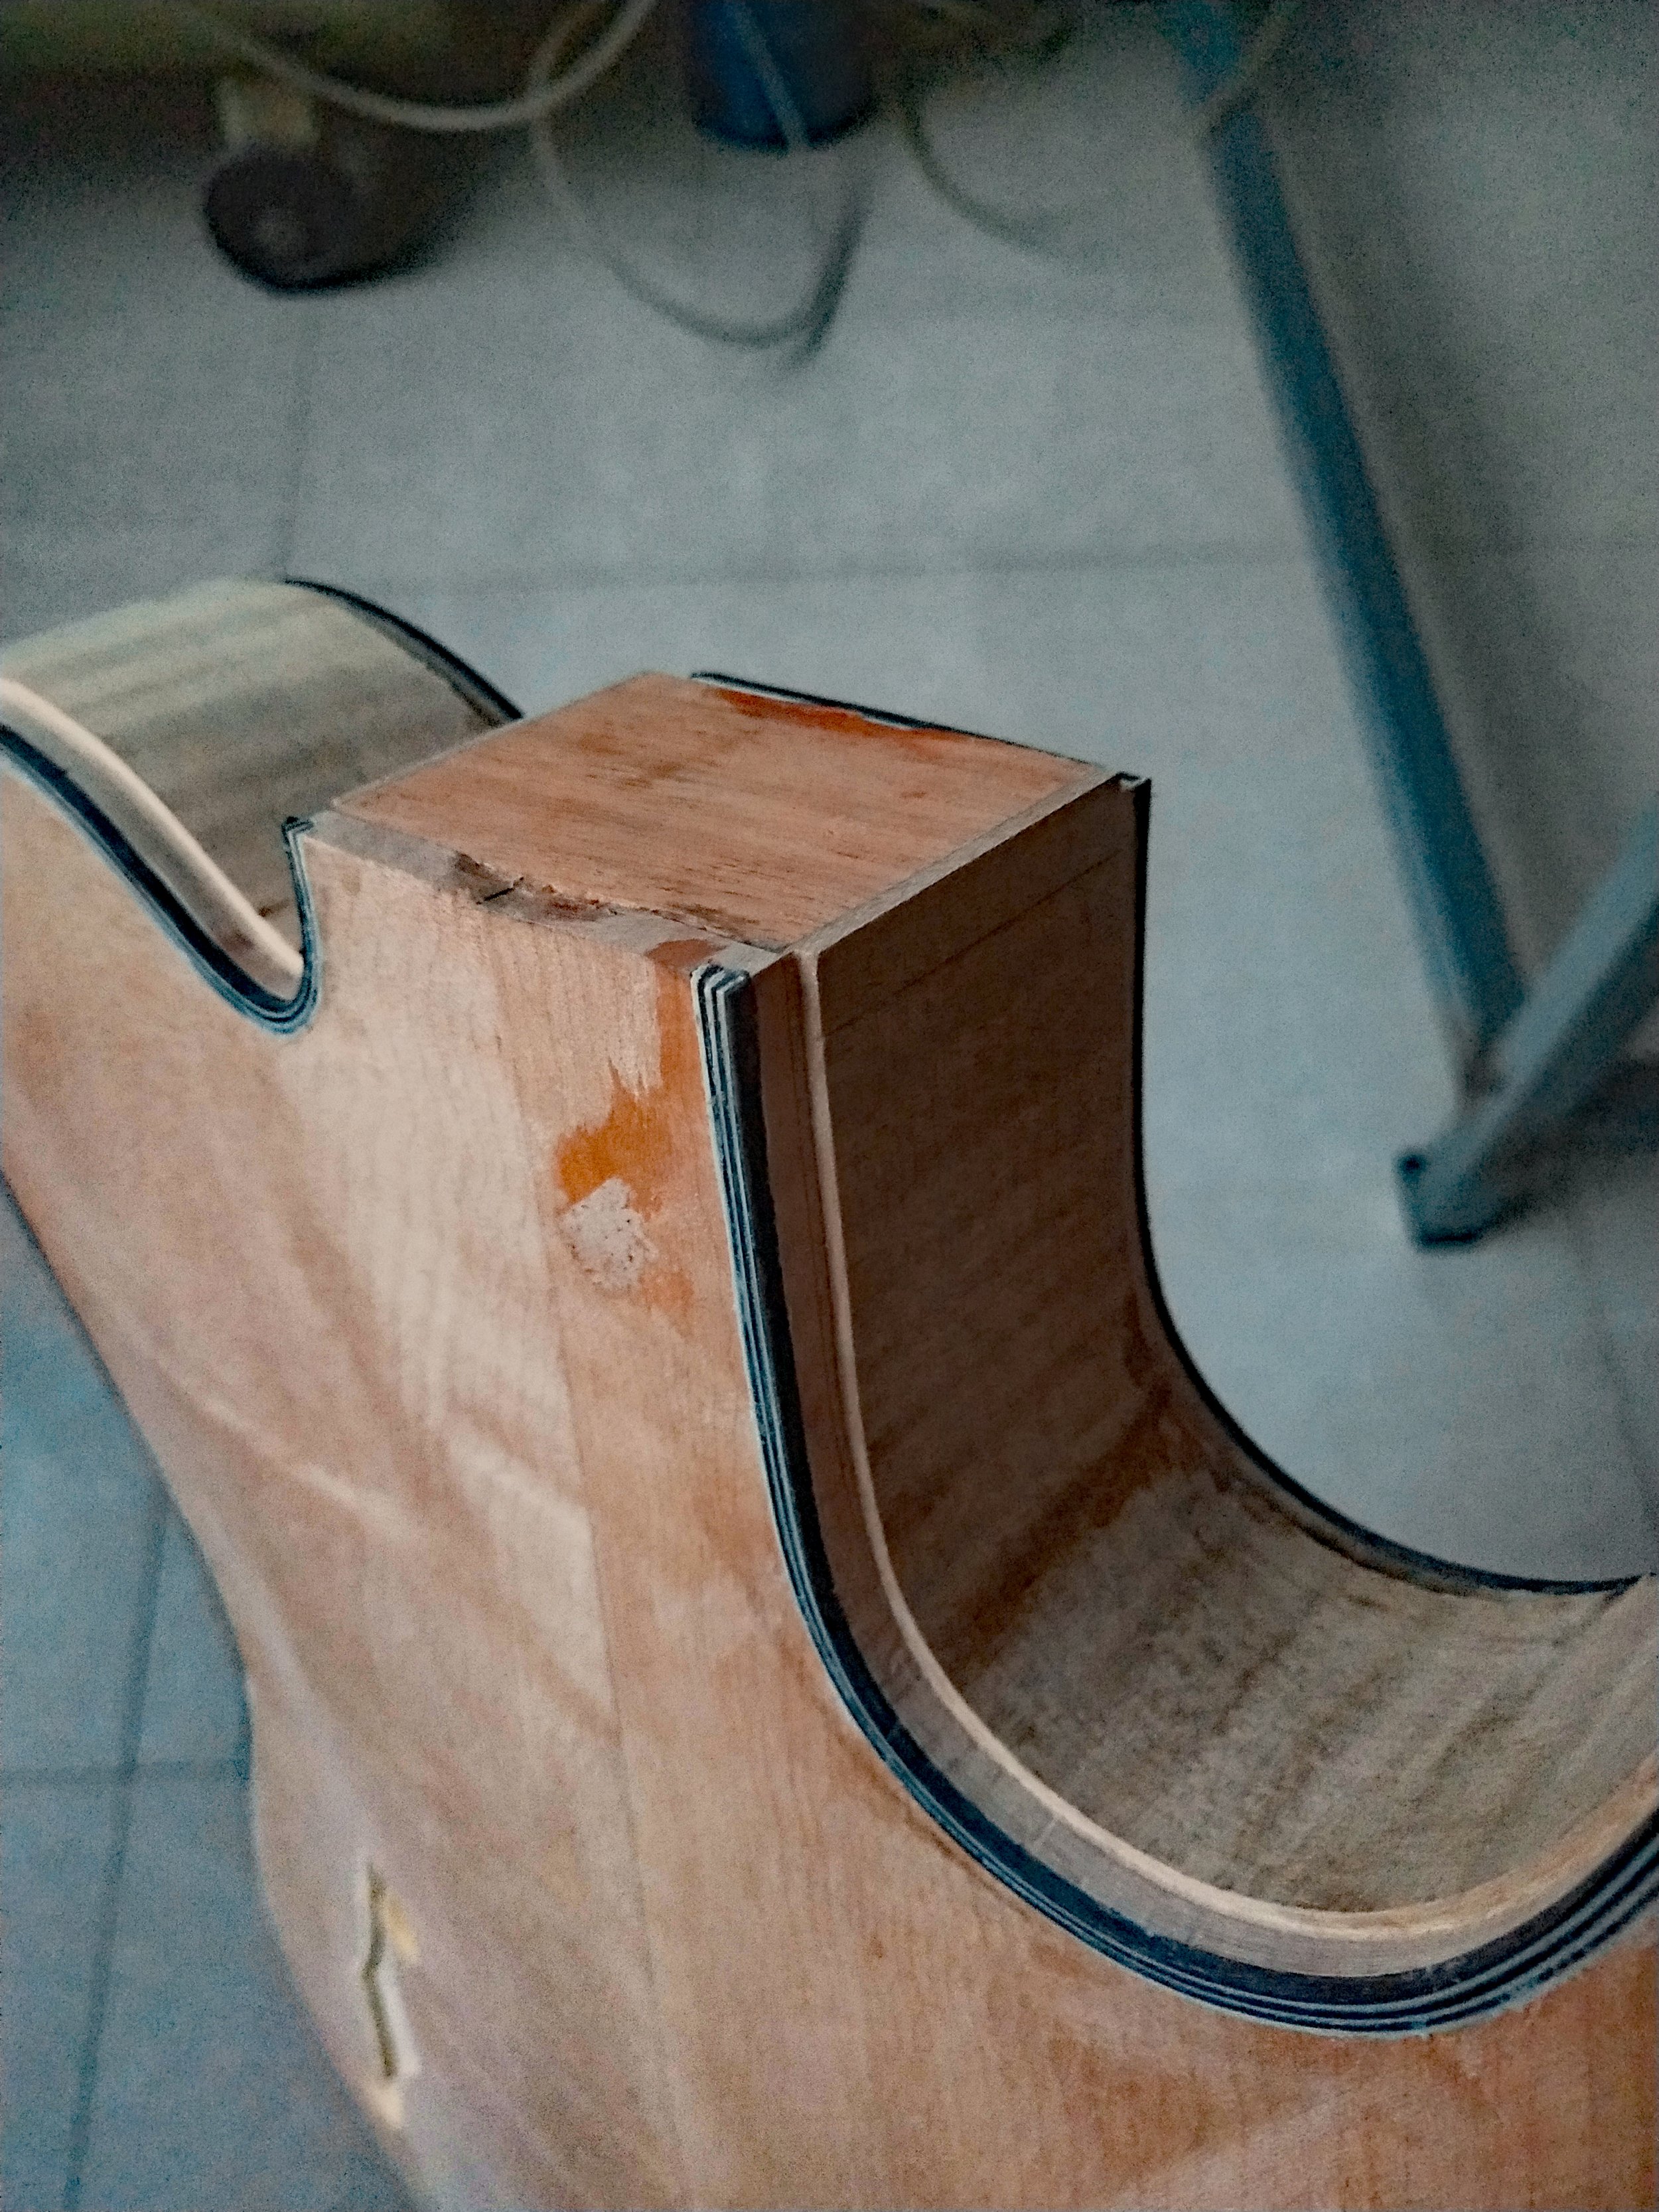
Construction
The construction of our semi-acoustic guitars, all of which are equipped with a square center block at the bridge position, eliminates all possible feedback problems entirely while maintaining its acoustic properties. As you can see on the pictures below, the center of the top maintains its original thickness, while the rest of the wood is carefully carved away by hand. In this way, there is considerably less tension on the top compared to a top that is pressed into shape. Hand carving the top thus eliminates the need for a center block that covers the entire body length of the guitar for stability.
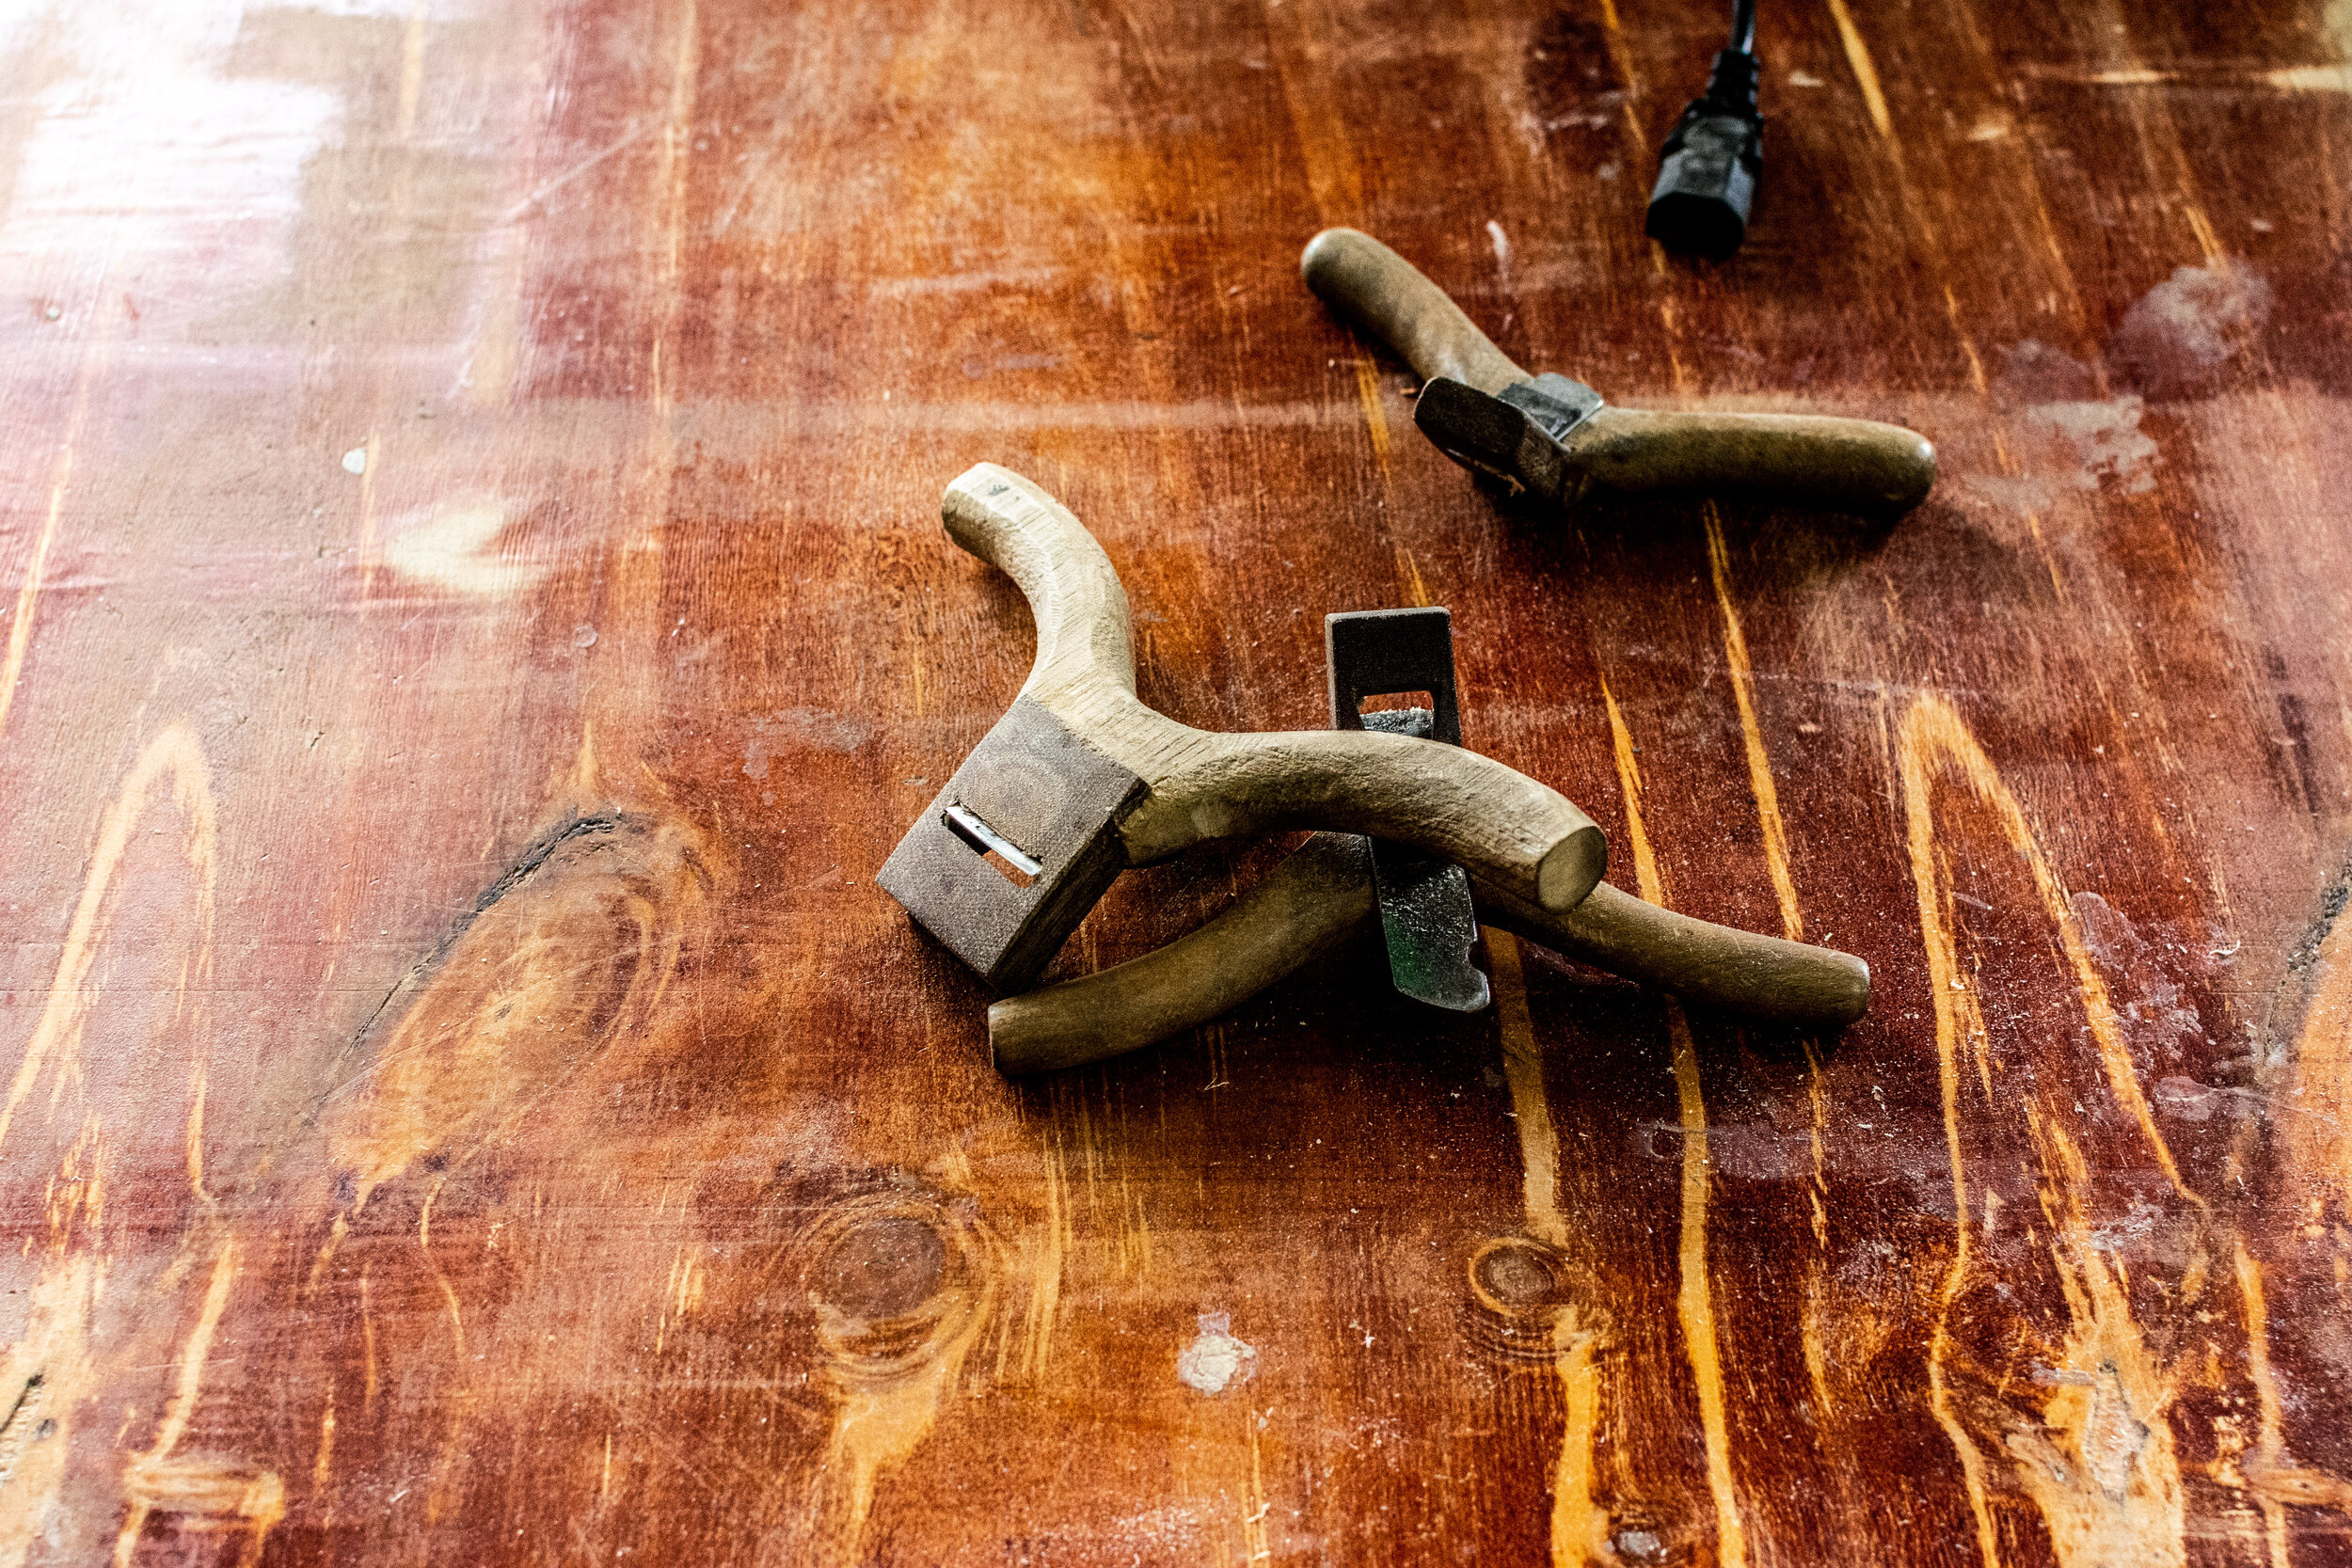
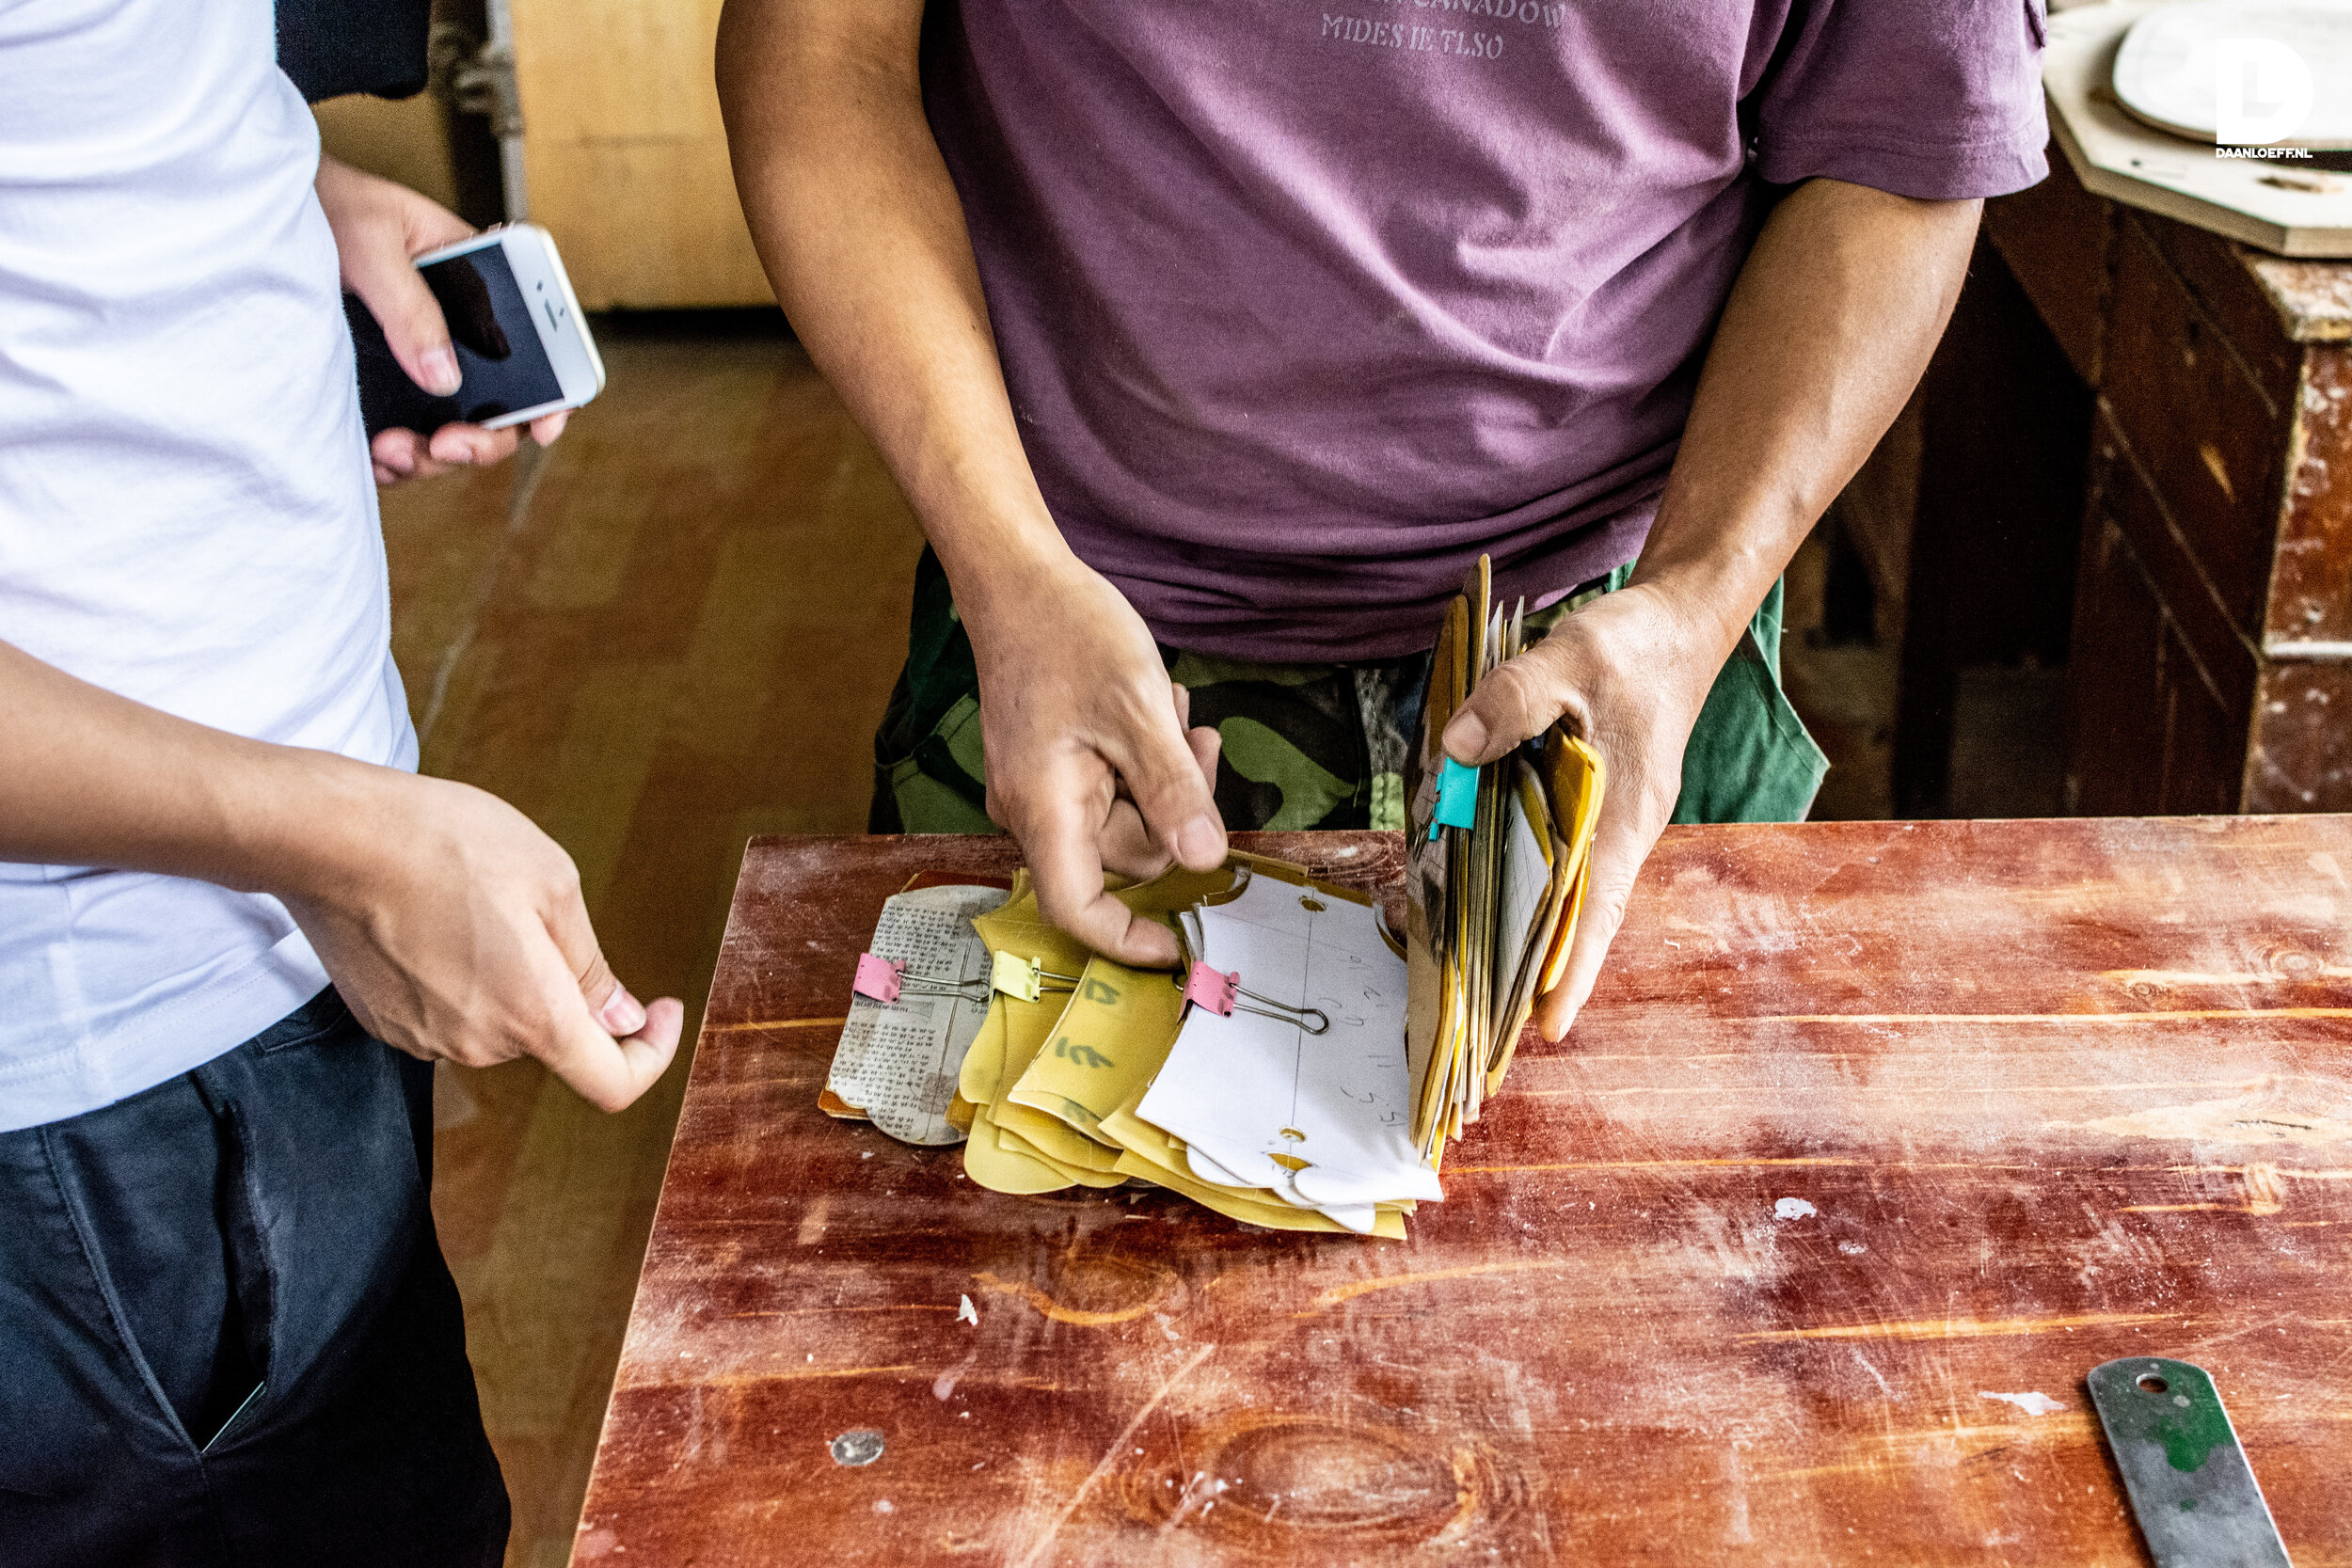
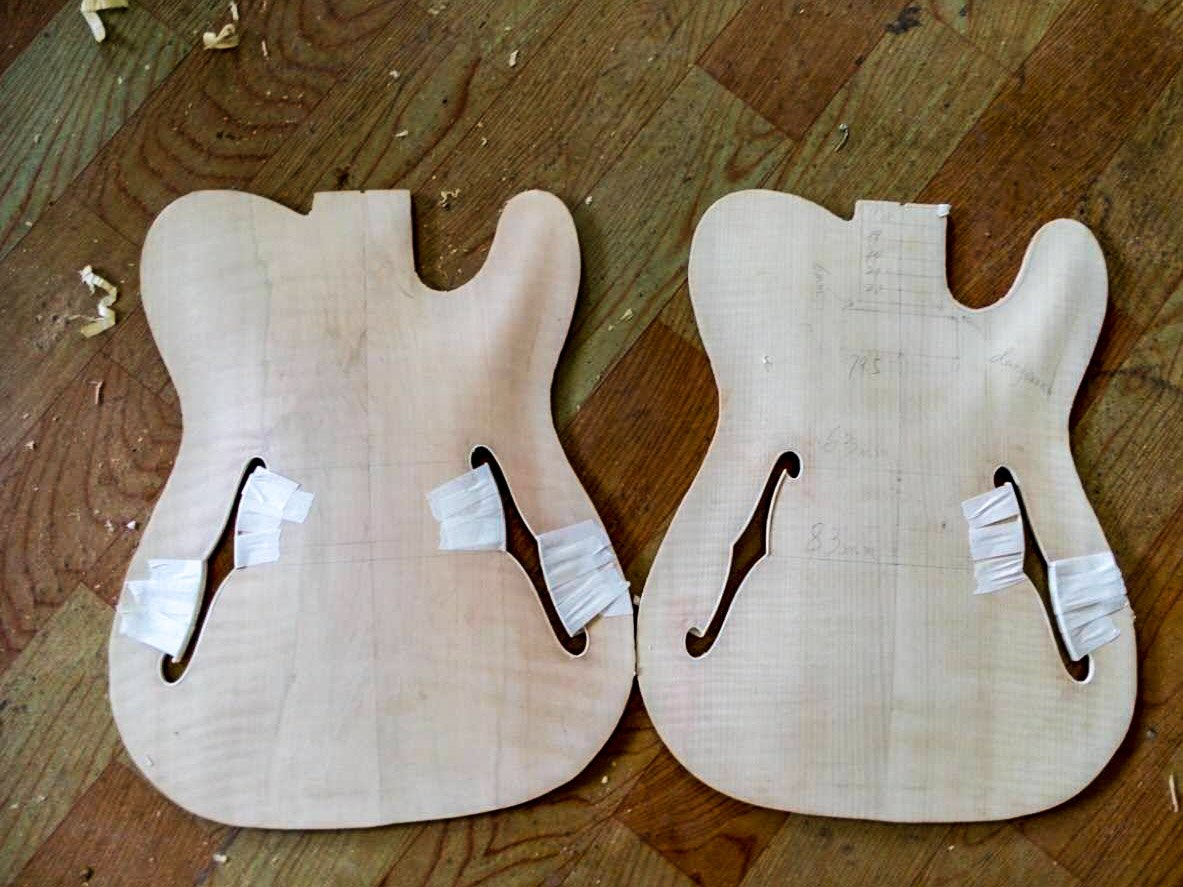
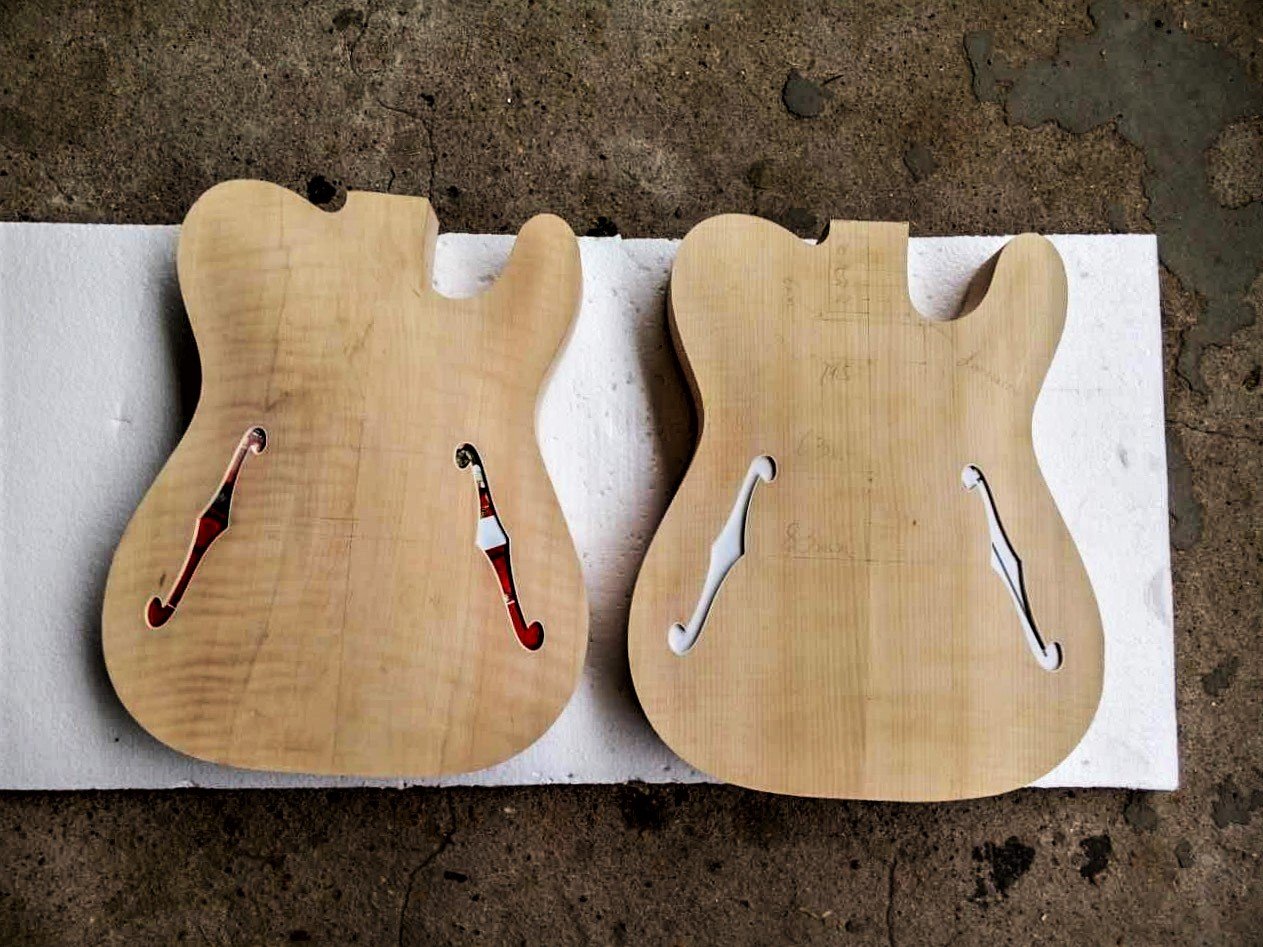
Carving the f-holes
When the top has reached the right thickness, small holes are drilled to help cut out the f-holes. The rough shape is cut out with a hand saw and the fine shape is carved out by hand with a traditional woodcarving knife. The f-holes are then carefully trimmed with a binding and fixed with some tape to let the glue dry properly.
Molding the sides
After the top and back have been finished, we cut and bend the sides using a custom made wooden mould. This process requires some planning as the sides need to be attached to the tops and backs straight away in order to maintain its shape.
Attaching the sides
When the side has been attached to the back with the kerfing, also known as guitar lining (a tapered strip of wood with spaced slits that make it flexible), we can proceed by gluing on the top. The guitar is really starting to come together now!
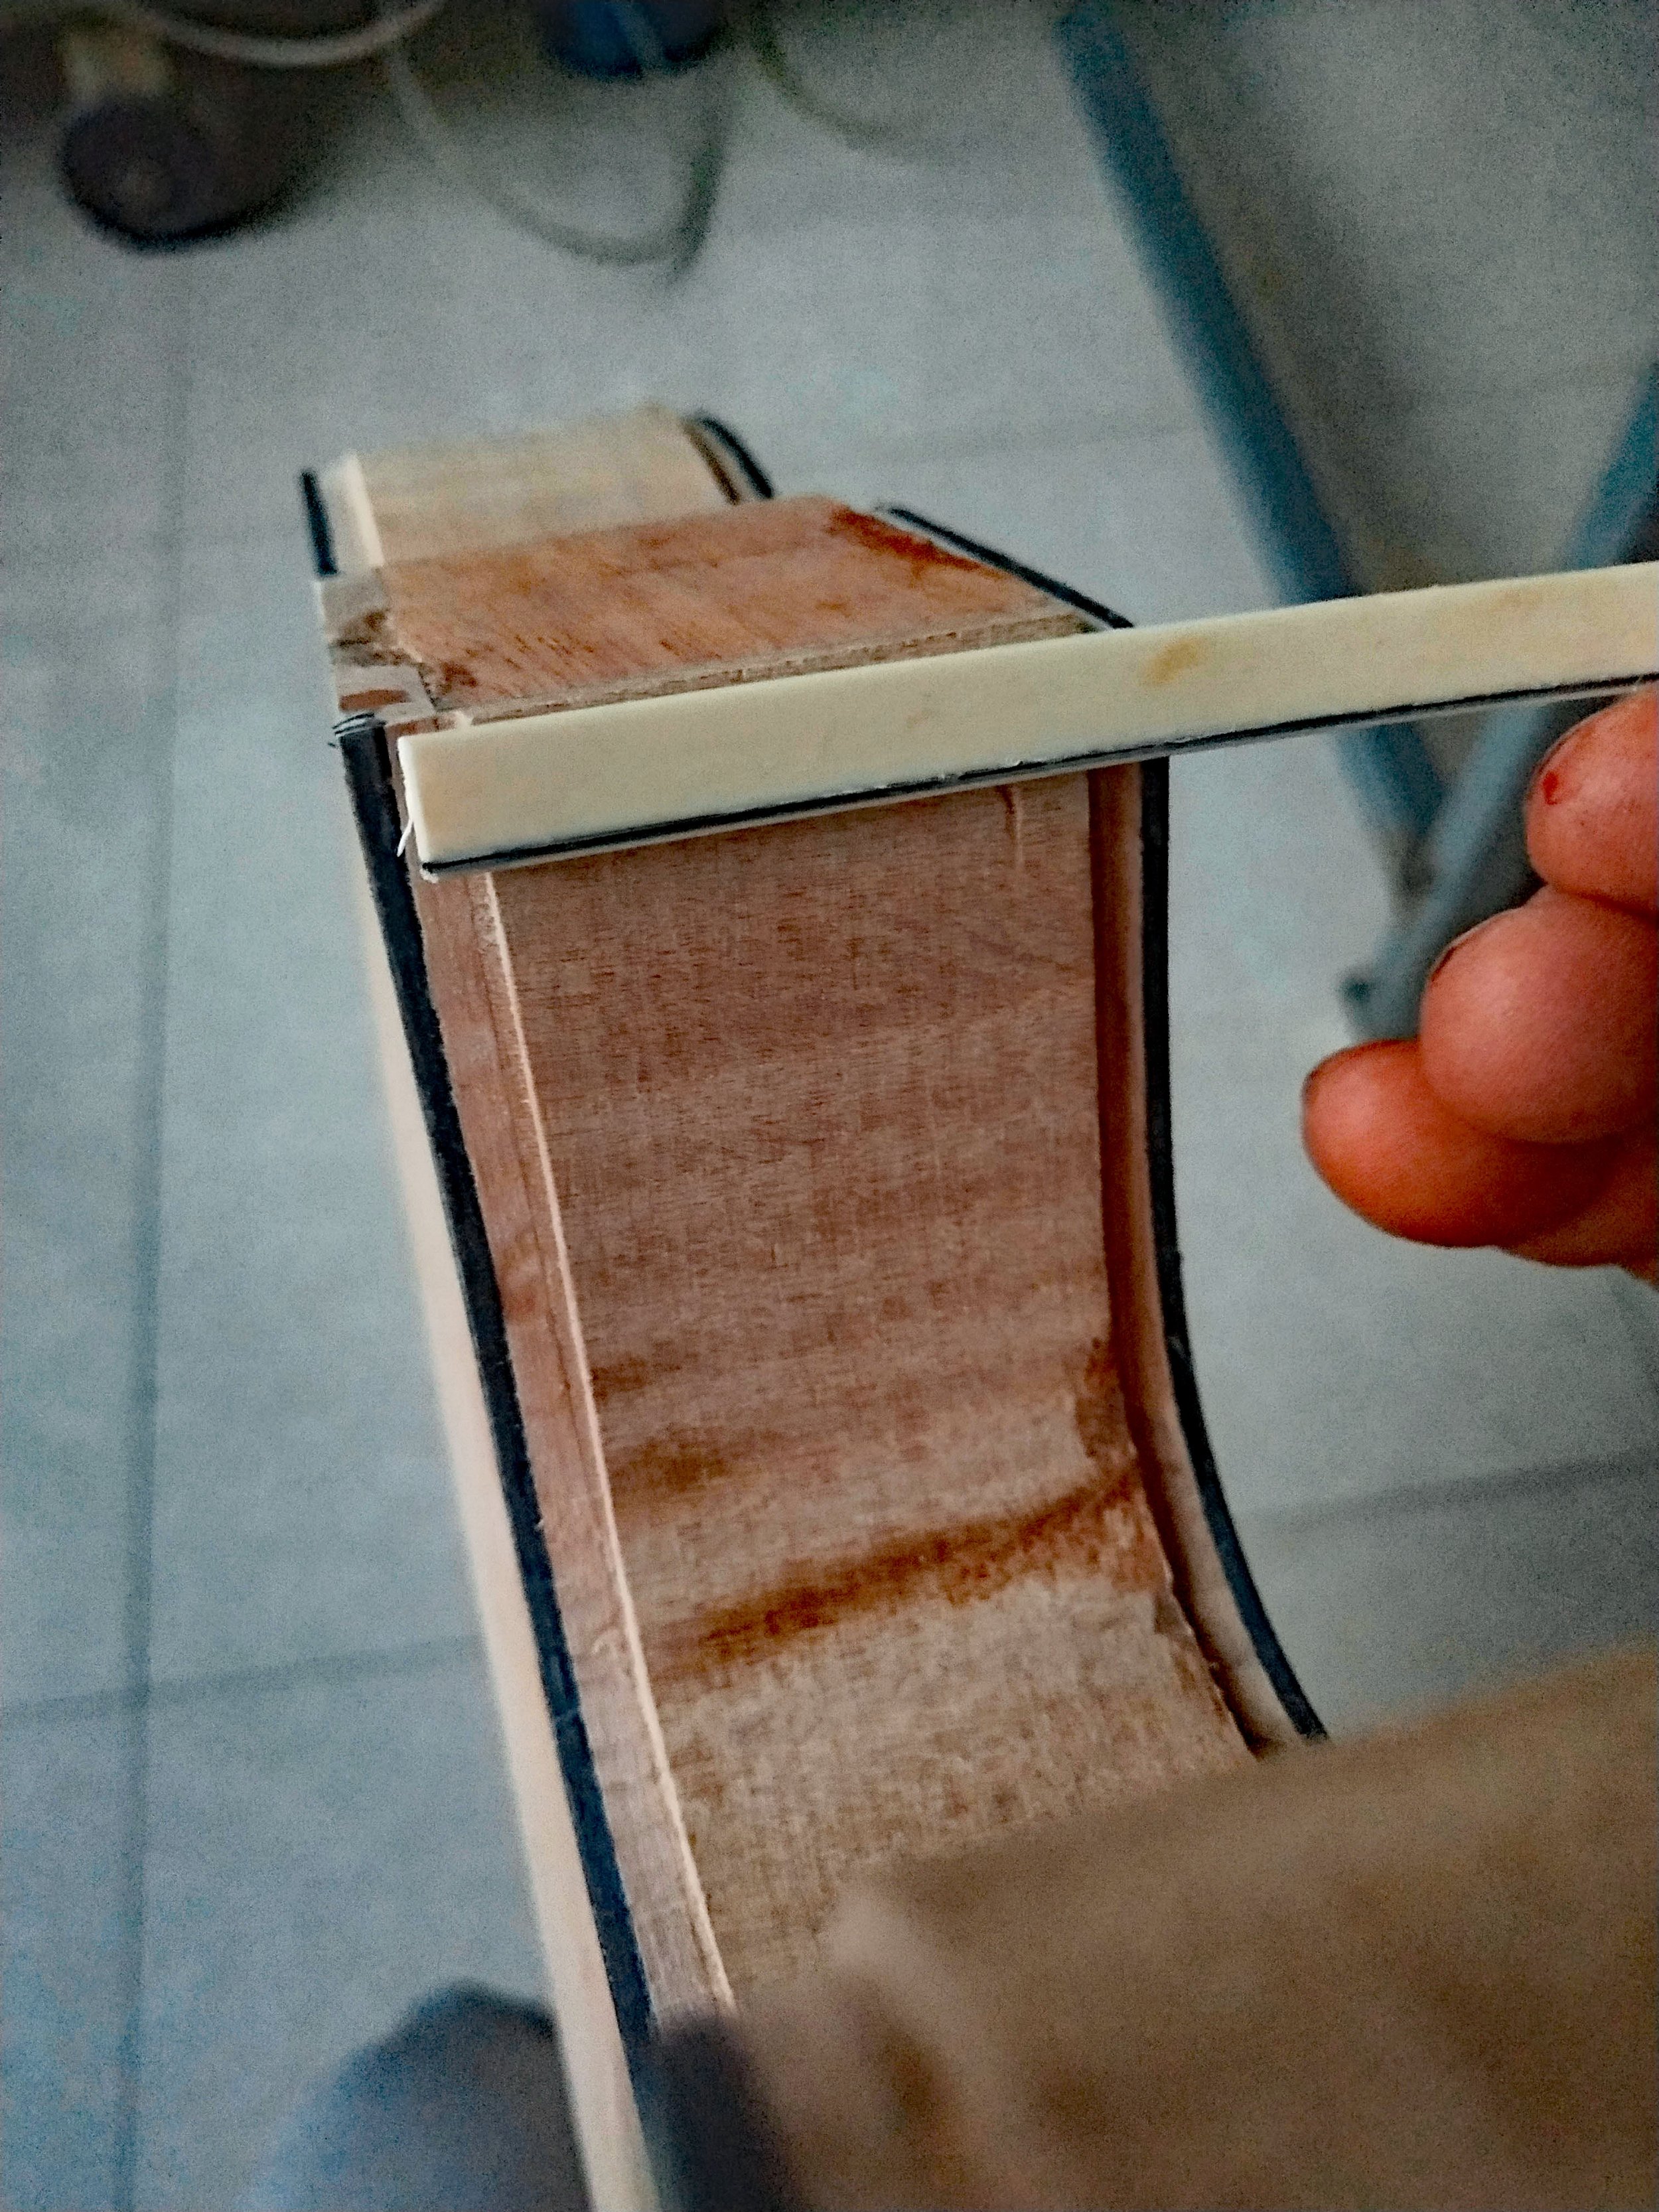
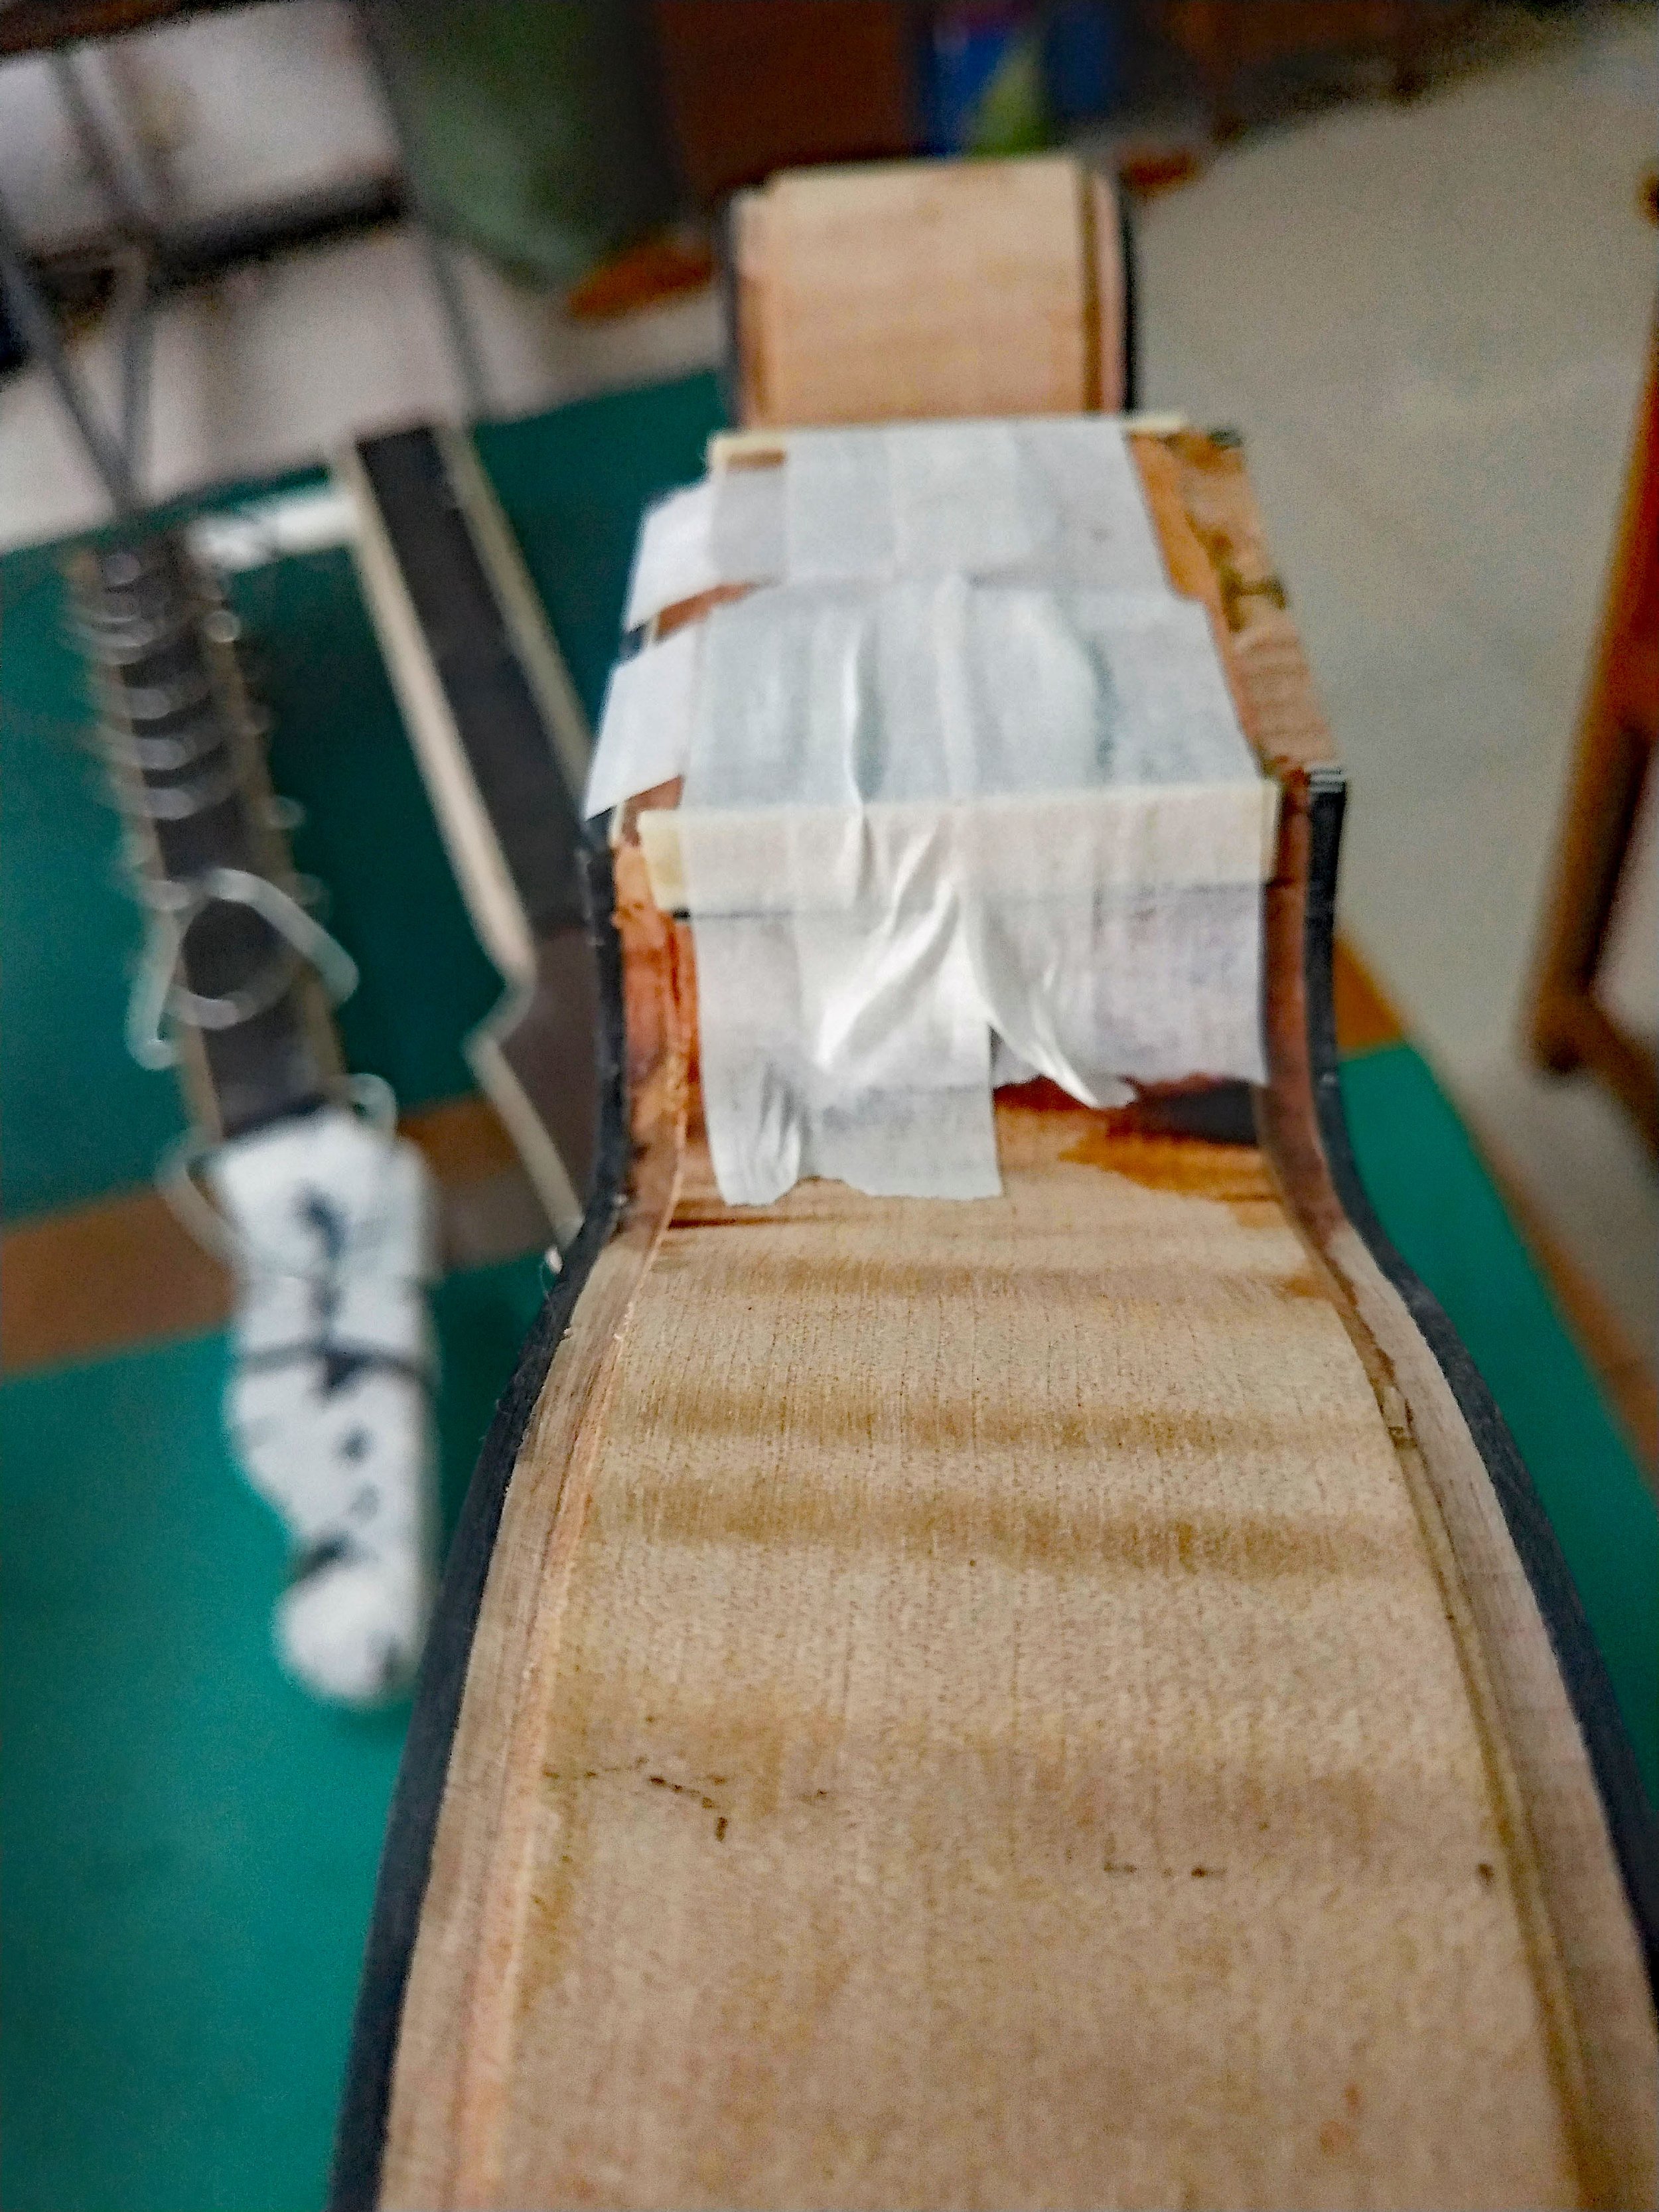
Applying the bindings to the body
After the whole body is assembled, we make a slot along the edges of the body using a hand router. After that, a seven-ply binding is glued to the sides and fixed with painters tape to keep it in place until the glue has dried.
Making the neck
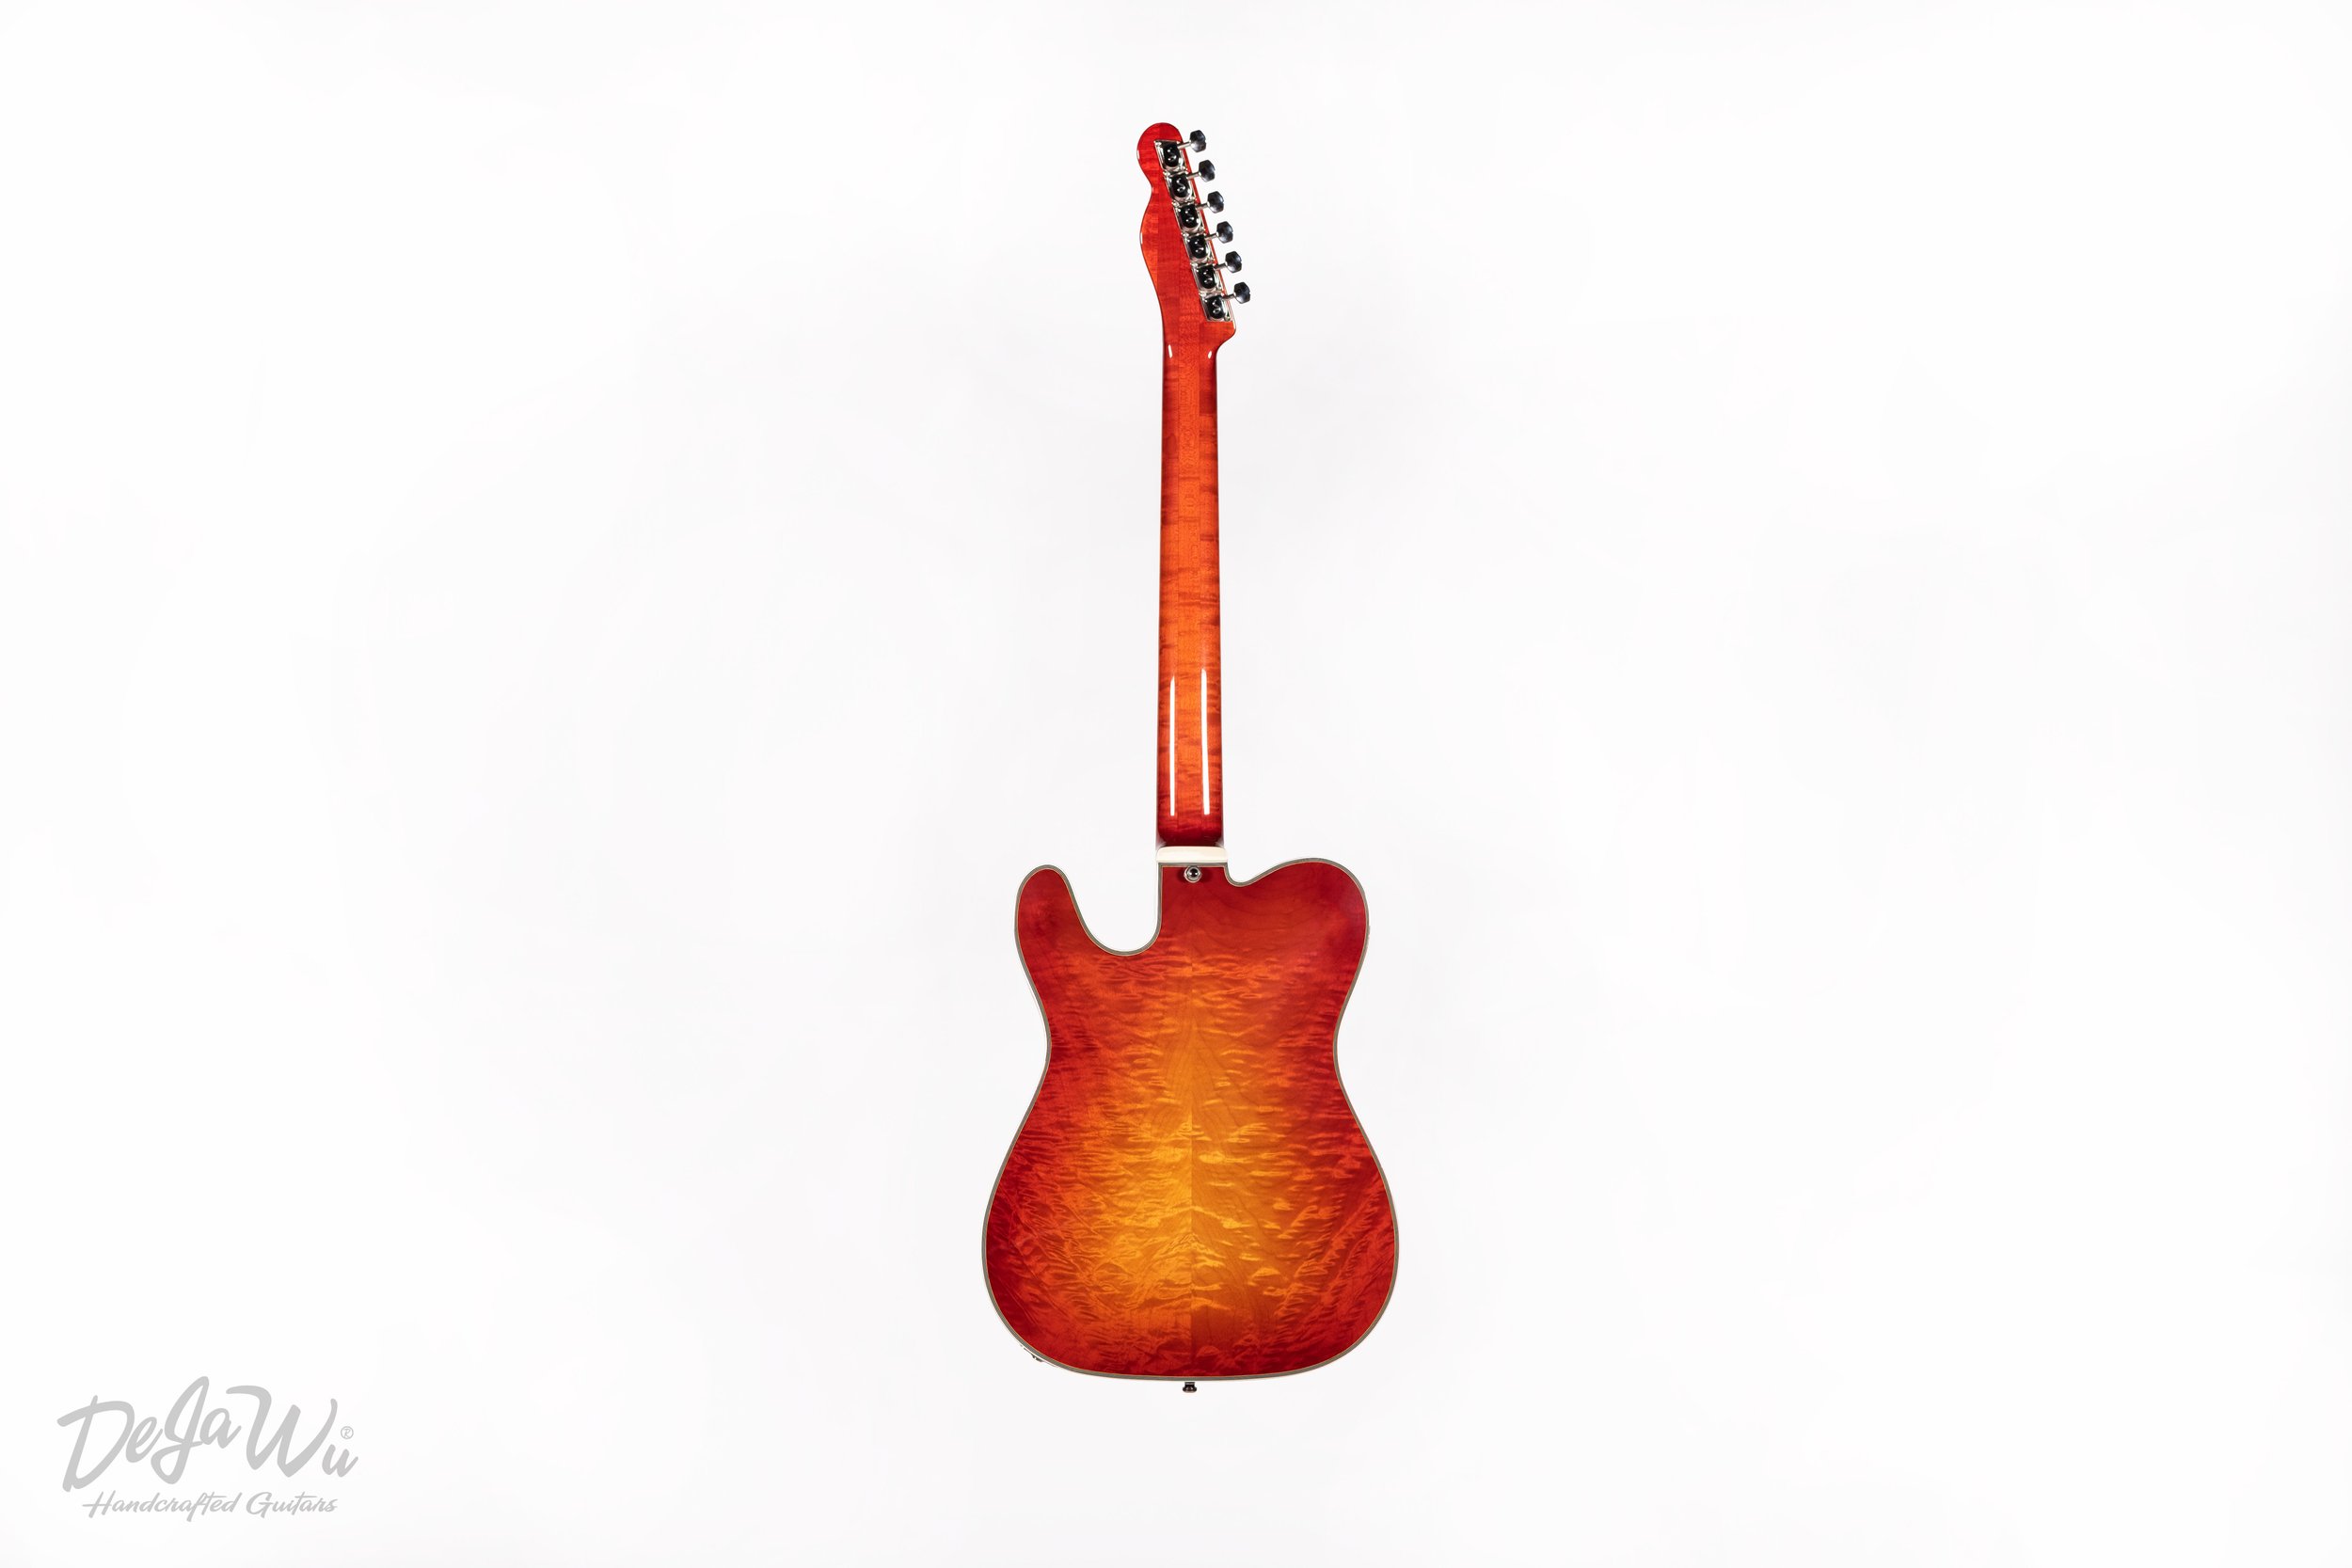
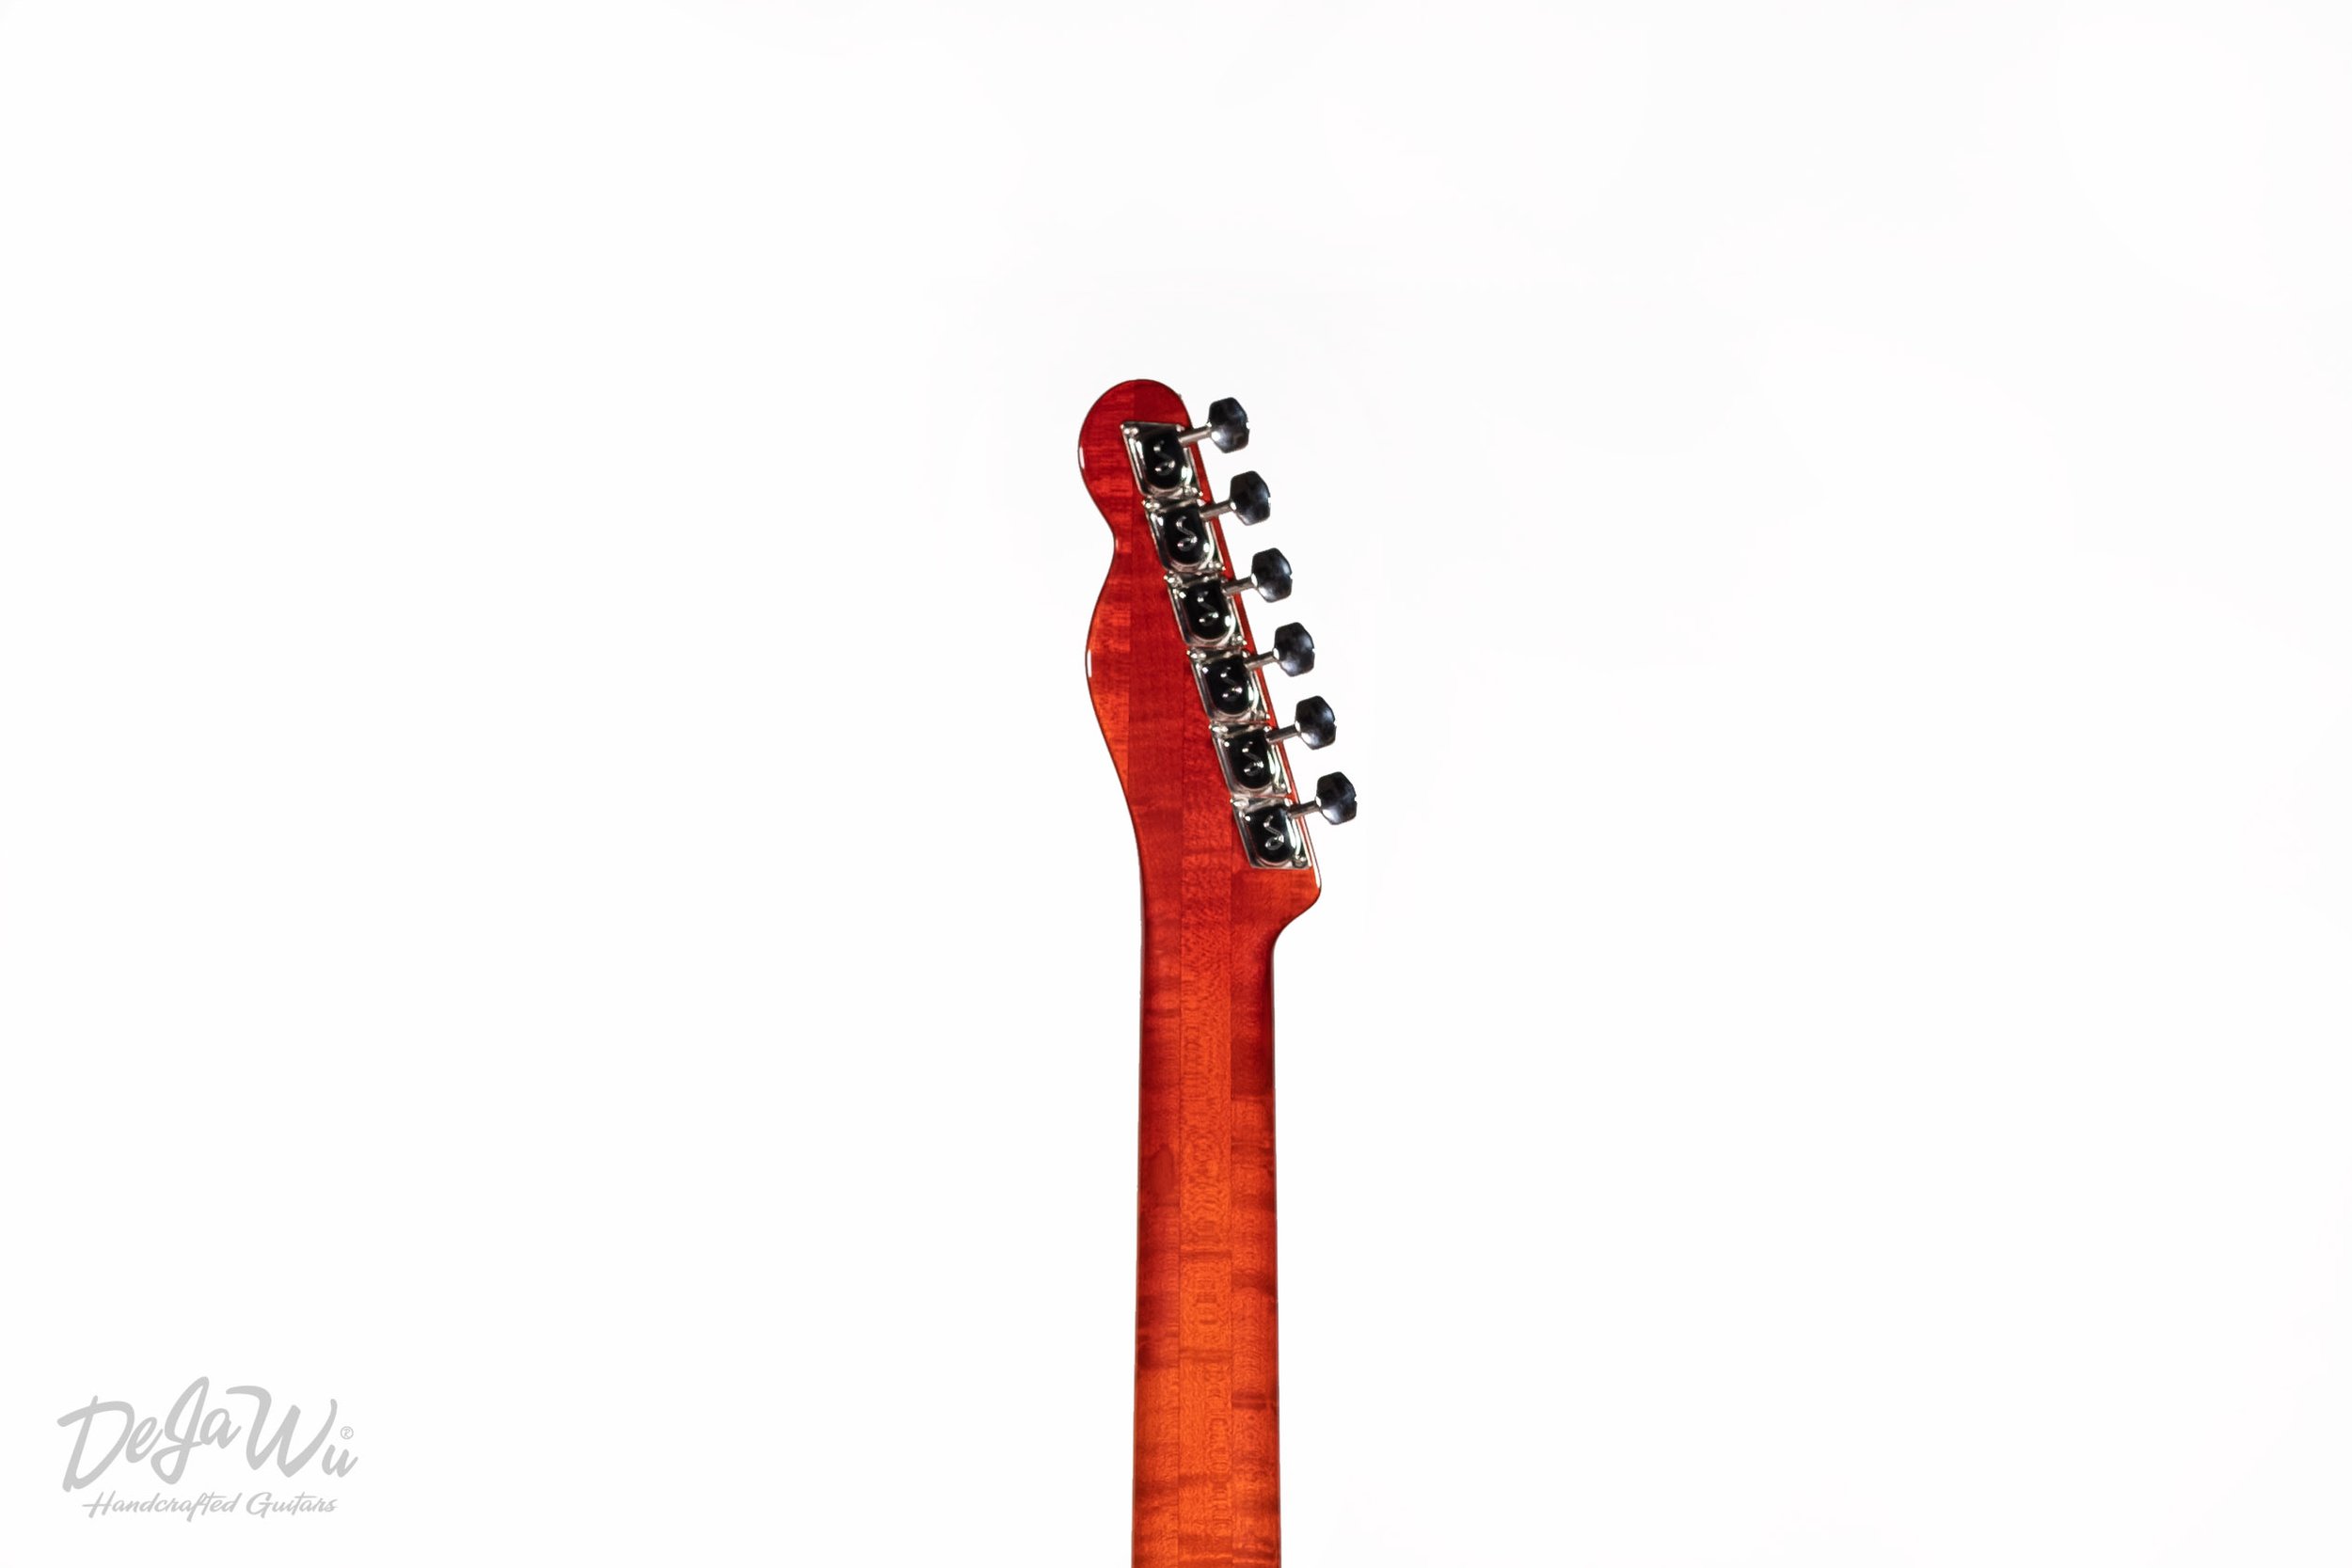
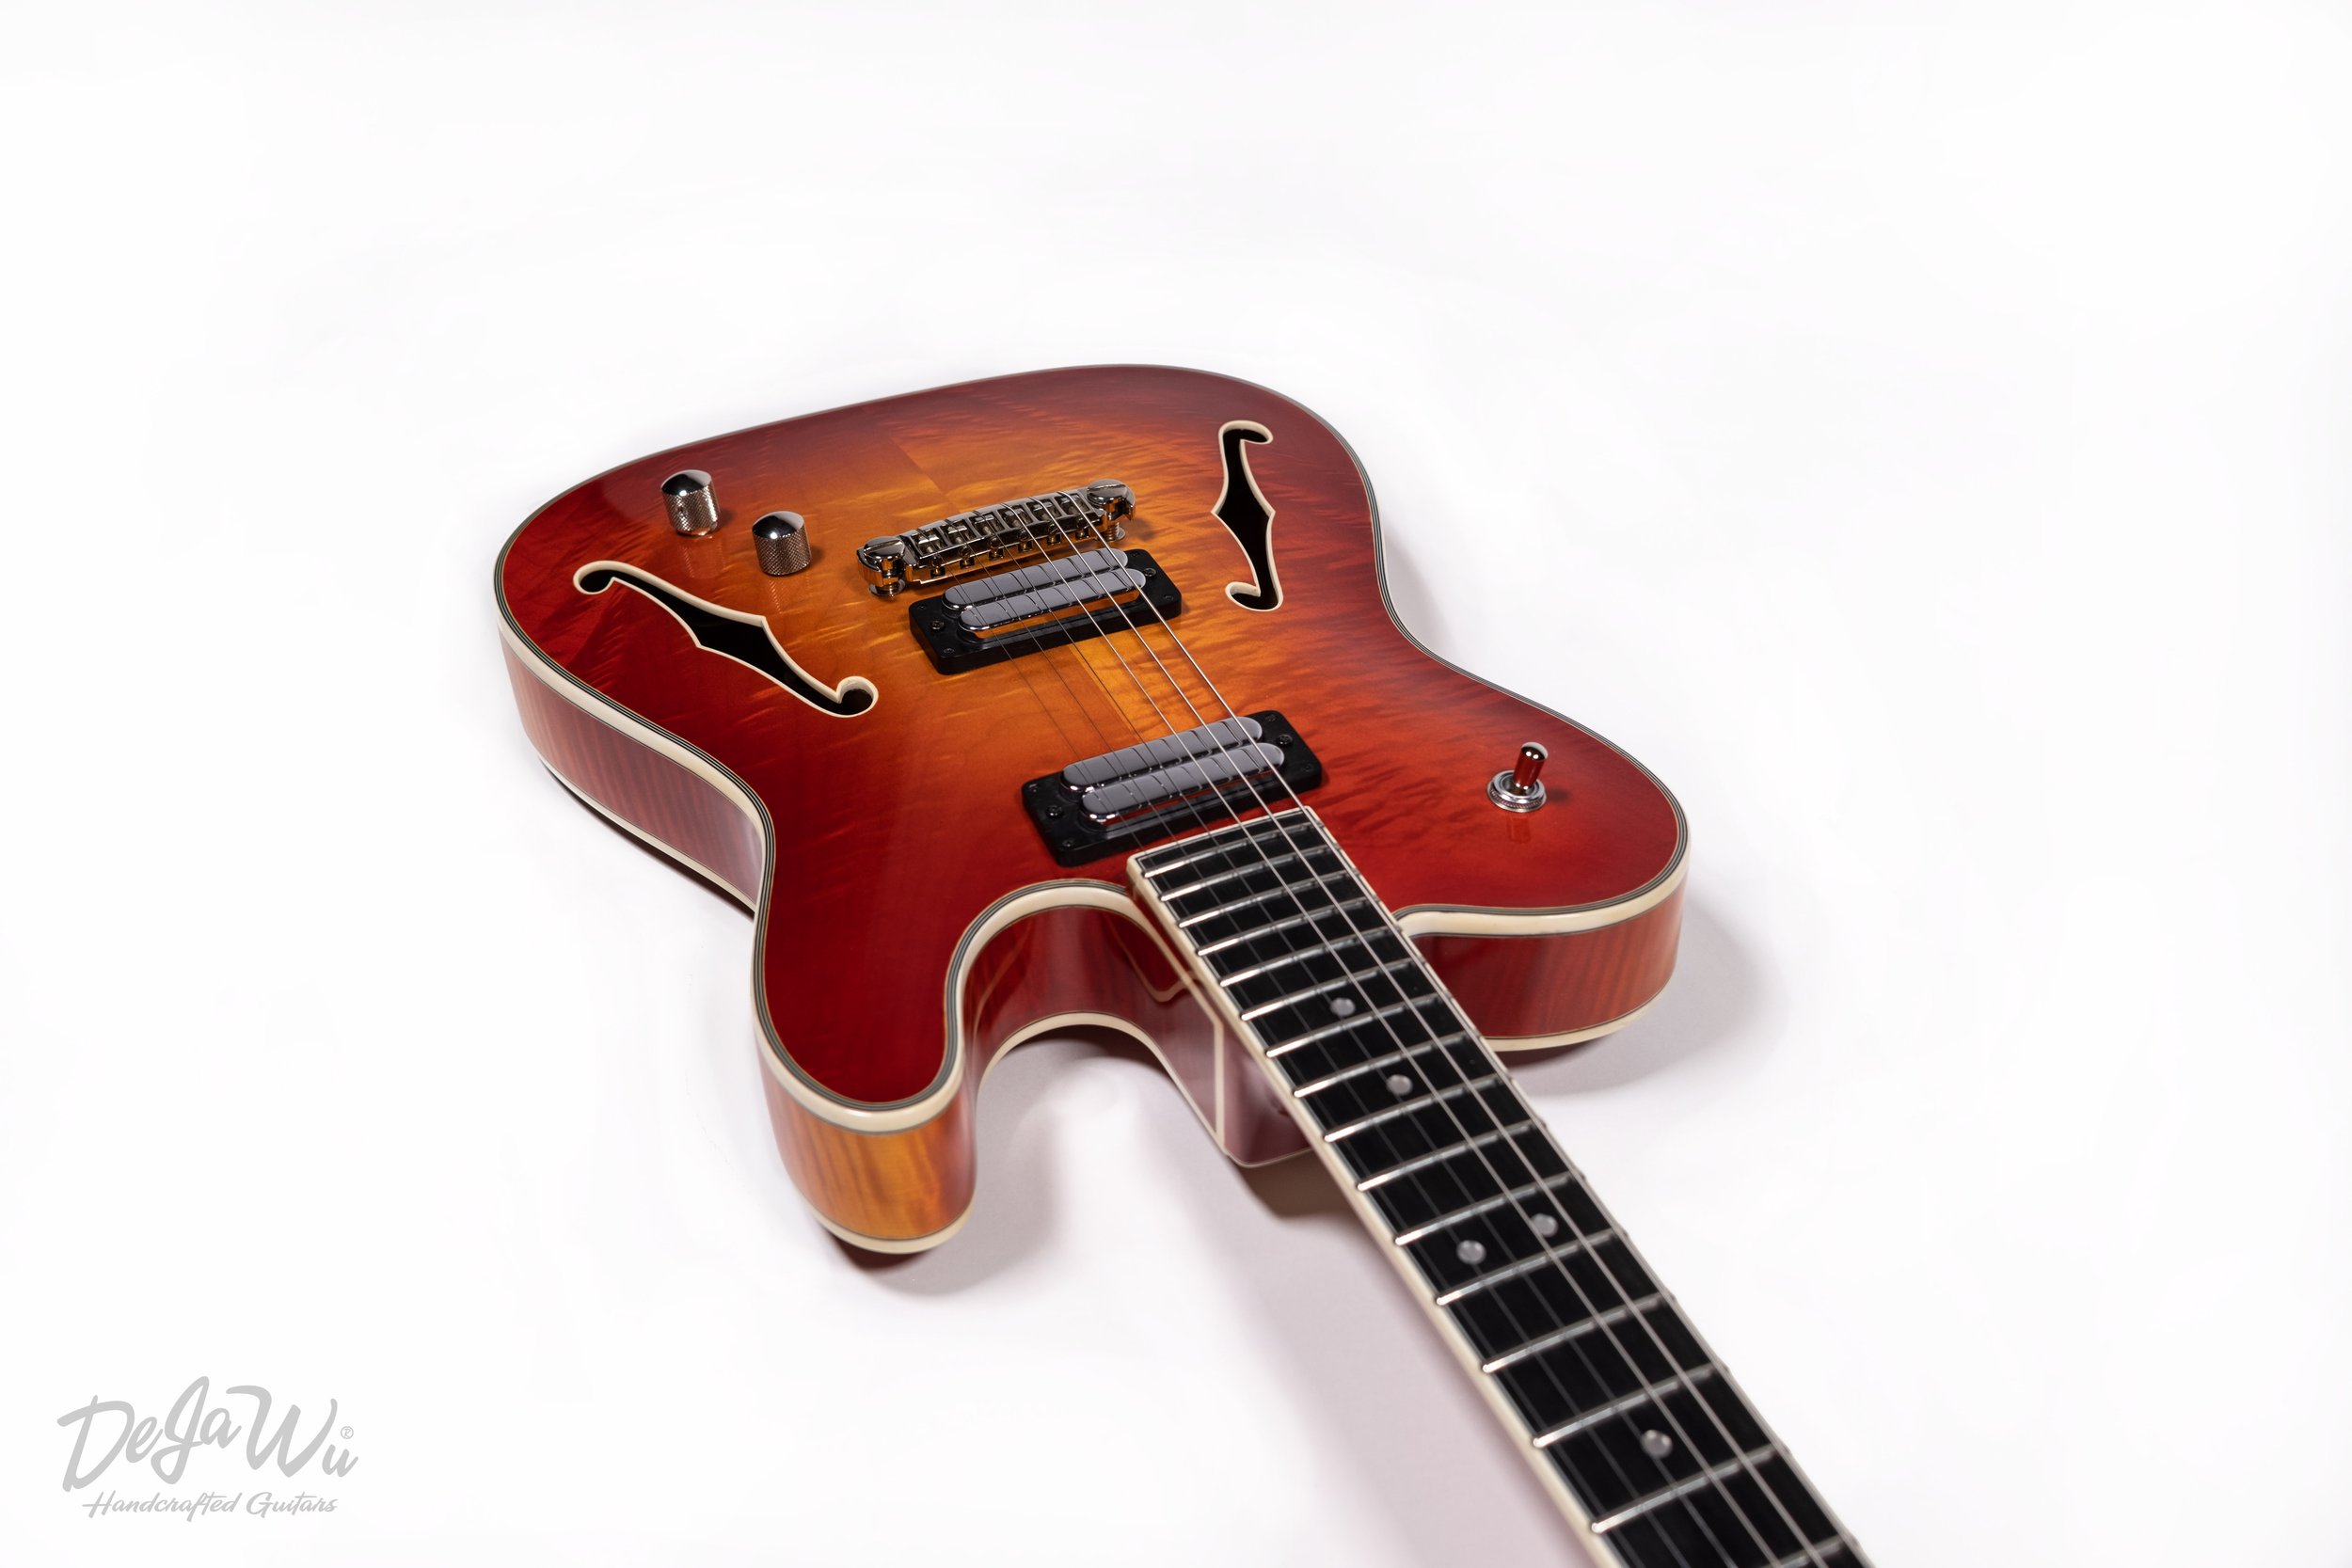
The neck also starts off as a raw billet of wood. Three (or five on some of our T-Ultimates) of these pieces are glued together and then enforced with a steel truss rod. Hereafter, the shape of the neck is fully carved, scraped and sanded into shape by hand. The T-Ultimate Cherry Burst has a D-profile neck shape.


Head stock & Fret board
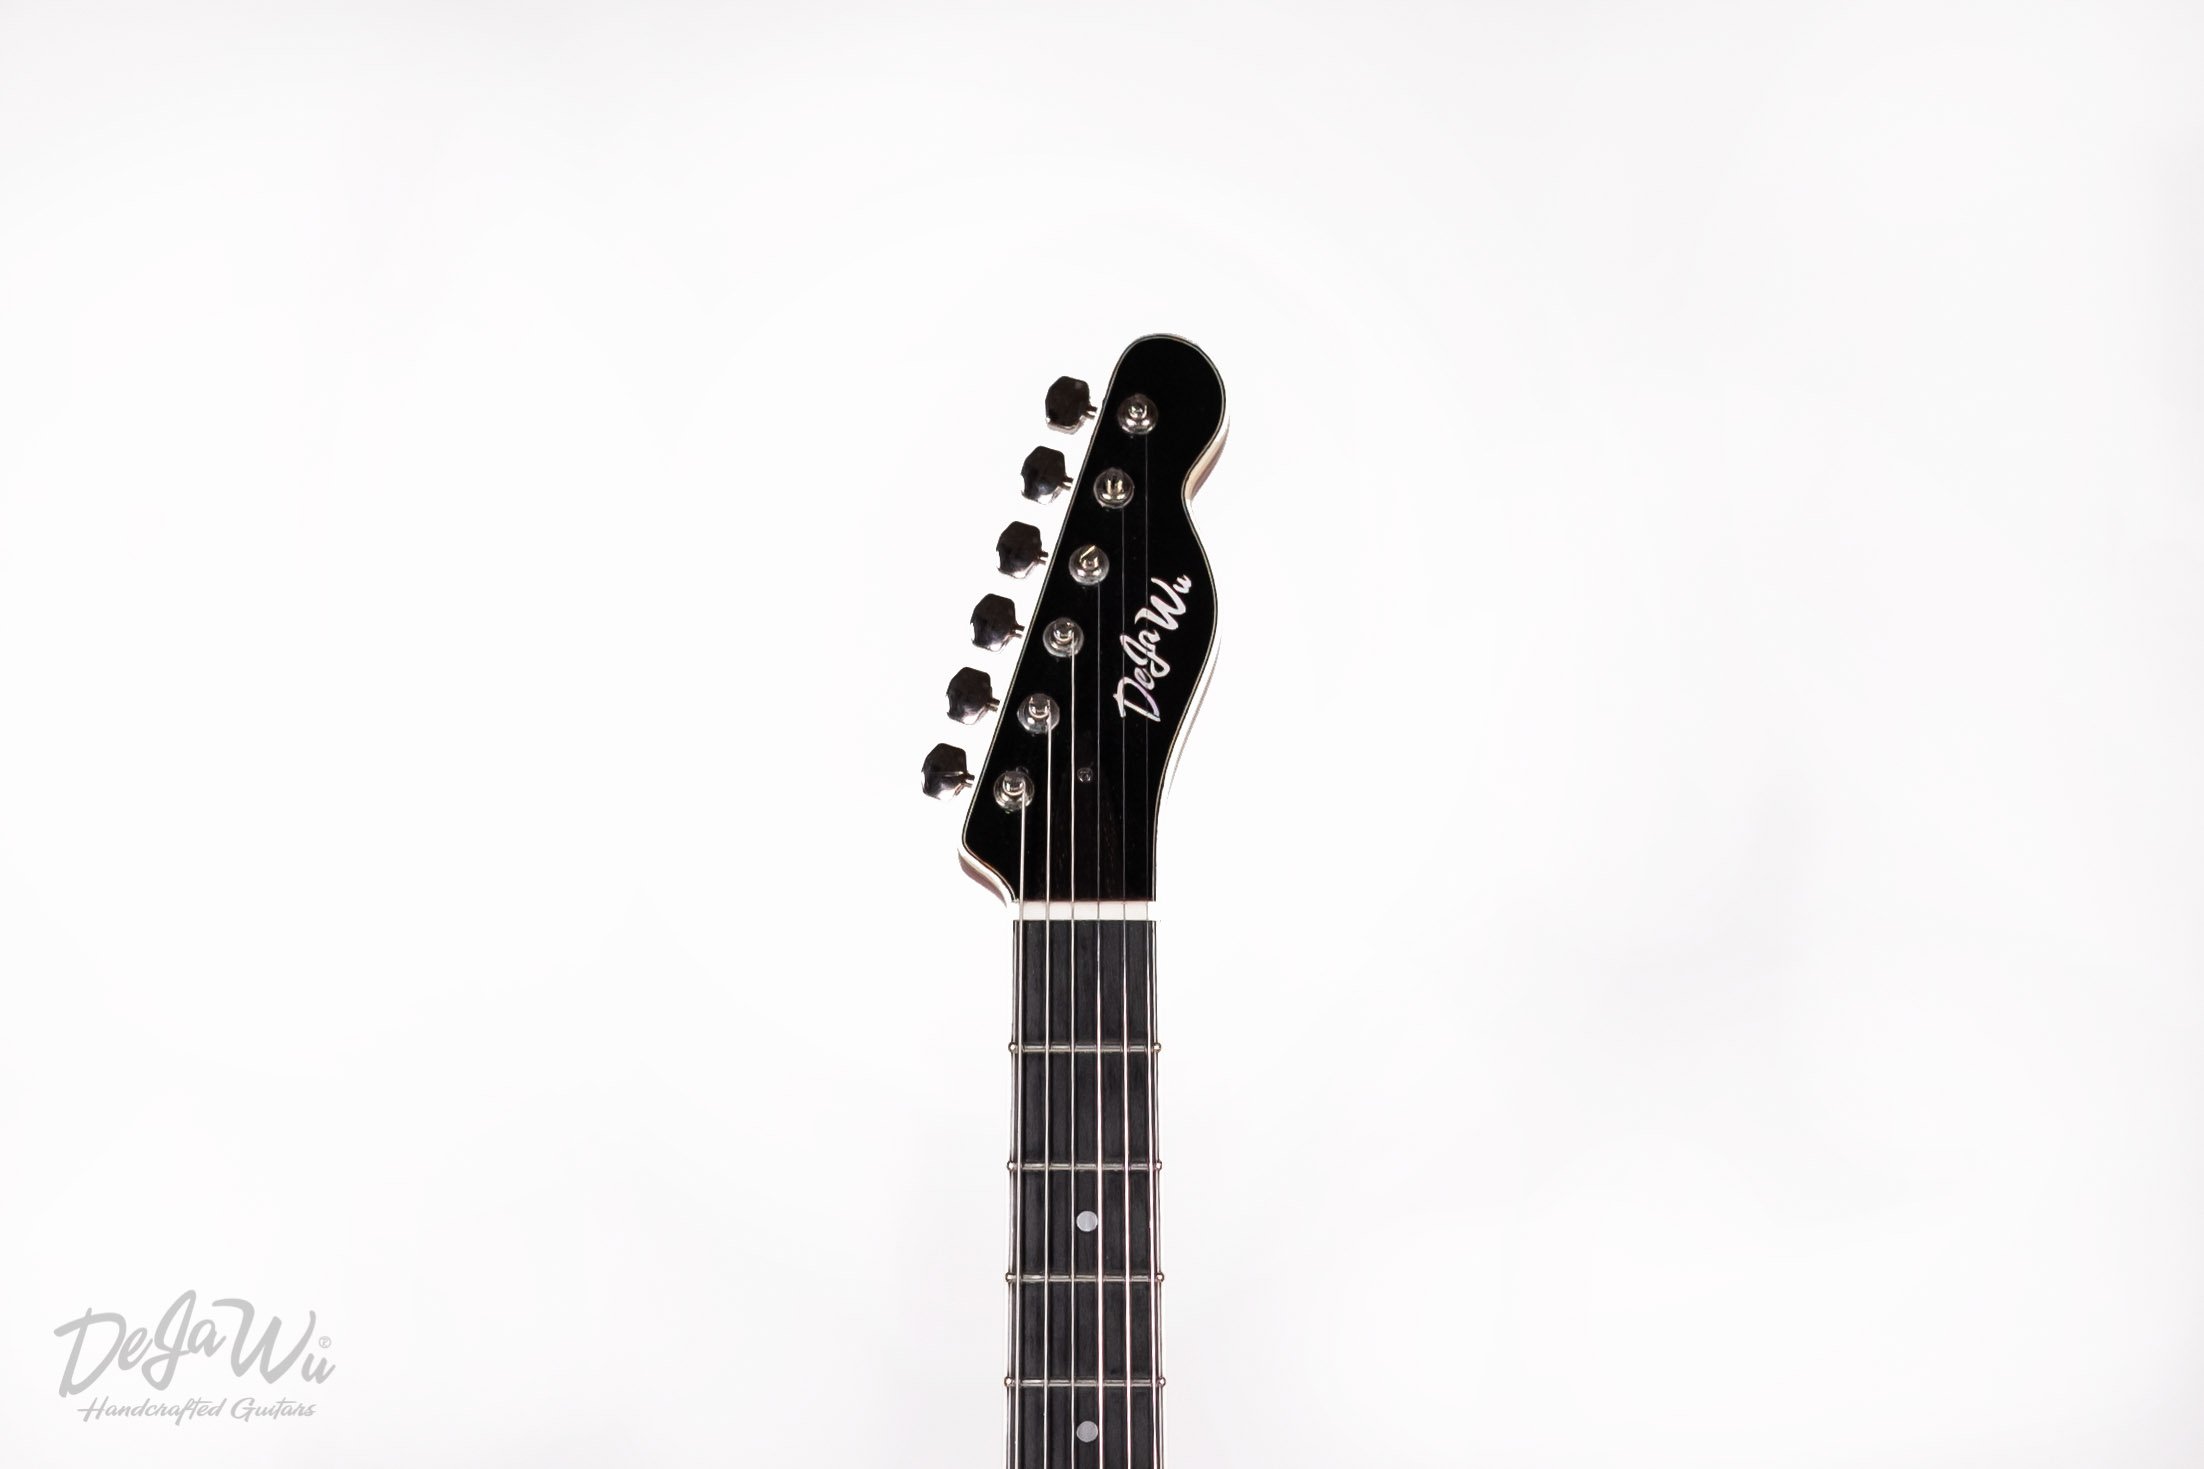
When this is done, we continue by gluing on the head stock face and cutting it into shape.


3-ply binding
After this, the ebony fingerboard, which guarantees smooth playing, is glued on and the neck is carved into its final shape. The neck and head stock also receive a nice 3-ply black and white binding. Before this process is started slots are made into the finger board for the frets. The neck is completed with a heel cap and a bone nut.


Assembling the body
We can now proceed joining the body with the neck. On a T-Ultimate the neck joints the body at the 17th fret. This is a moment to mill the pick up holes in the body although we sometimes also do this after lacquering. It is really starting to come together now!


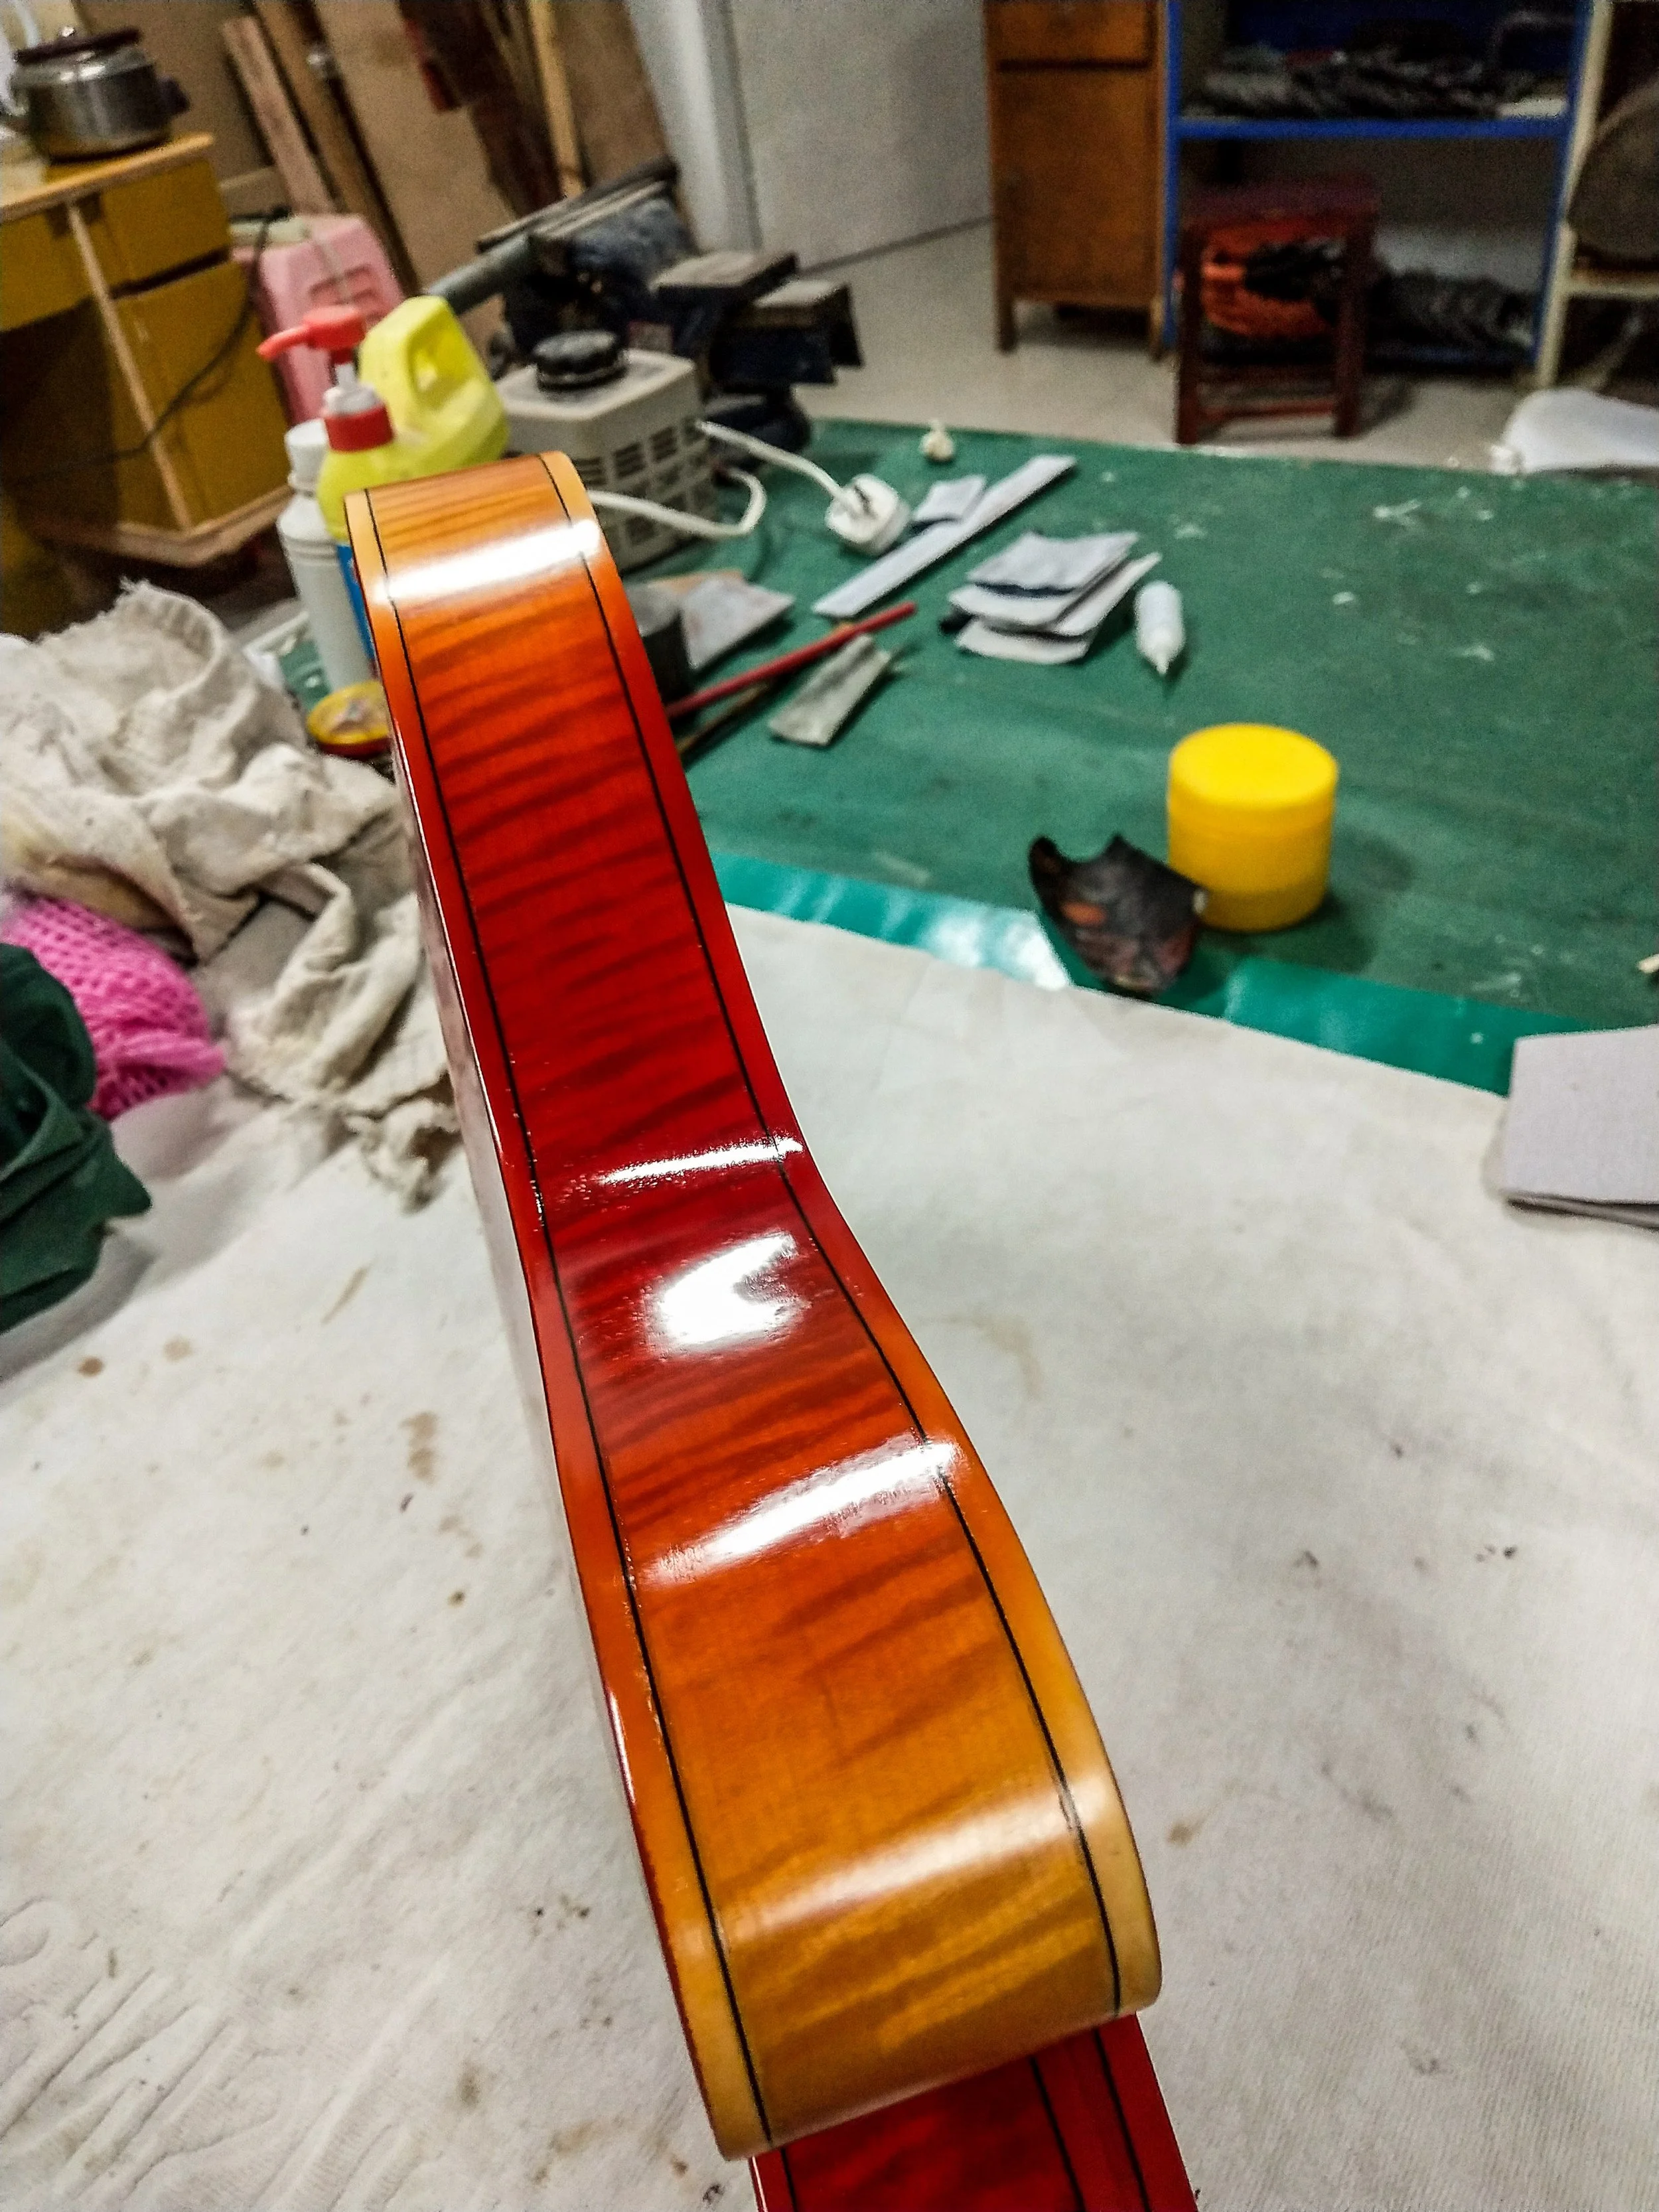
Stage 3: Painting, lacquering & Polishing
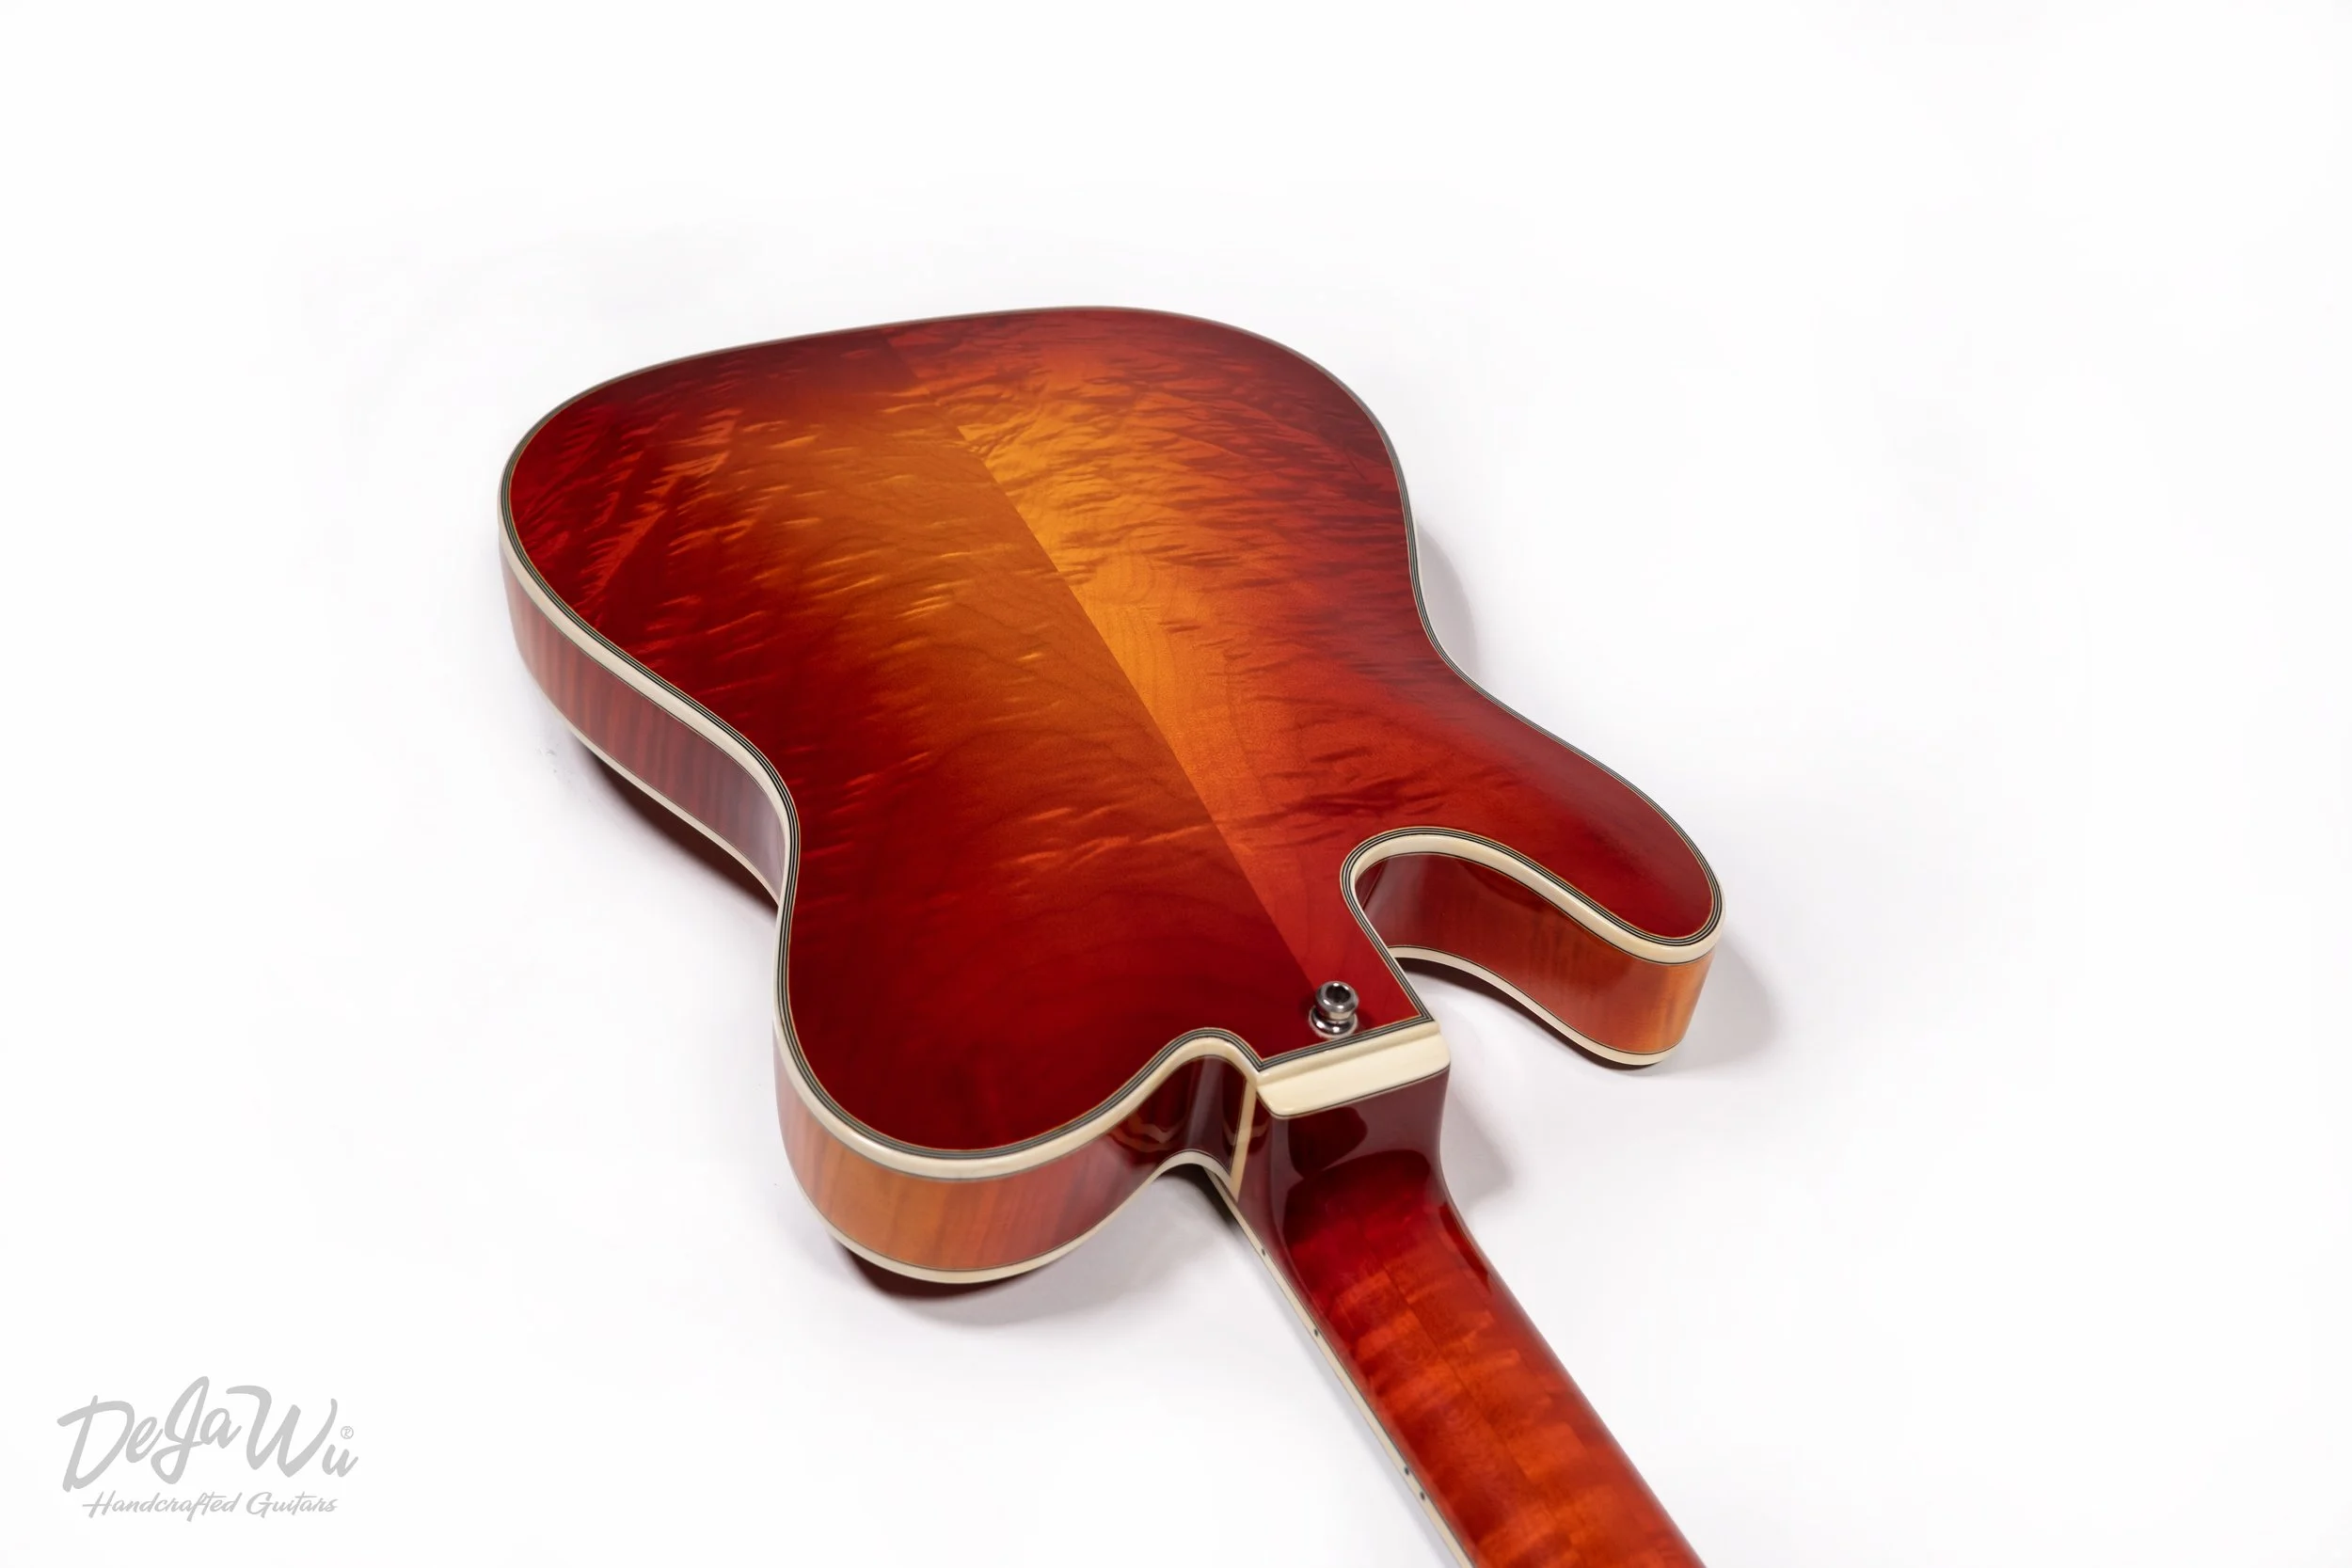
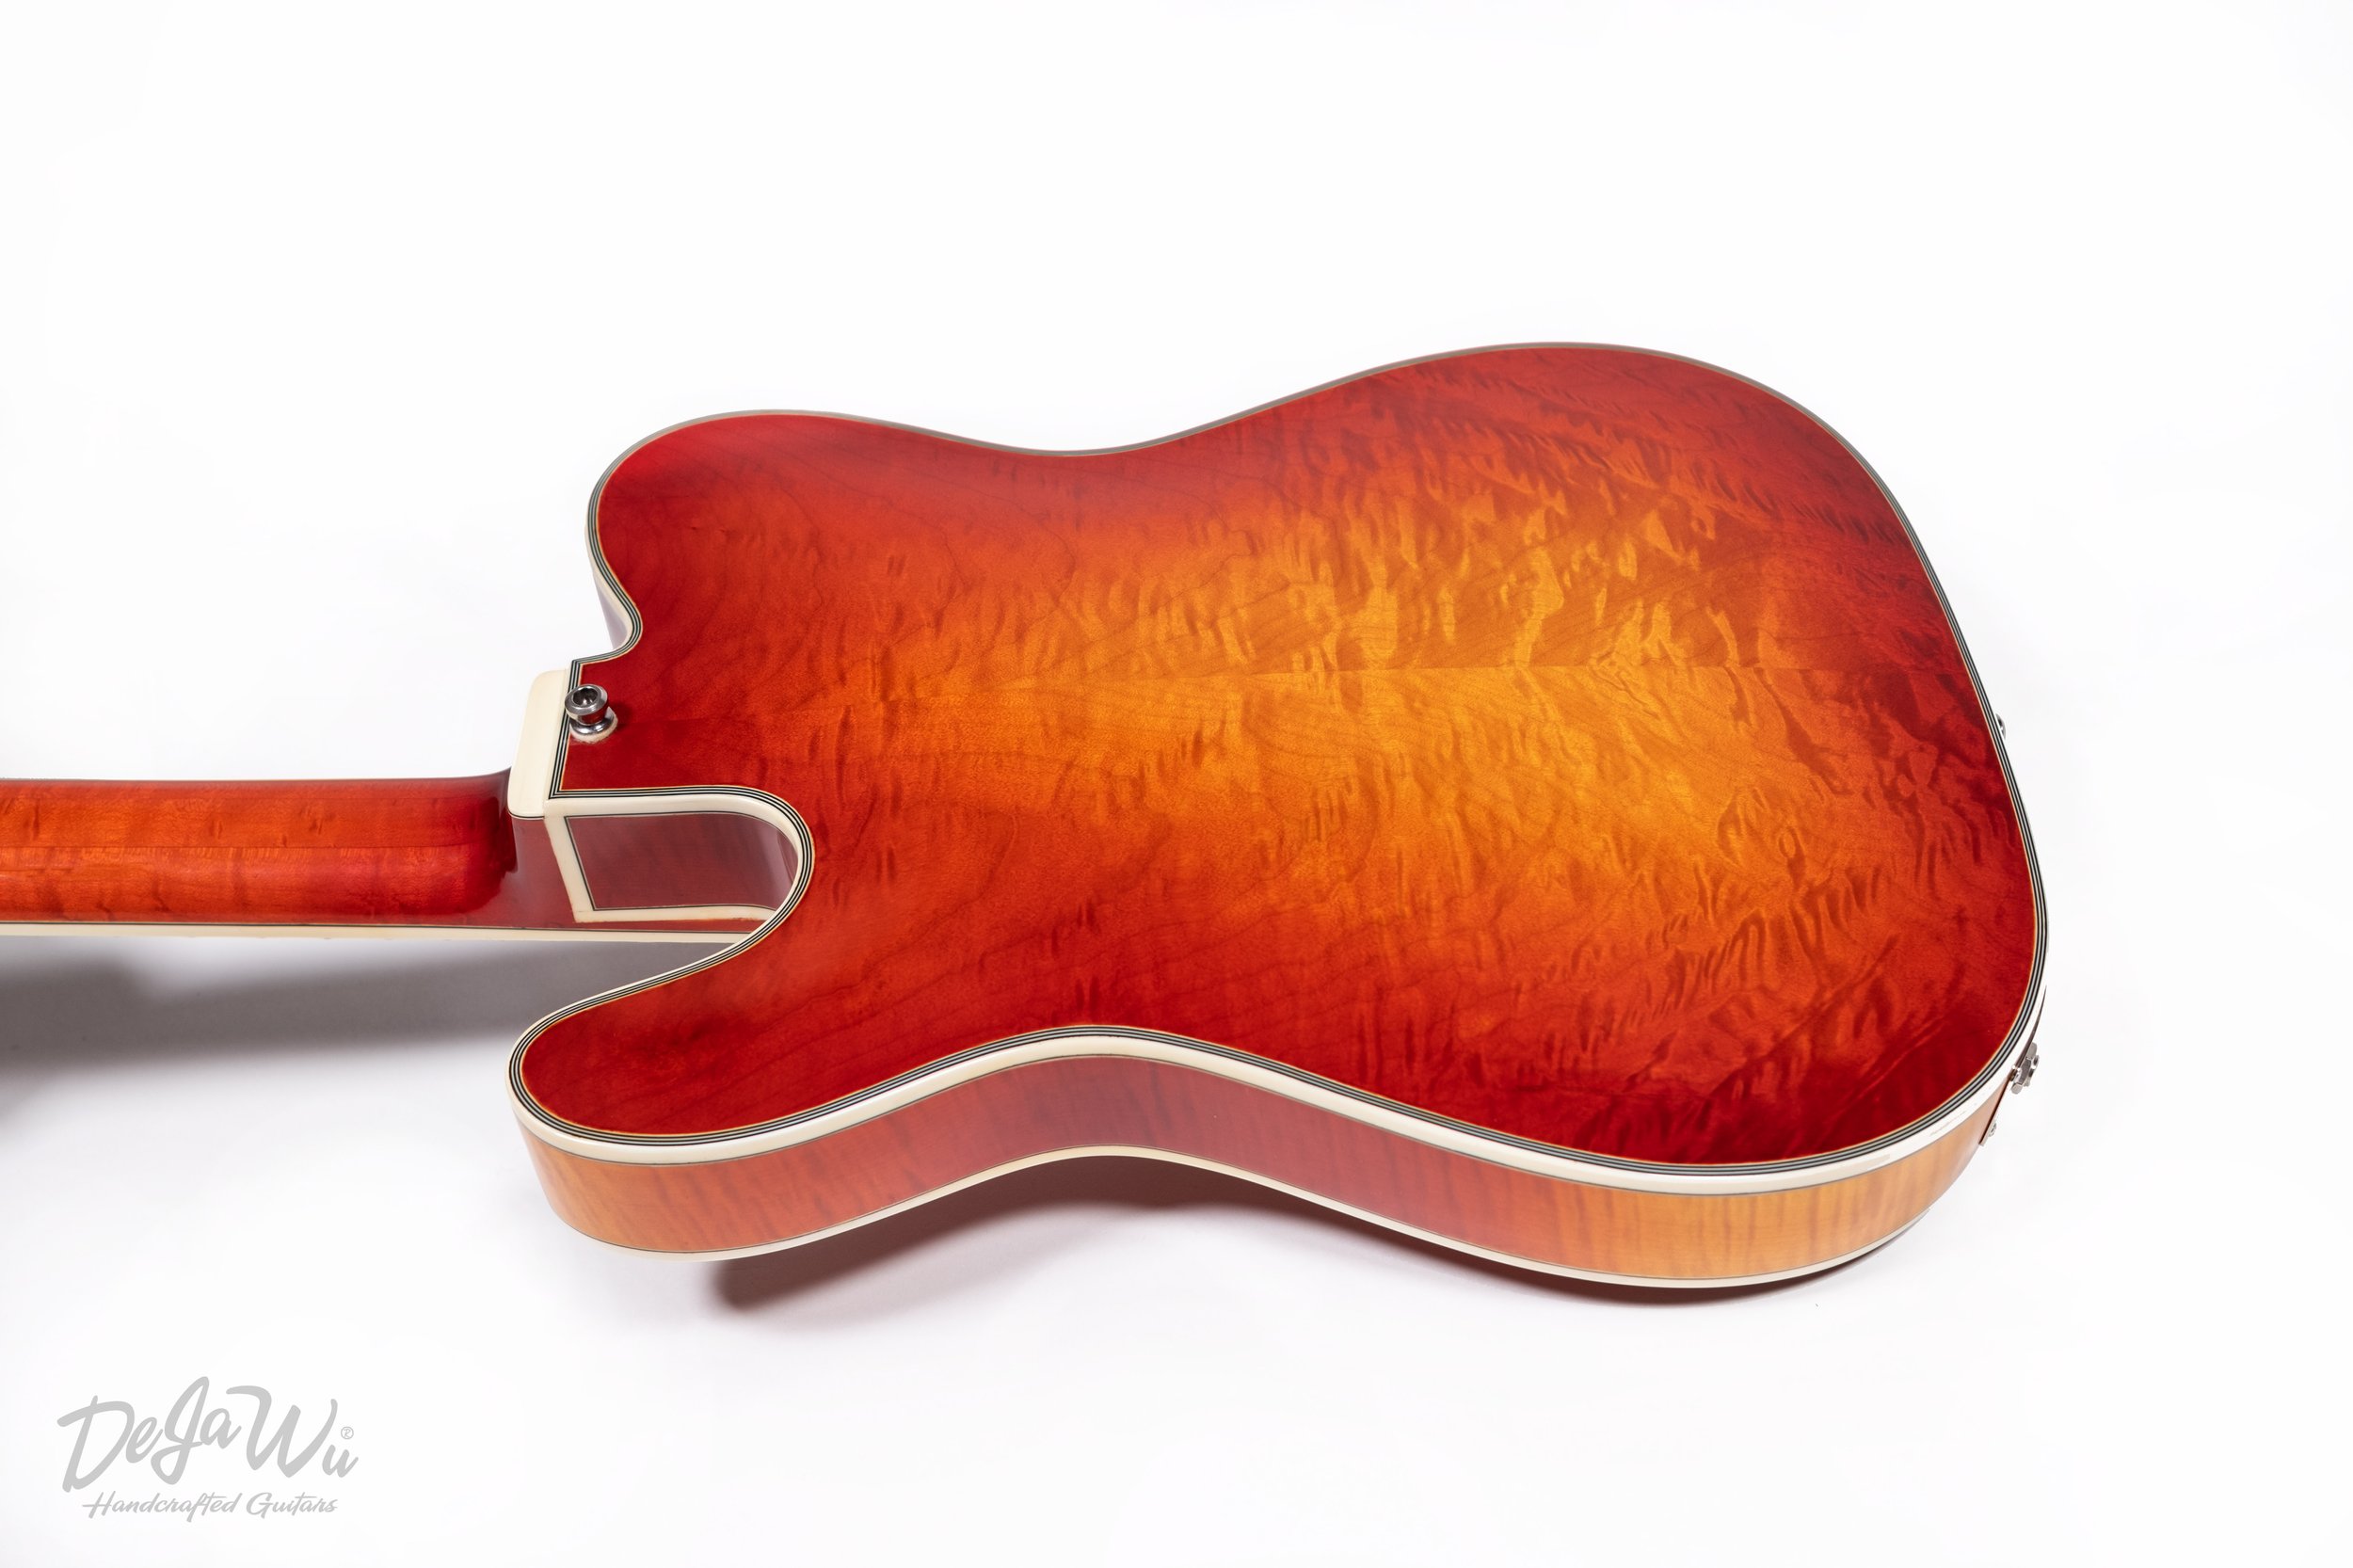
Dongming is a real artist in creating the most beautiful sunburst colors. Choosing the most beautiful combinations has become one of his specialties. As you can see in the pictures below, the figuring of the wood is popping out real nicely. All our guitars have a nitro-cellulose lacquer and are hand polished by Jin Youmei, receiving careful attention to highlight the individual character and ensuring a striking depth and clarity.


Preparing the fret board and placing the frets
After the guitar has received its color, the fret board is sanded to get its radius (12')' and is then completely cleaned up. This may not sound like much, but is actually a very labor intensive job. When the fret board is completely smoothed, the fretting is done. One by one the frets are carefully placed in position and then hammered into the fret board. The T-Ultimate Cherry Burst has 22 frets. The sides of the frets are then finished to eliminate all sharp edges completely. A very precise work! A last step is to place the mother of pearl inlays if preferred.


Final polish
When the pick up holes are in place, the guitar receives its final polish. Of course, I mean here: final polish for the moment, as polishing guitars is a never ending process.


Stage 4: Hardware & Electronics
When the woodwork, painting, lacquering and polishing is all done, the guitars are carefully packed and shipped to the Netherlands. The high quality parts we absolutely want to install, mainly originate from Europe and the United States and are easily available. Derk Jan also has experience in installing some more elaborate circuits. Therefore, all the assembly of the hardware and electronics, as well as adjustment and finishing touches are done by Derk Jan in his workshop at home in the Achterhoek in the Netherlands.


Pick up rings
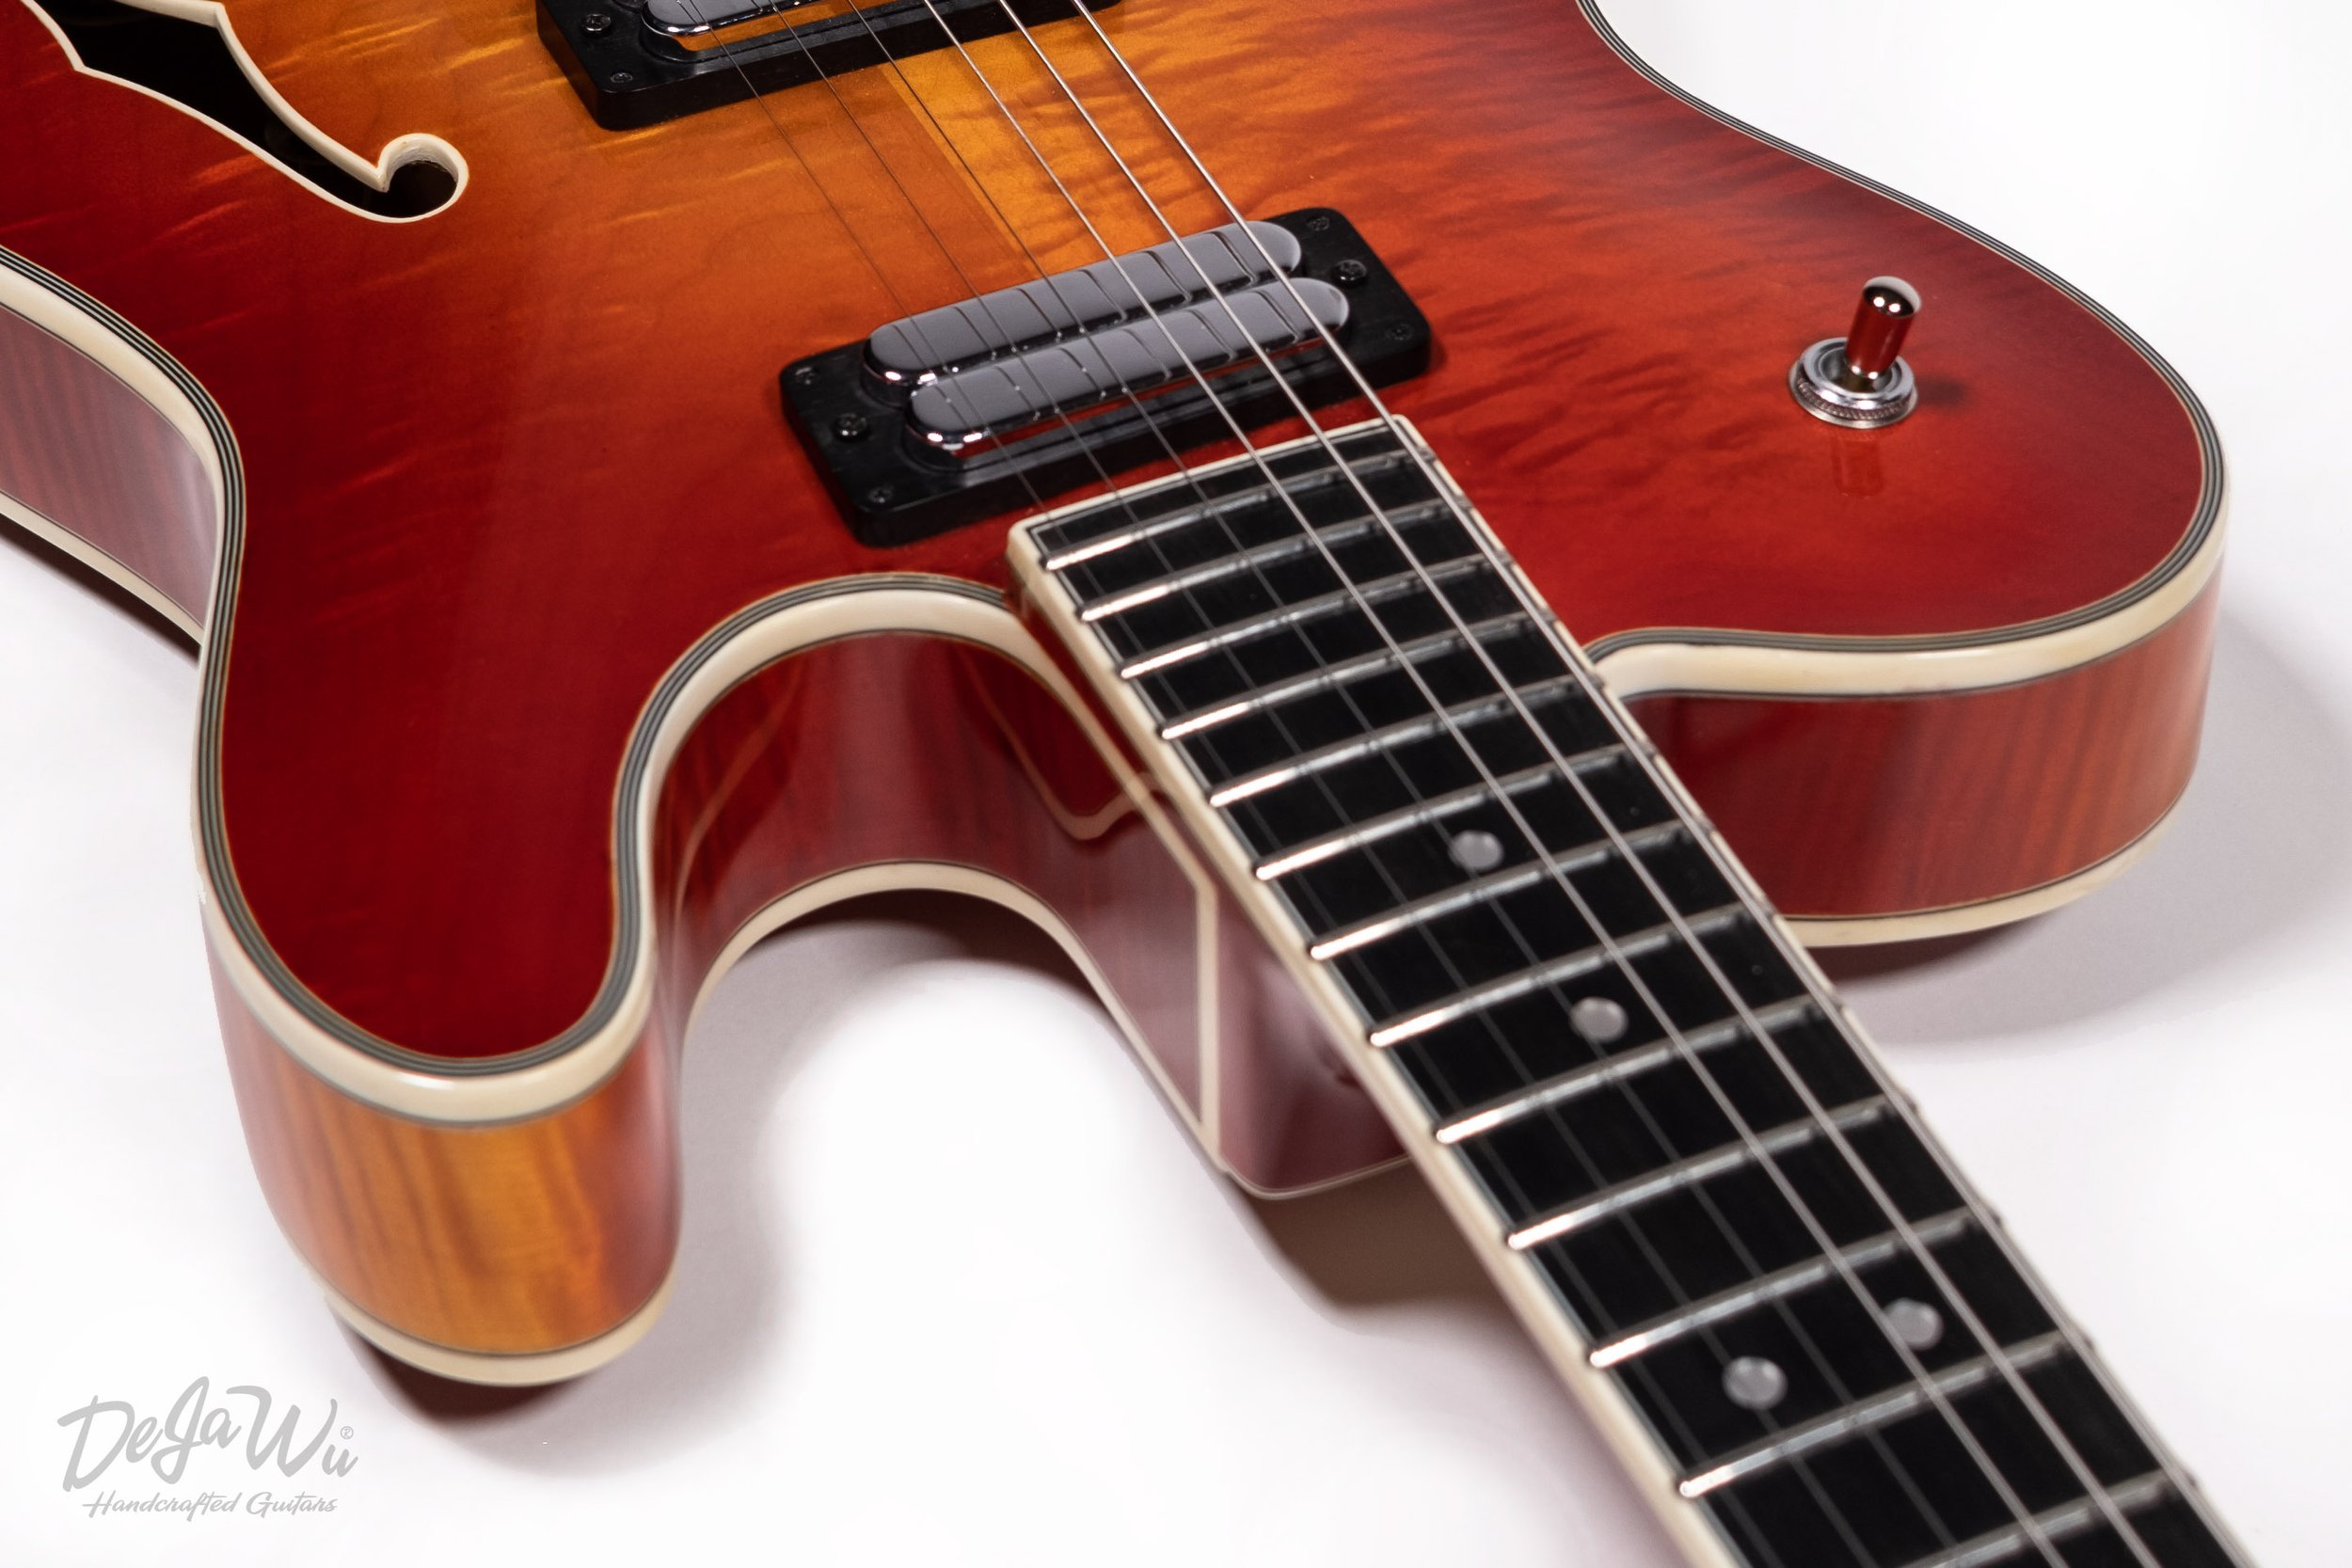
Derk Jan also makes custom pick-up rings. As the custom made arched tops have their own specific features, no standard rings are available on the market so individually made mounting rings, made of ebony, are necessary. A special feature on most stock guitars is a six position Free-Way 3x3-05 toggle switch that allows both hum-bucker and single coil sounds.


Pickups & Hardware
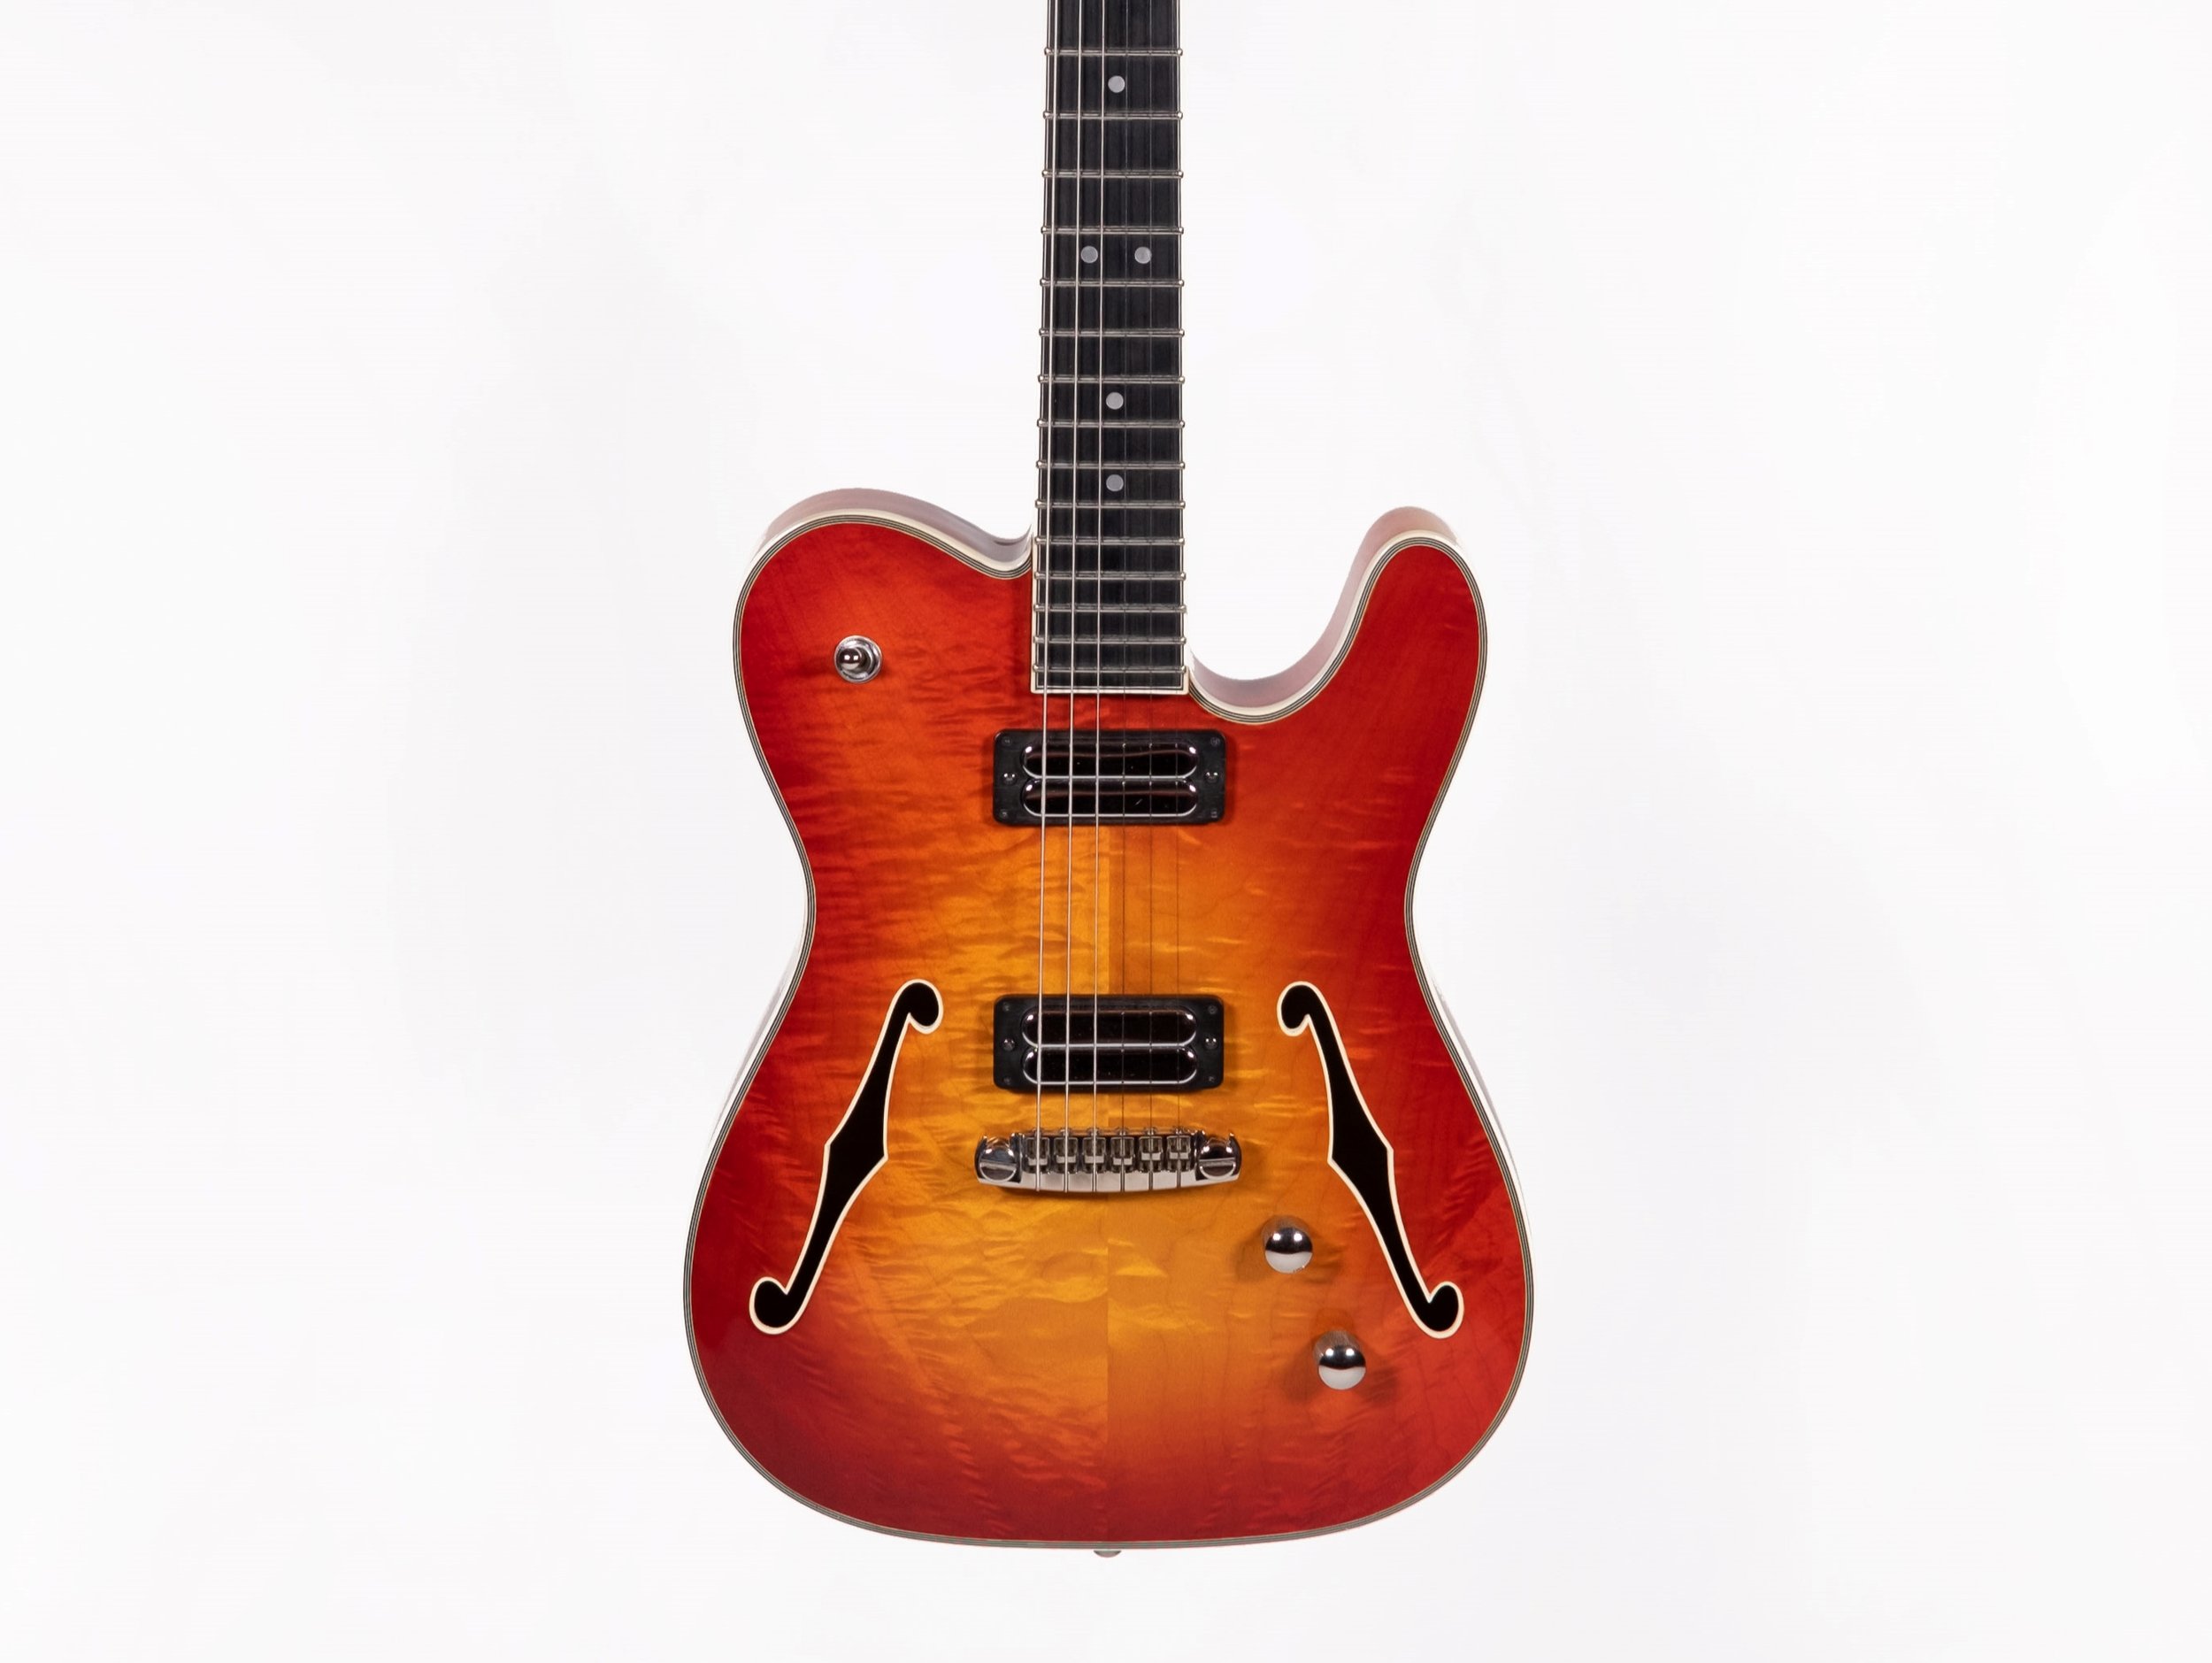
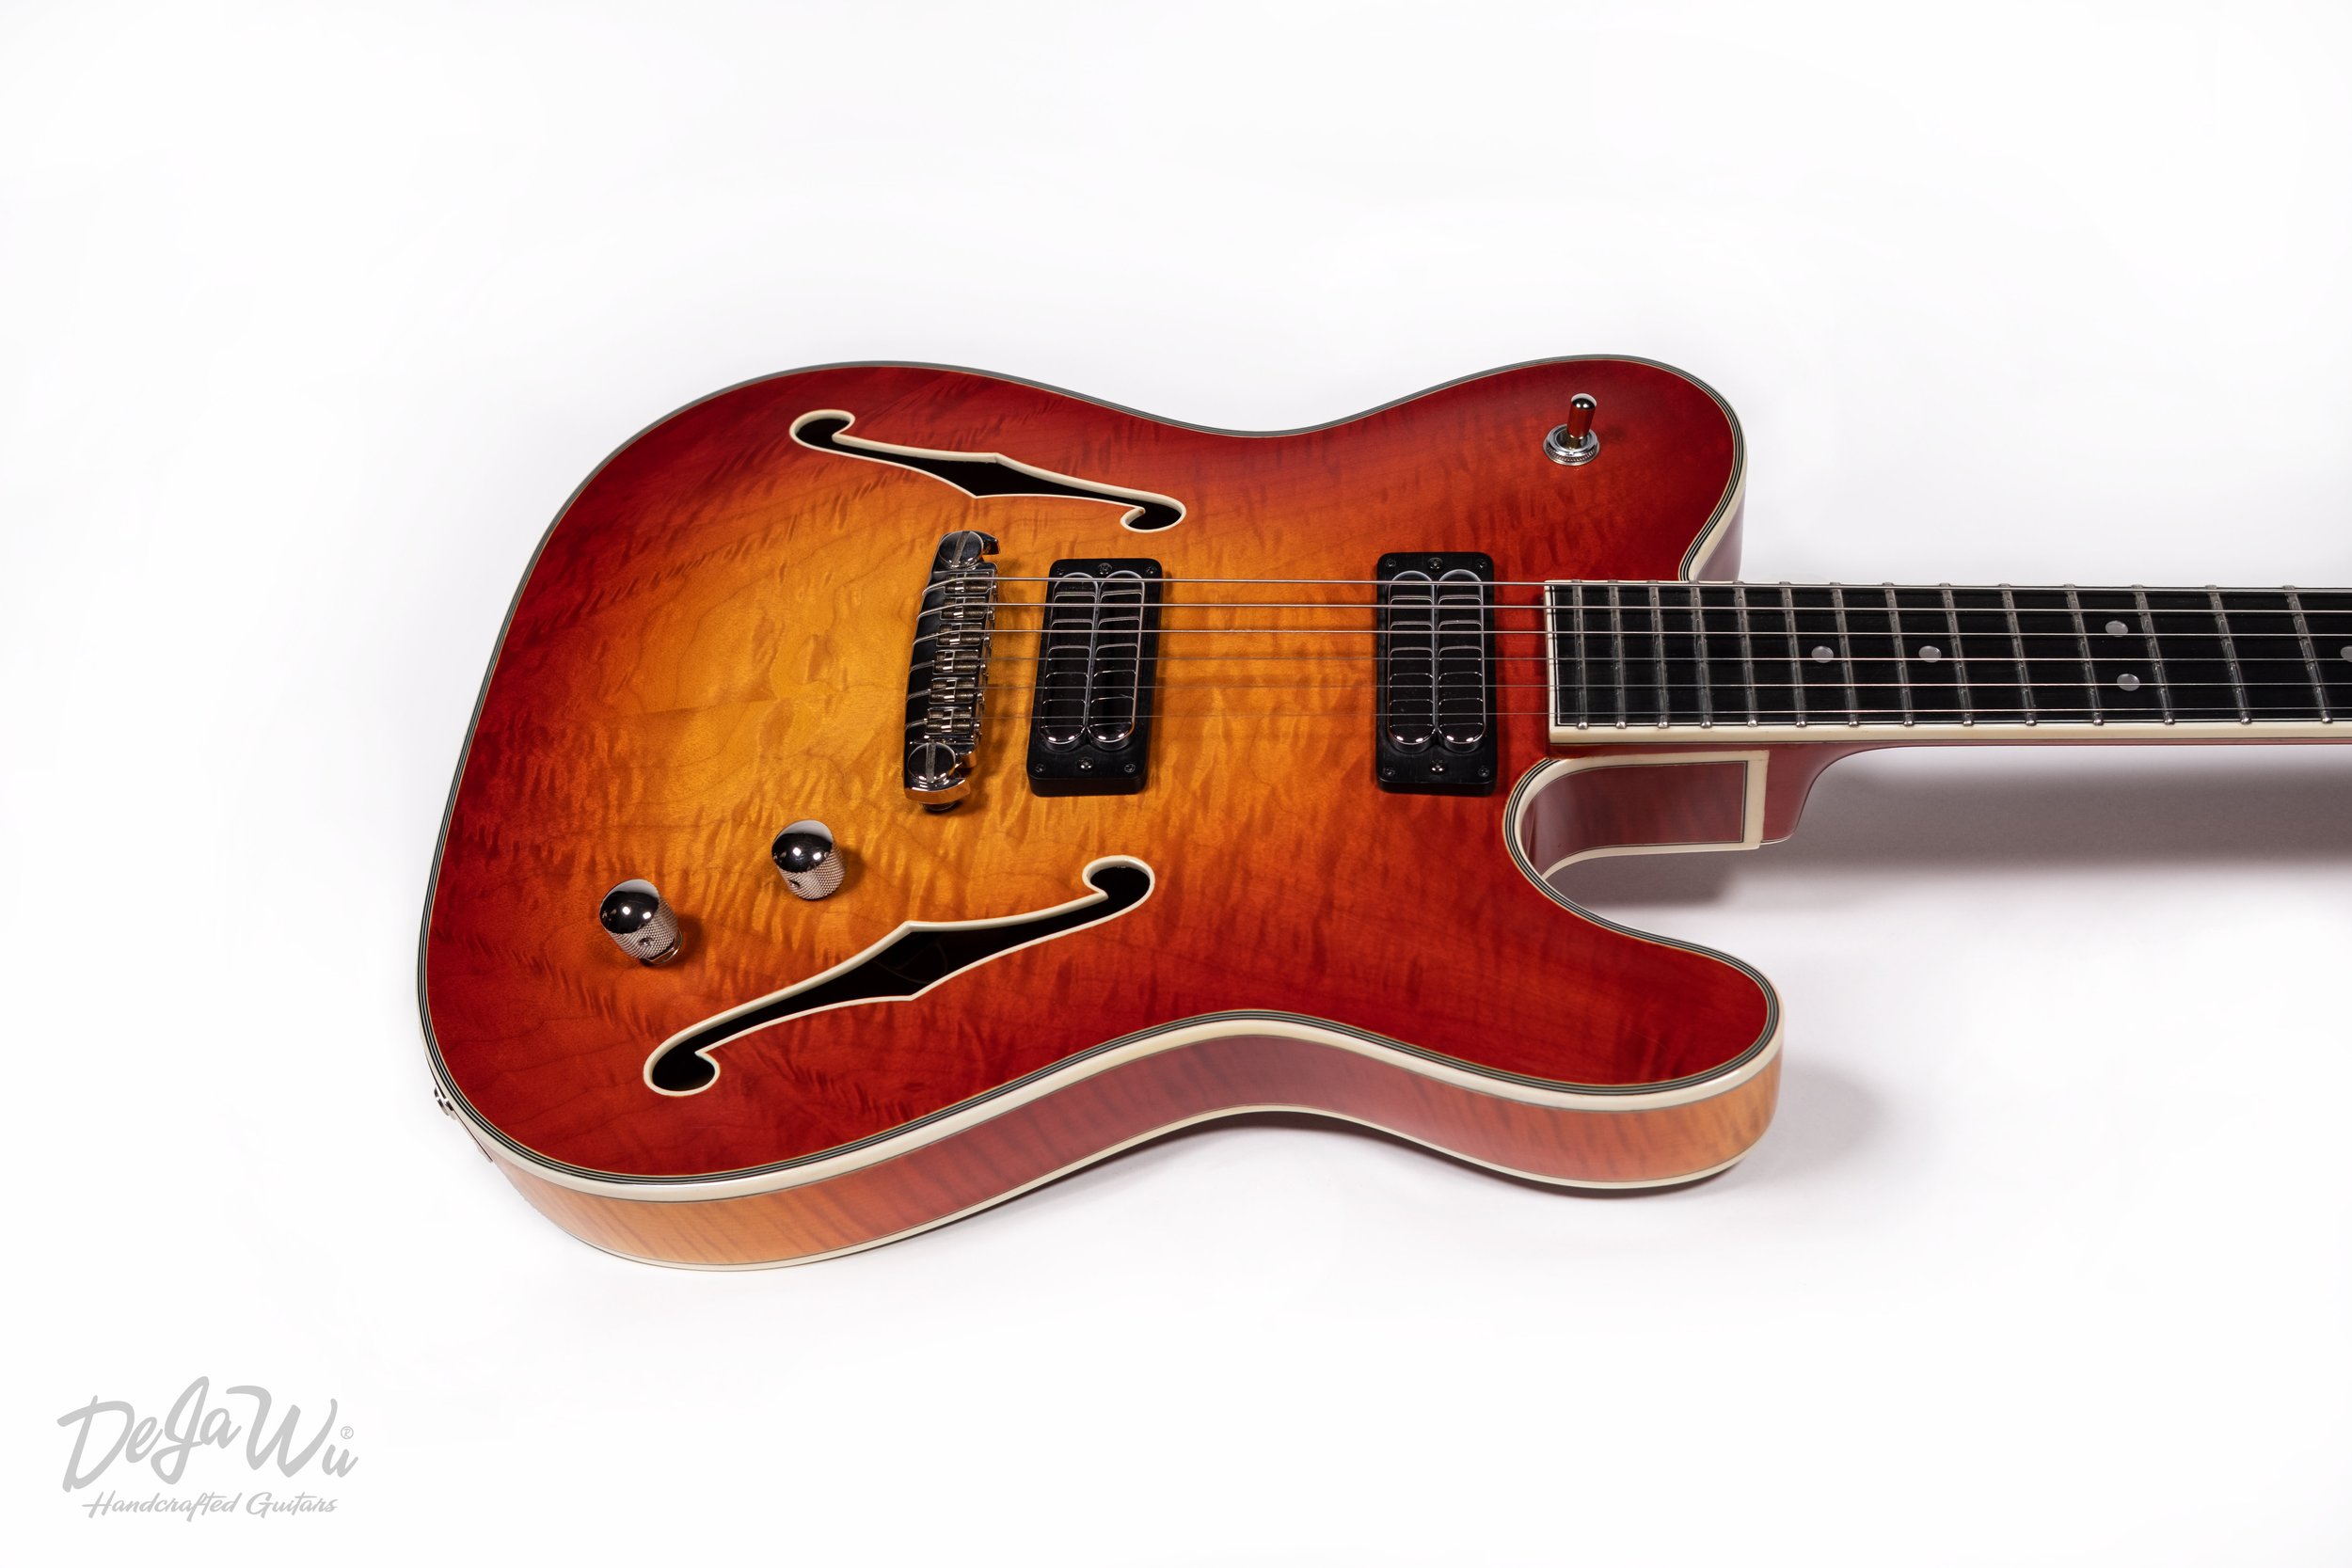
We installed Häussel Double Tele pickups, a Schaller* Signum bridge and Schaller Original F Series tuners on this guitar.
The T-Ultimate Cherry Burst is also equipped with a Free-Way 3x3-05 six-position toggle switch and a Push/Push tone pot. In position 1, 2 and 3 the pot switches between series and inner single coils. In the position 4, 5 and 6 it switches between parallel humbuckers and outer single coils.


T-ultimate CHERRY BURST in the spotlights
So, now we are four months and hundreds of man hours later, and the moment we have all been waiting for has finally arrived. Its done!