Blog: Hand carving a semi-acoustic guitar from 7500-year-old sinker wood!
The building process from A to Z
In this article, we will show you step by step how we built the most extraordinary guitar we could possibly build: a semi-hollow body electric guitar out of a perfectly preserved maple trunk that had been buried on the river bottom for almost 7500 years! From the muddy trunk that was just excavated to the finished and nicely polished instrument.
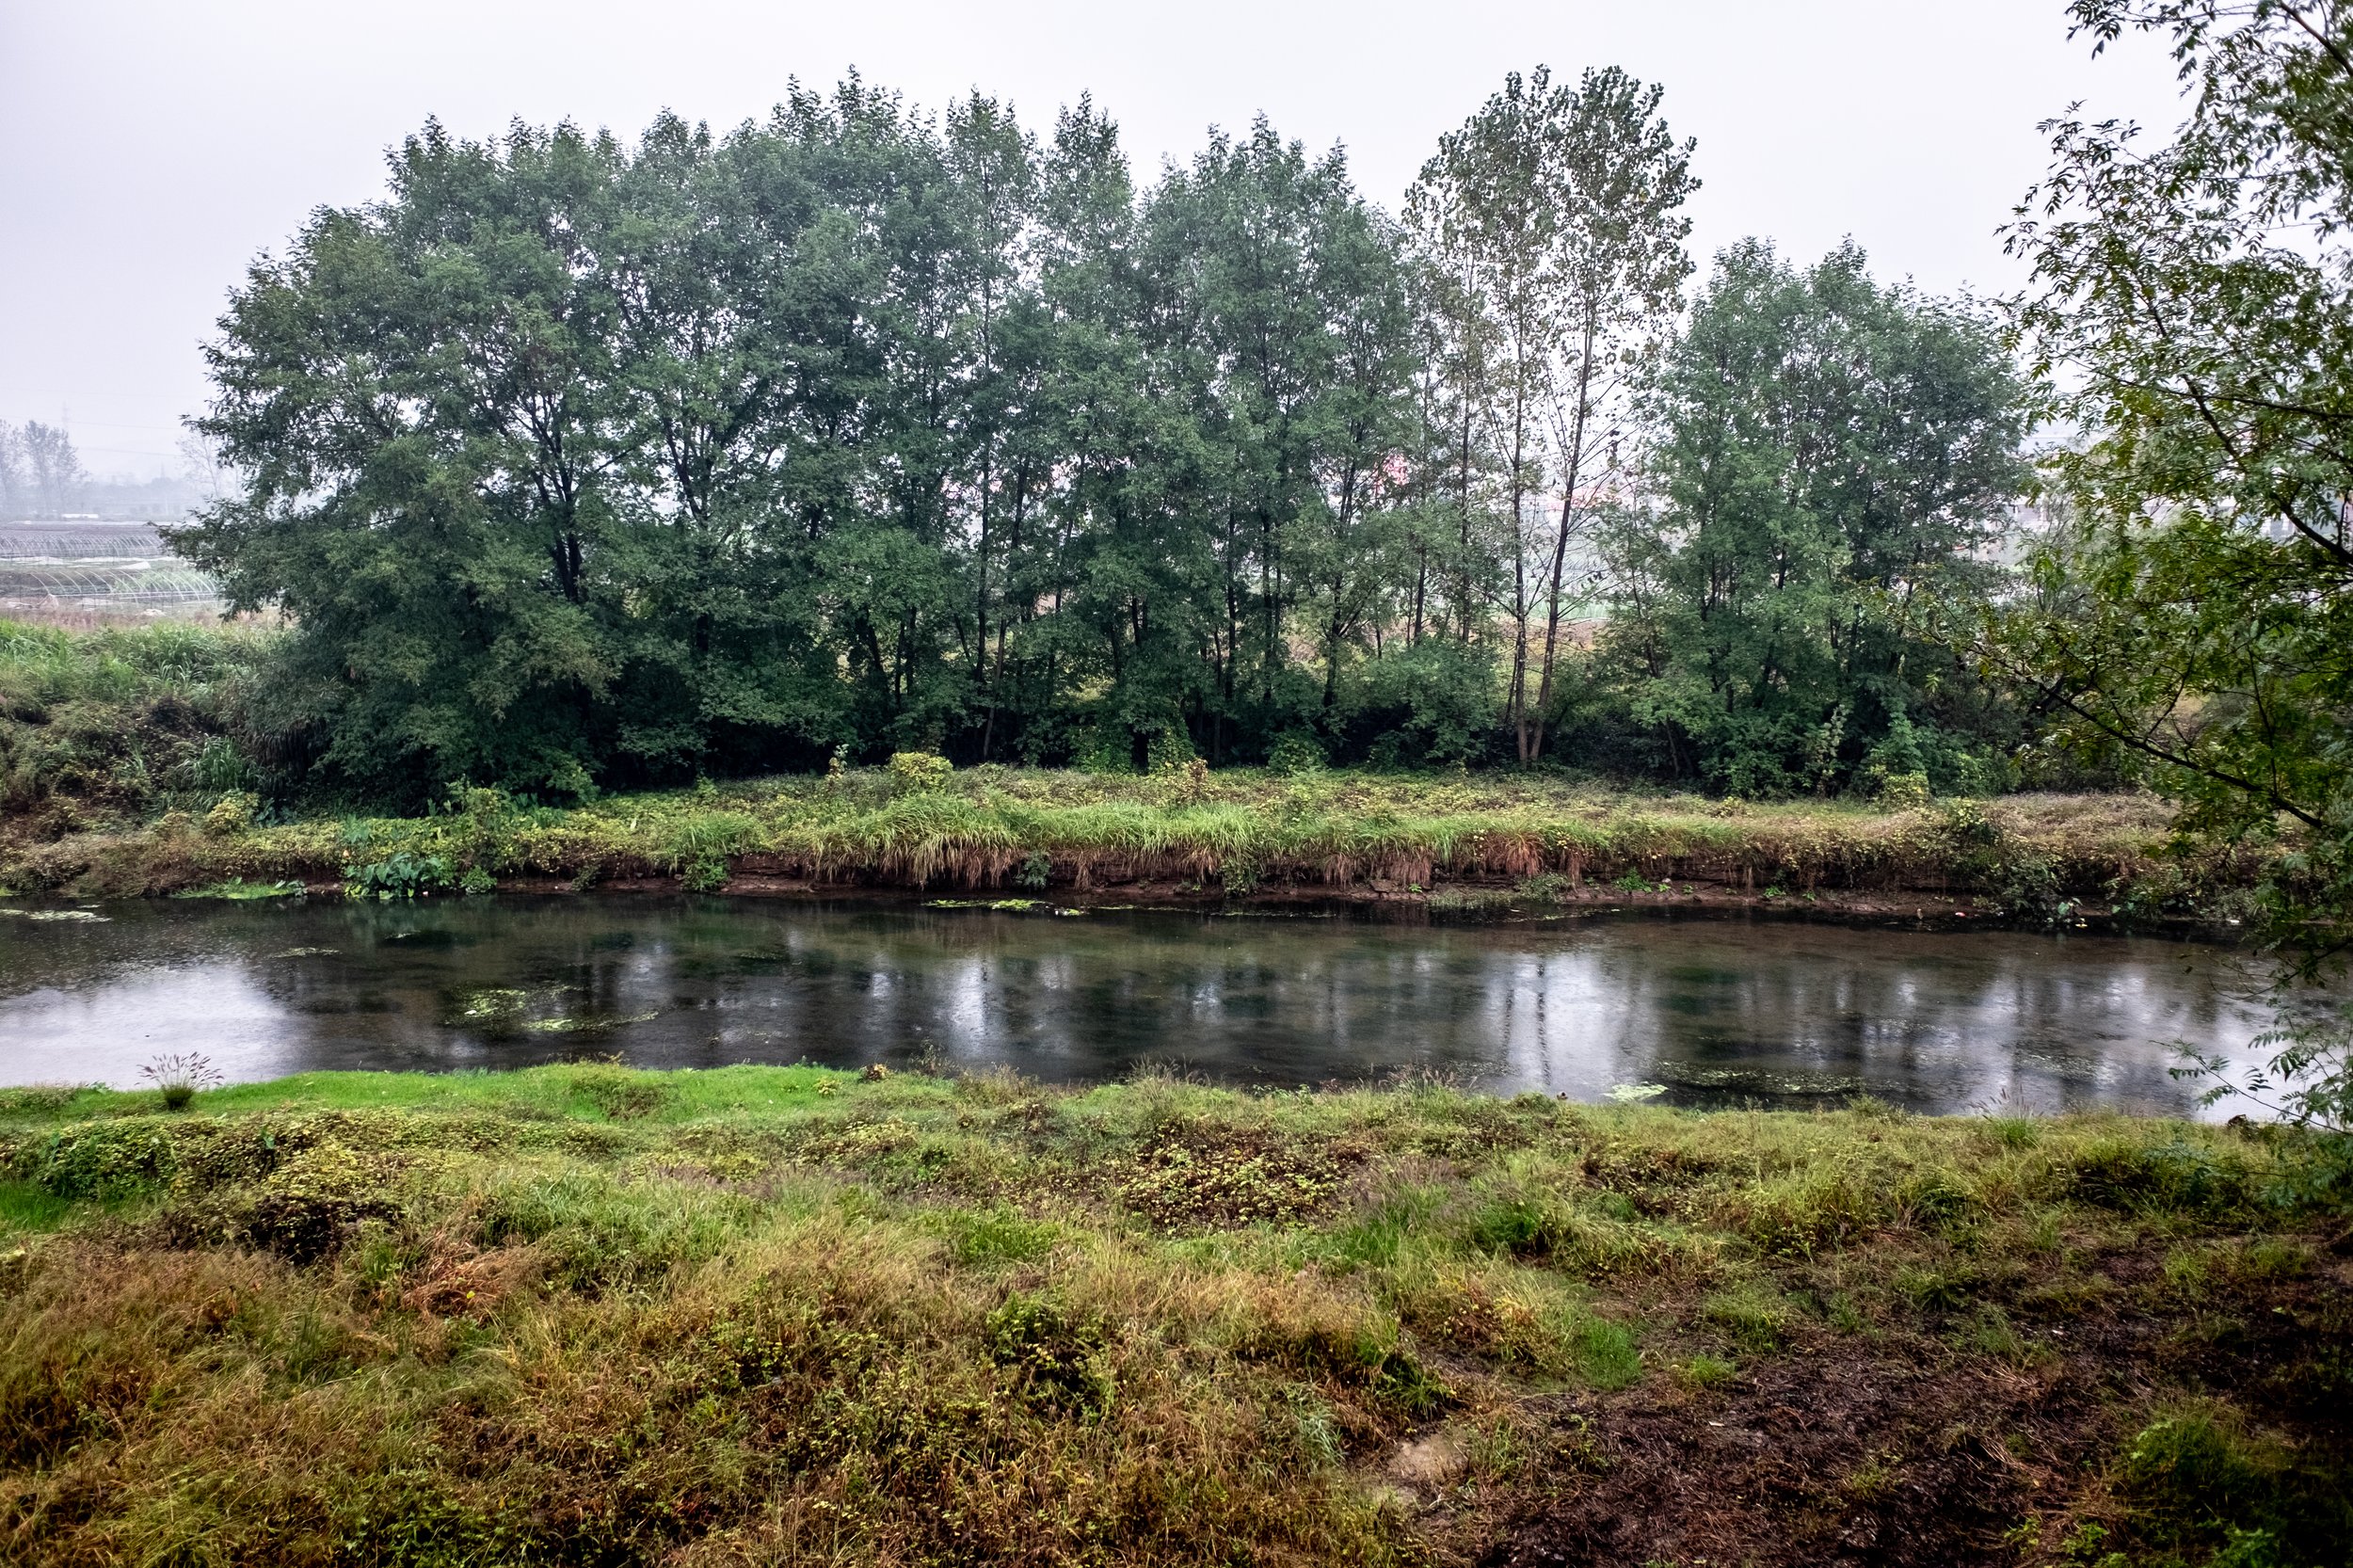
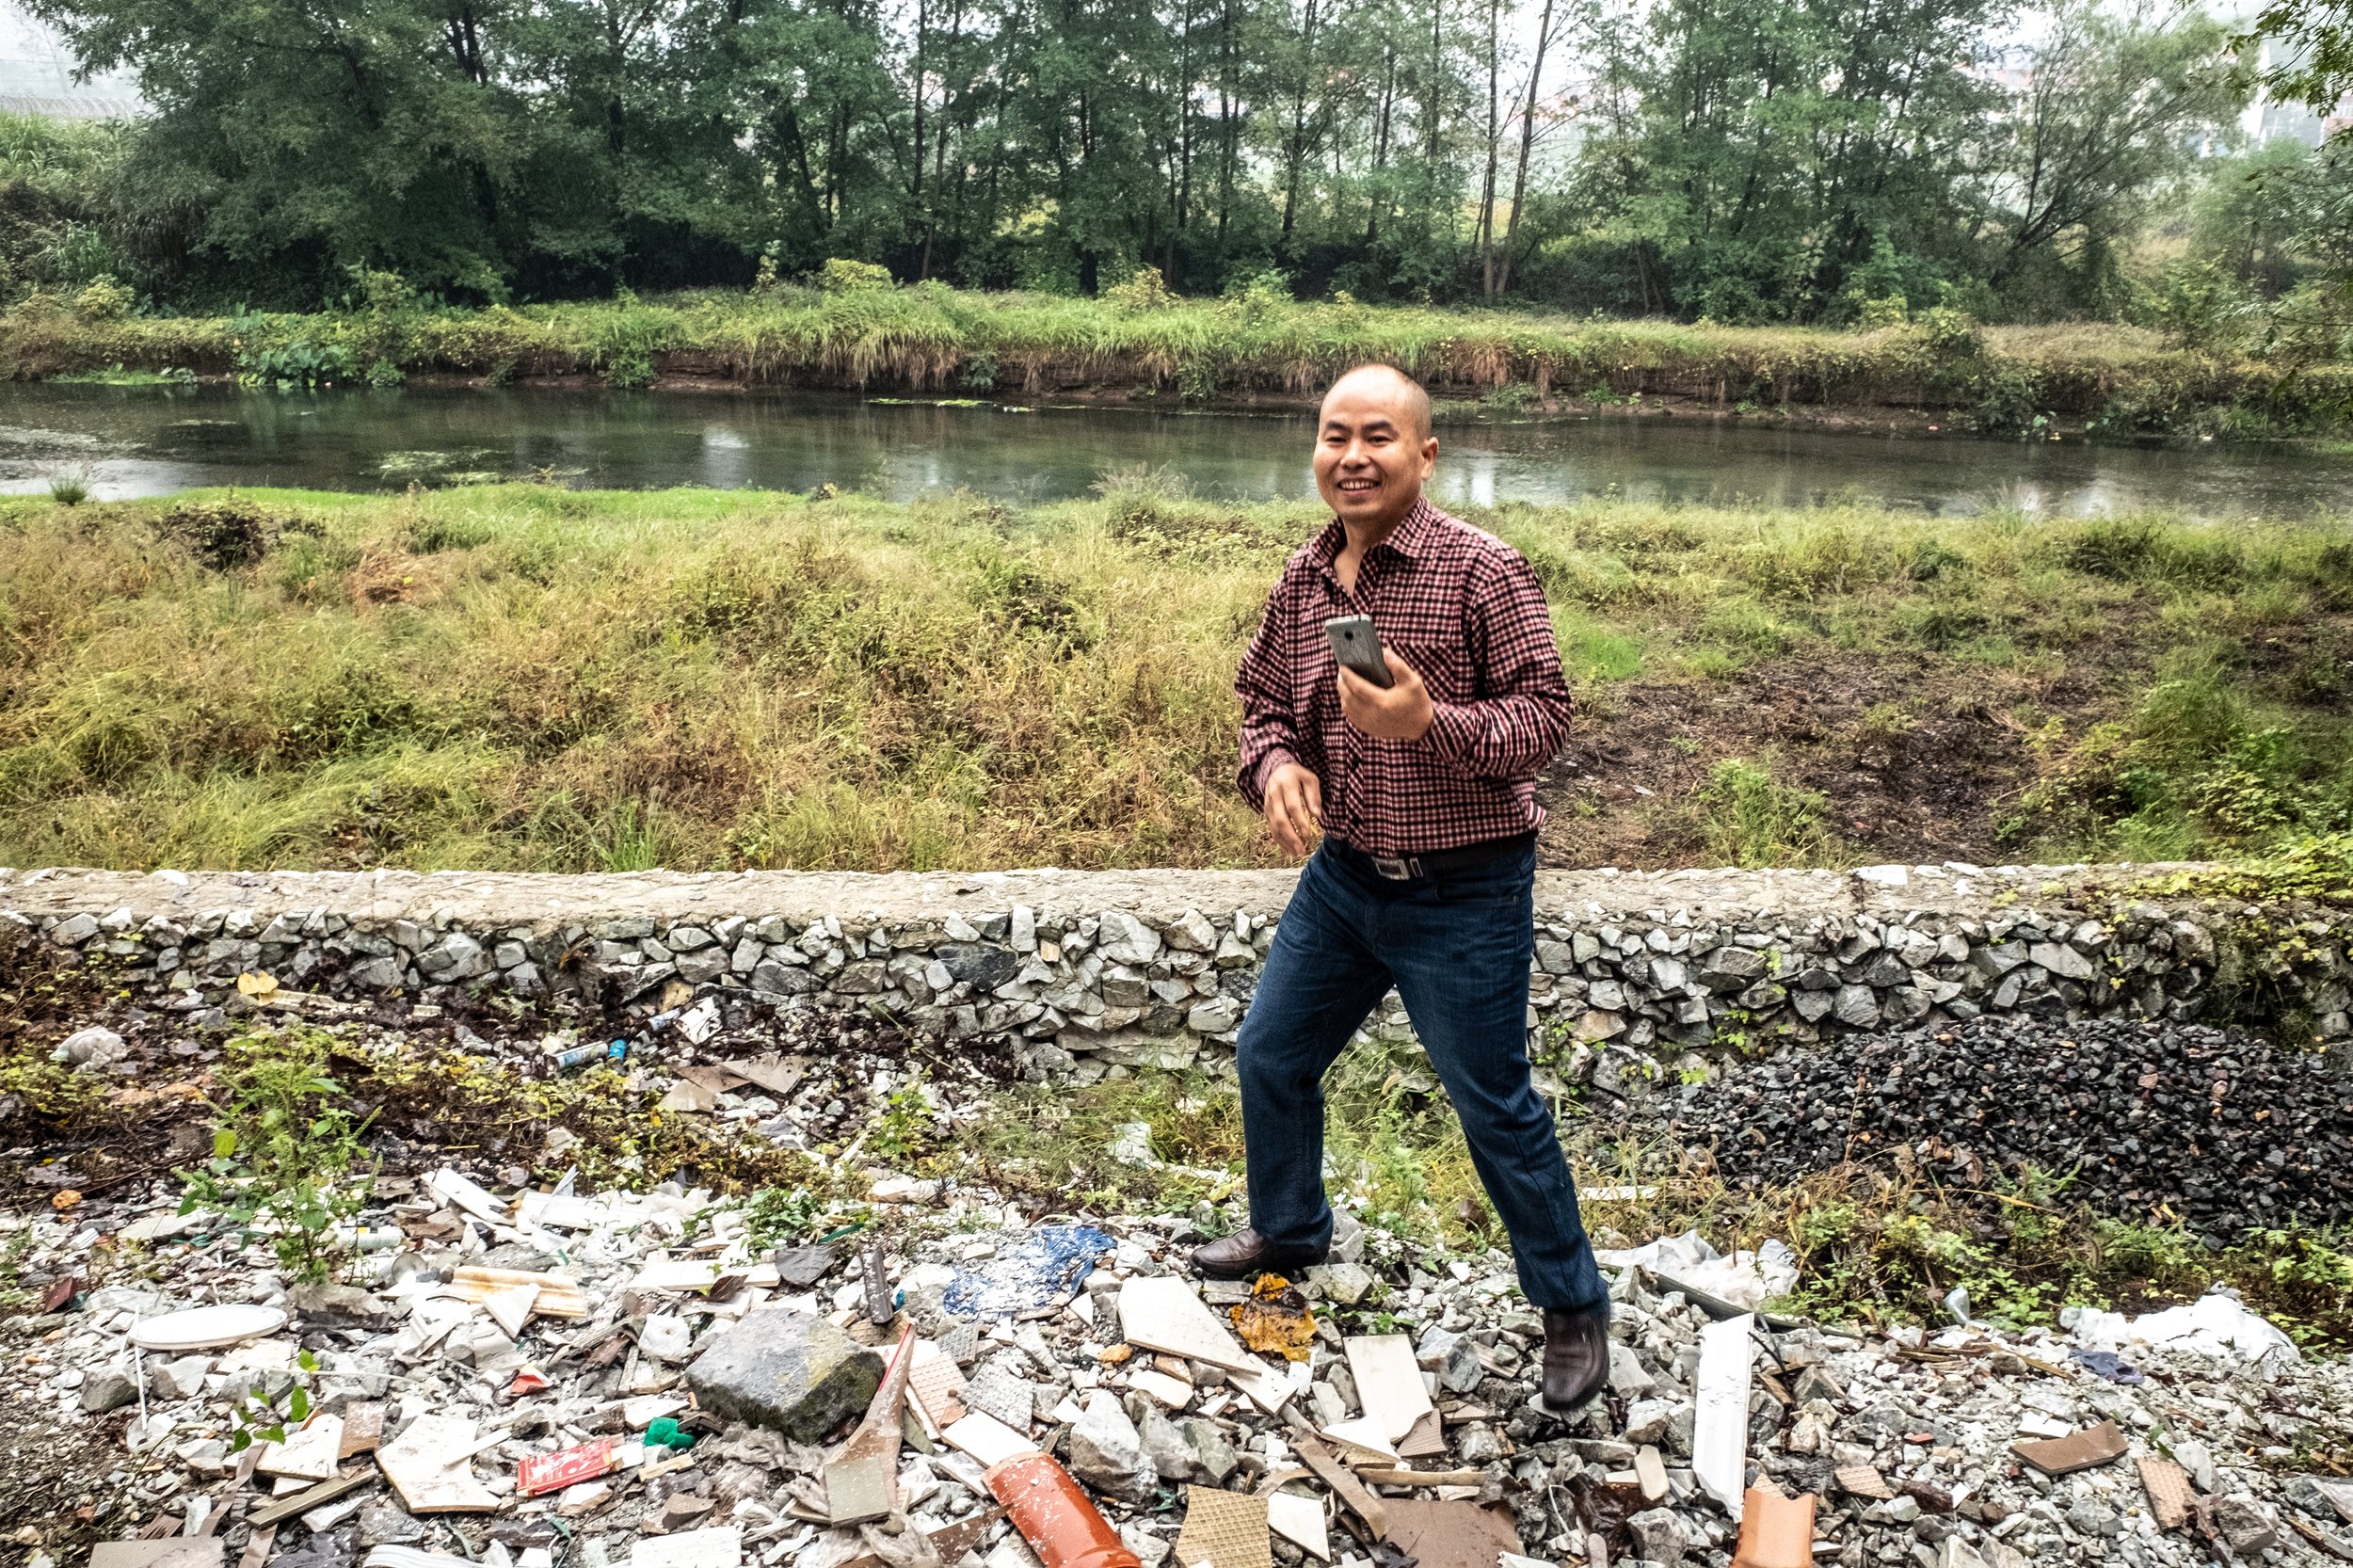
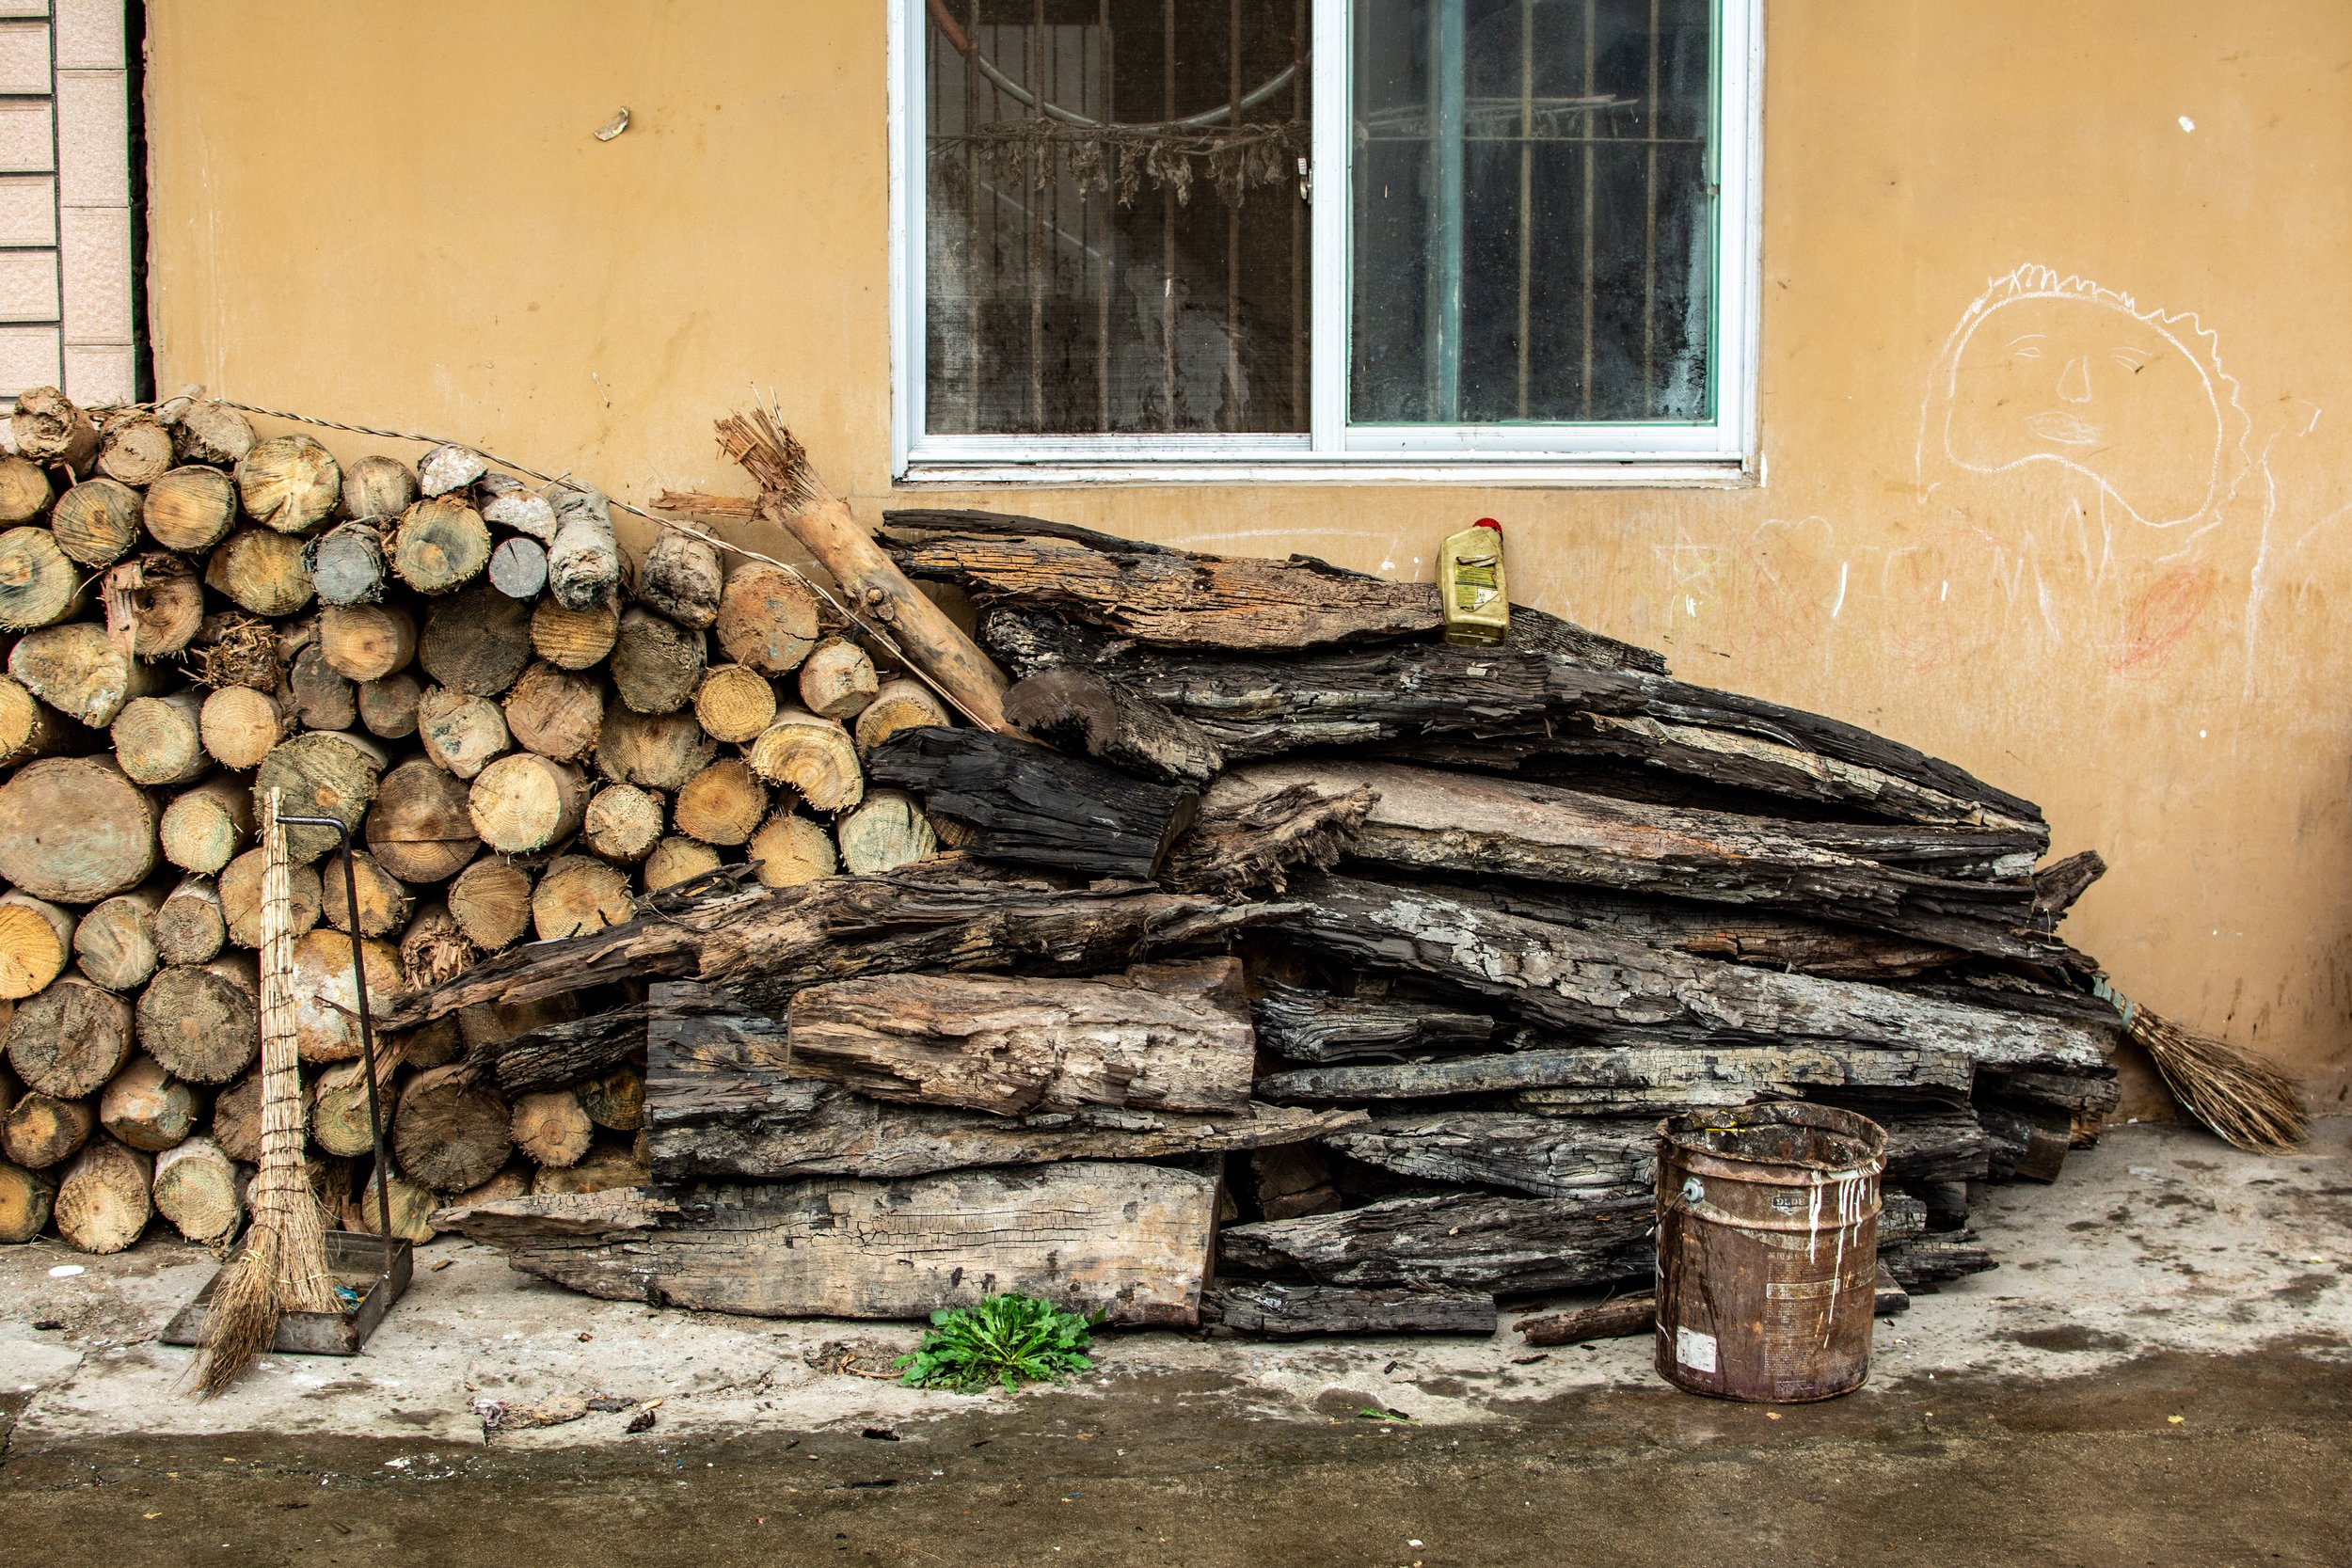
Years ago, we did the most amazing find a luthier could ever ask for. During some construction work, Dongming stumbled upon a log of wood that had been hidden on the river bottom. He dug it up and submitted it to further inspection. The wood had been preserved exceptionally well. The color of the trunk indicated it had been buried there for an eternity. A true treasure for a luthier! Of course, this left us with one big question: Can we build a guitar out of it?!

PROCESSING THE TRUNK
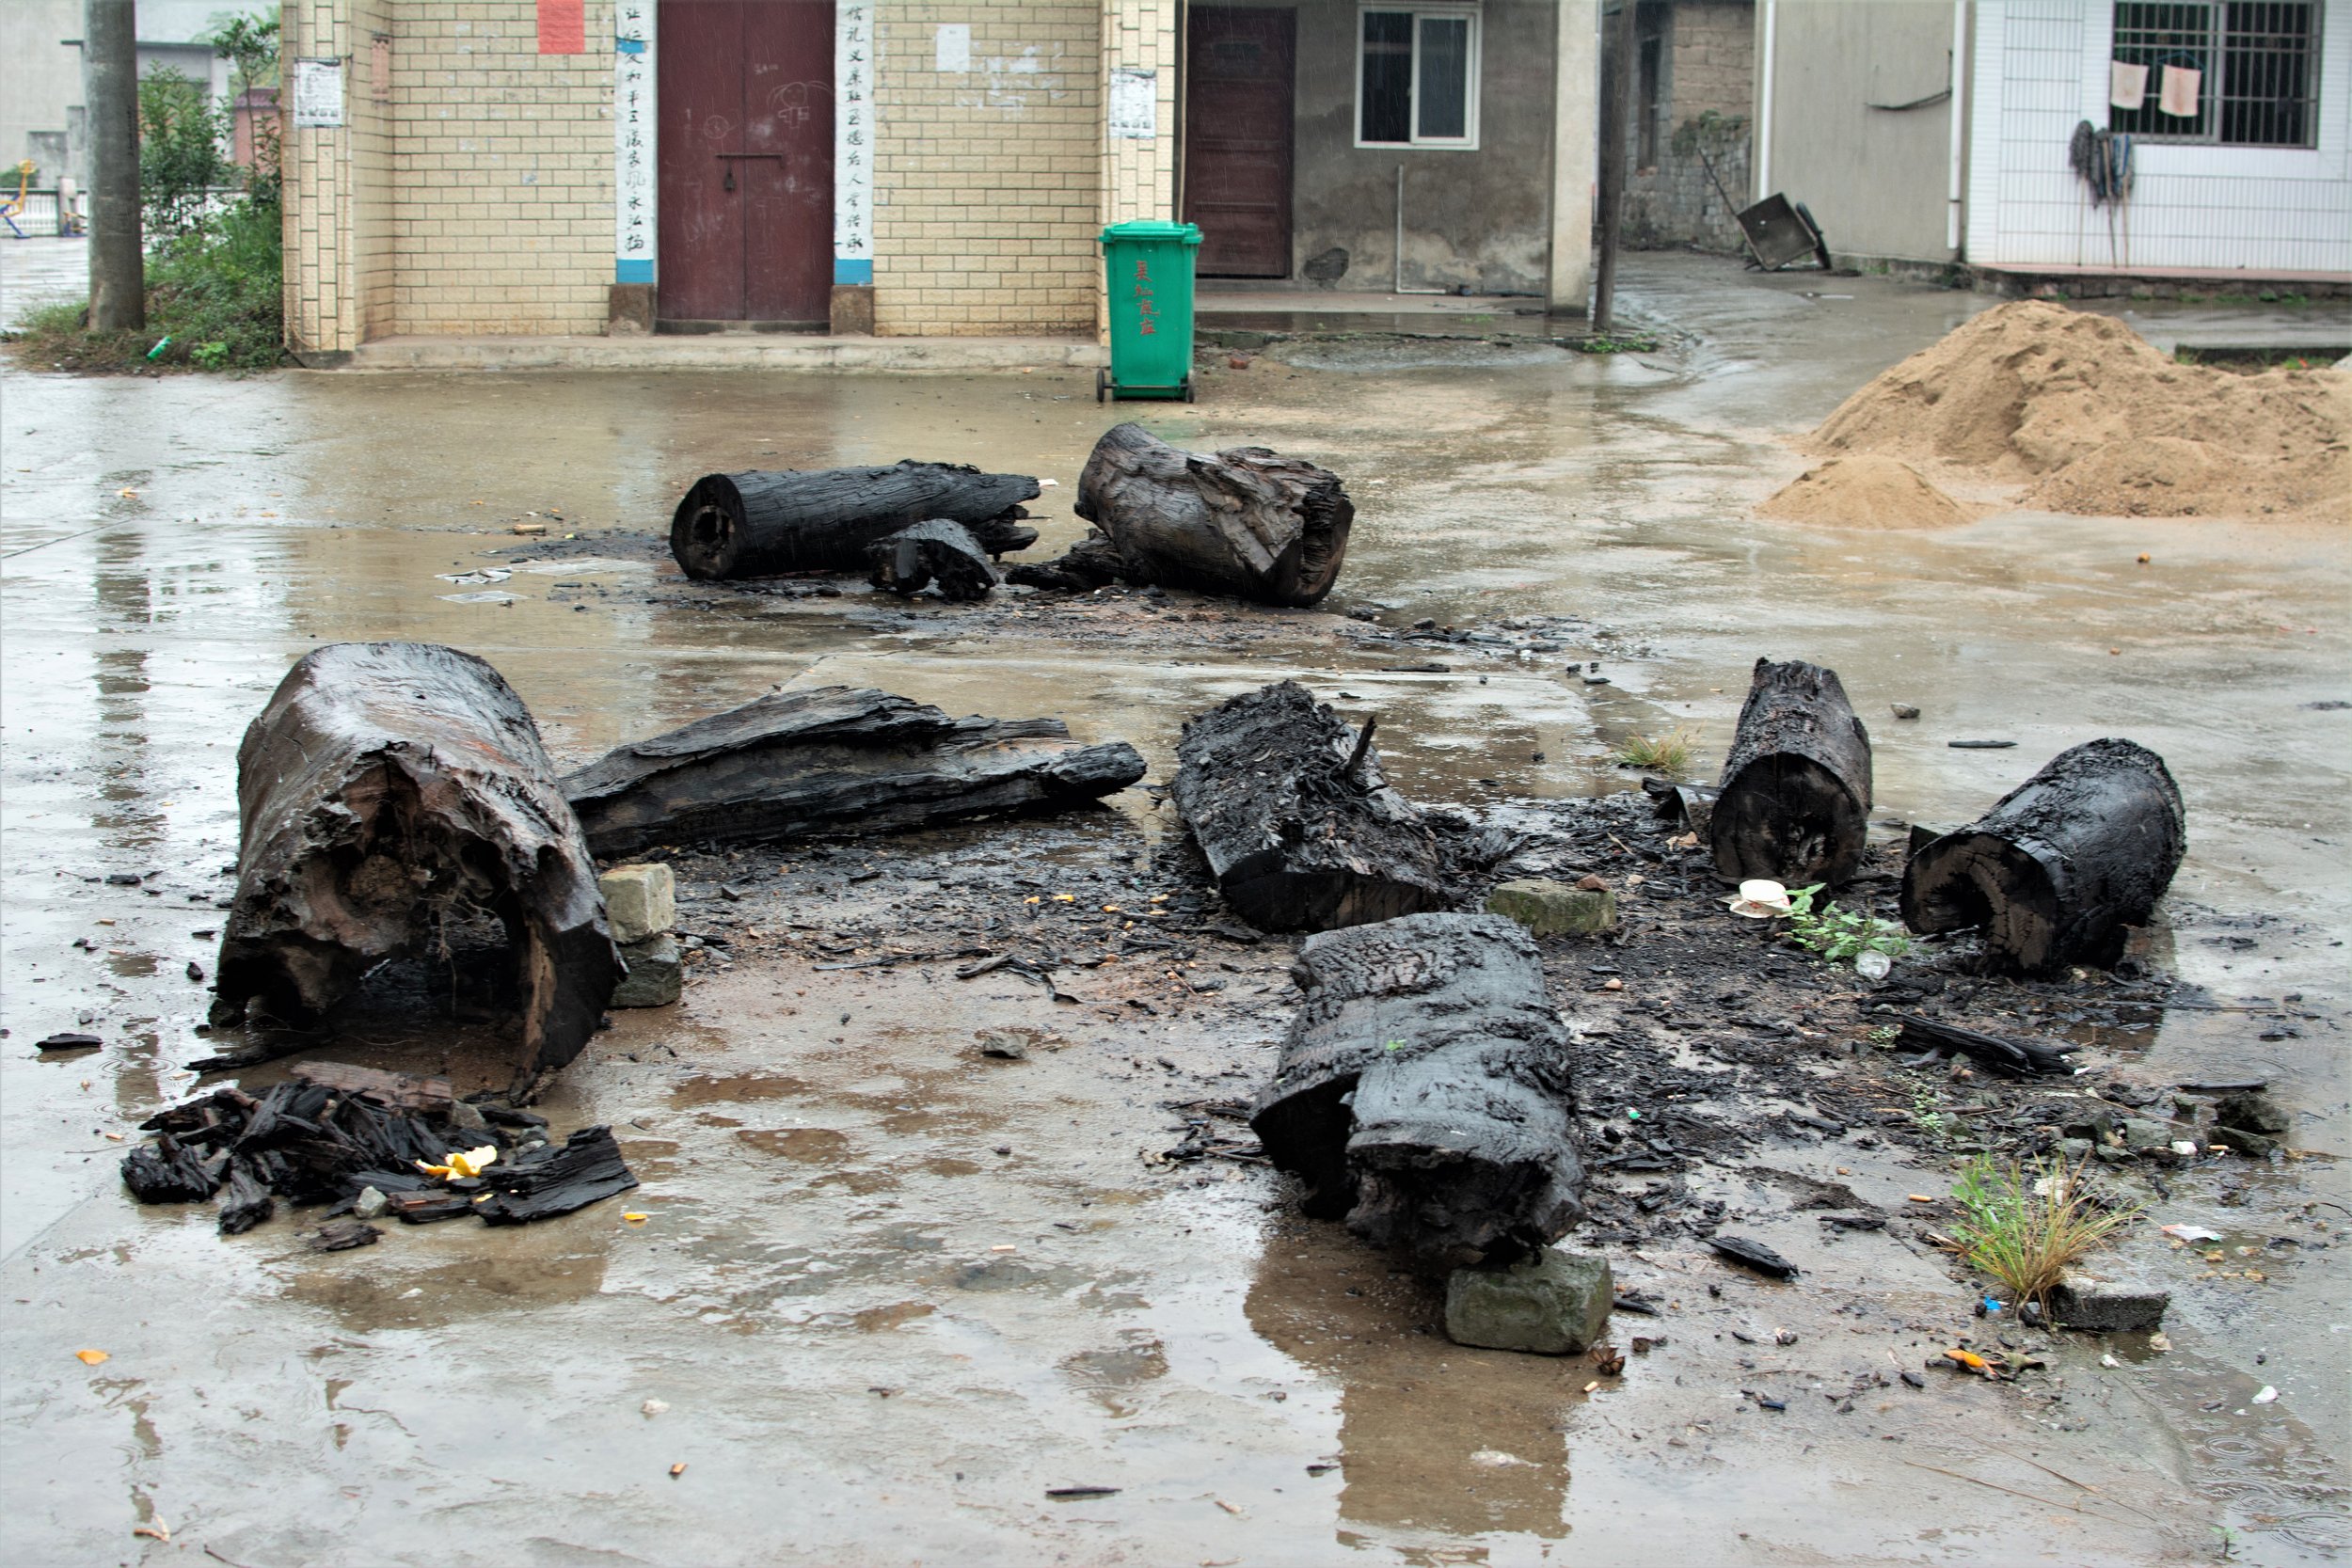
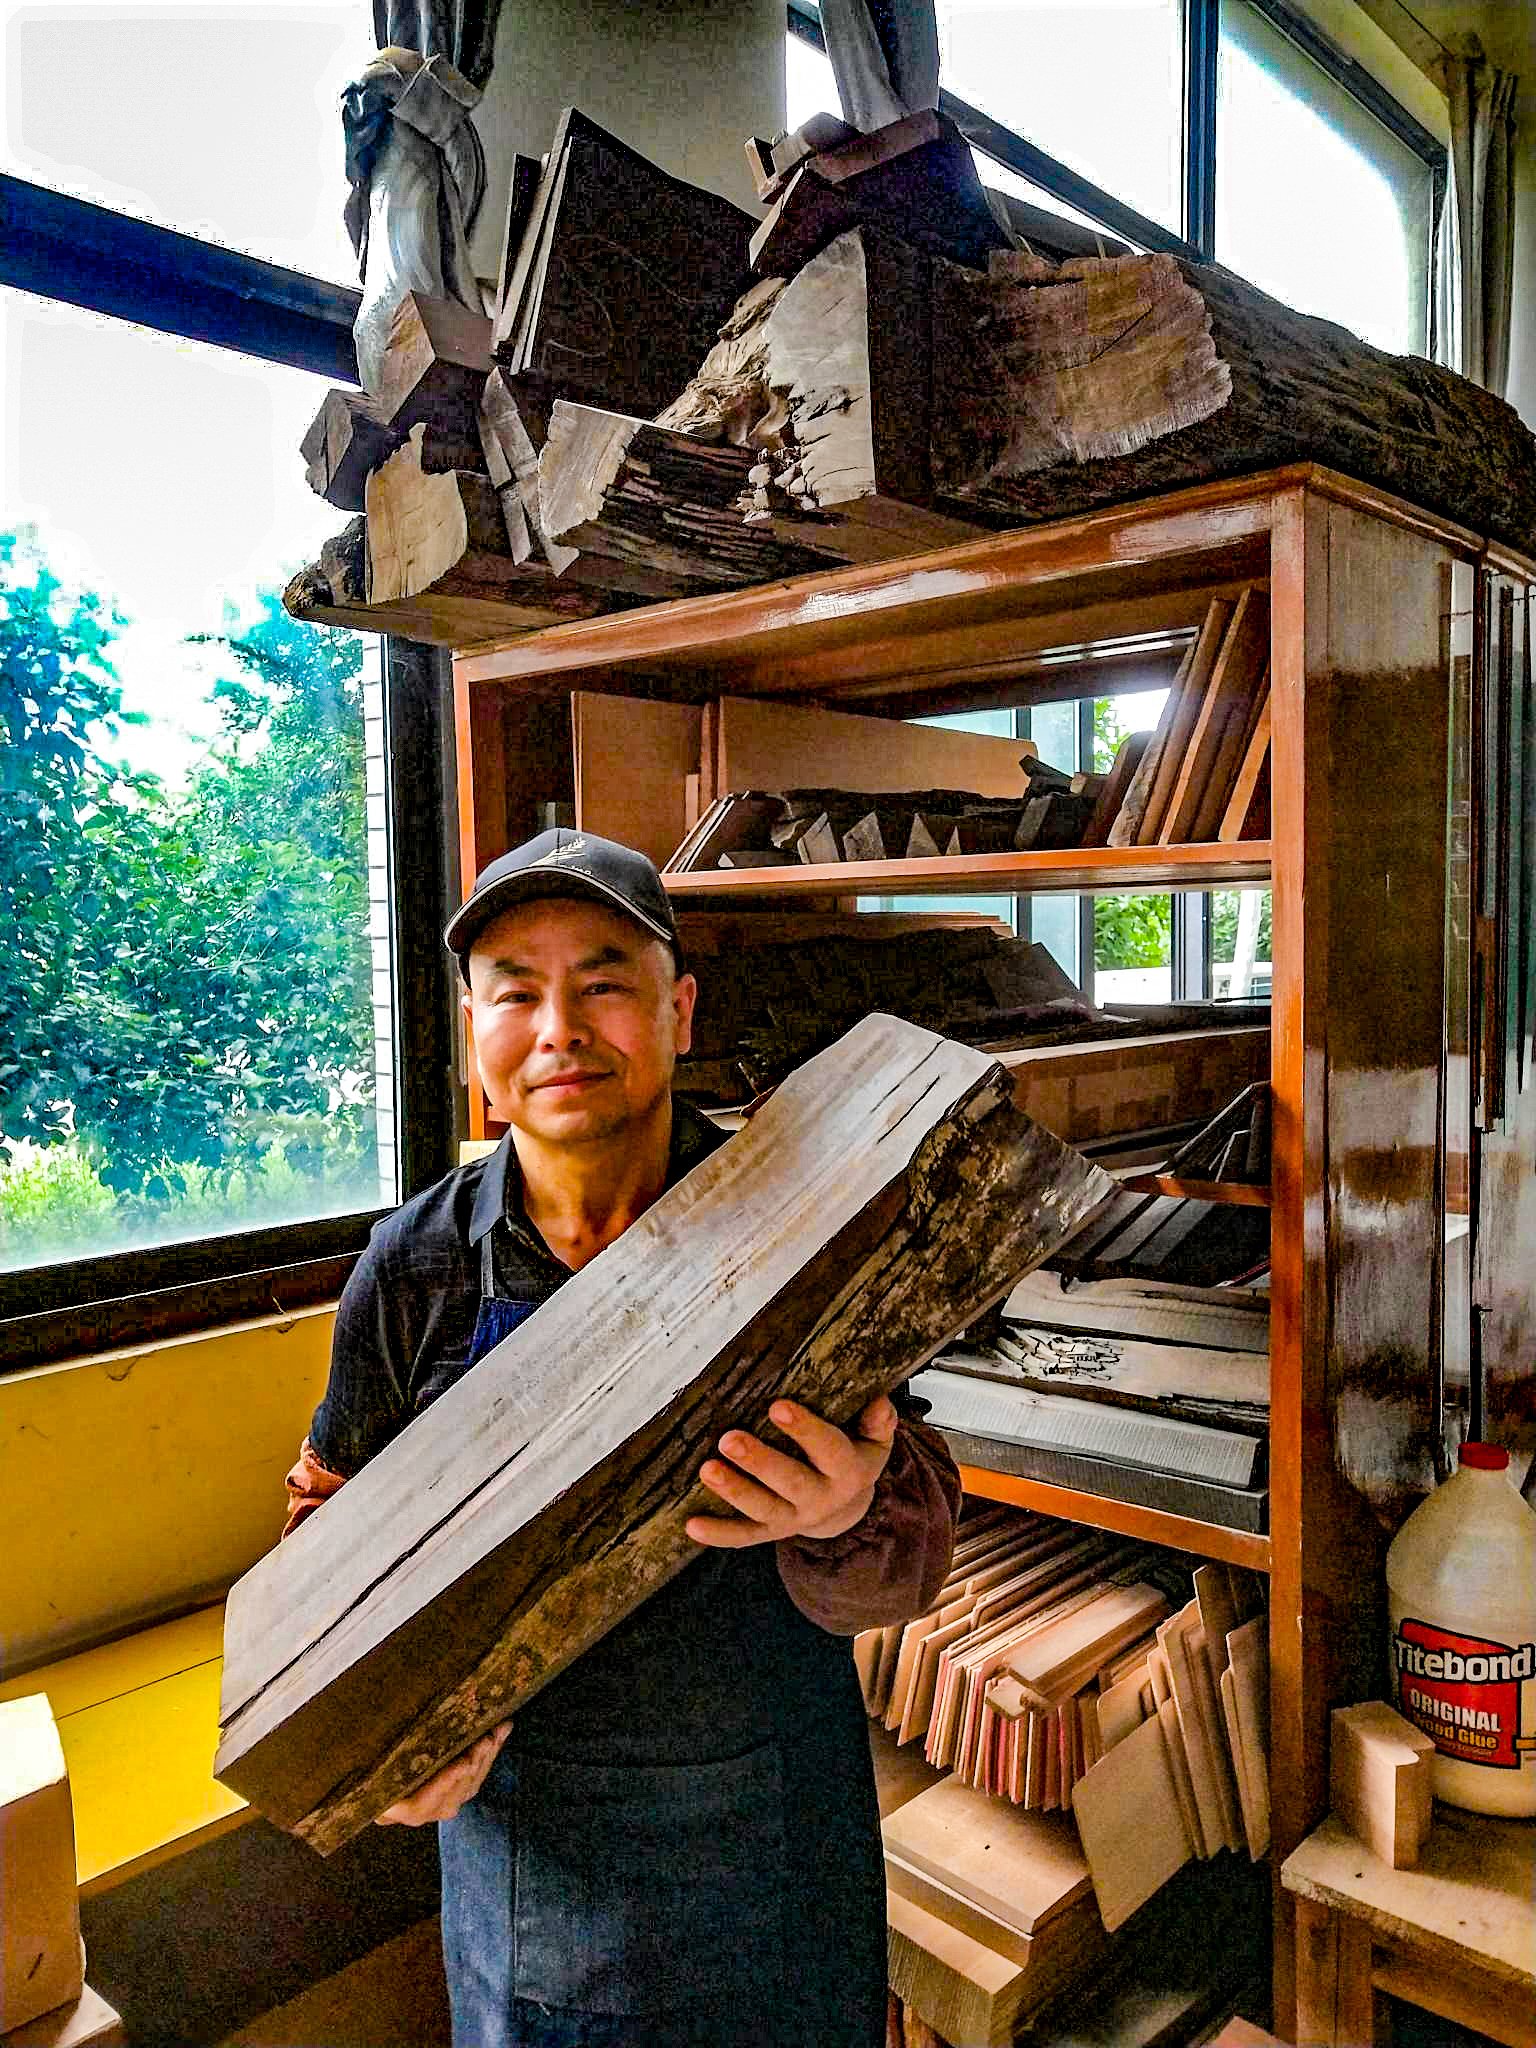
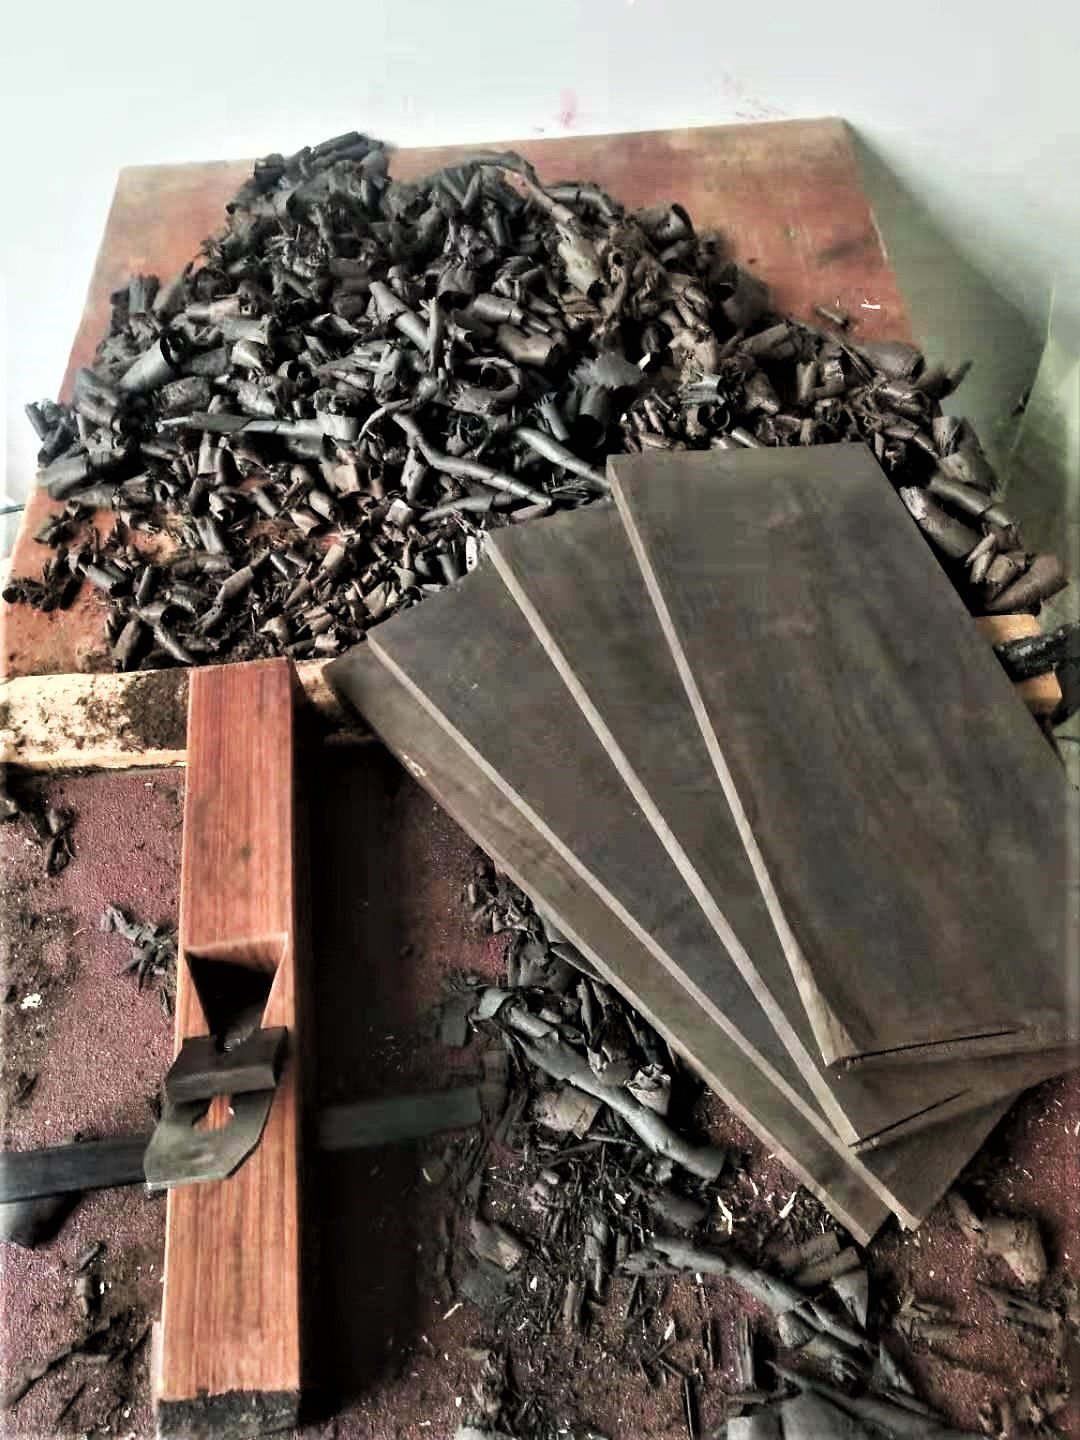
After what later turned out to be the discovery of a lifetime, we laid out the trunks to dry for quite some time. When the logs were finally ready to be sawn, we cut them into rough beams with a handsaw to make the pieces suitable for further processing with the band saw.
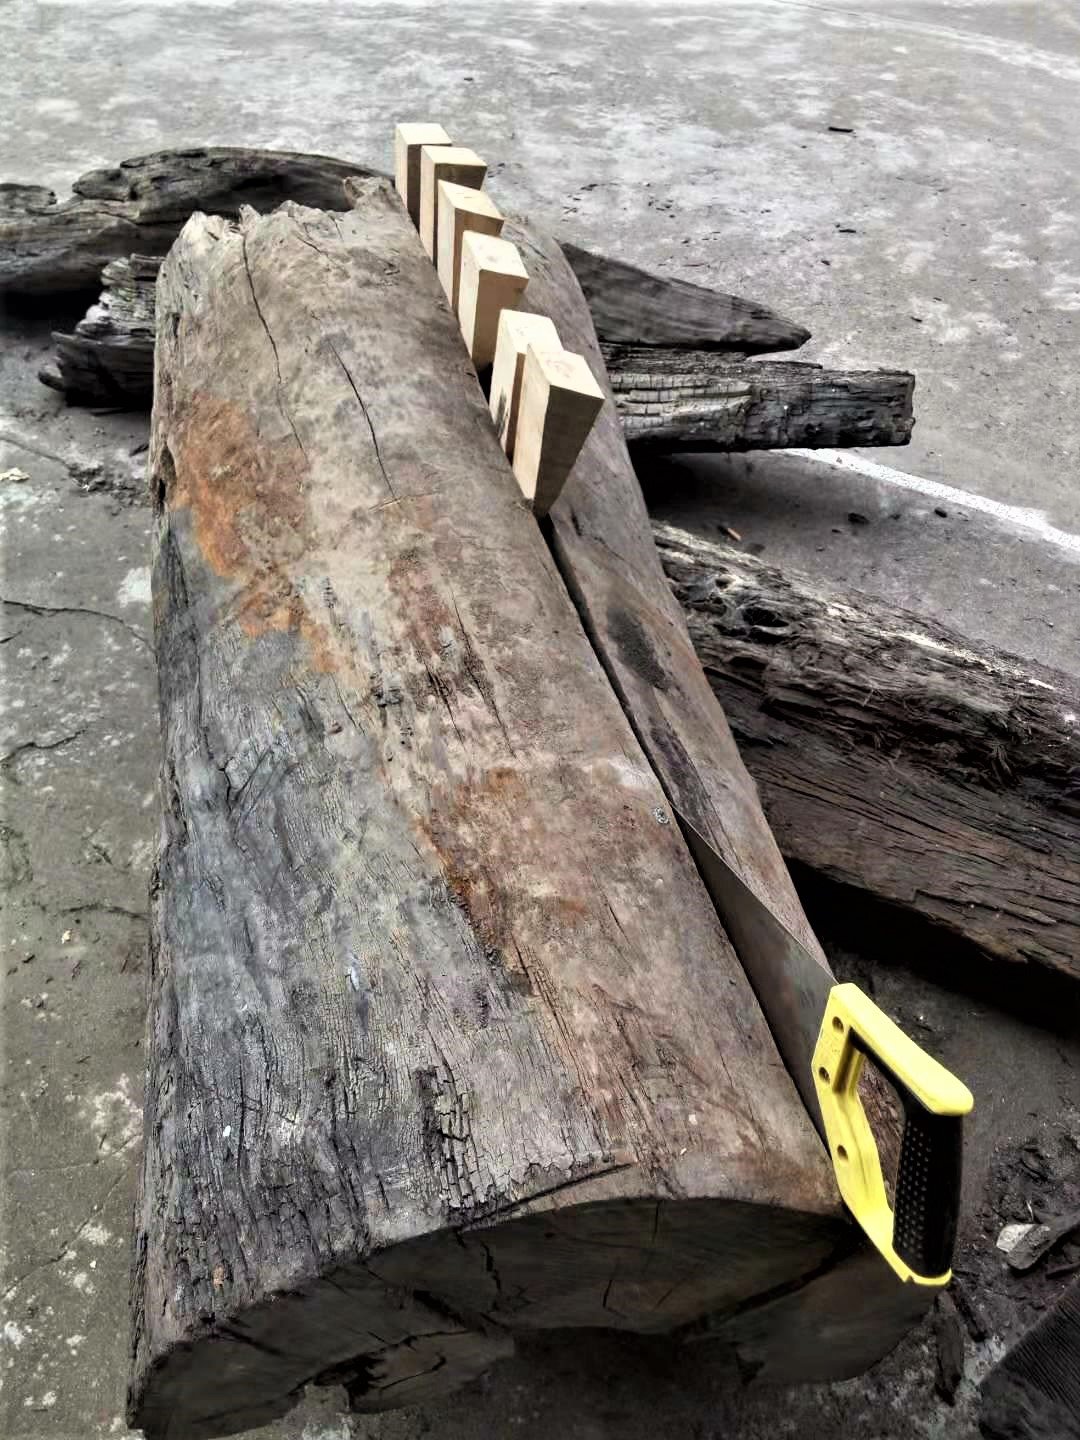
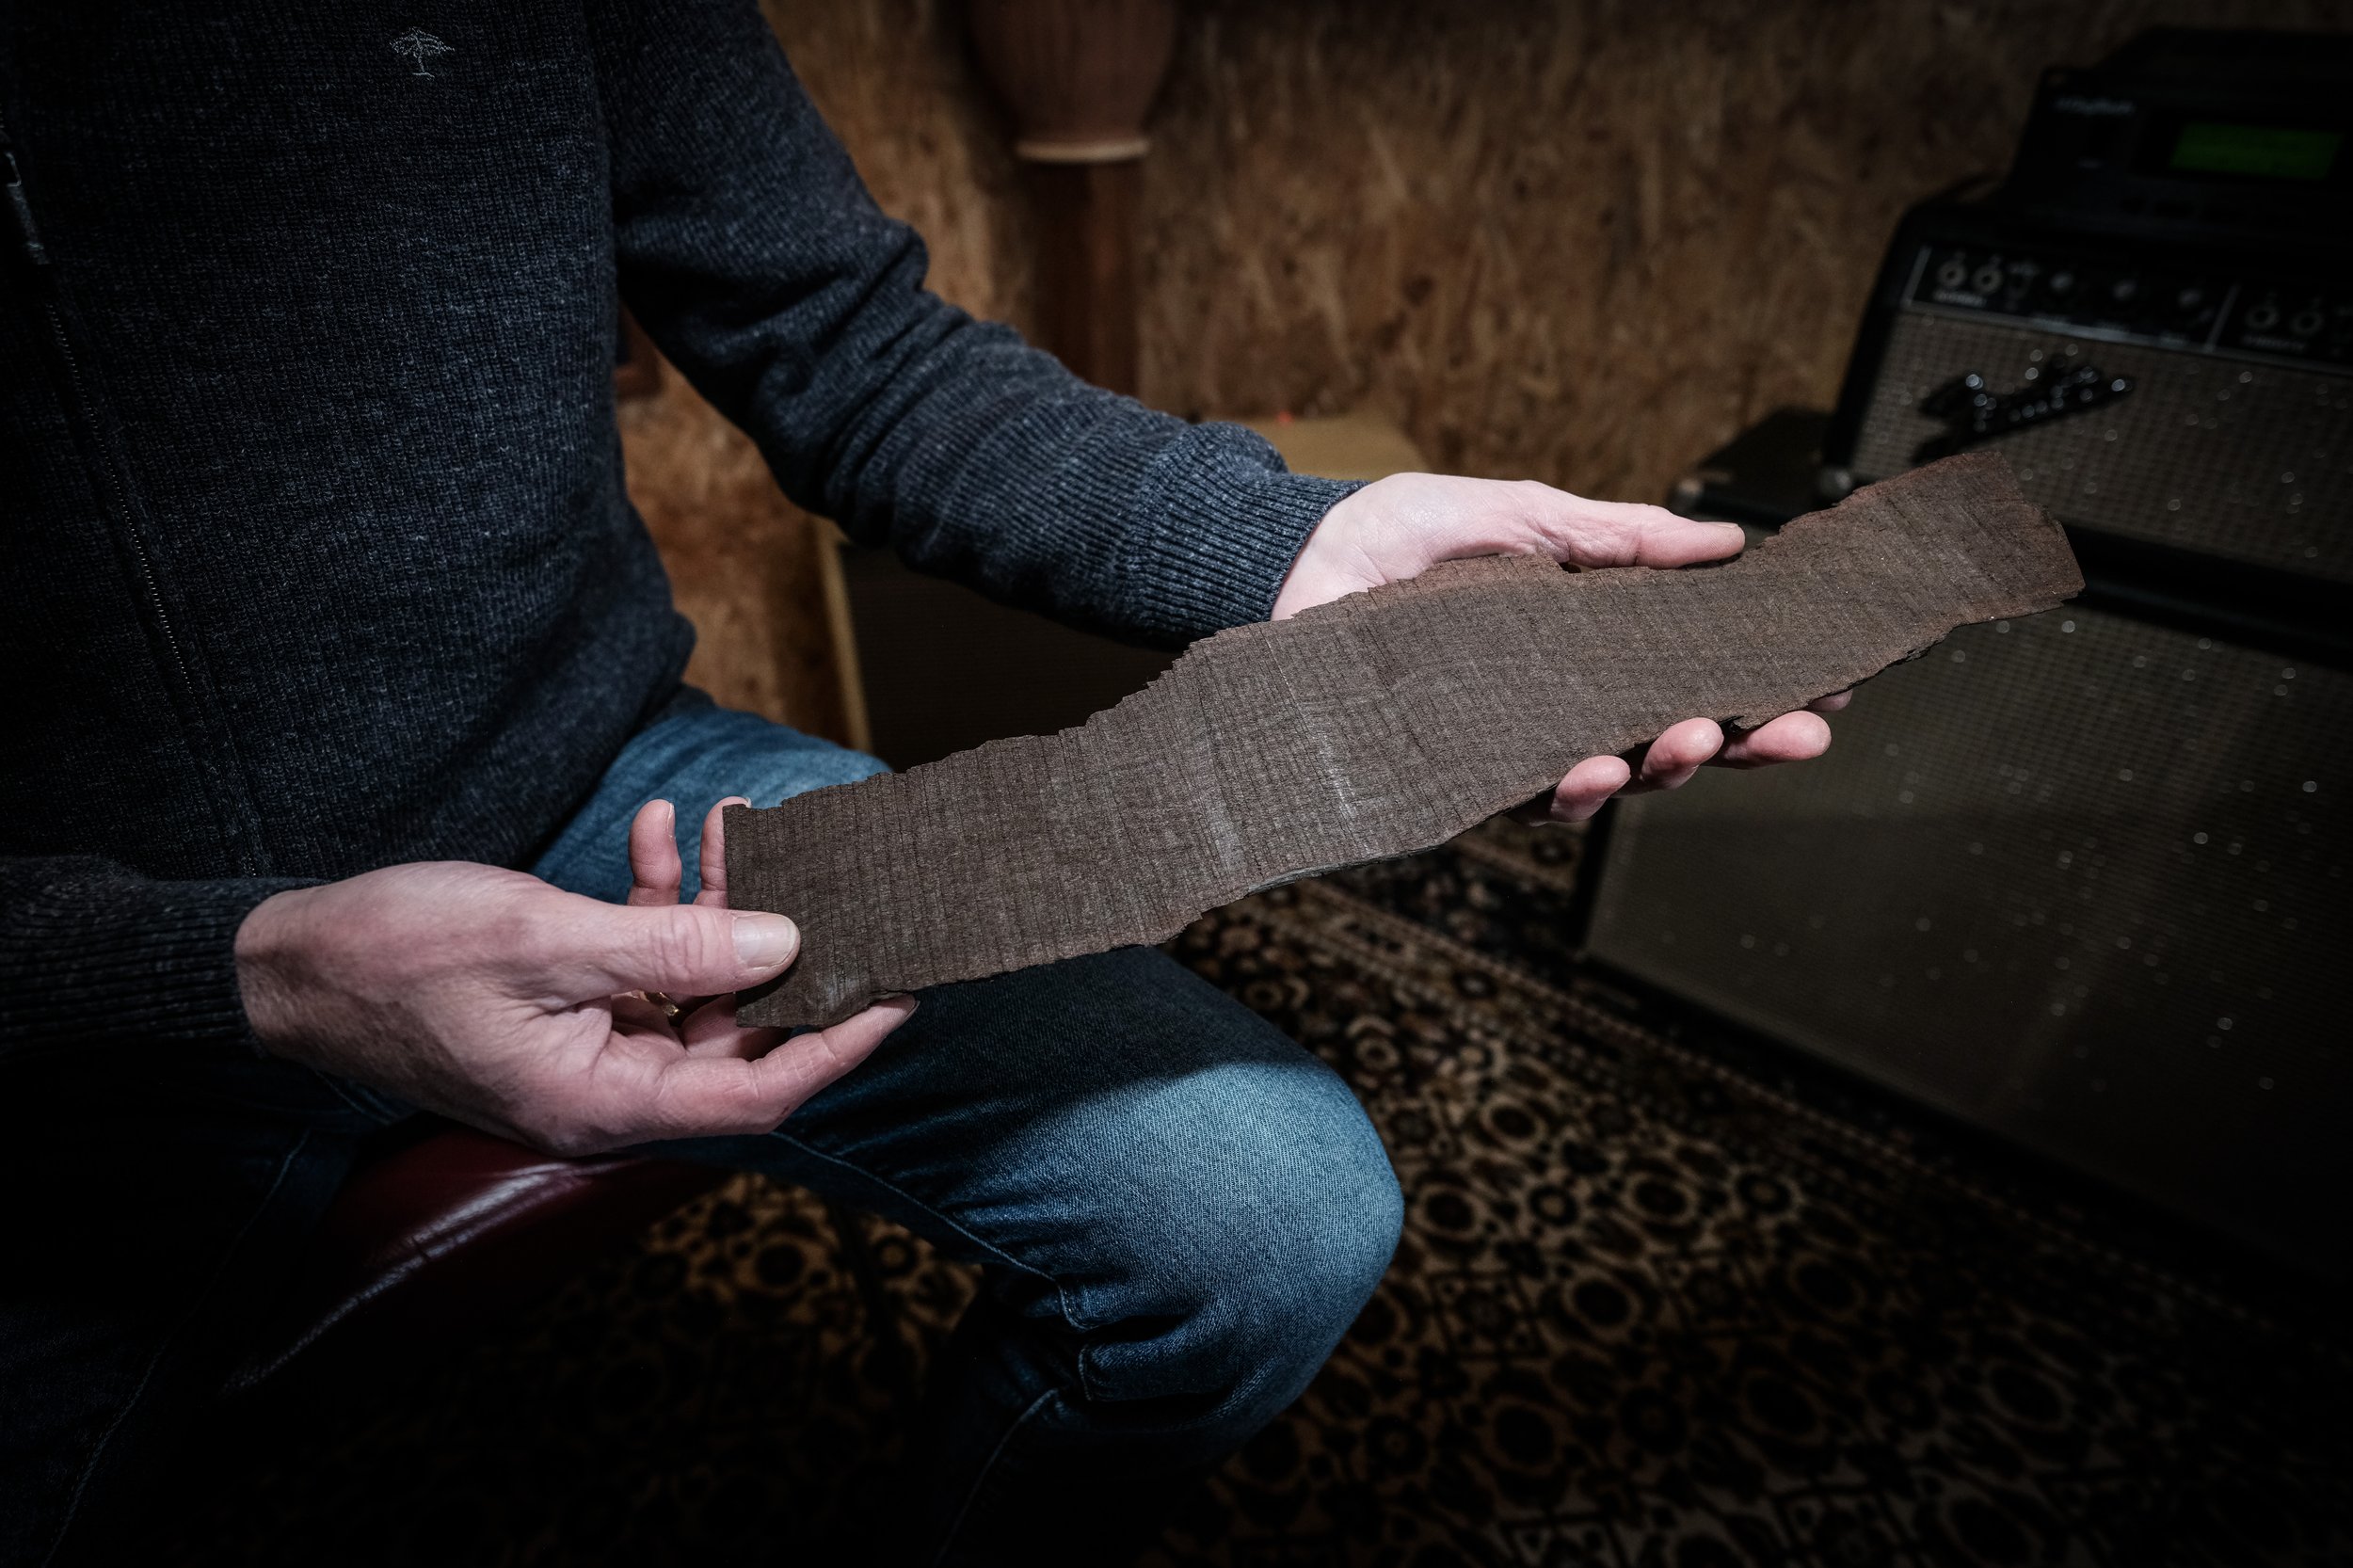
At this time, we could also see the denseness of the grain really well, truly amazing! According to the grain of the wood, it appeared to be maple, although it was not recognizable from the color. It had changed to very dark brown, in some places almost black.
Photo lower left: Jan Ruland van den Brink
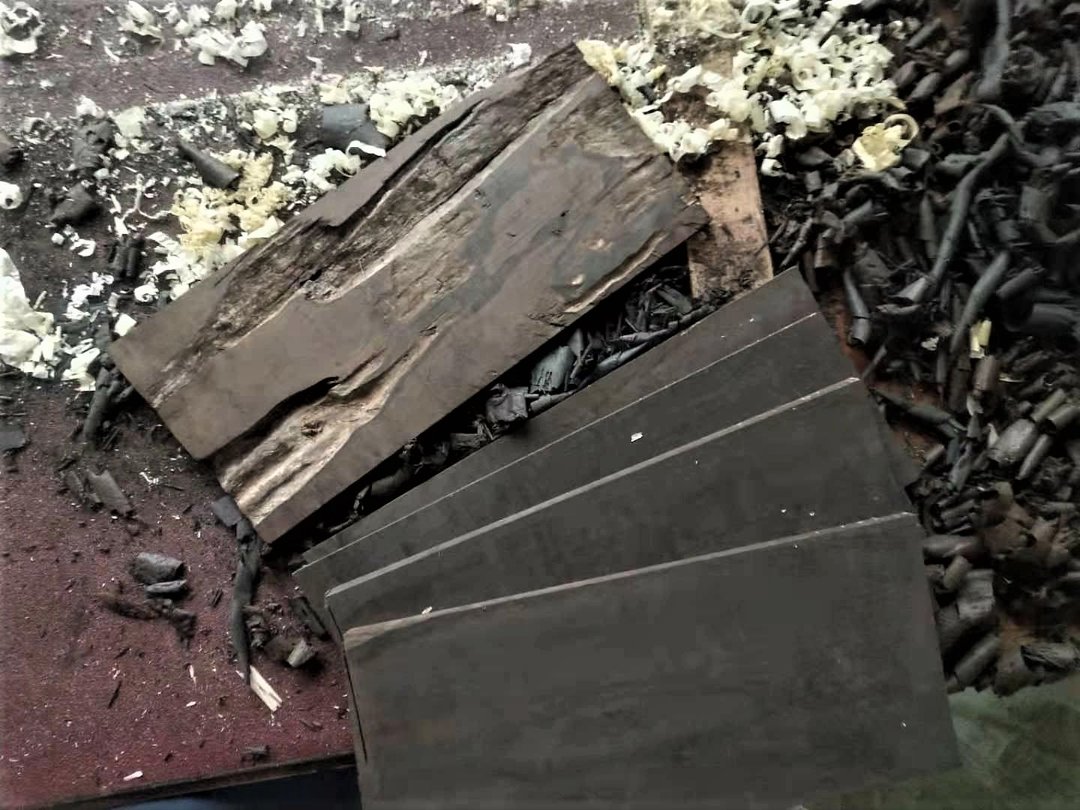
MAKING THE PANELS
The beams are first sawn into rectangular panels. These panels are shaved and sanded by hand to make them completely smooth and straight.
BOOK MATCHING
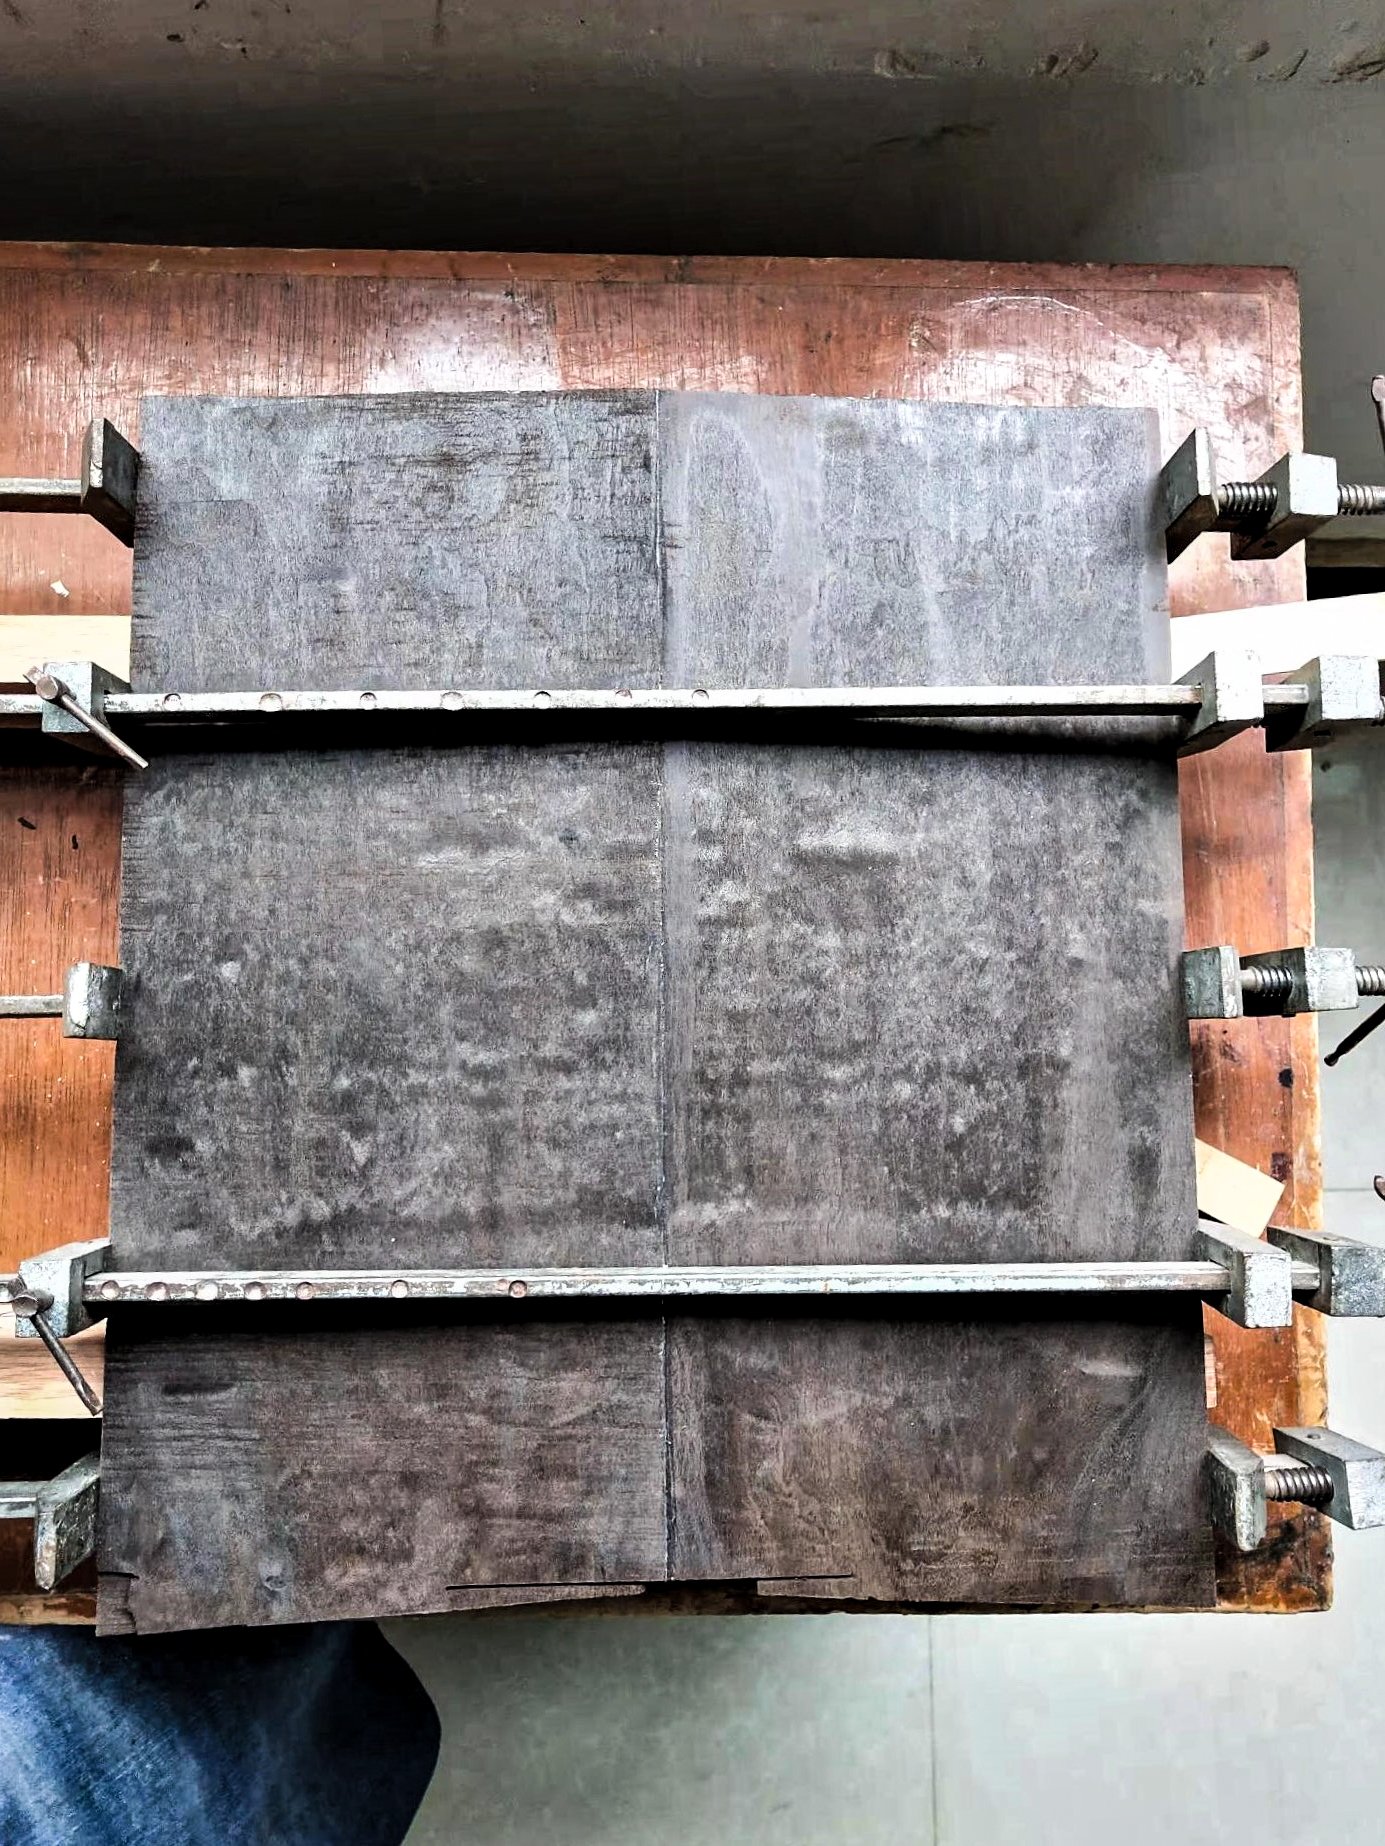
The panels are sawn in half (diagonally, in length), a bit like a trapezoid. This shape is necessary for carving an arched top. The sides of the panels are then shaved with a wood planer to make them perfectly straight before they are glued together. Next, we glue the edges and clamp them together horizontally. We let it sit for some time to let the glue dry overnight, remove the clamps, then let it sit for another half day. In this way, the center of the wood is thicker then the outsides. We book matched both the top and back.
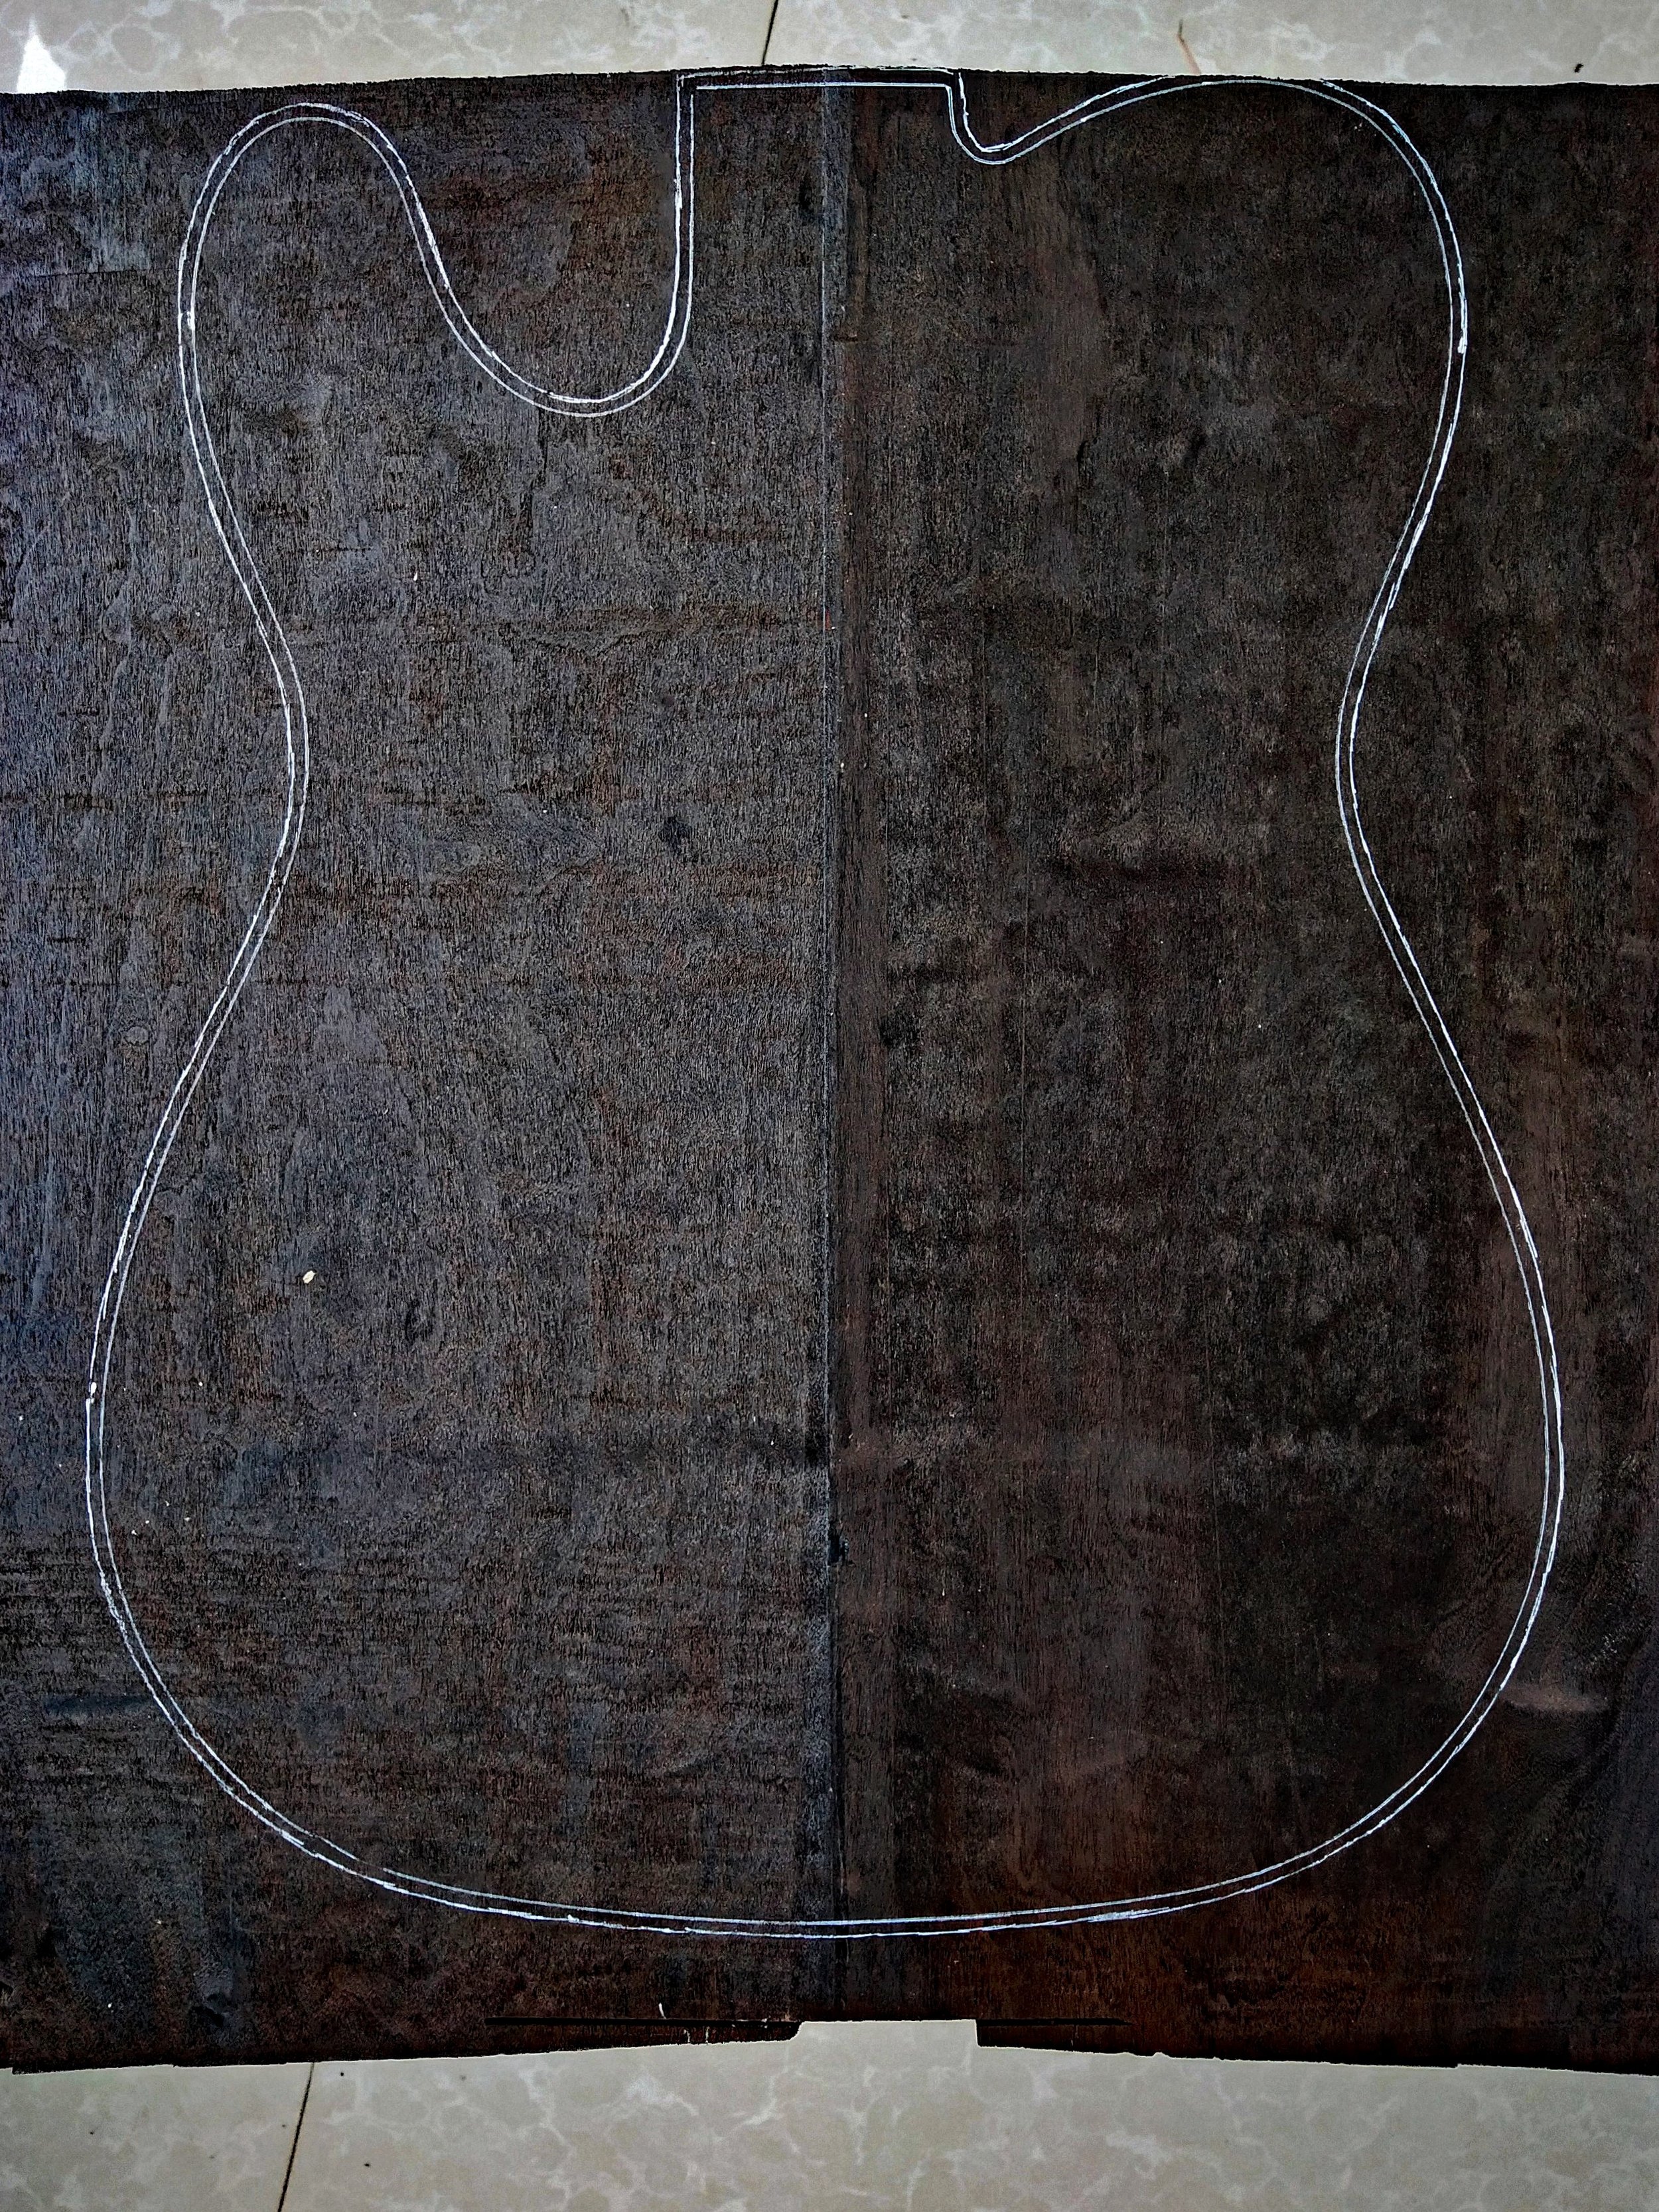
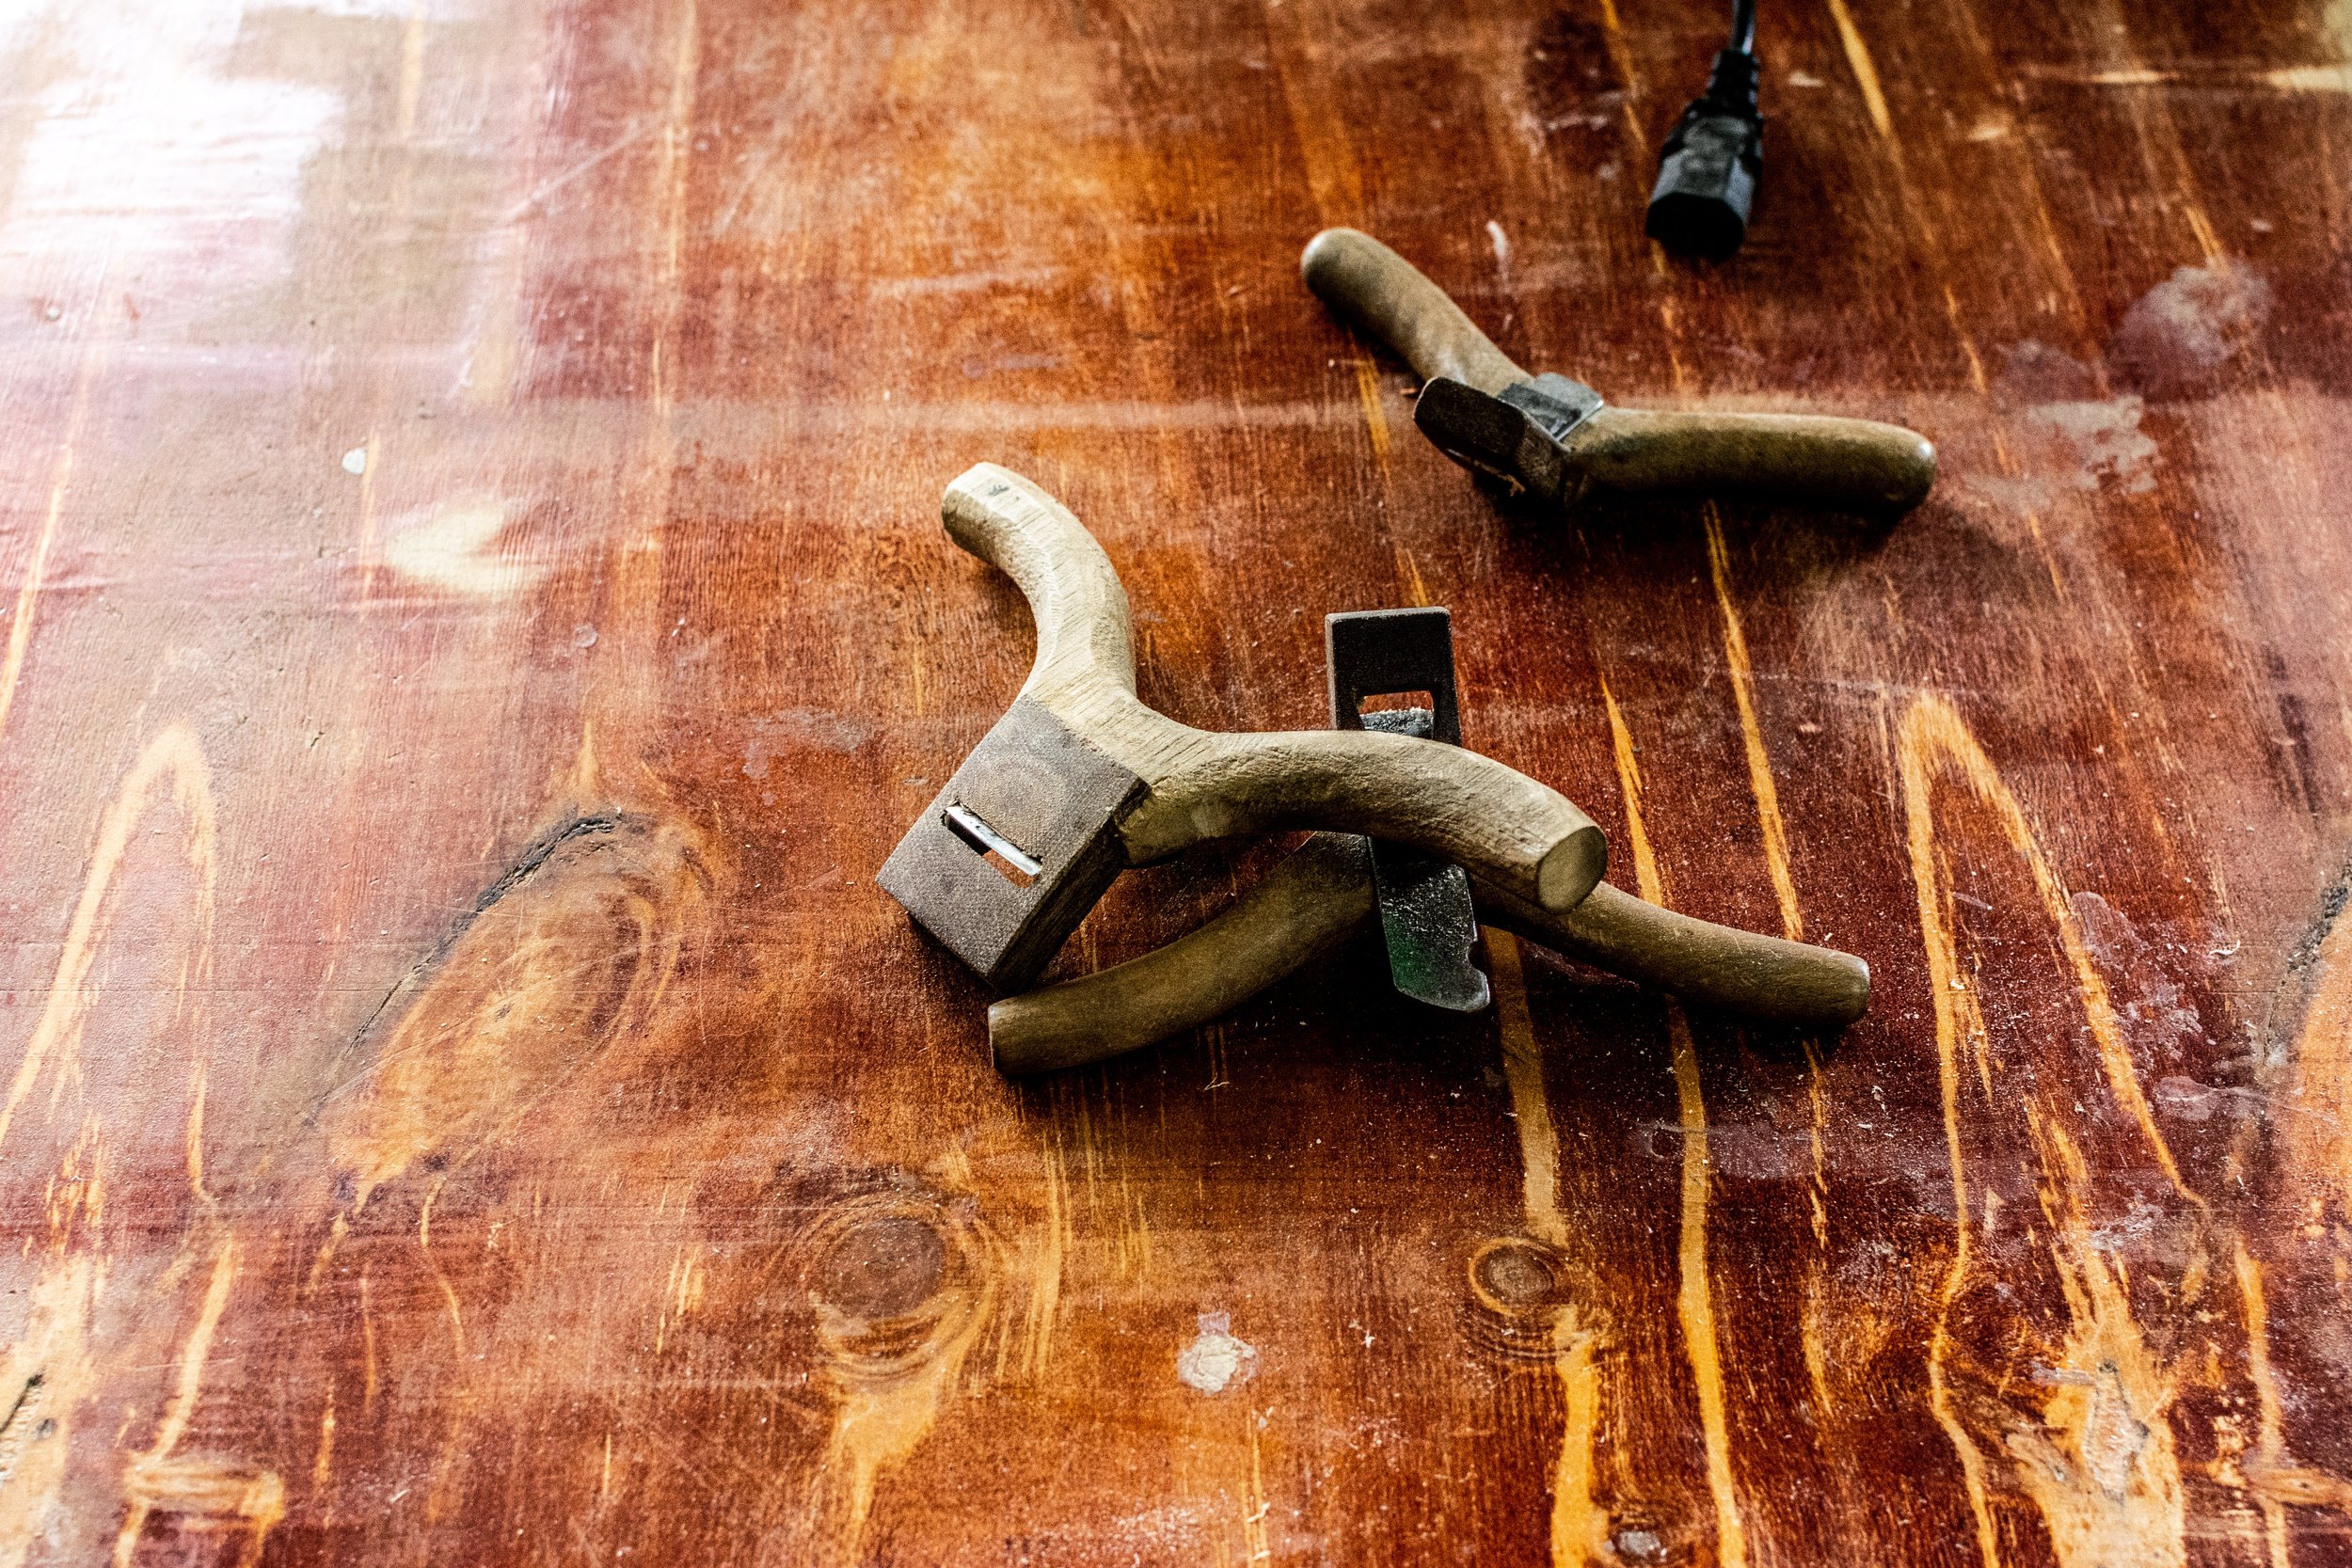
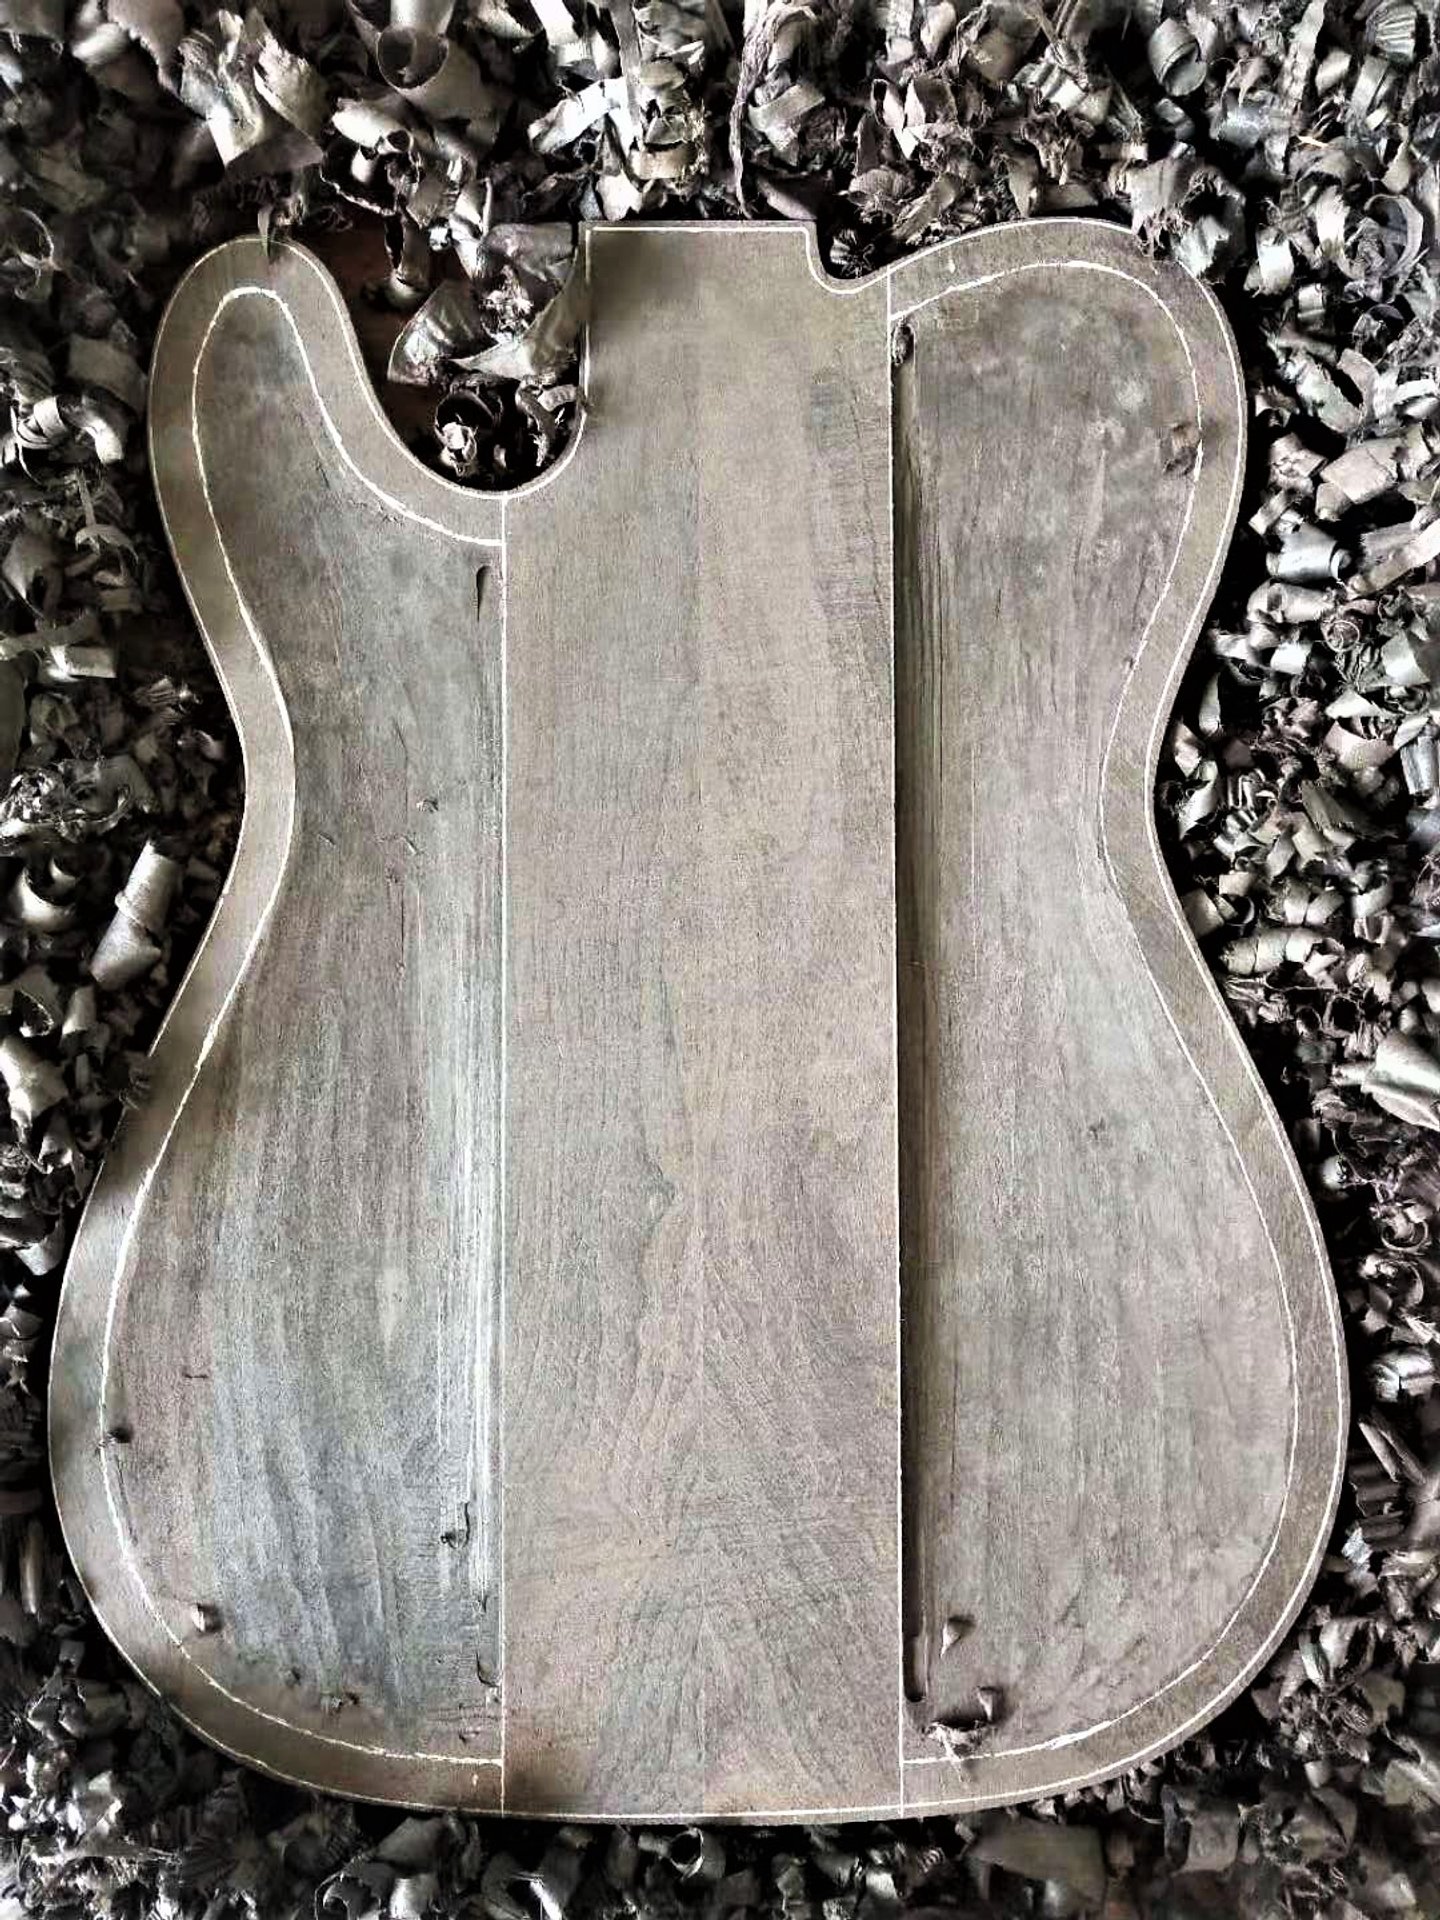
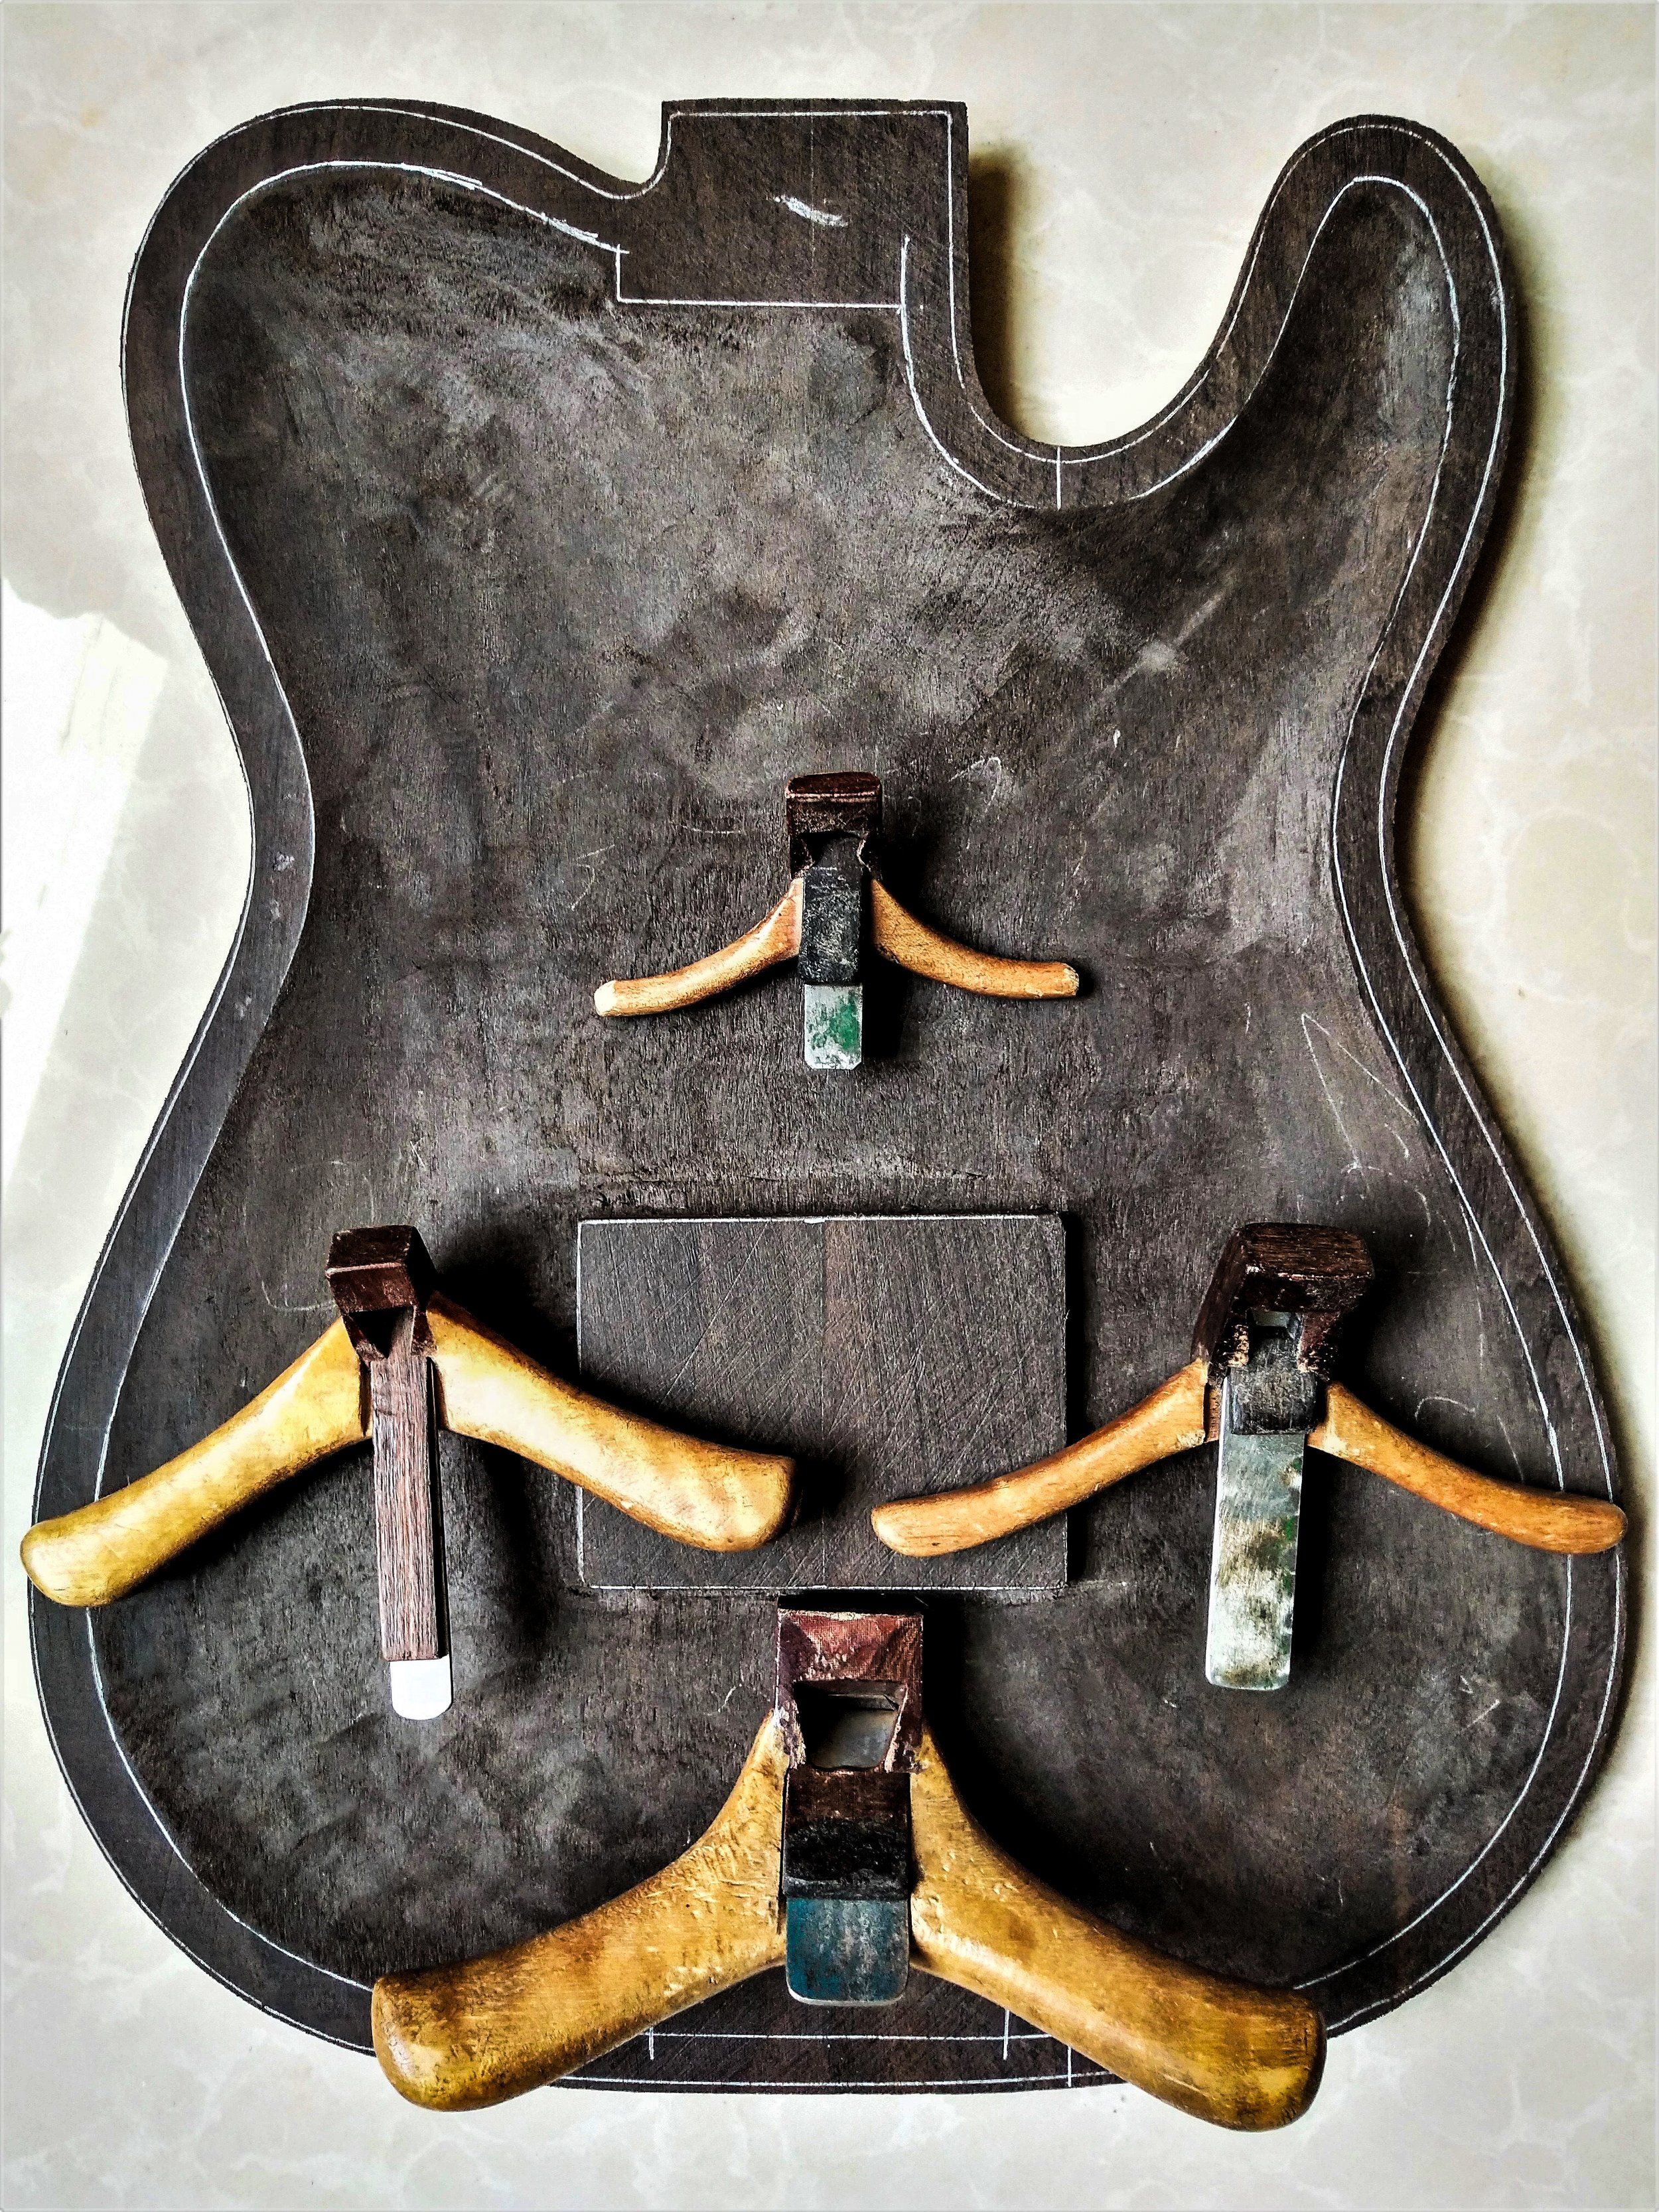
CARVING THE TOP & BACK
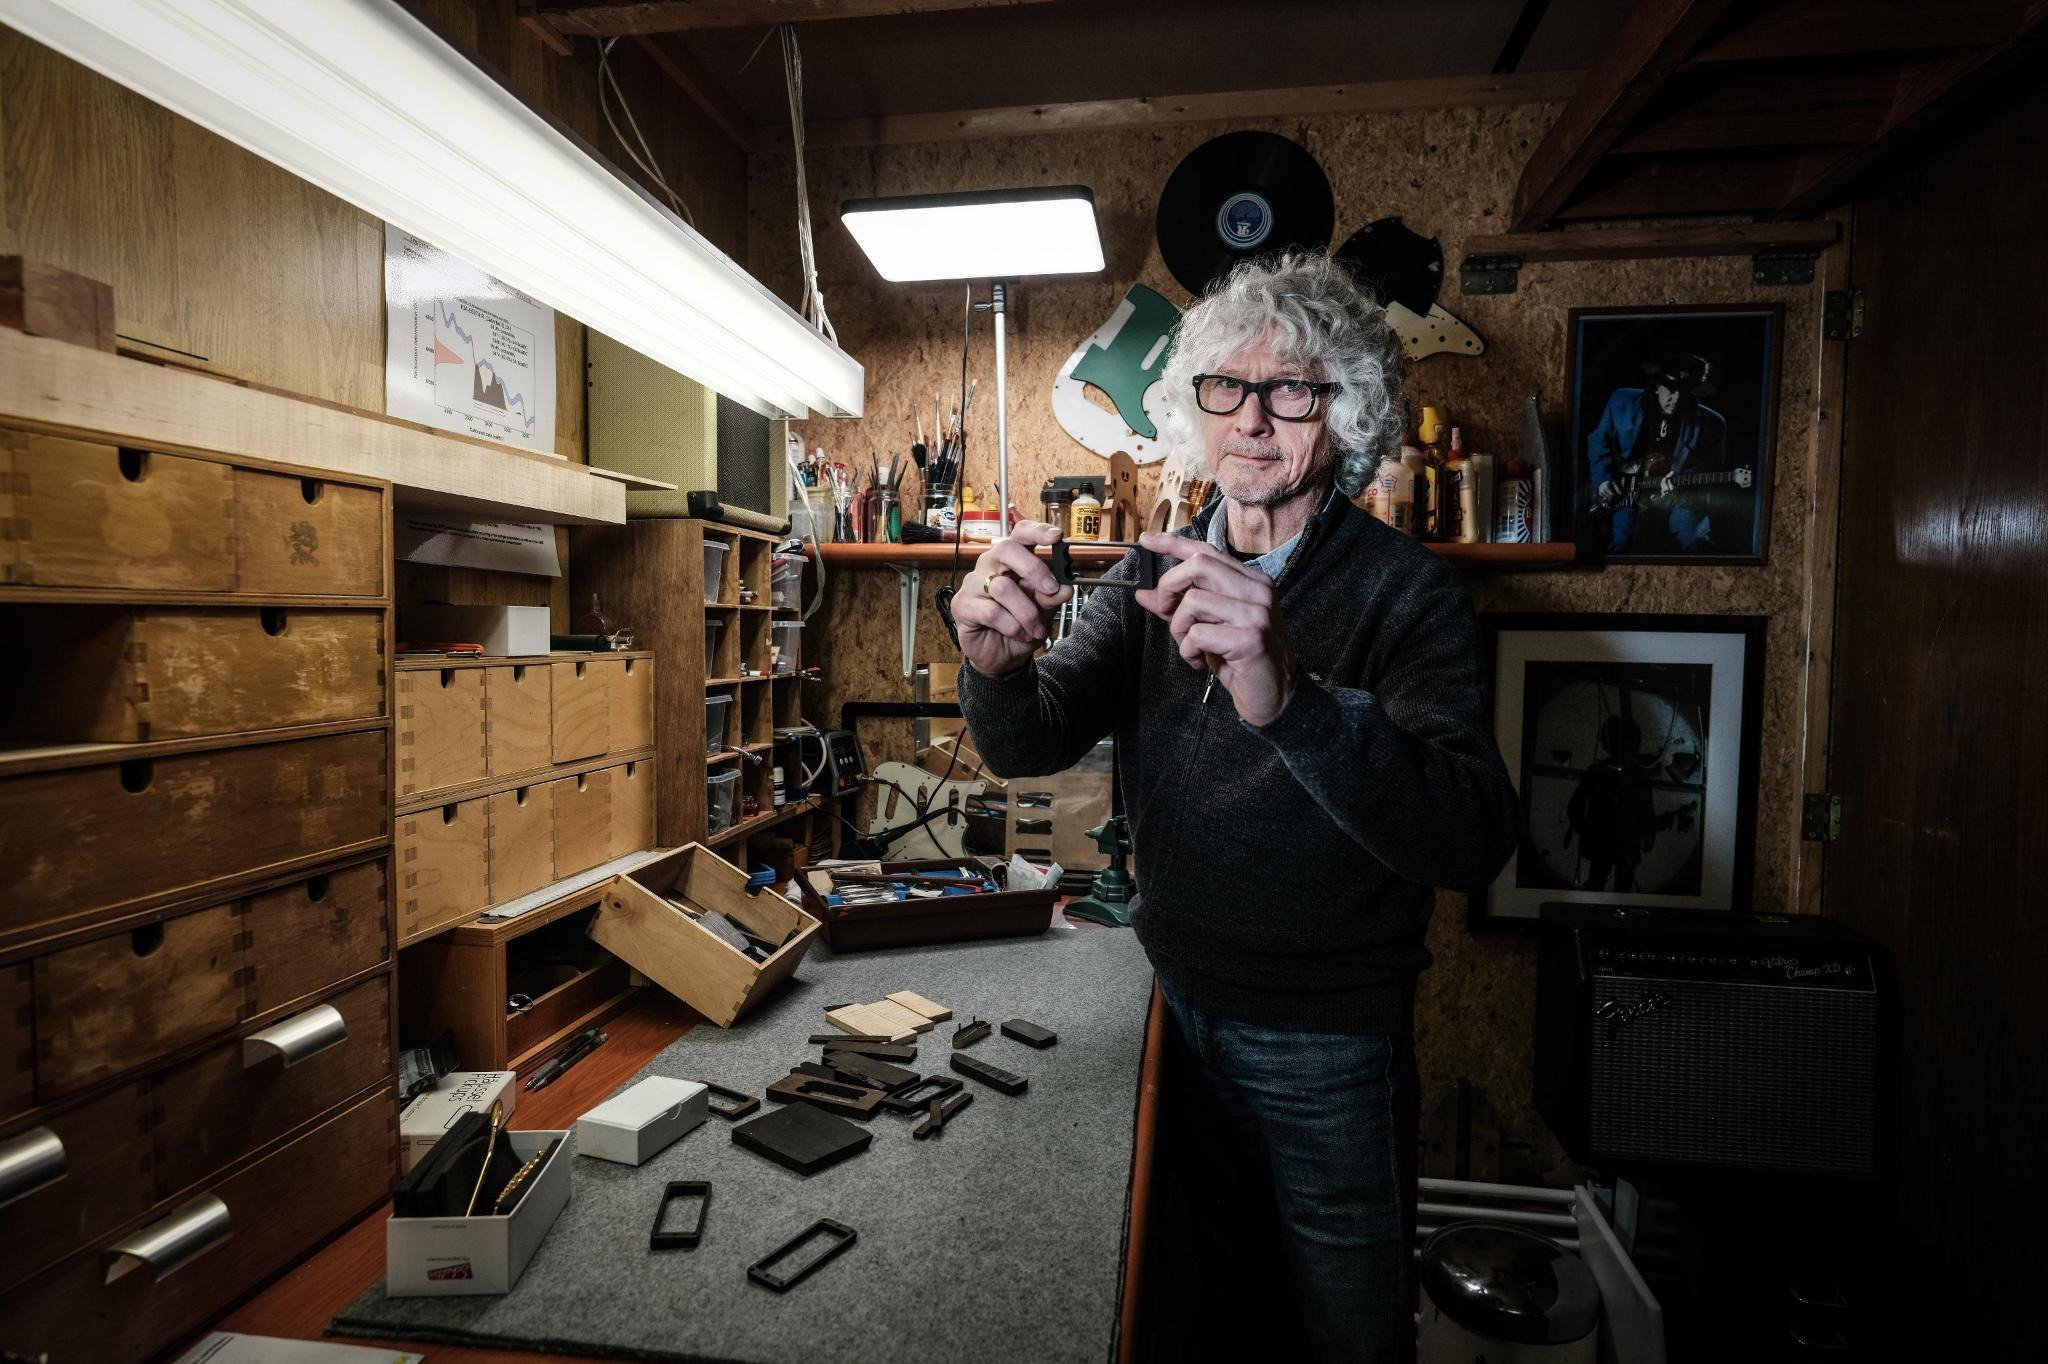
After rough cut-outs of the top and the back have been made, Dongming and Youmei start carving the top and back using different sizes scraper planes. In the photos below you can clearly see how the curvature in the wood is slowly but surely getting more prominent. This is a very labor intensive and delicate process and requires a very steady hand. In order to determine the correct thickness, Dongming listens to the sound of the wood in addition to using a thickness caliper.
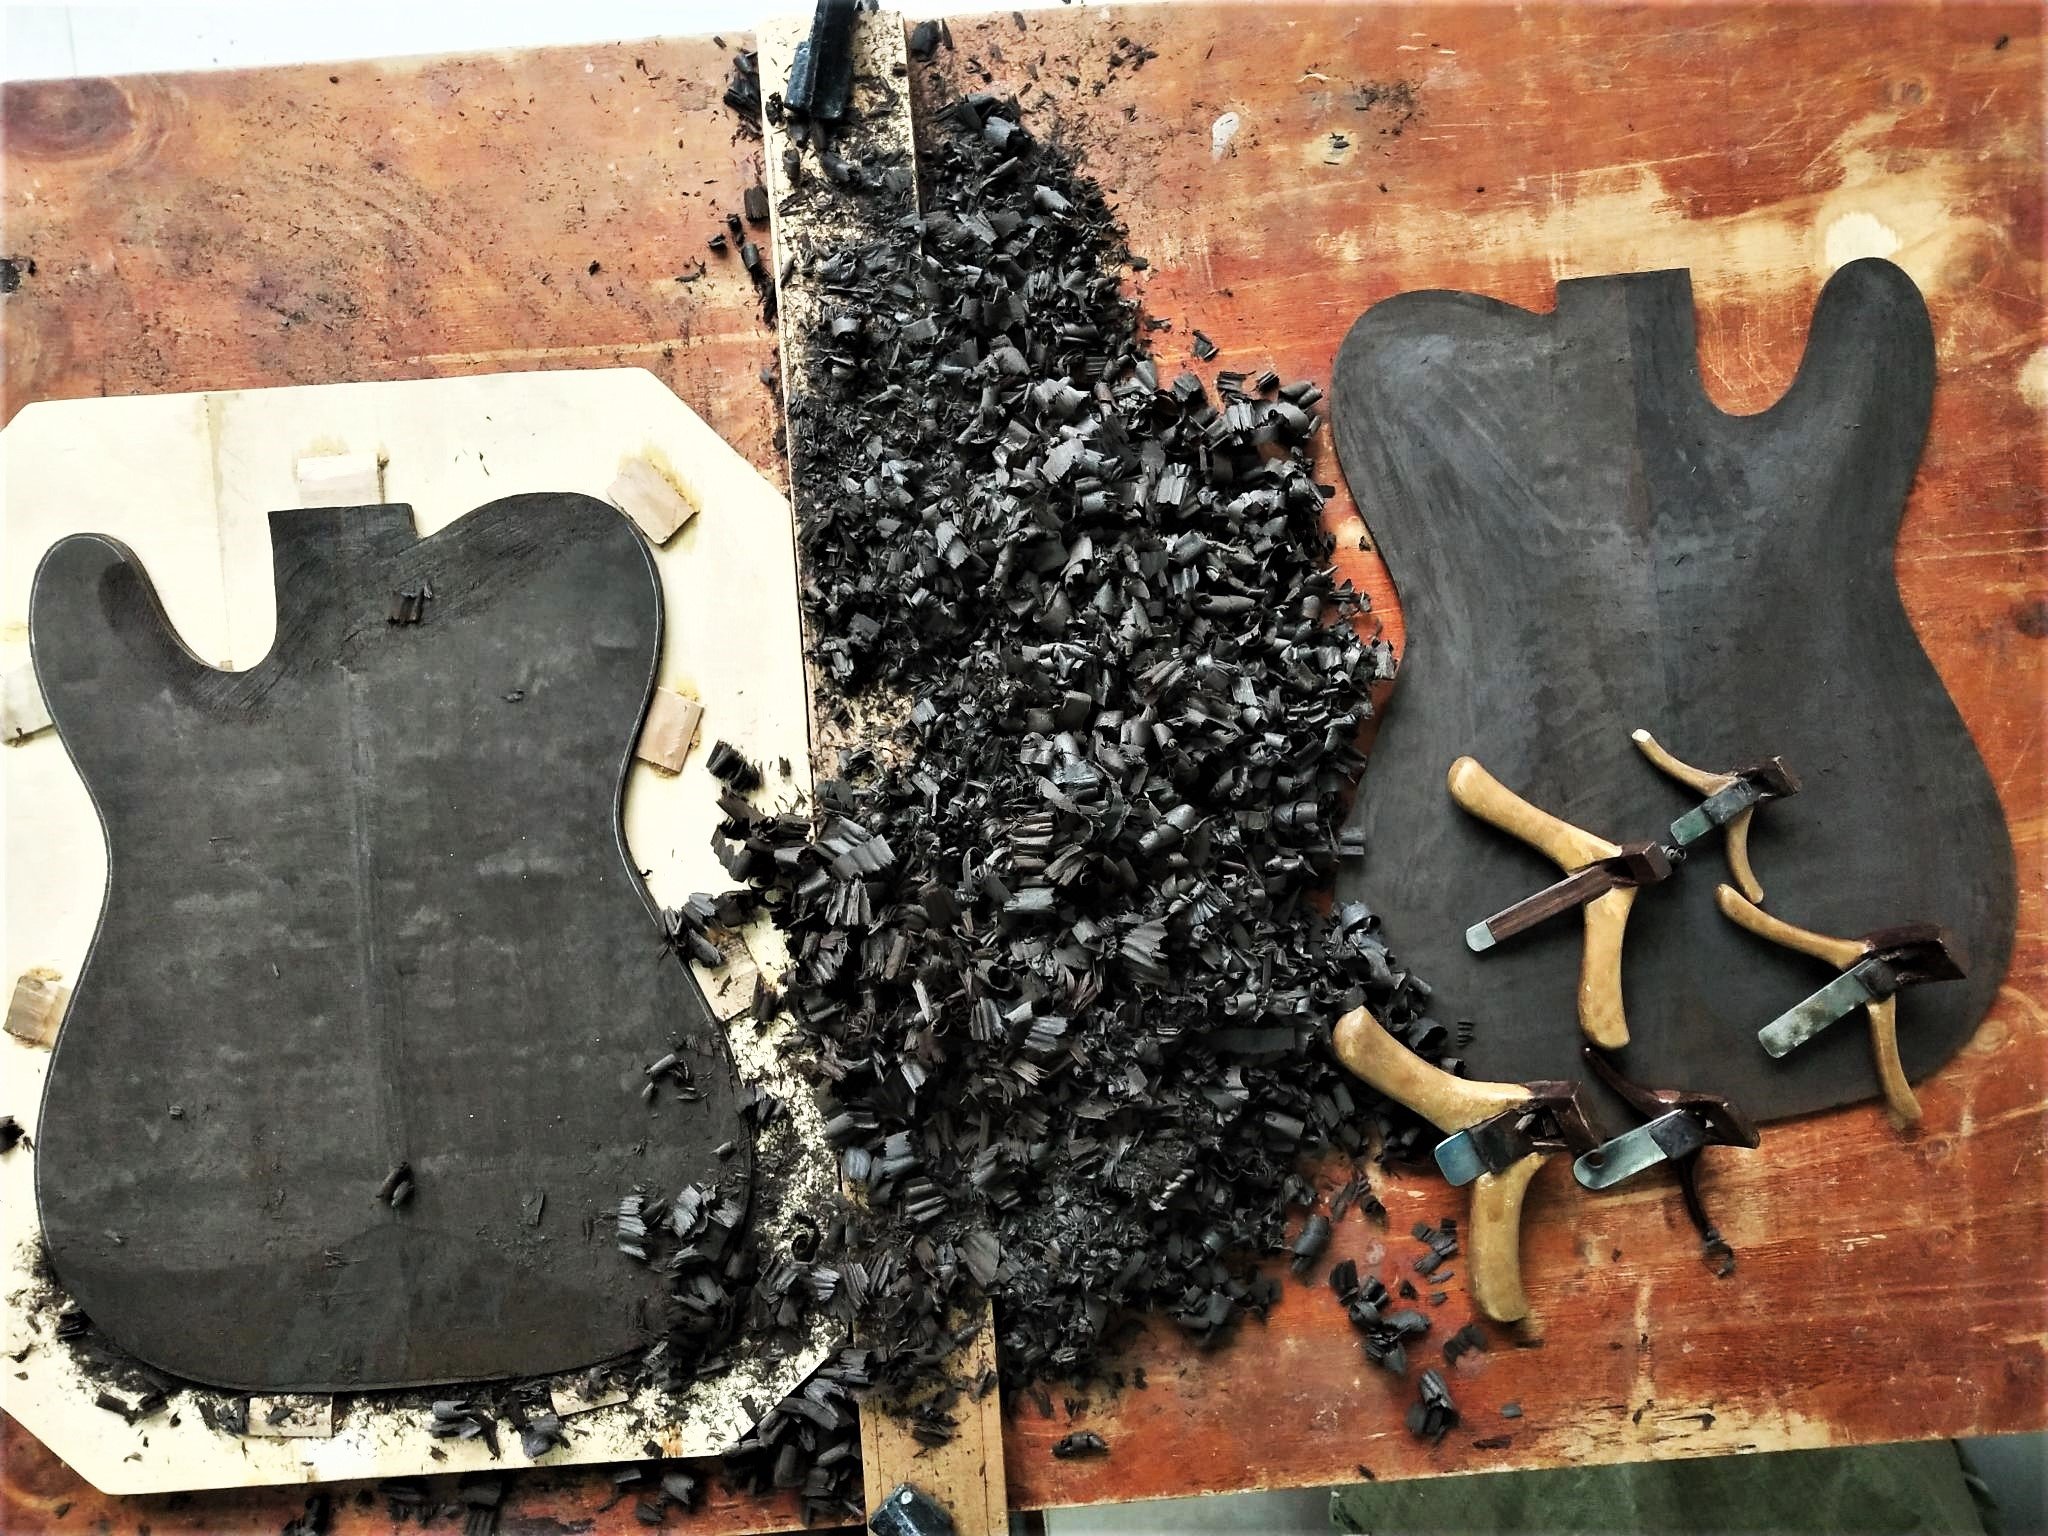
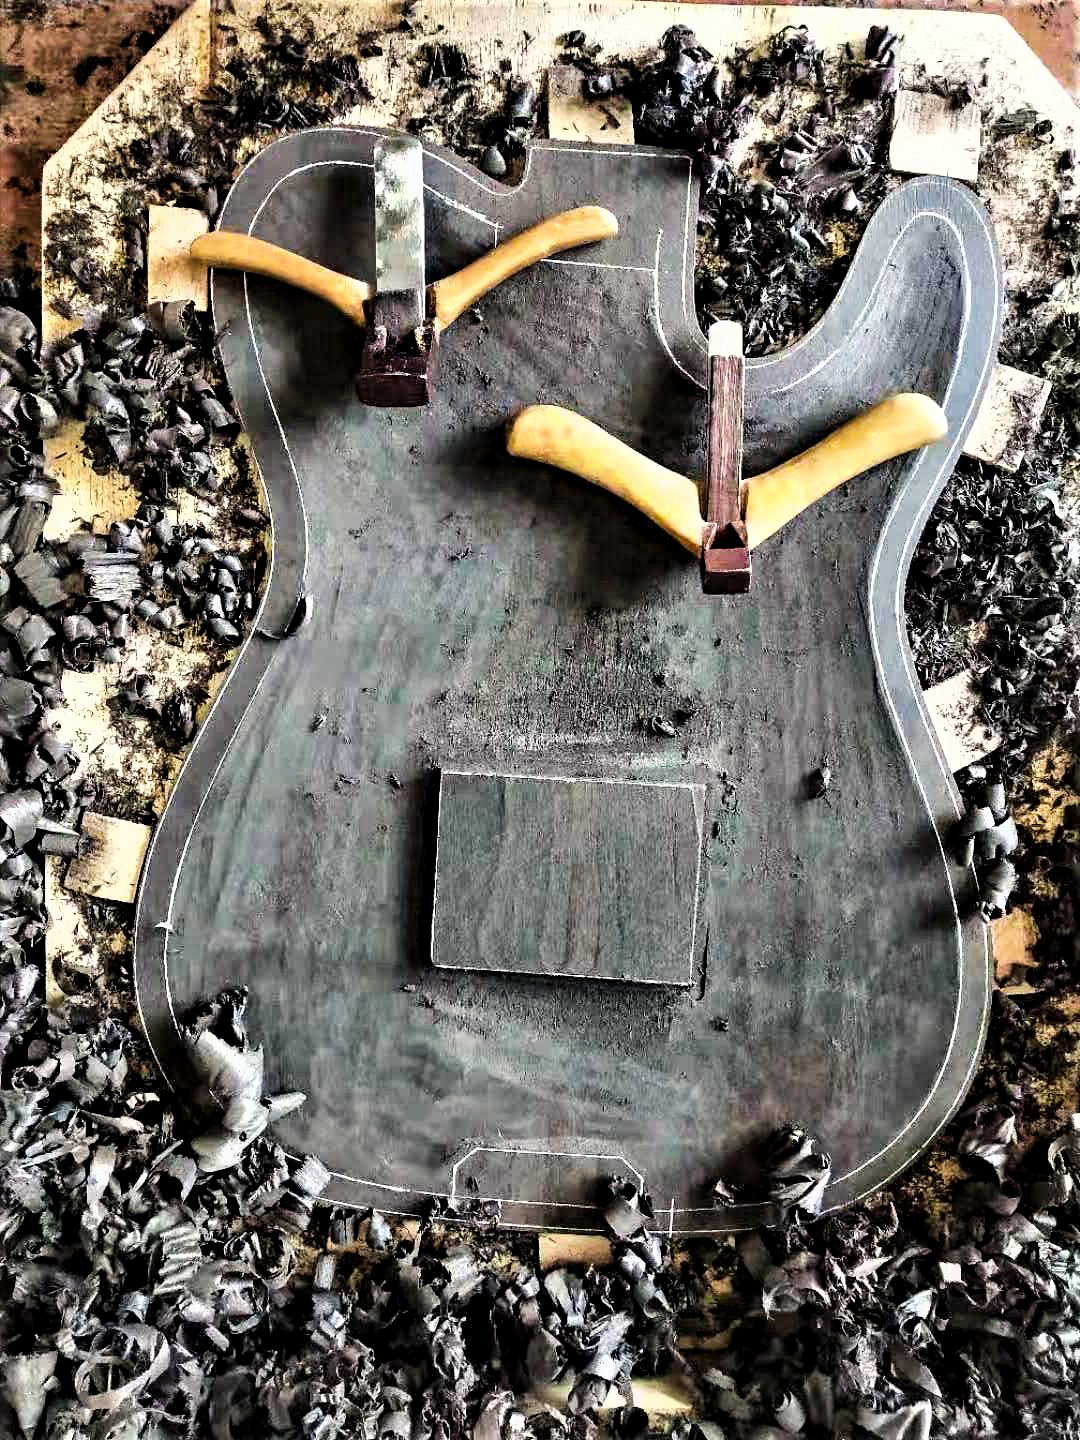
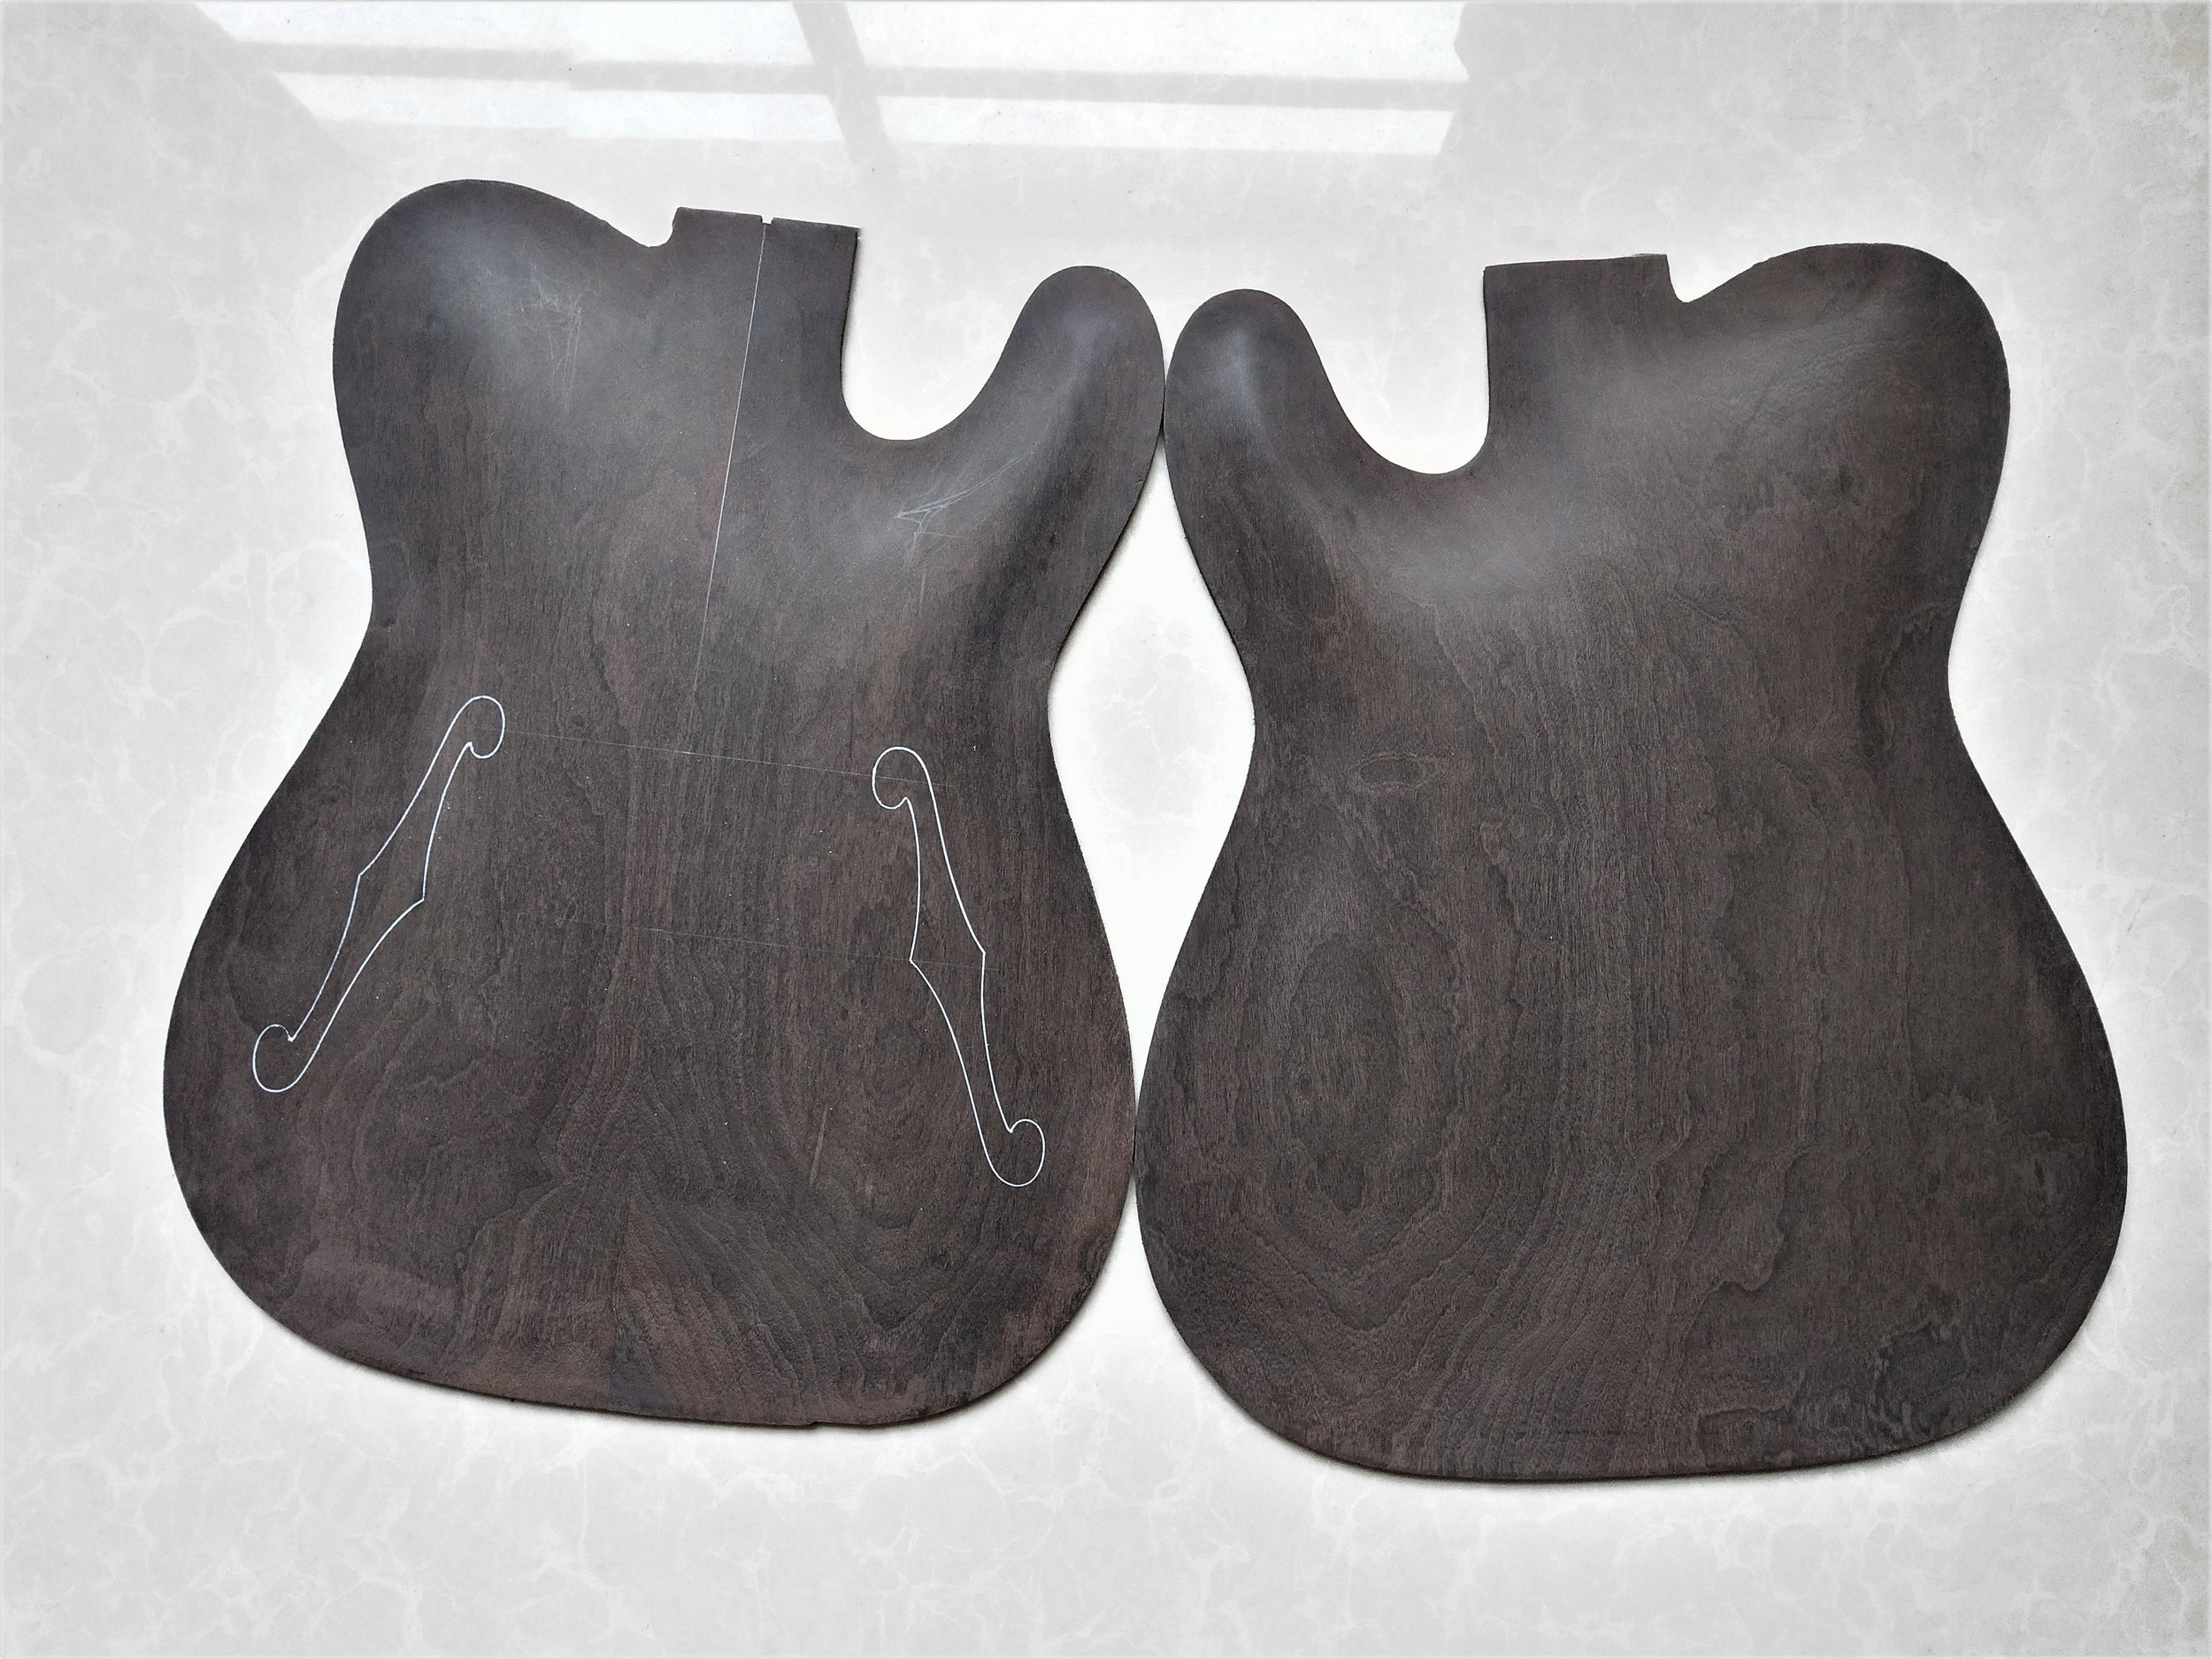
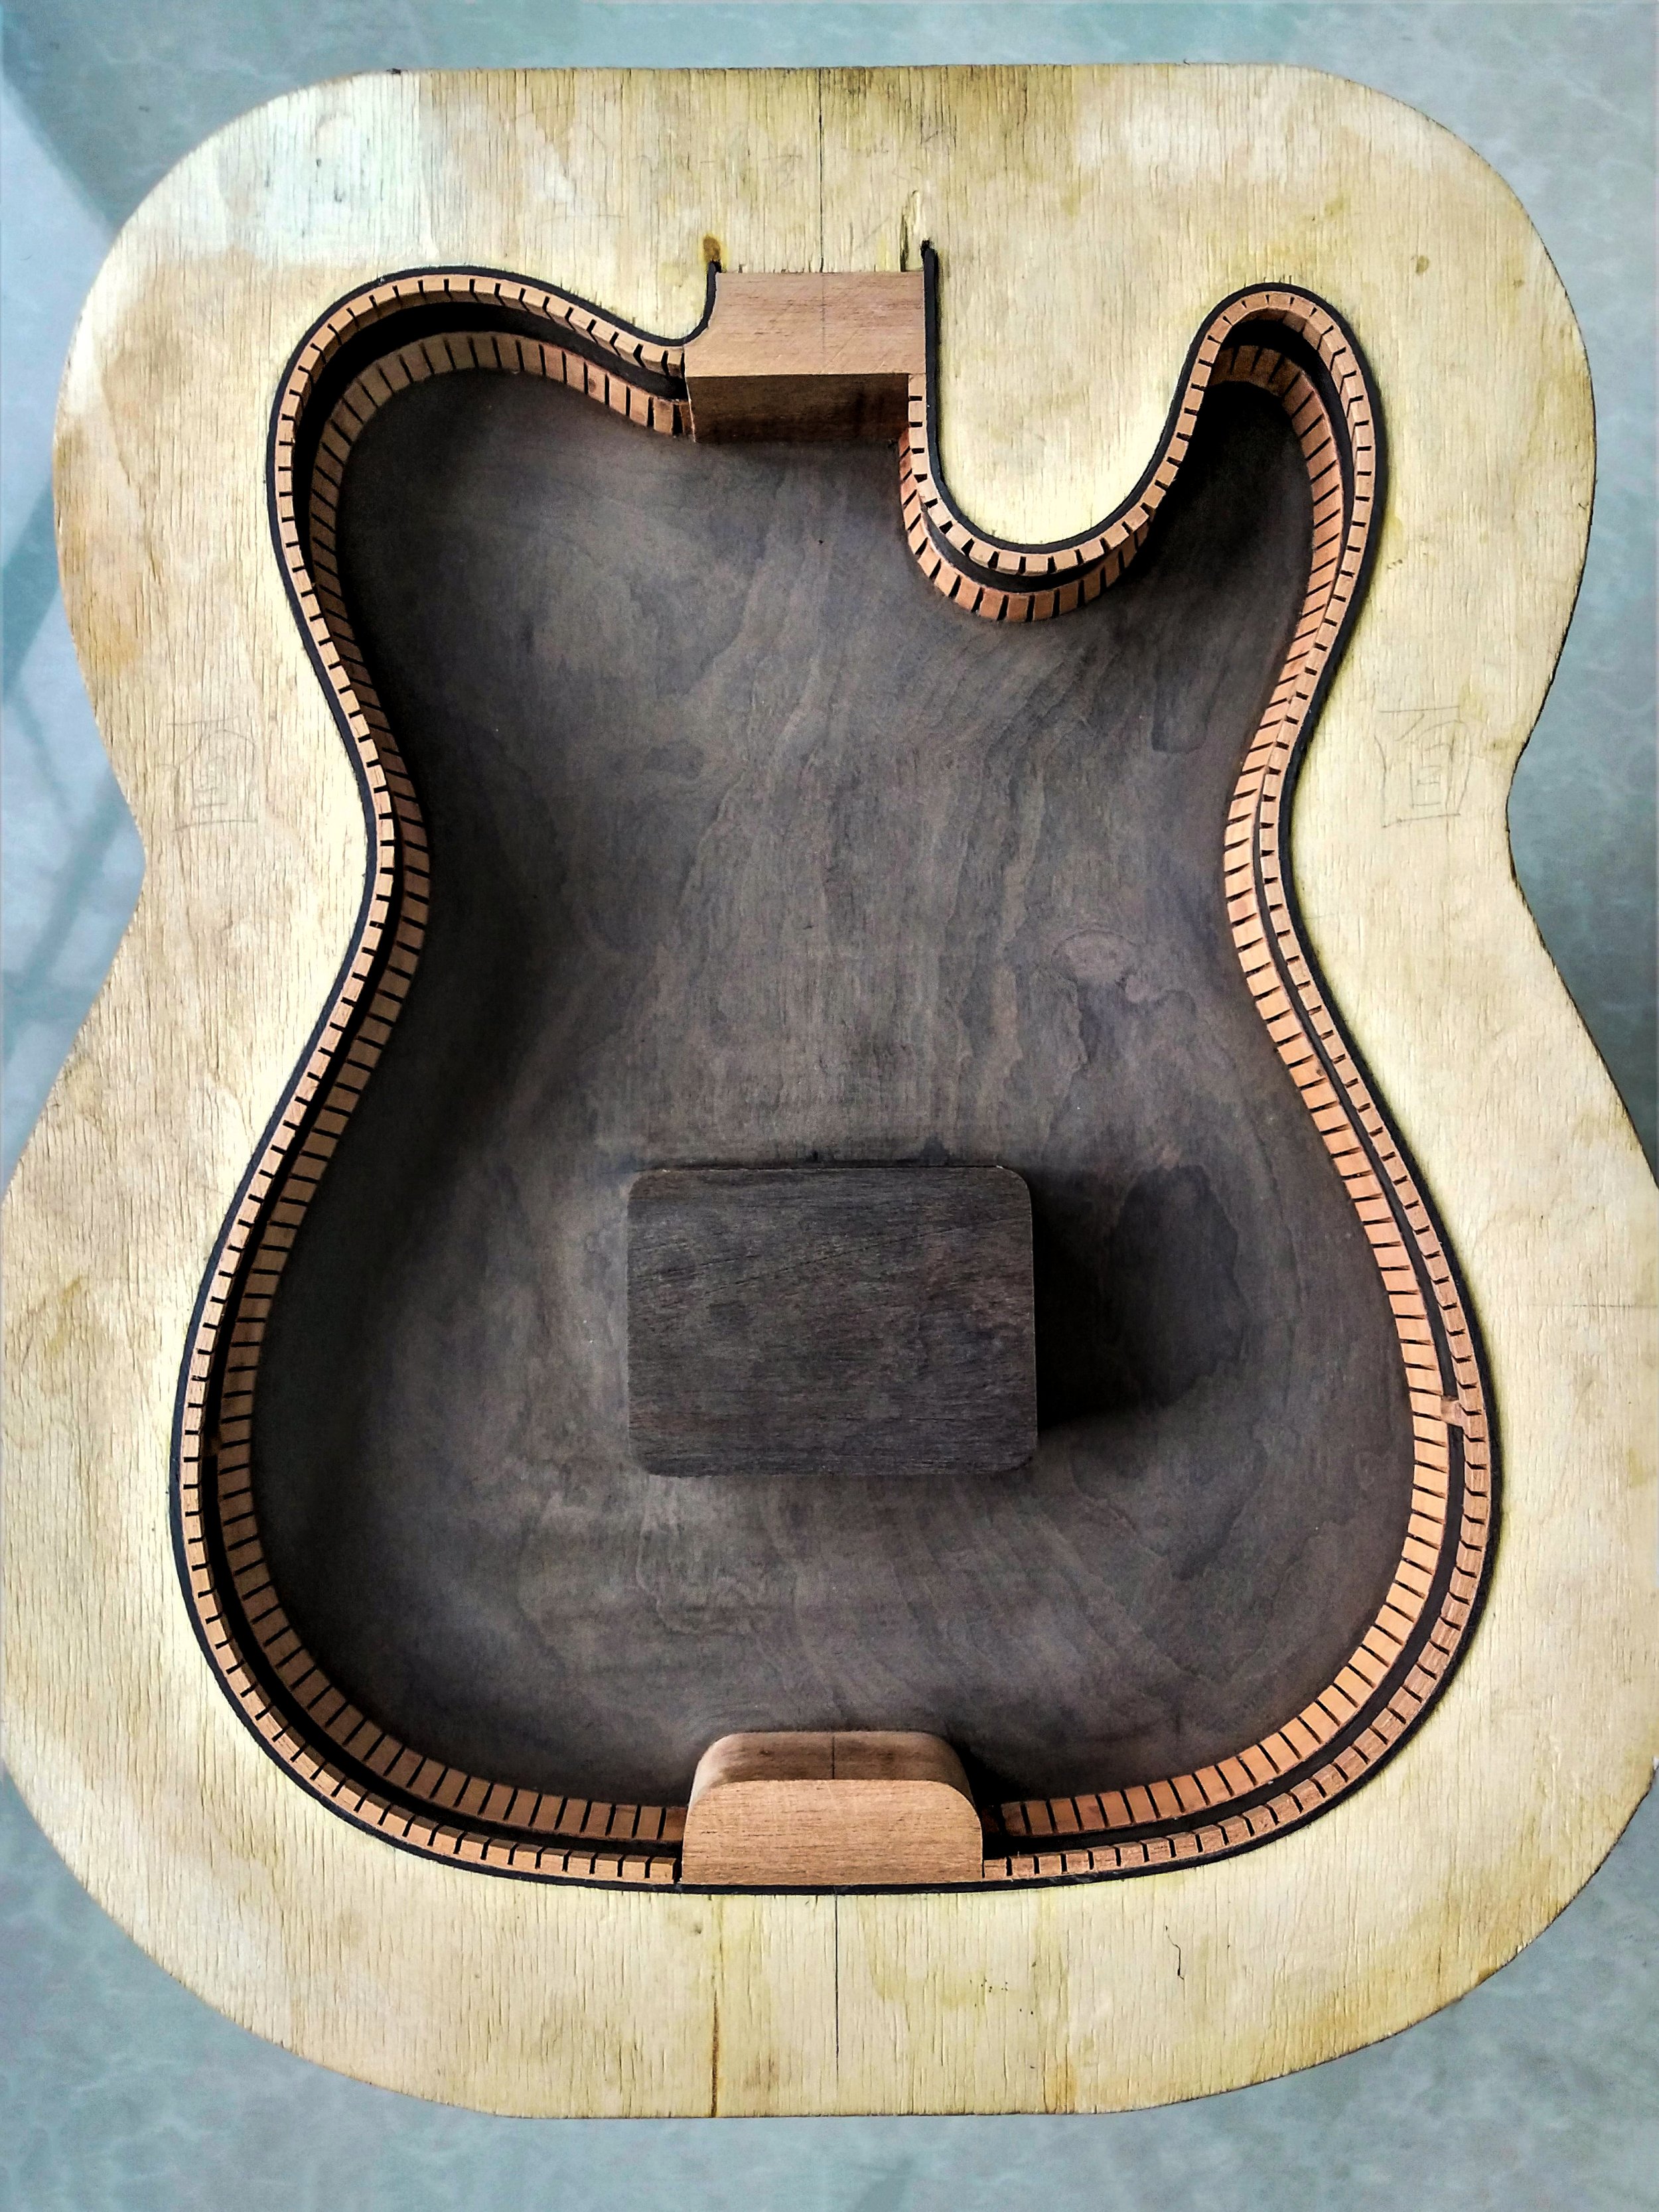
THE CONSTRUCTION
Below, you can see the inner side of the top and the back. The construction we use (on all our semi-acoustic guitars) is clearly visible. The center of the top maintains its original thickness while the rest of the wood is carefully carved away. In this way there is no tension on the top. This construction eliminates the need for a center block that covers the entire body length of the guitar that is normally needed for stability. It also solves all feedback problems entirely while maintaining its acoustic properties as much as possible.
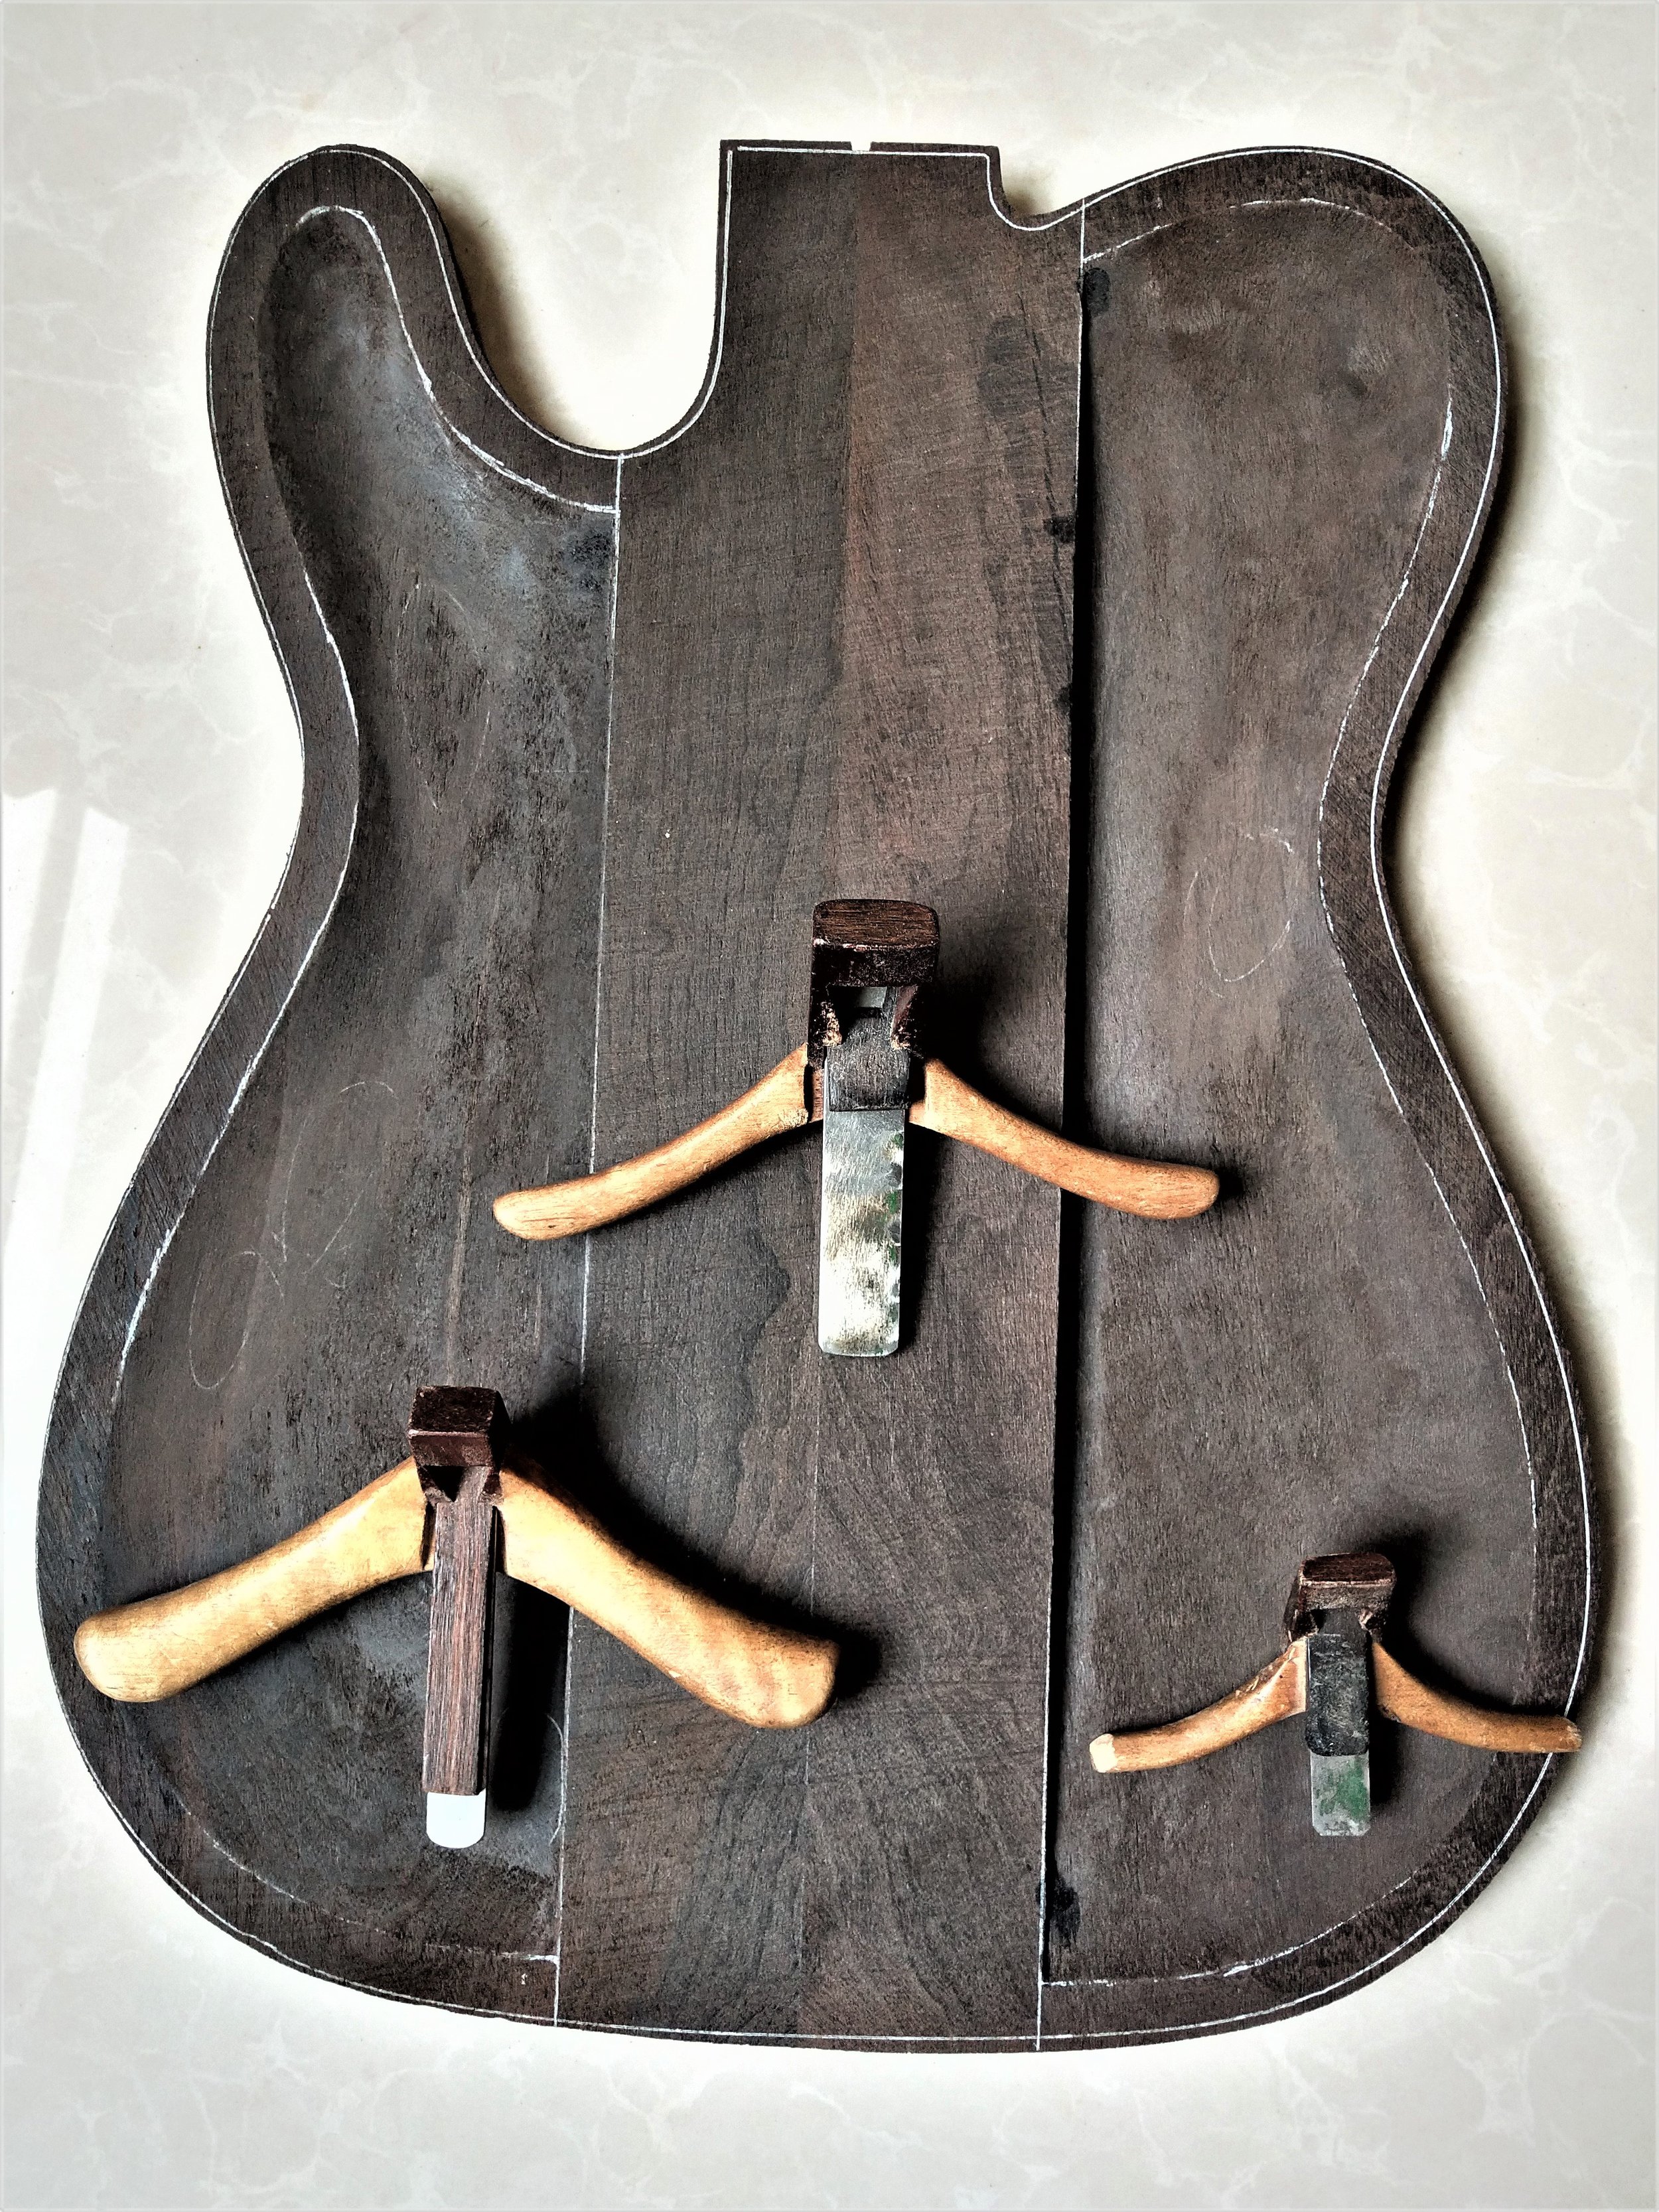
The back has a square center block at the bridge position. Like the top, the block maintains its original thickness while the rest of the wood is carefully carved away.
The top and back have reached the correct thickness and shape. The grain, texture, figuring and color are now clearly visible. It gives us a first glimpse of what the end result might look like!

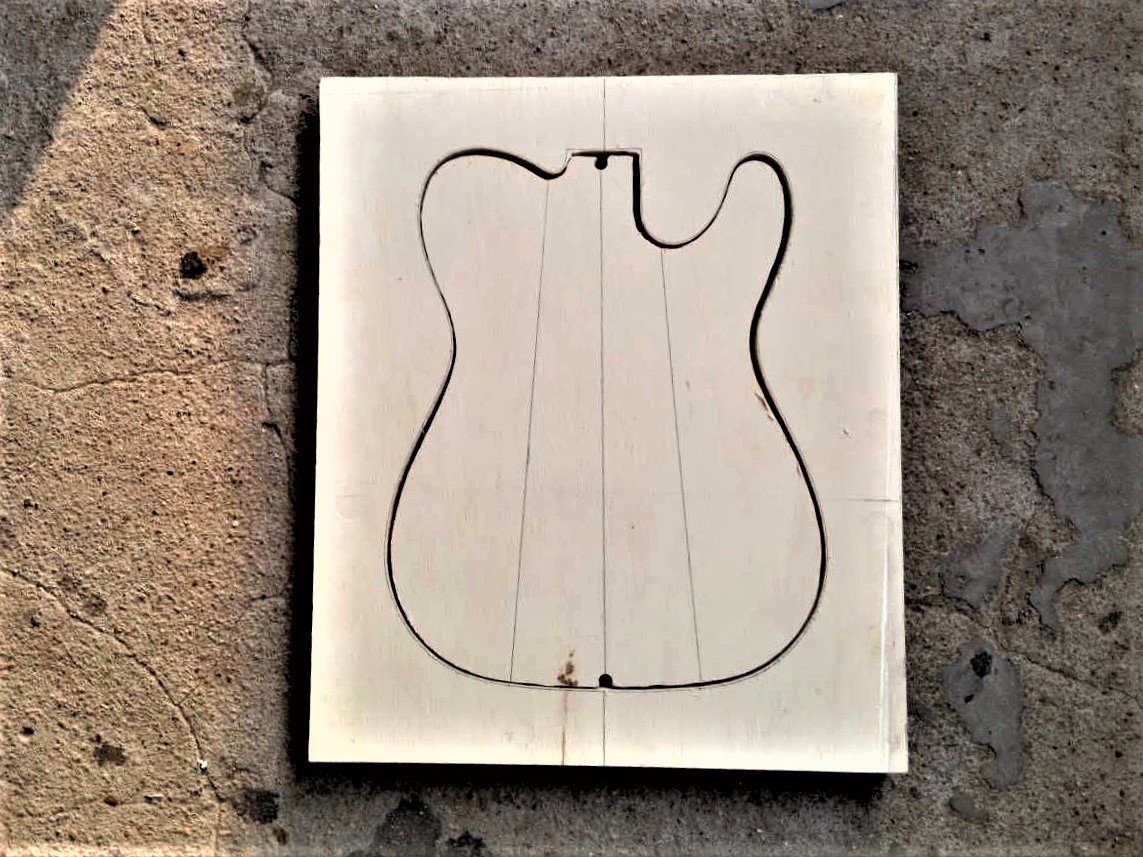
MAKING THE SIDES
After the top and back have been finished, we cut and bend the sides using a custom-made wooden mould. This process requires some planning as the sides need to be attached to the back straight away in order to maintain its shape.

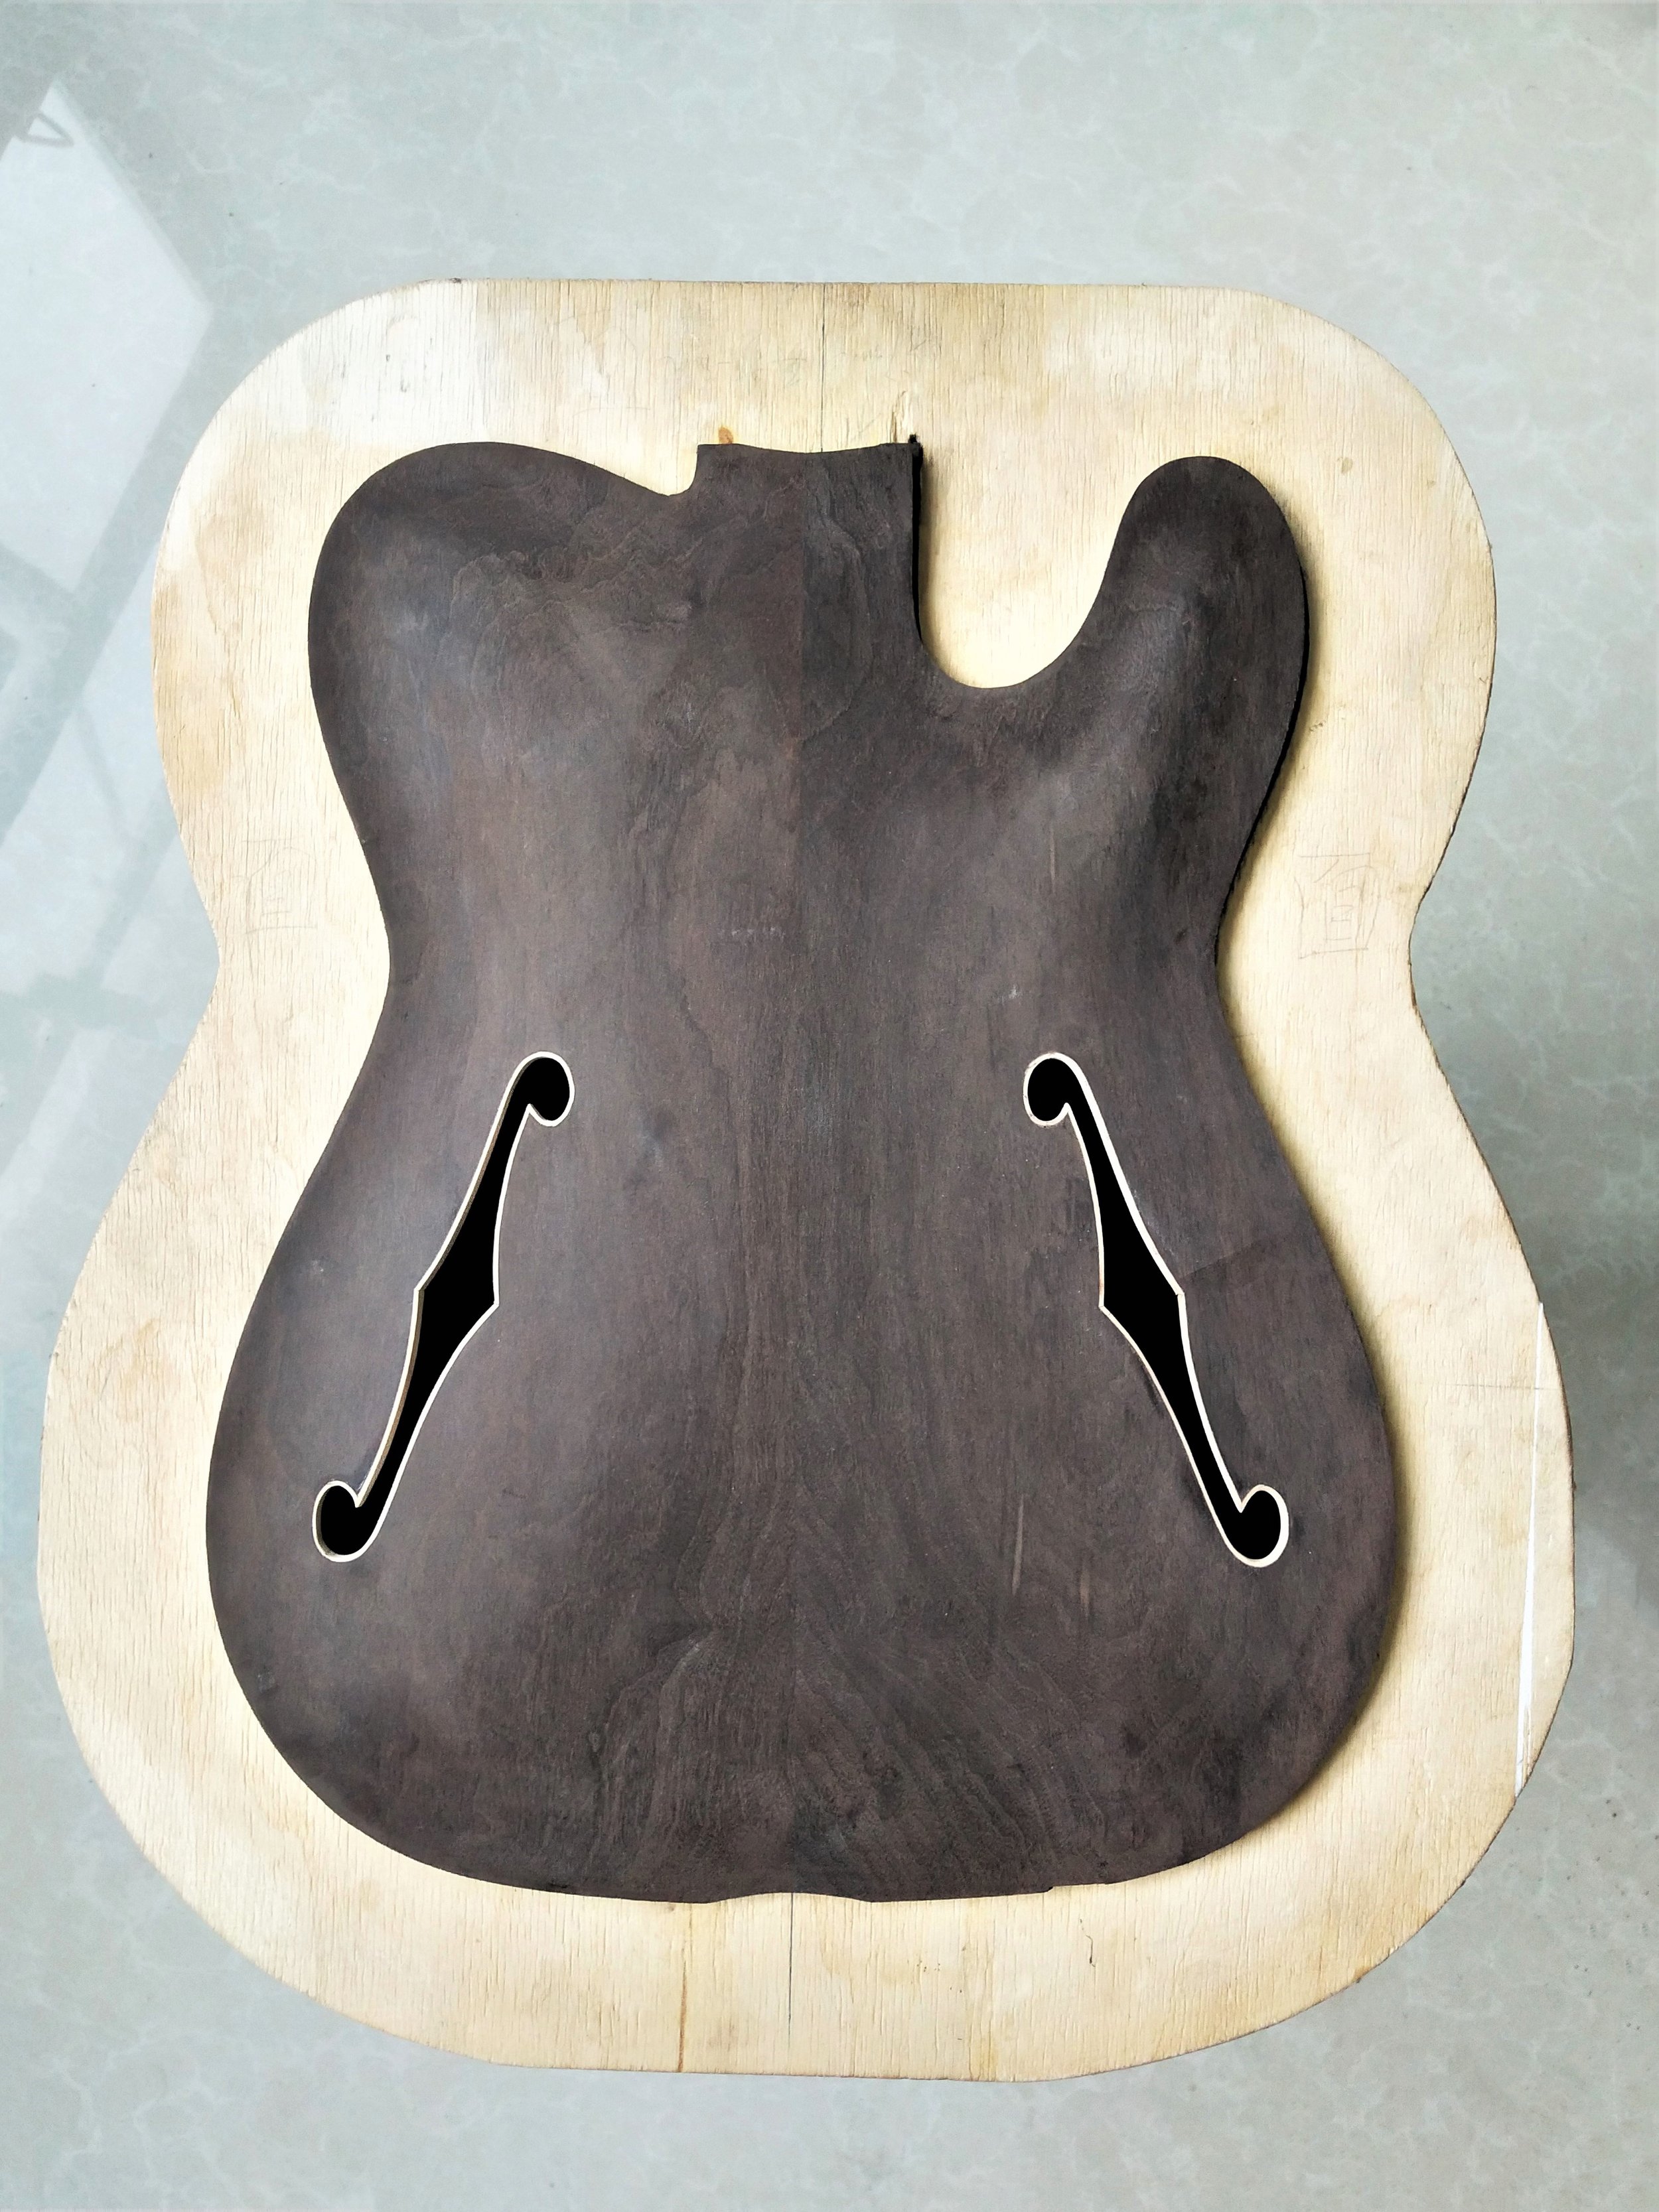
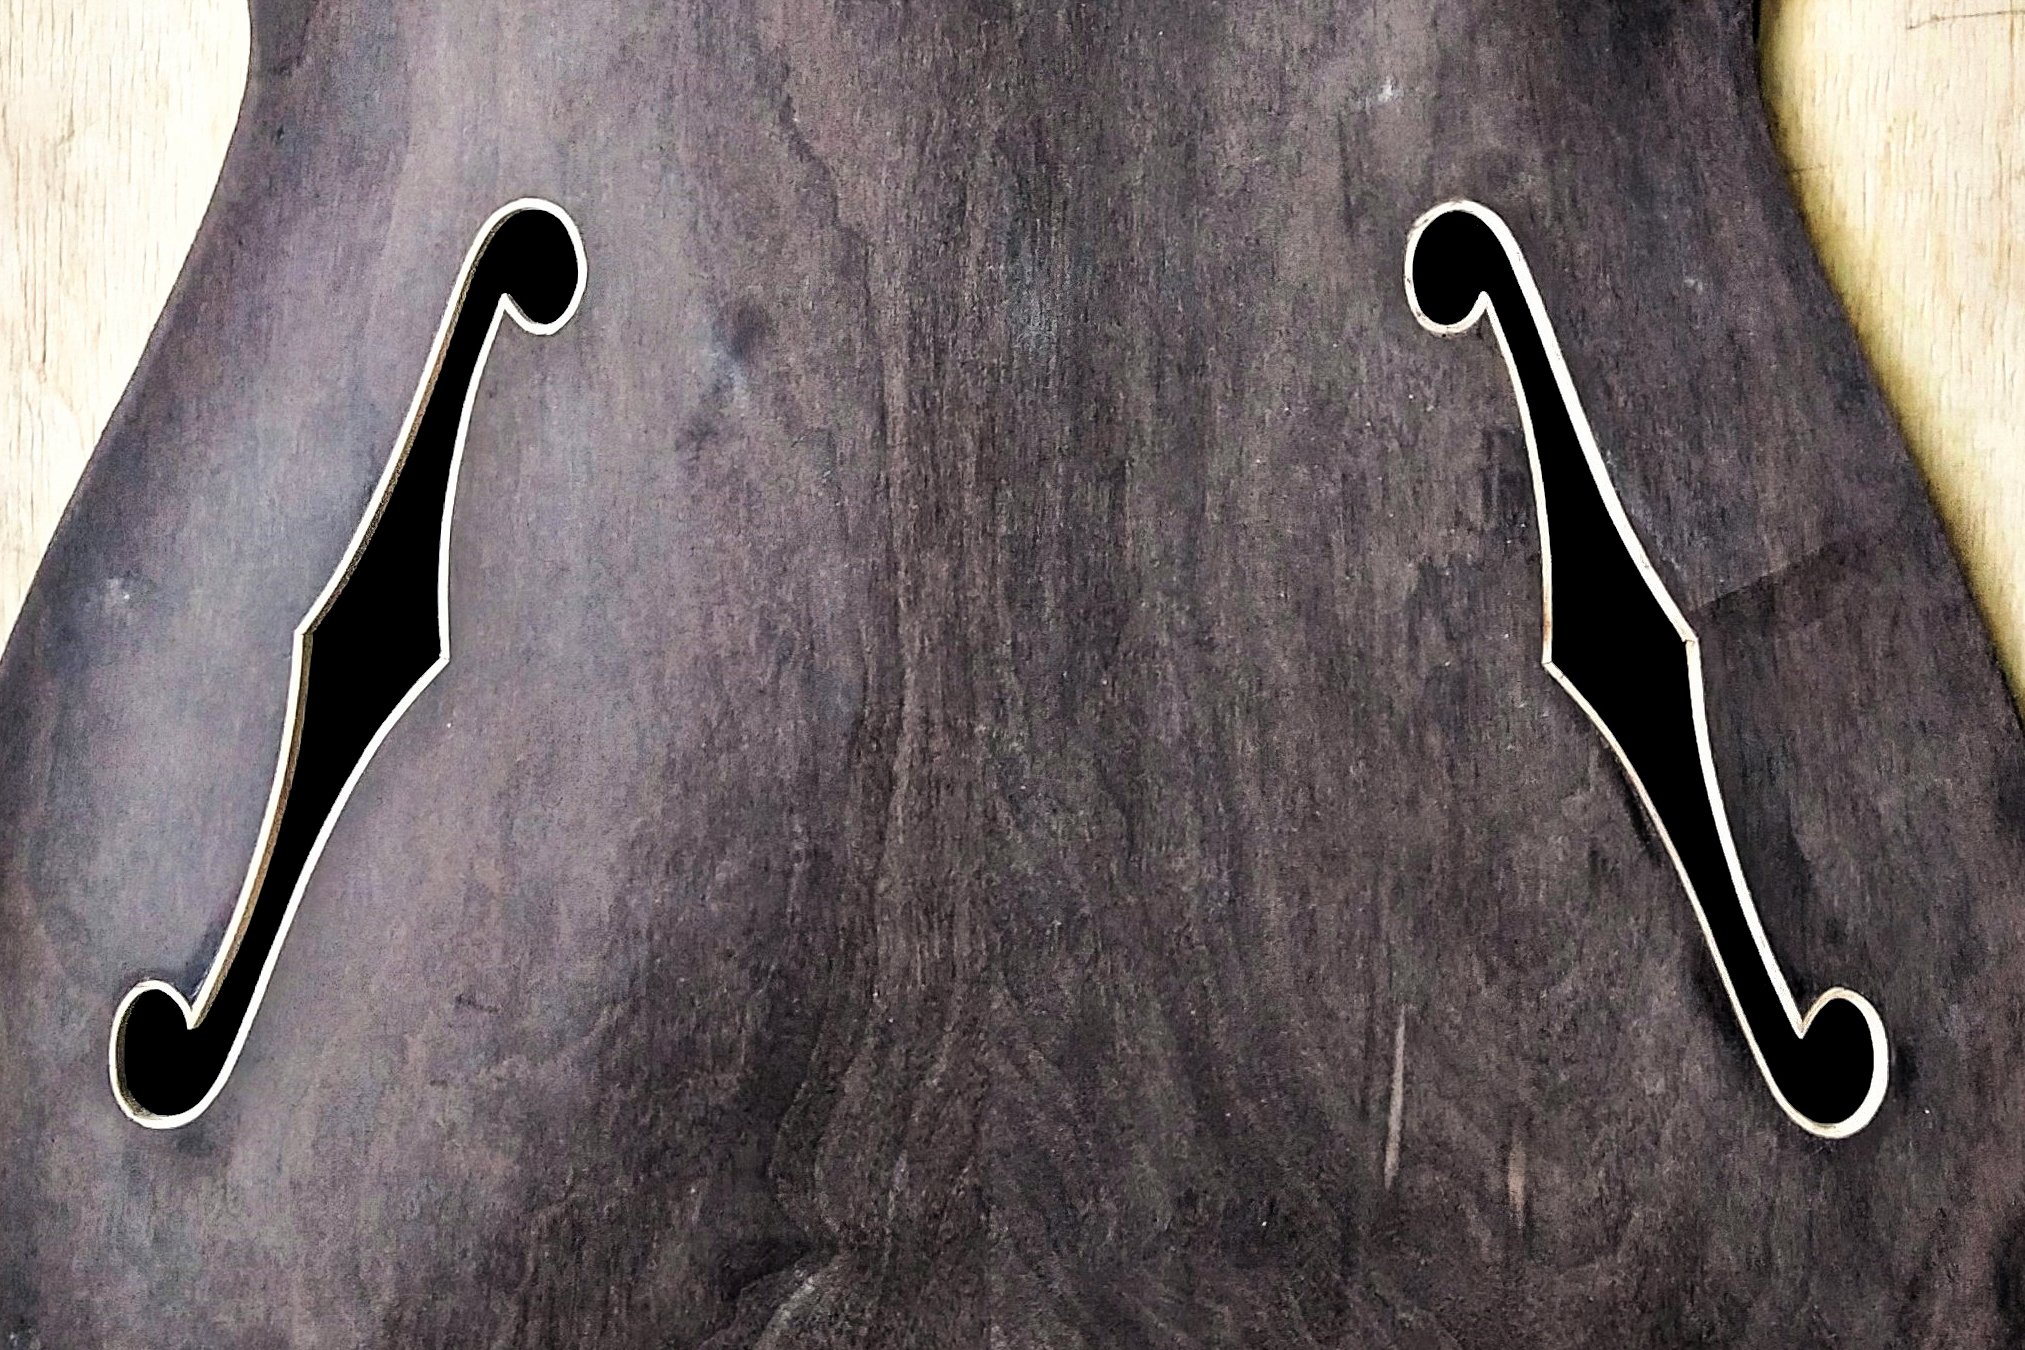
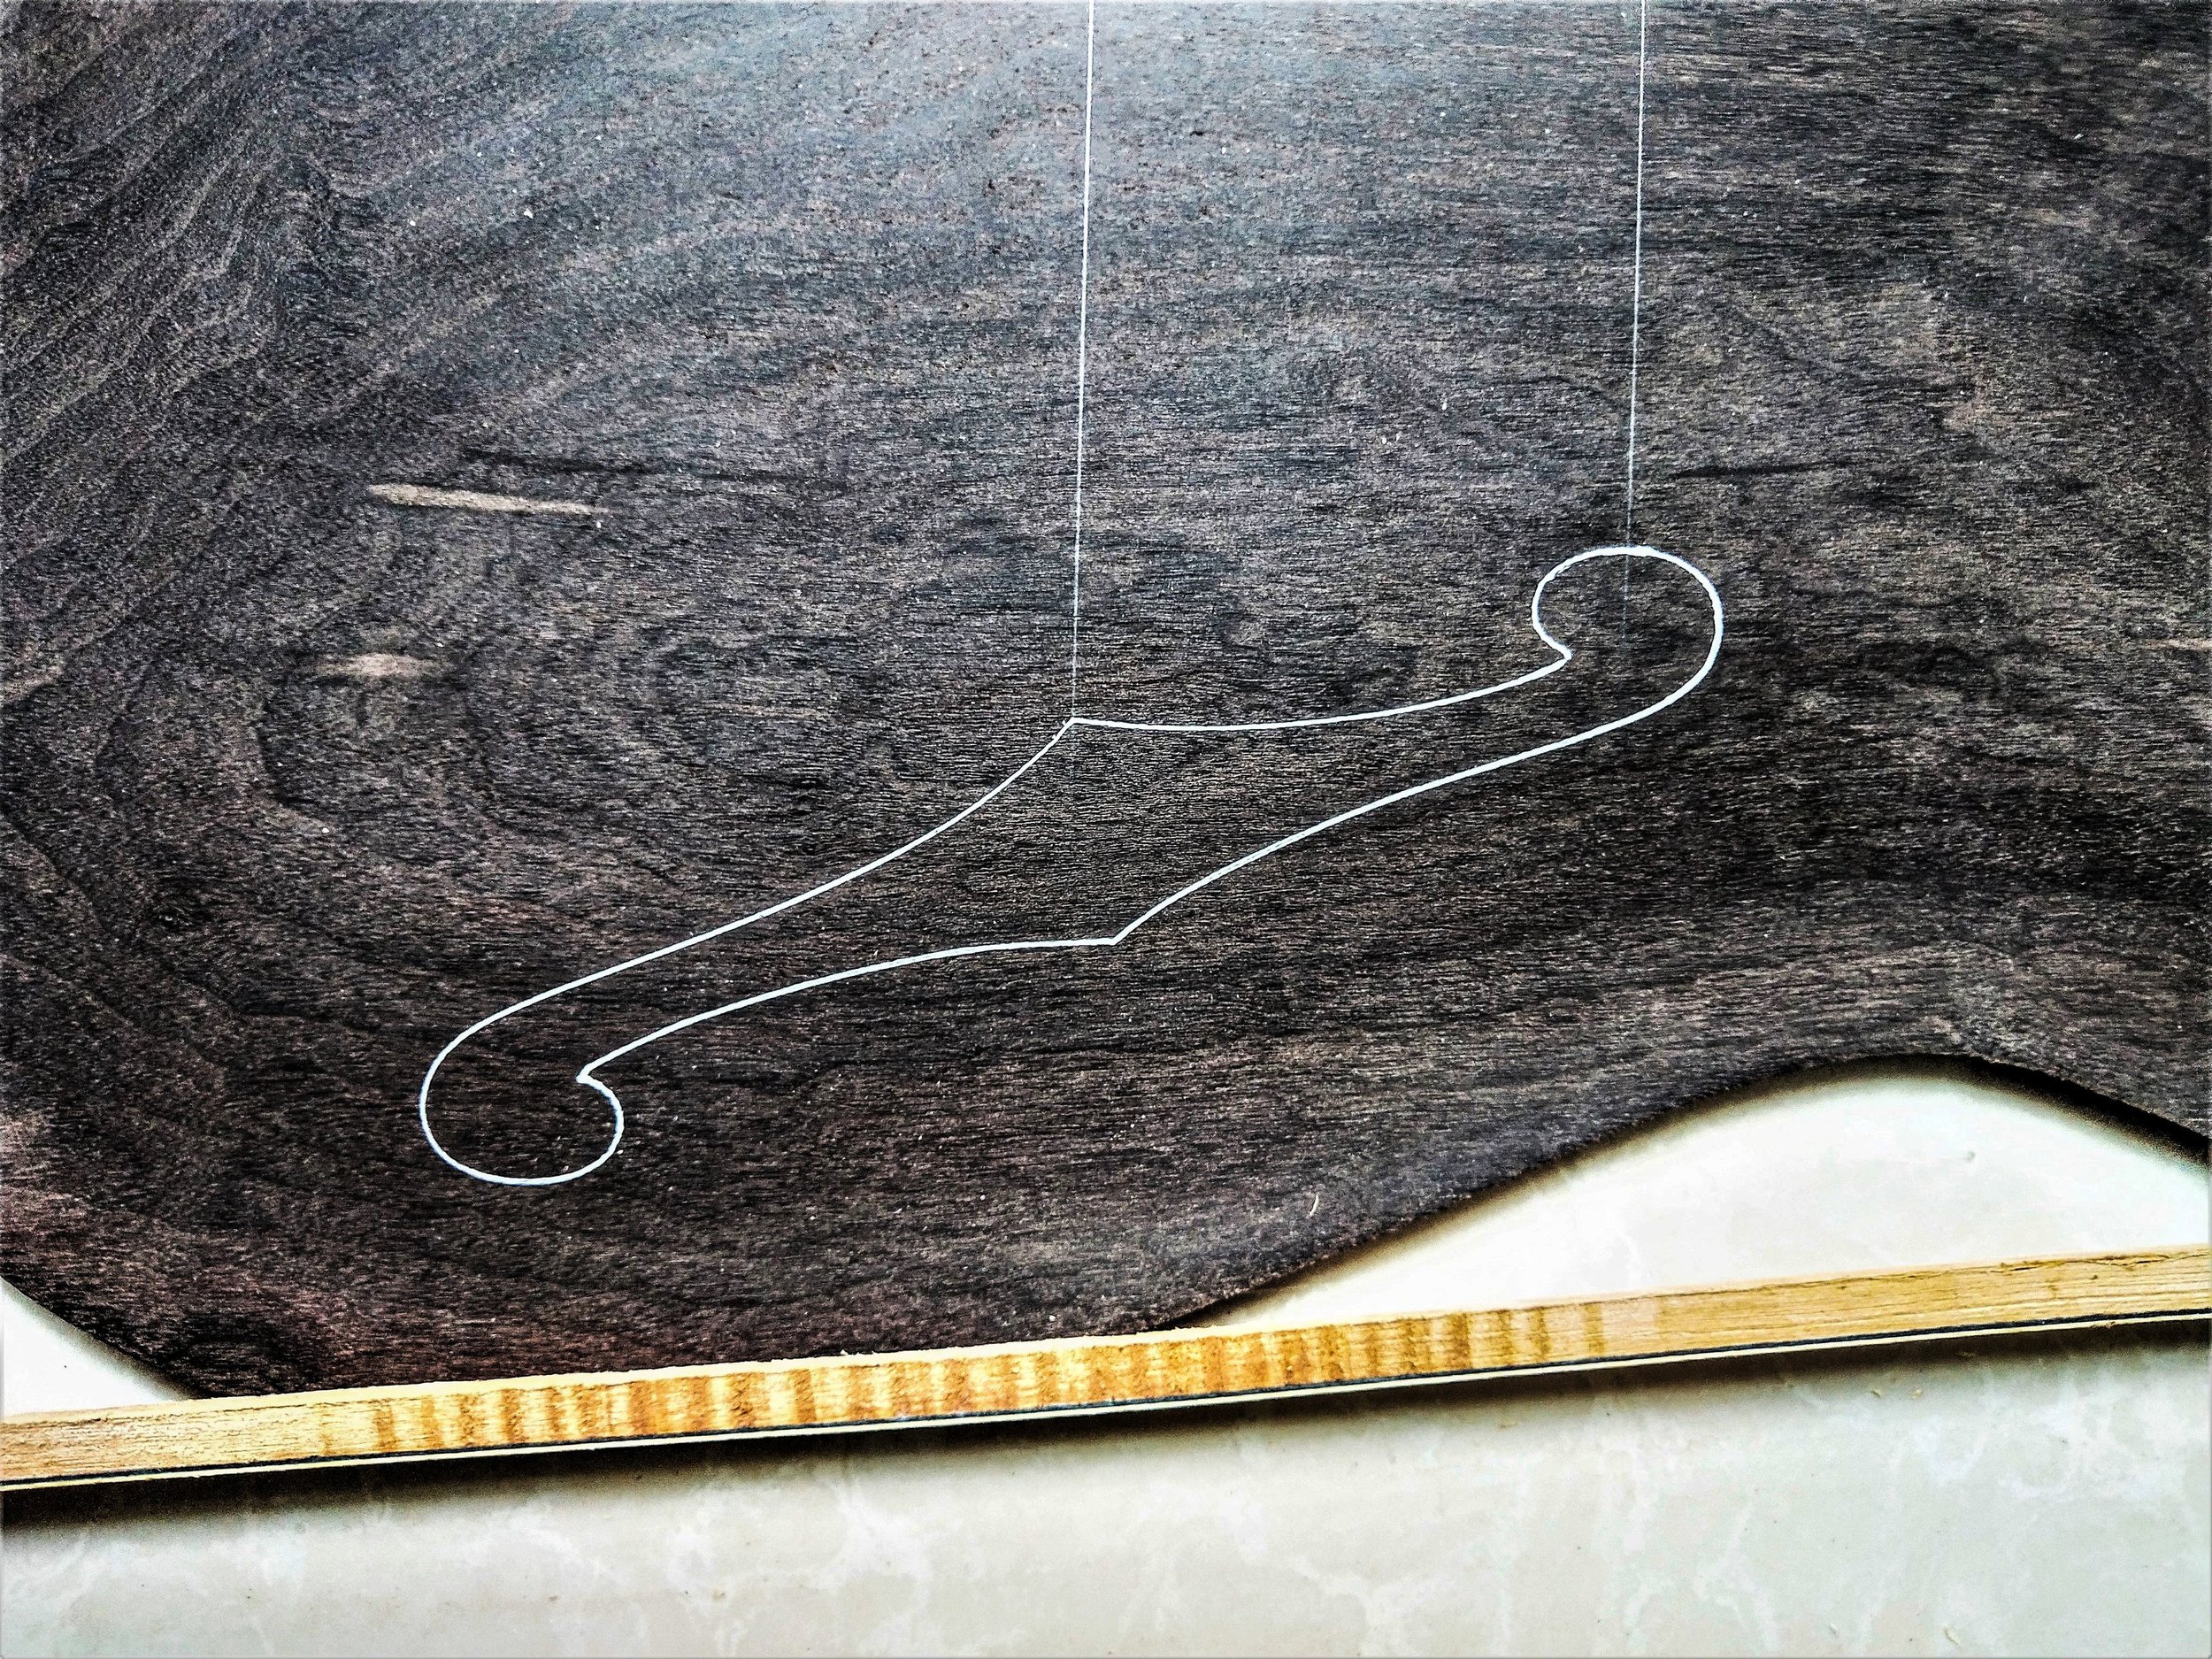
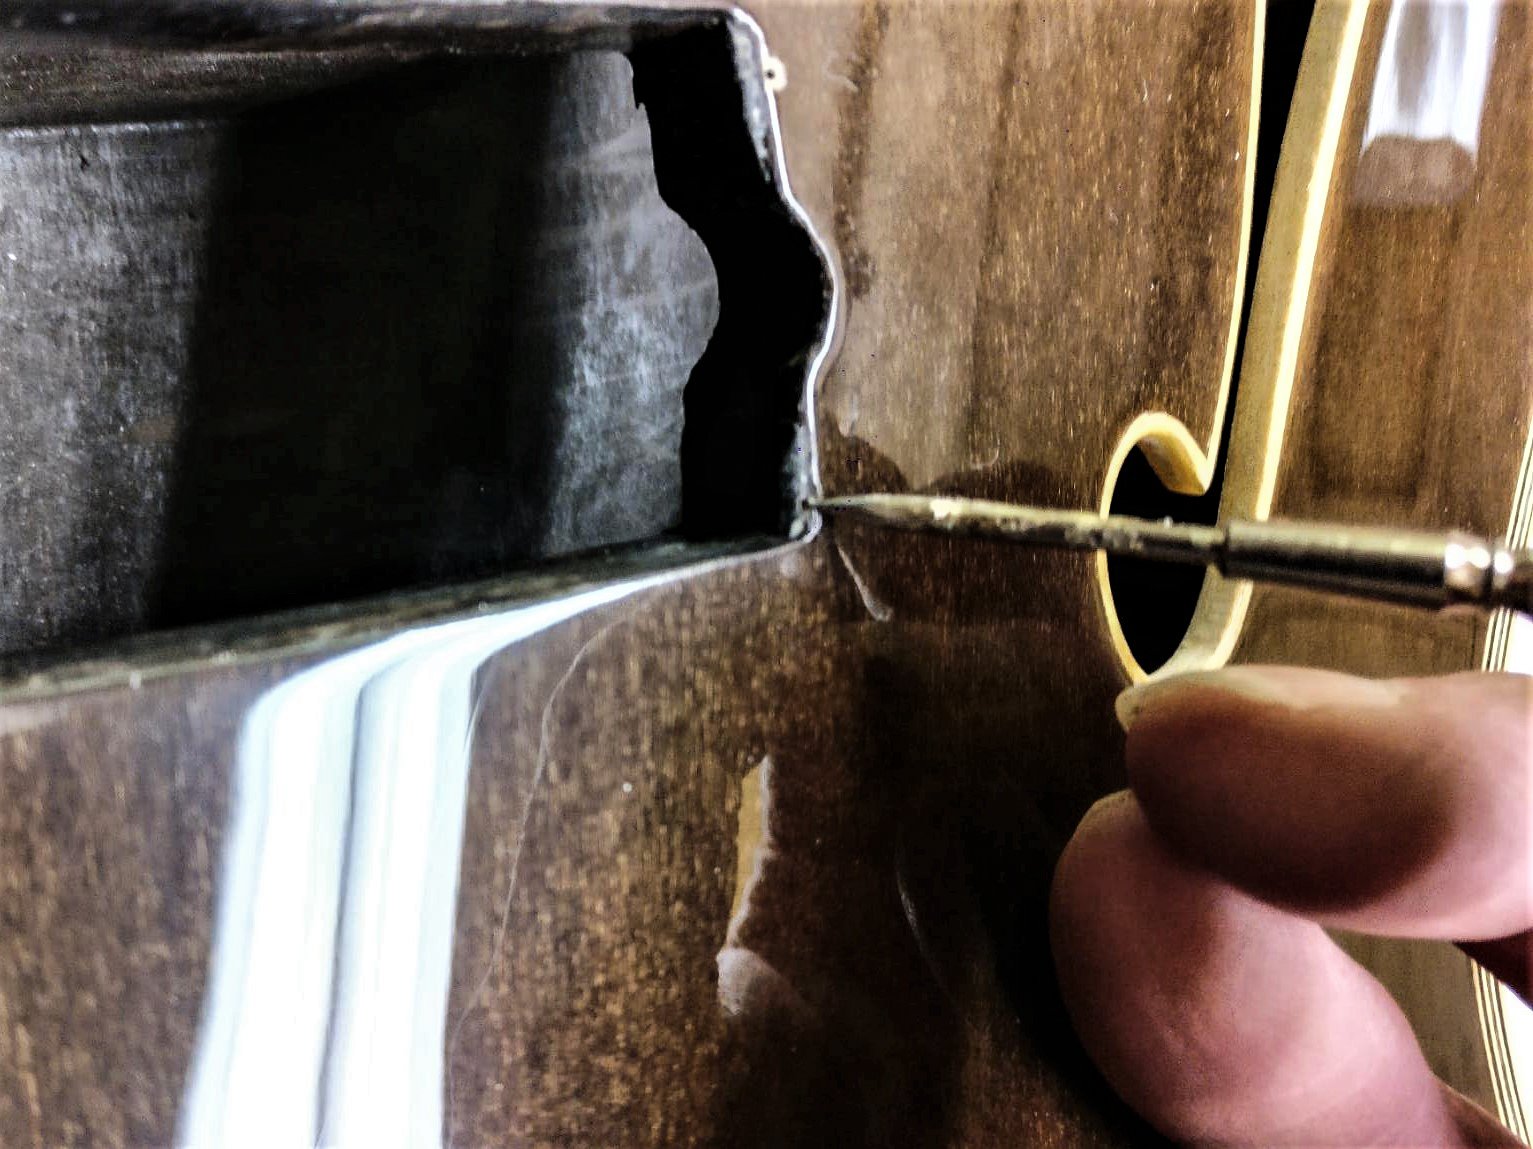
SOUND HOLES
We continue by making the sound holes. First, small holes are drilled. From there, we saw the rough f-shape with a hand jig saw especially made by Dongming for this job. The fine shape is then carved out by hand with a traditional woodcarving knife. After this, the f-holes are carefully trimmed with a binding and fixed with tape to let the glue dry properly. The sound holes are now ready.
THE KERFING
When the sides have adjusted to their new shape, they can be glued to the back together with the kerfing. Kerfing, also known as guitar lining, is tapered strips of wood with spaced slits that make it flexible. We glue this around the inside seems where the top and back are joined with the sides. We do this to add strength and stability to the body when assembling it all together. The guitar is really starting to come together now! We also glue in an extra square center block, a block at the bottom and a block where the heel of the neck is going to be attached to the body.

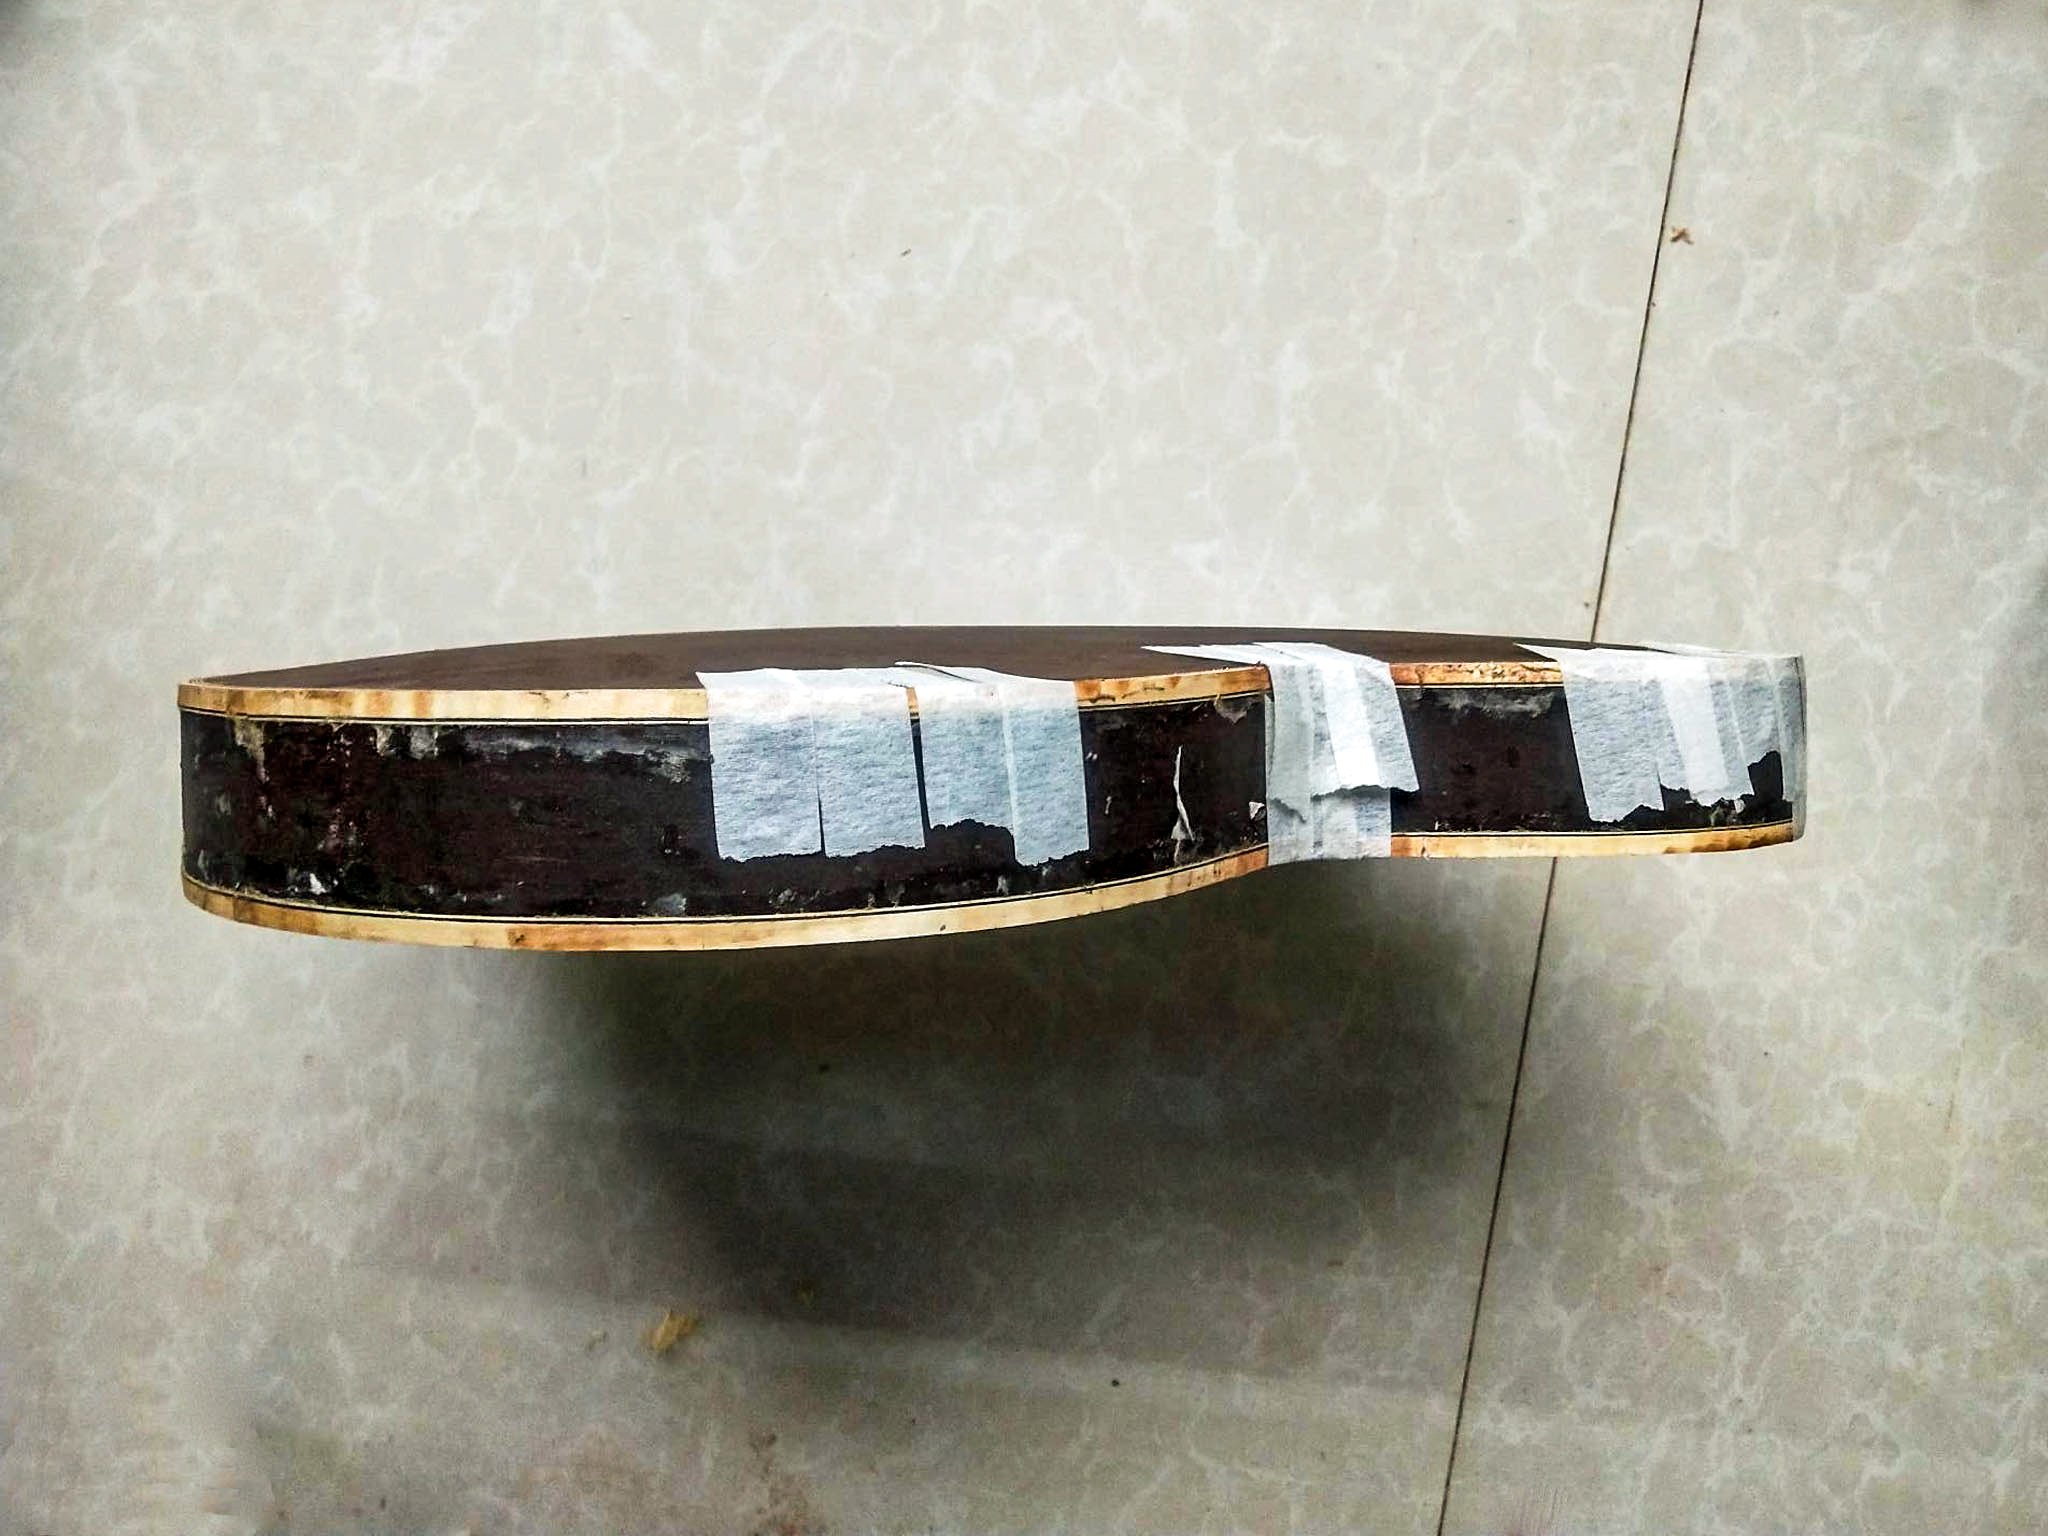
JOINING THE TOP & BACK
We proceed by joining the top with the back and sides using super wood glue. After the whole body is assembled, we make a slot along the edges of the body using a hand router. After that, a seven-ply maple binding is glued to the sides and fixed with painters tape to keep it in place until the glue has dried.
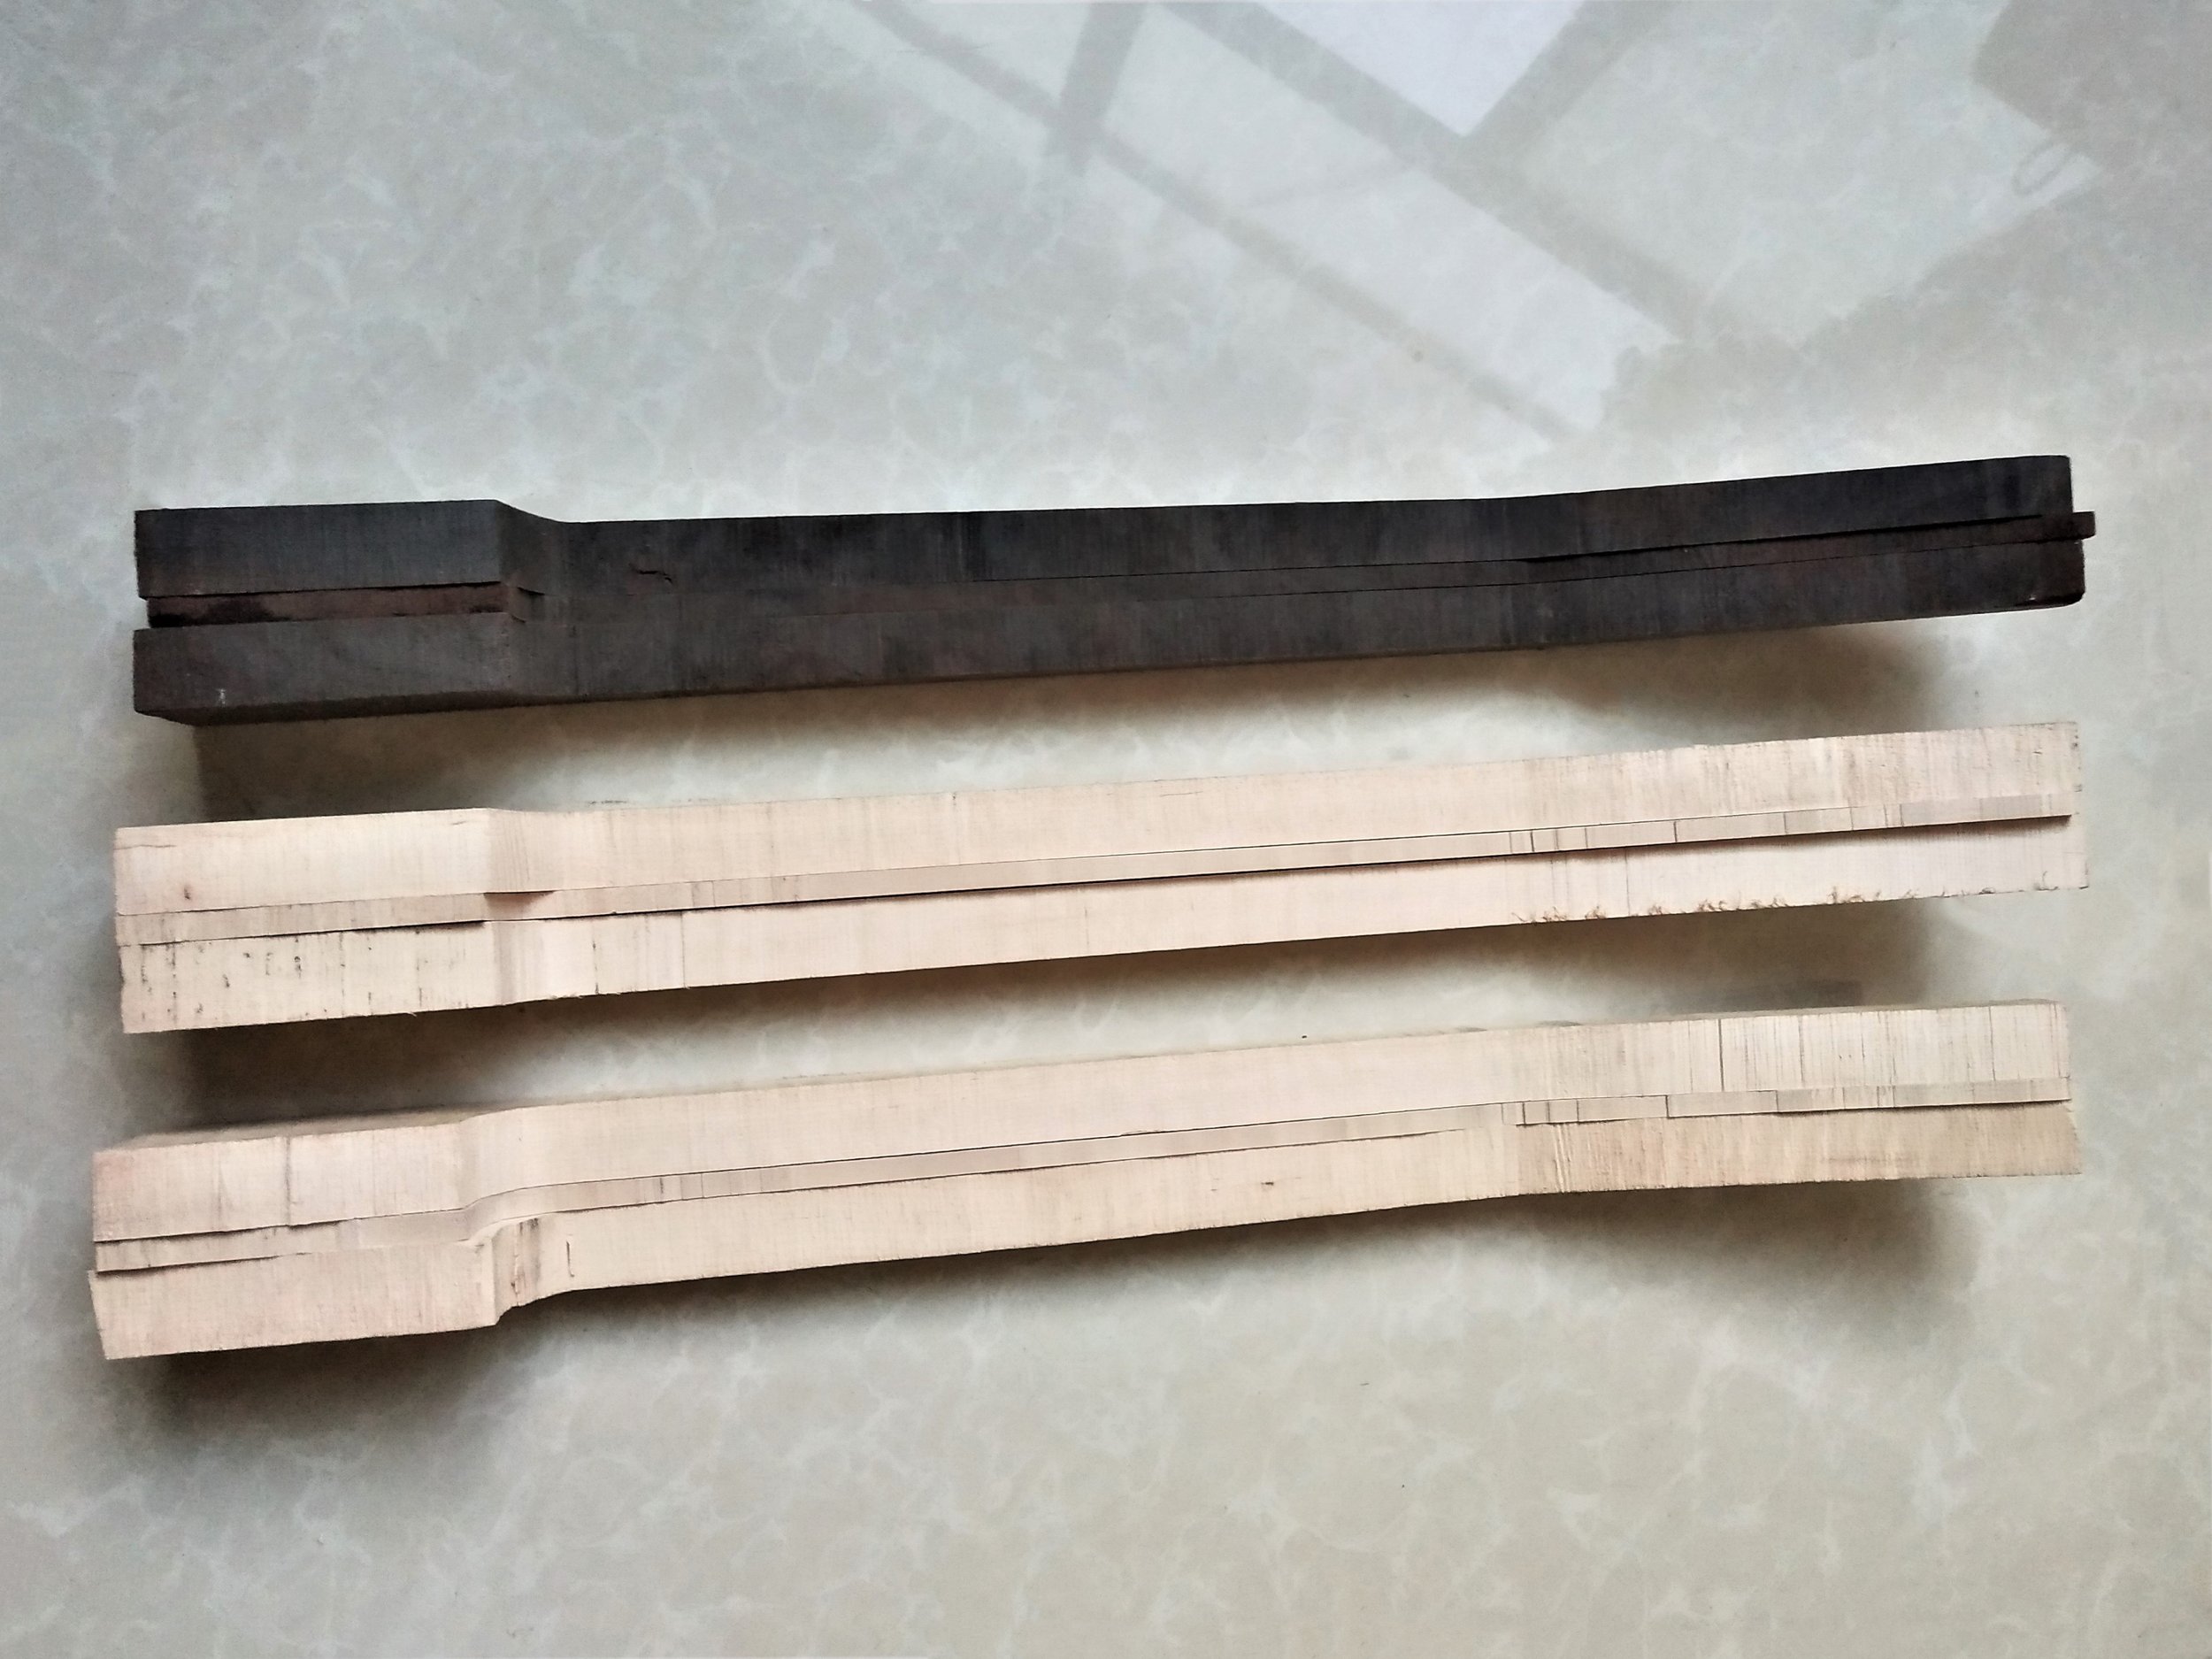
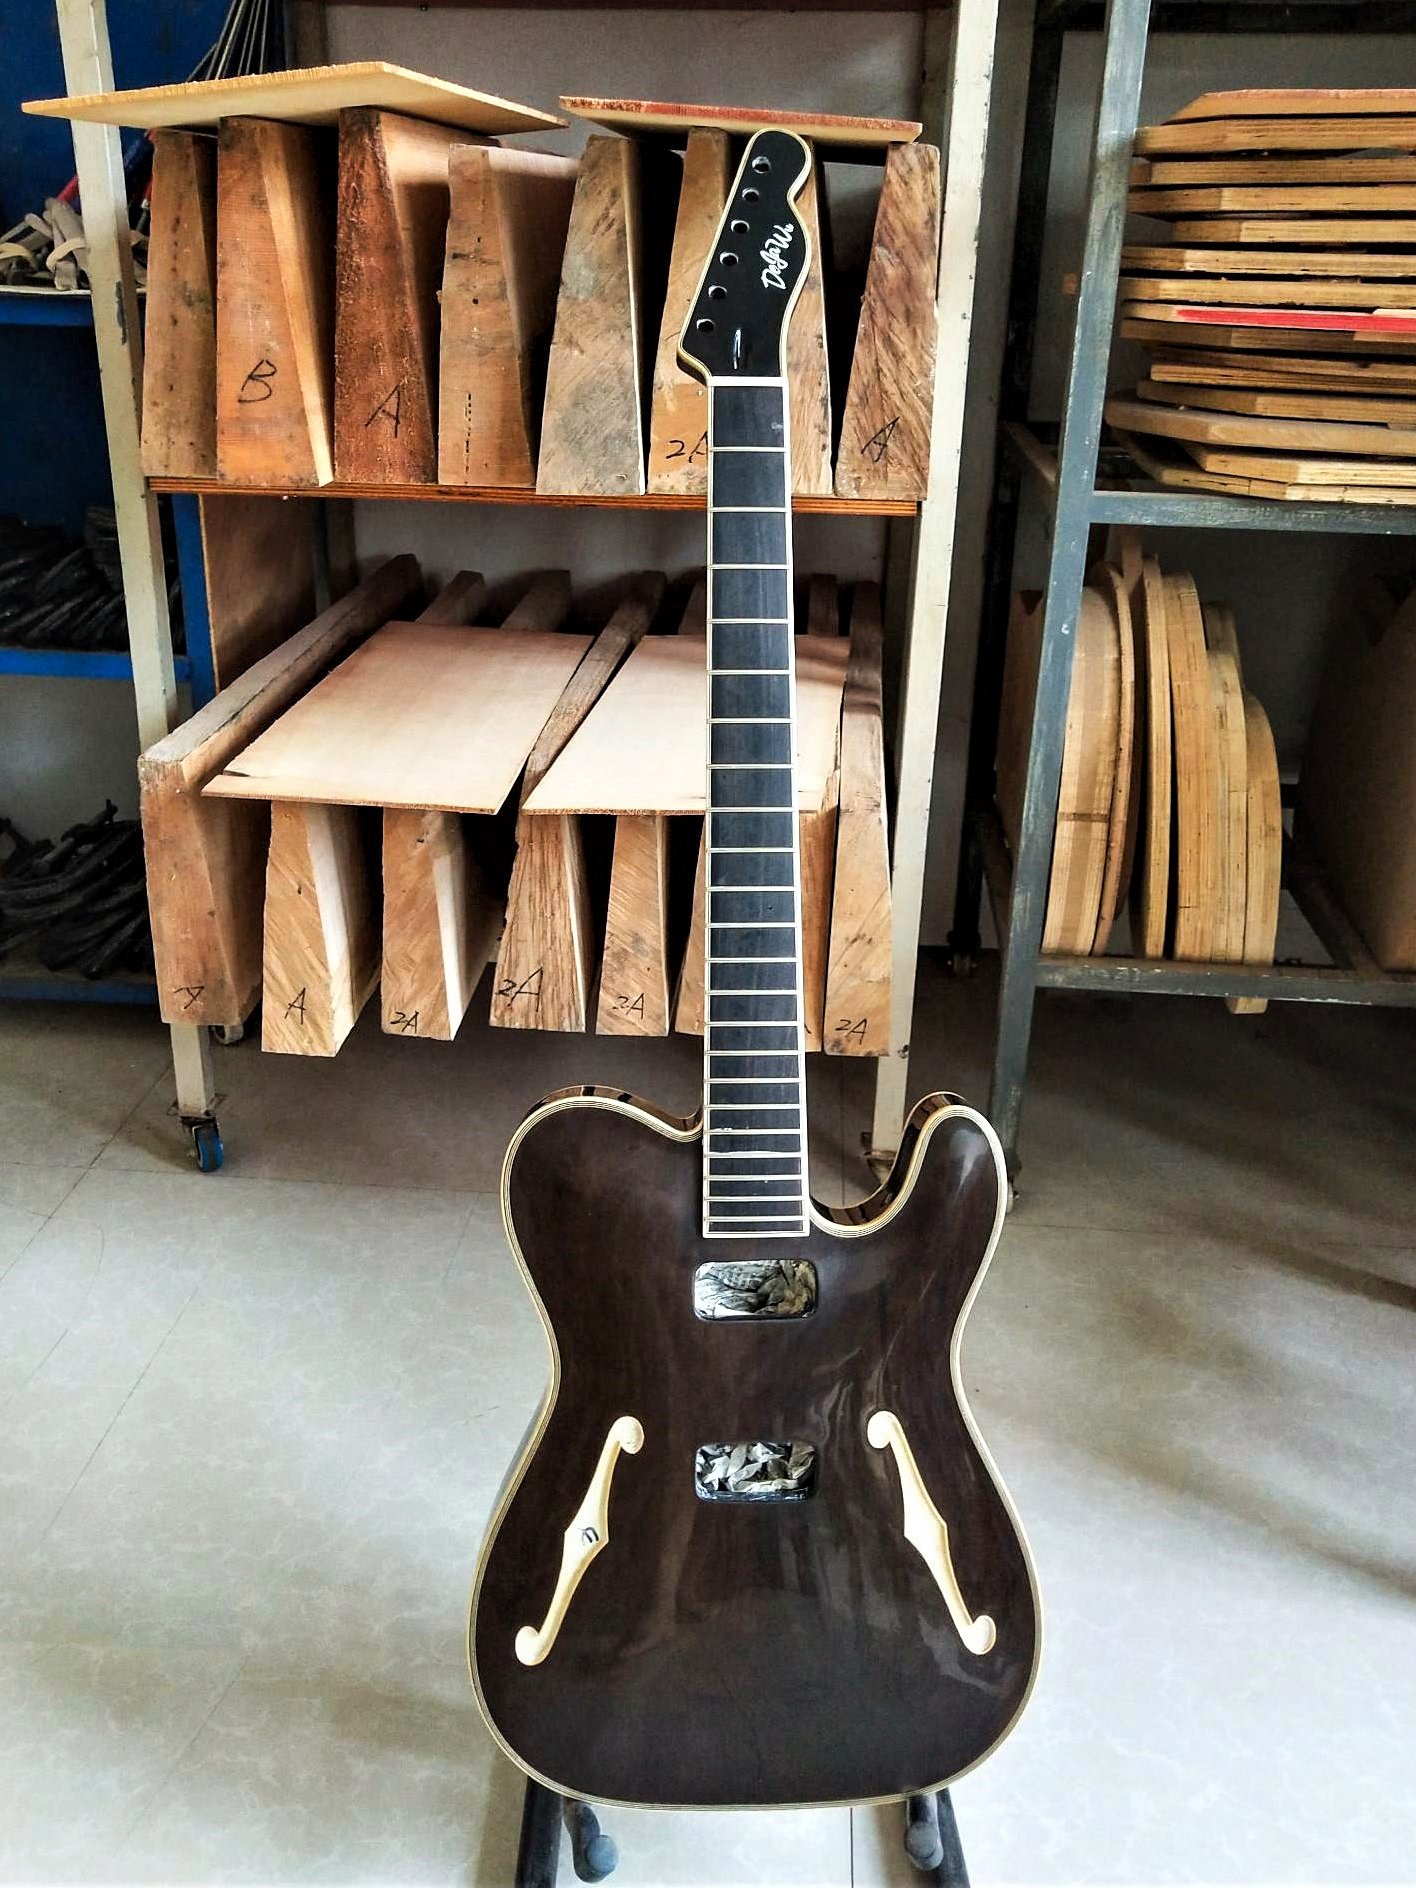
3-piece set neck
The neck also starts off as a raw billet of wood. We then glue three pieces face-to-face, clamp them together and let them dry overnight. As you can see, the backward bent head stock is not glued on separately. We are now ready to start carving the rough shape of the neck. Below you see the neck of the T-Ultimate Neolithic together with her two younger sisters. Can you imagine that there is over 7400 years in age difference between the dark and the light maple necks?

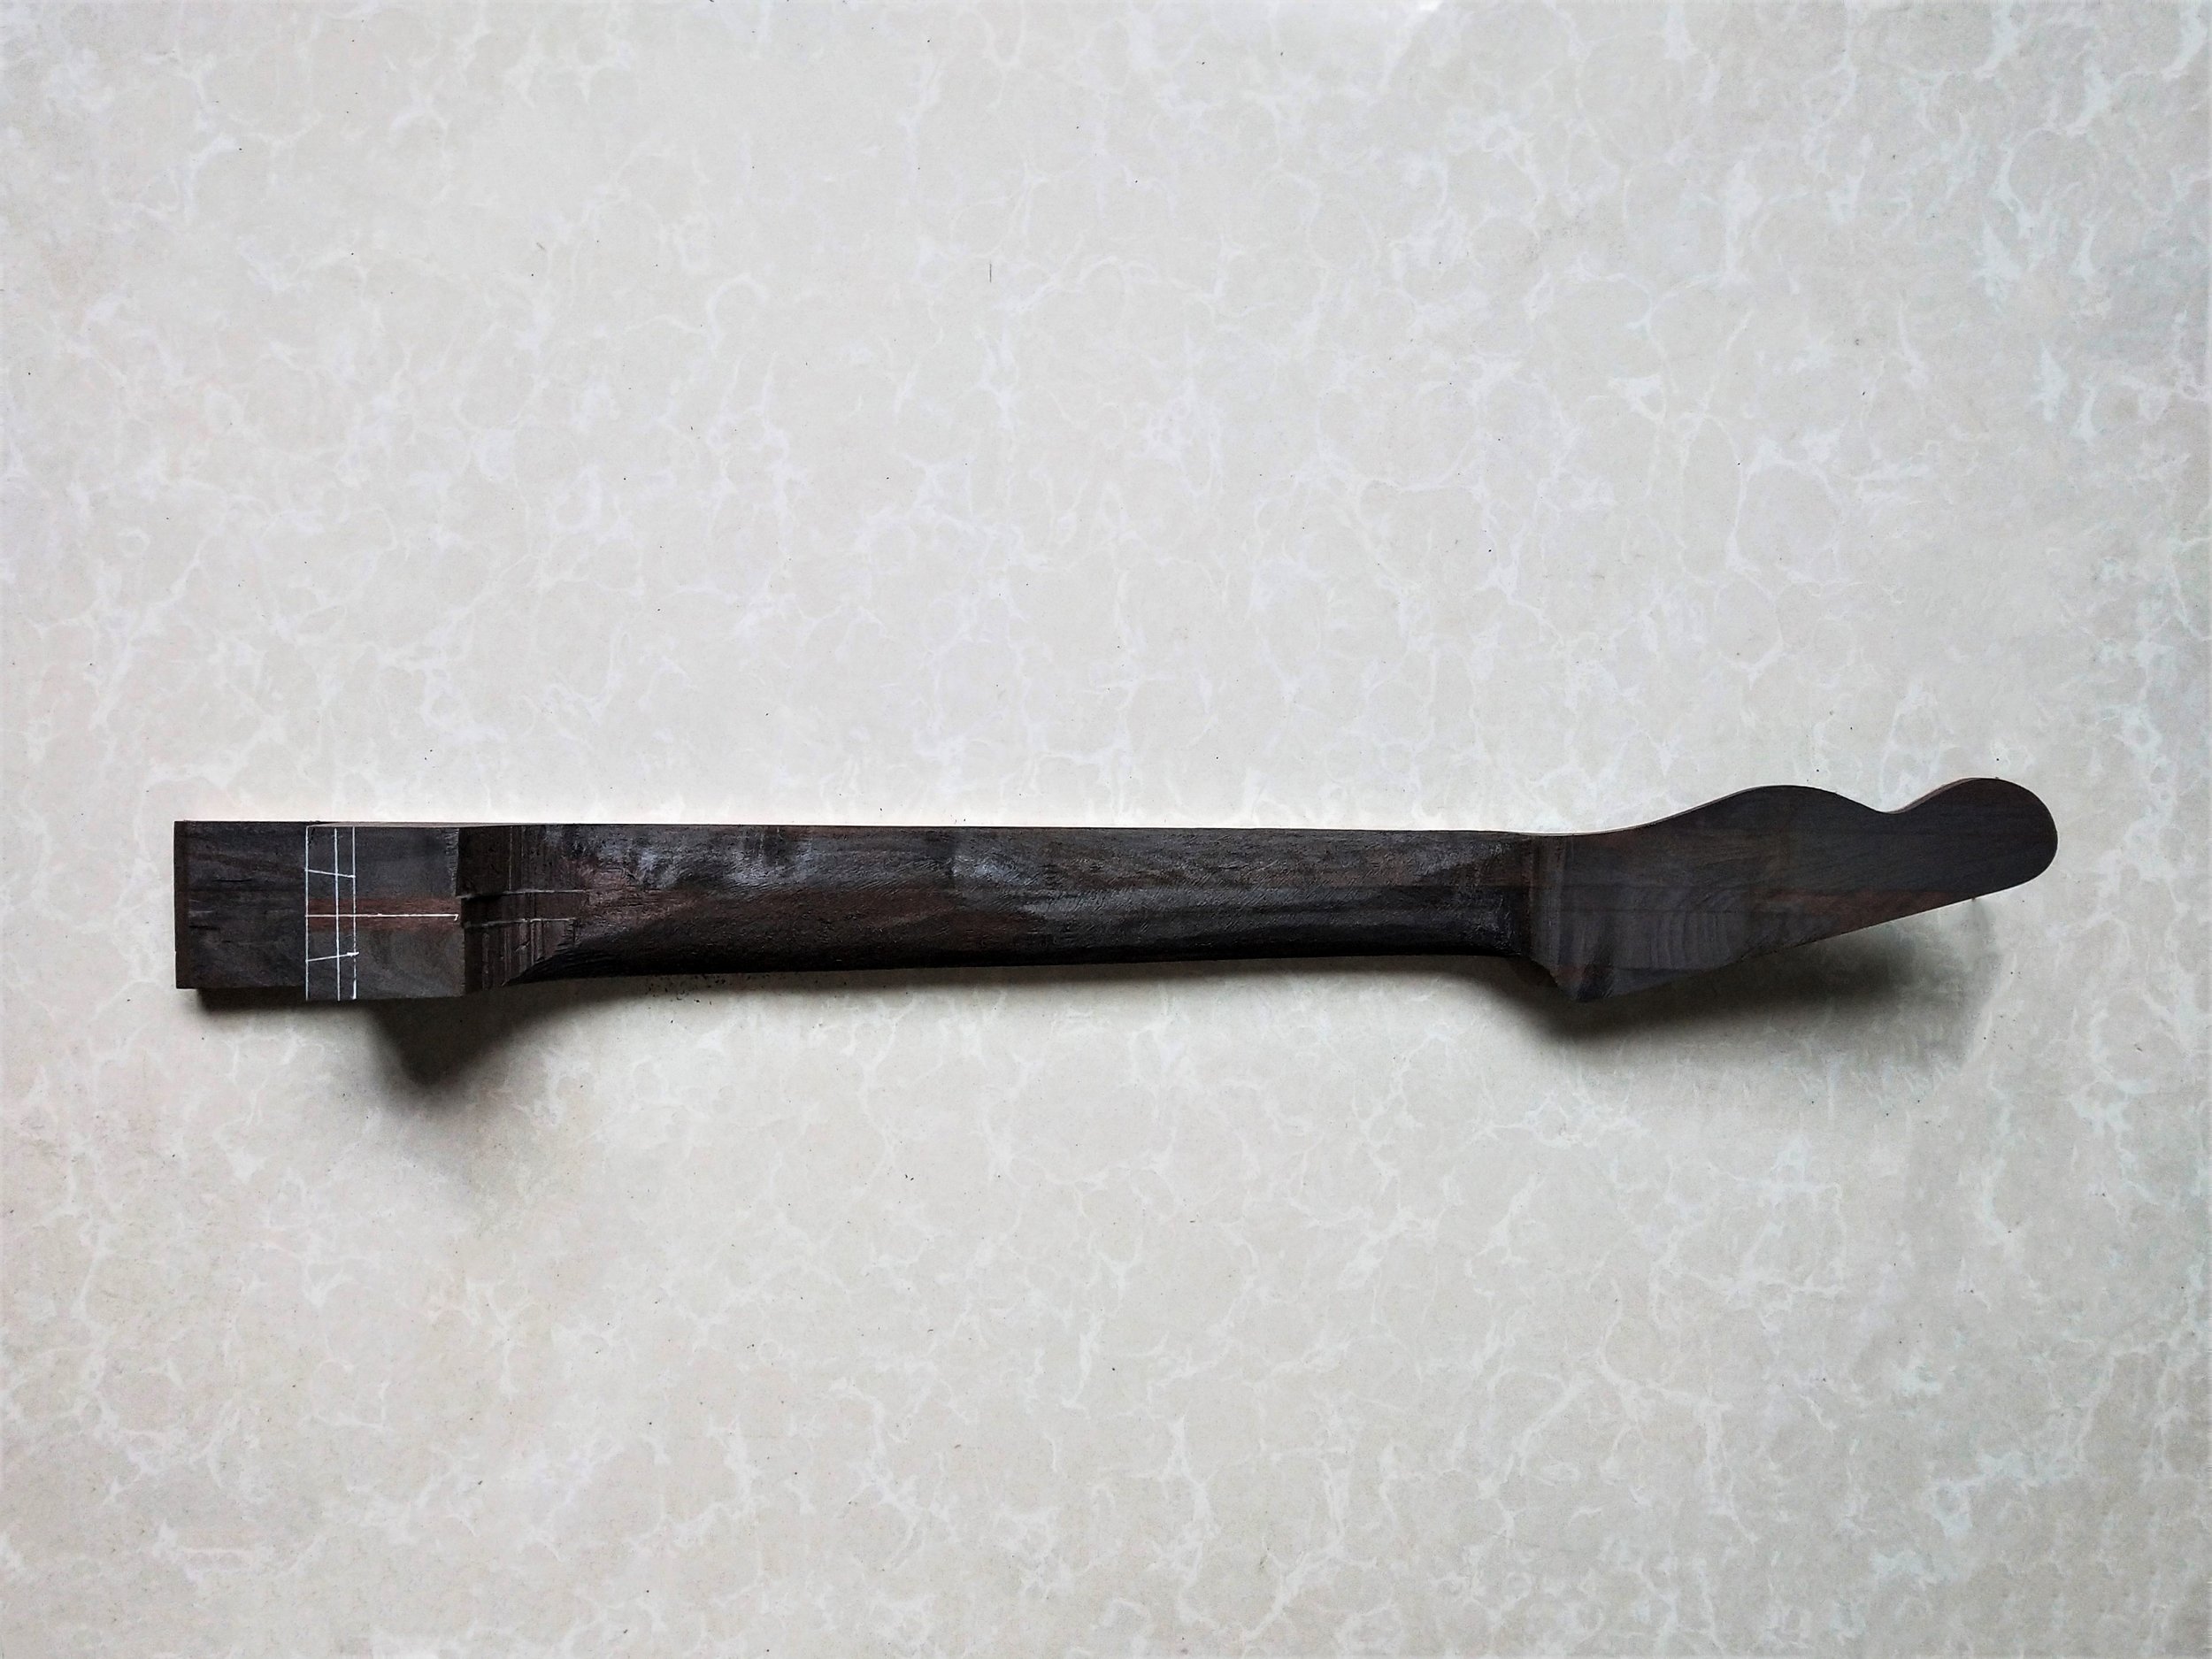
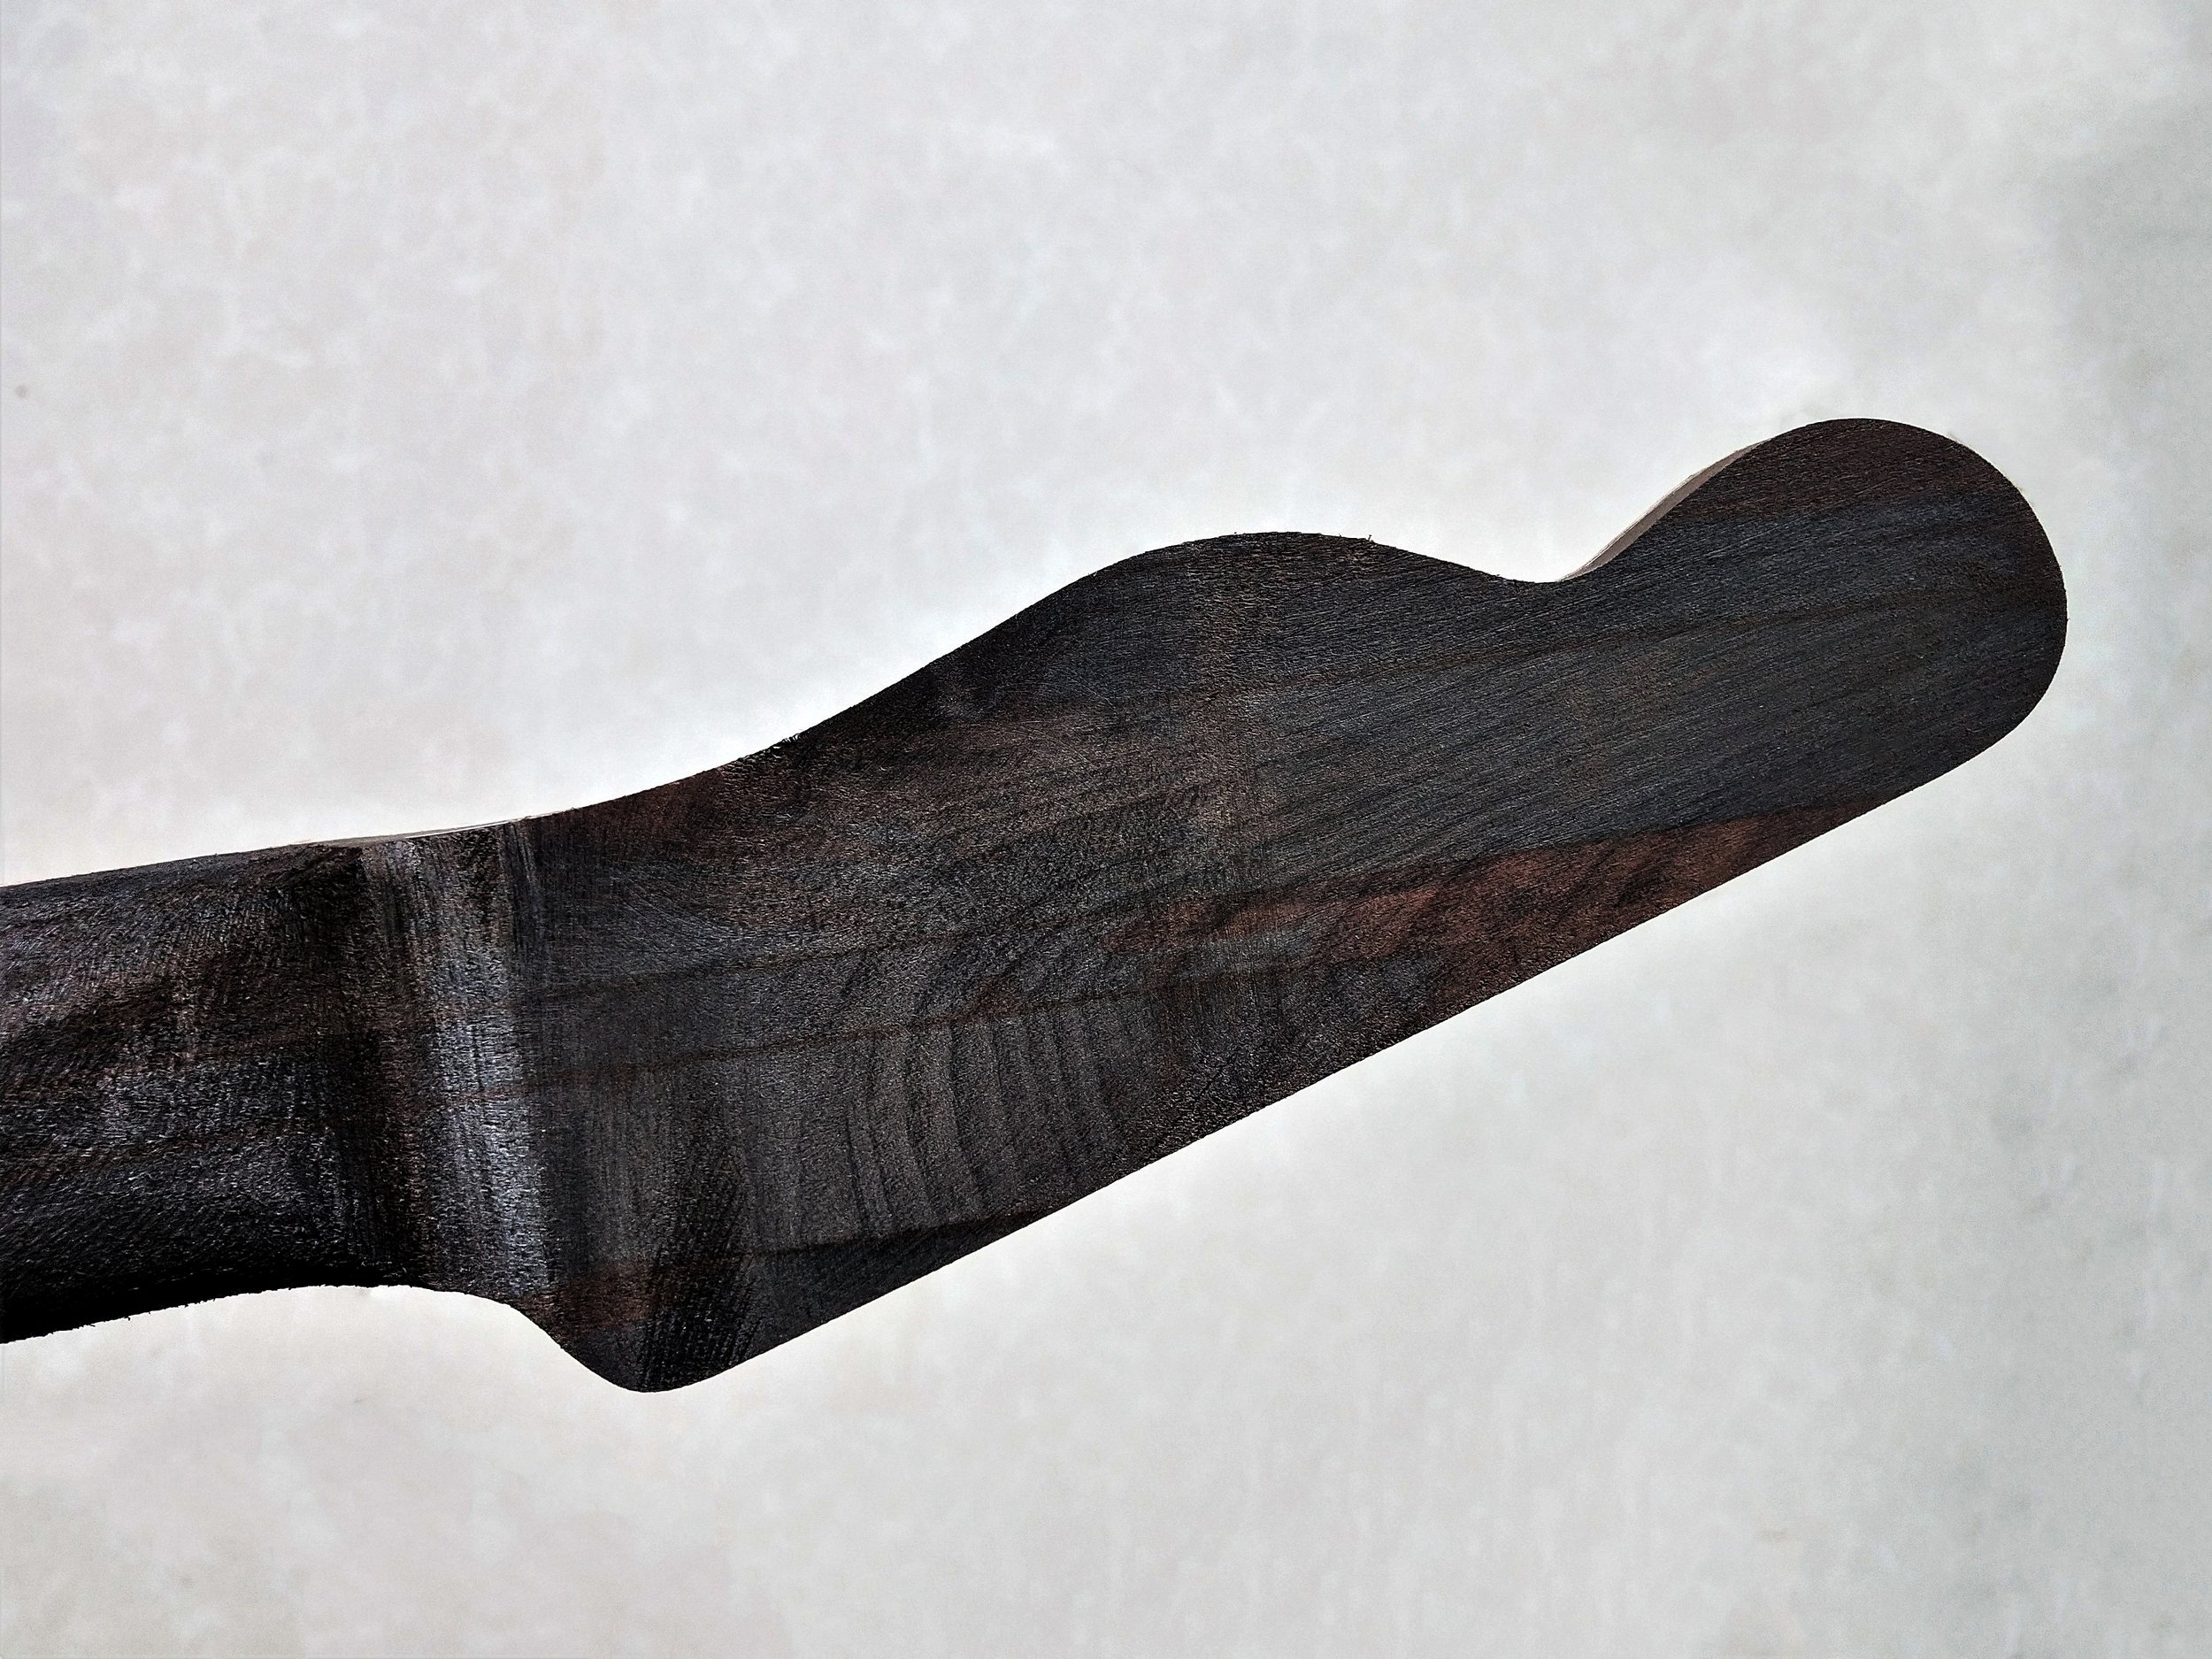
CARVING THE NECK
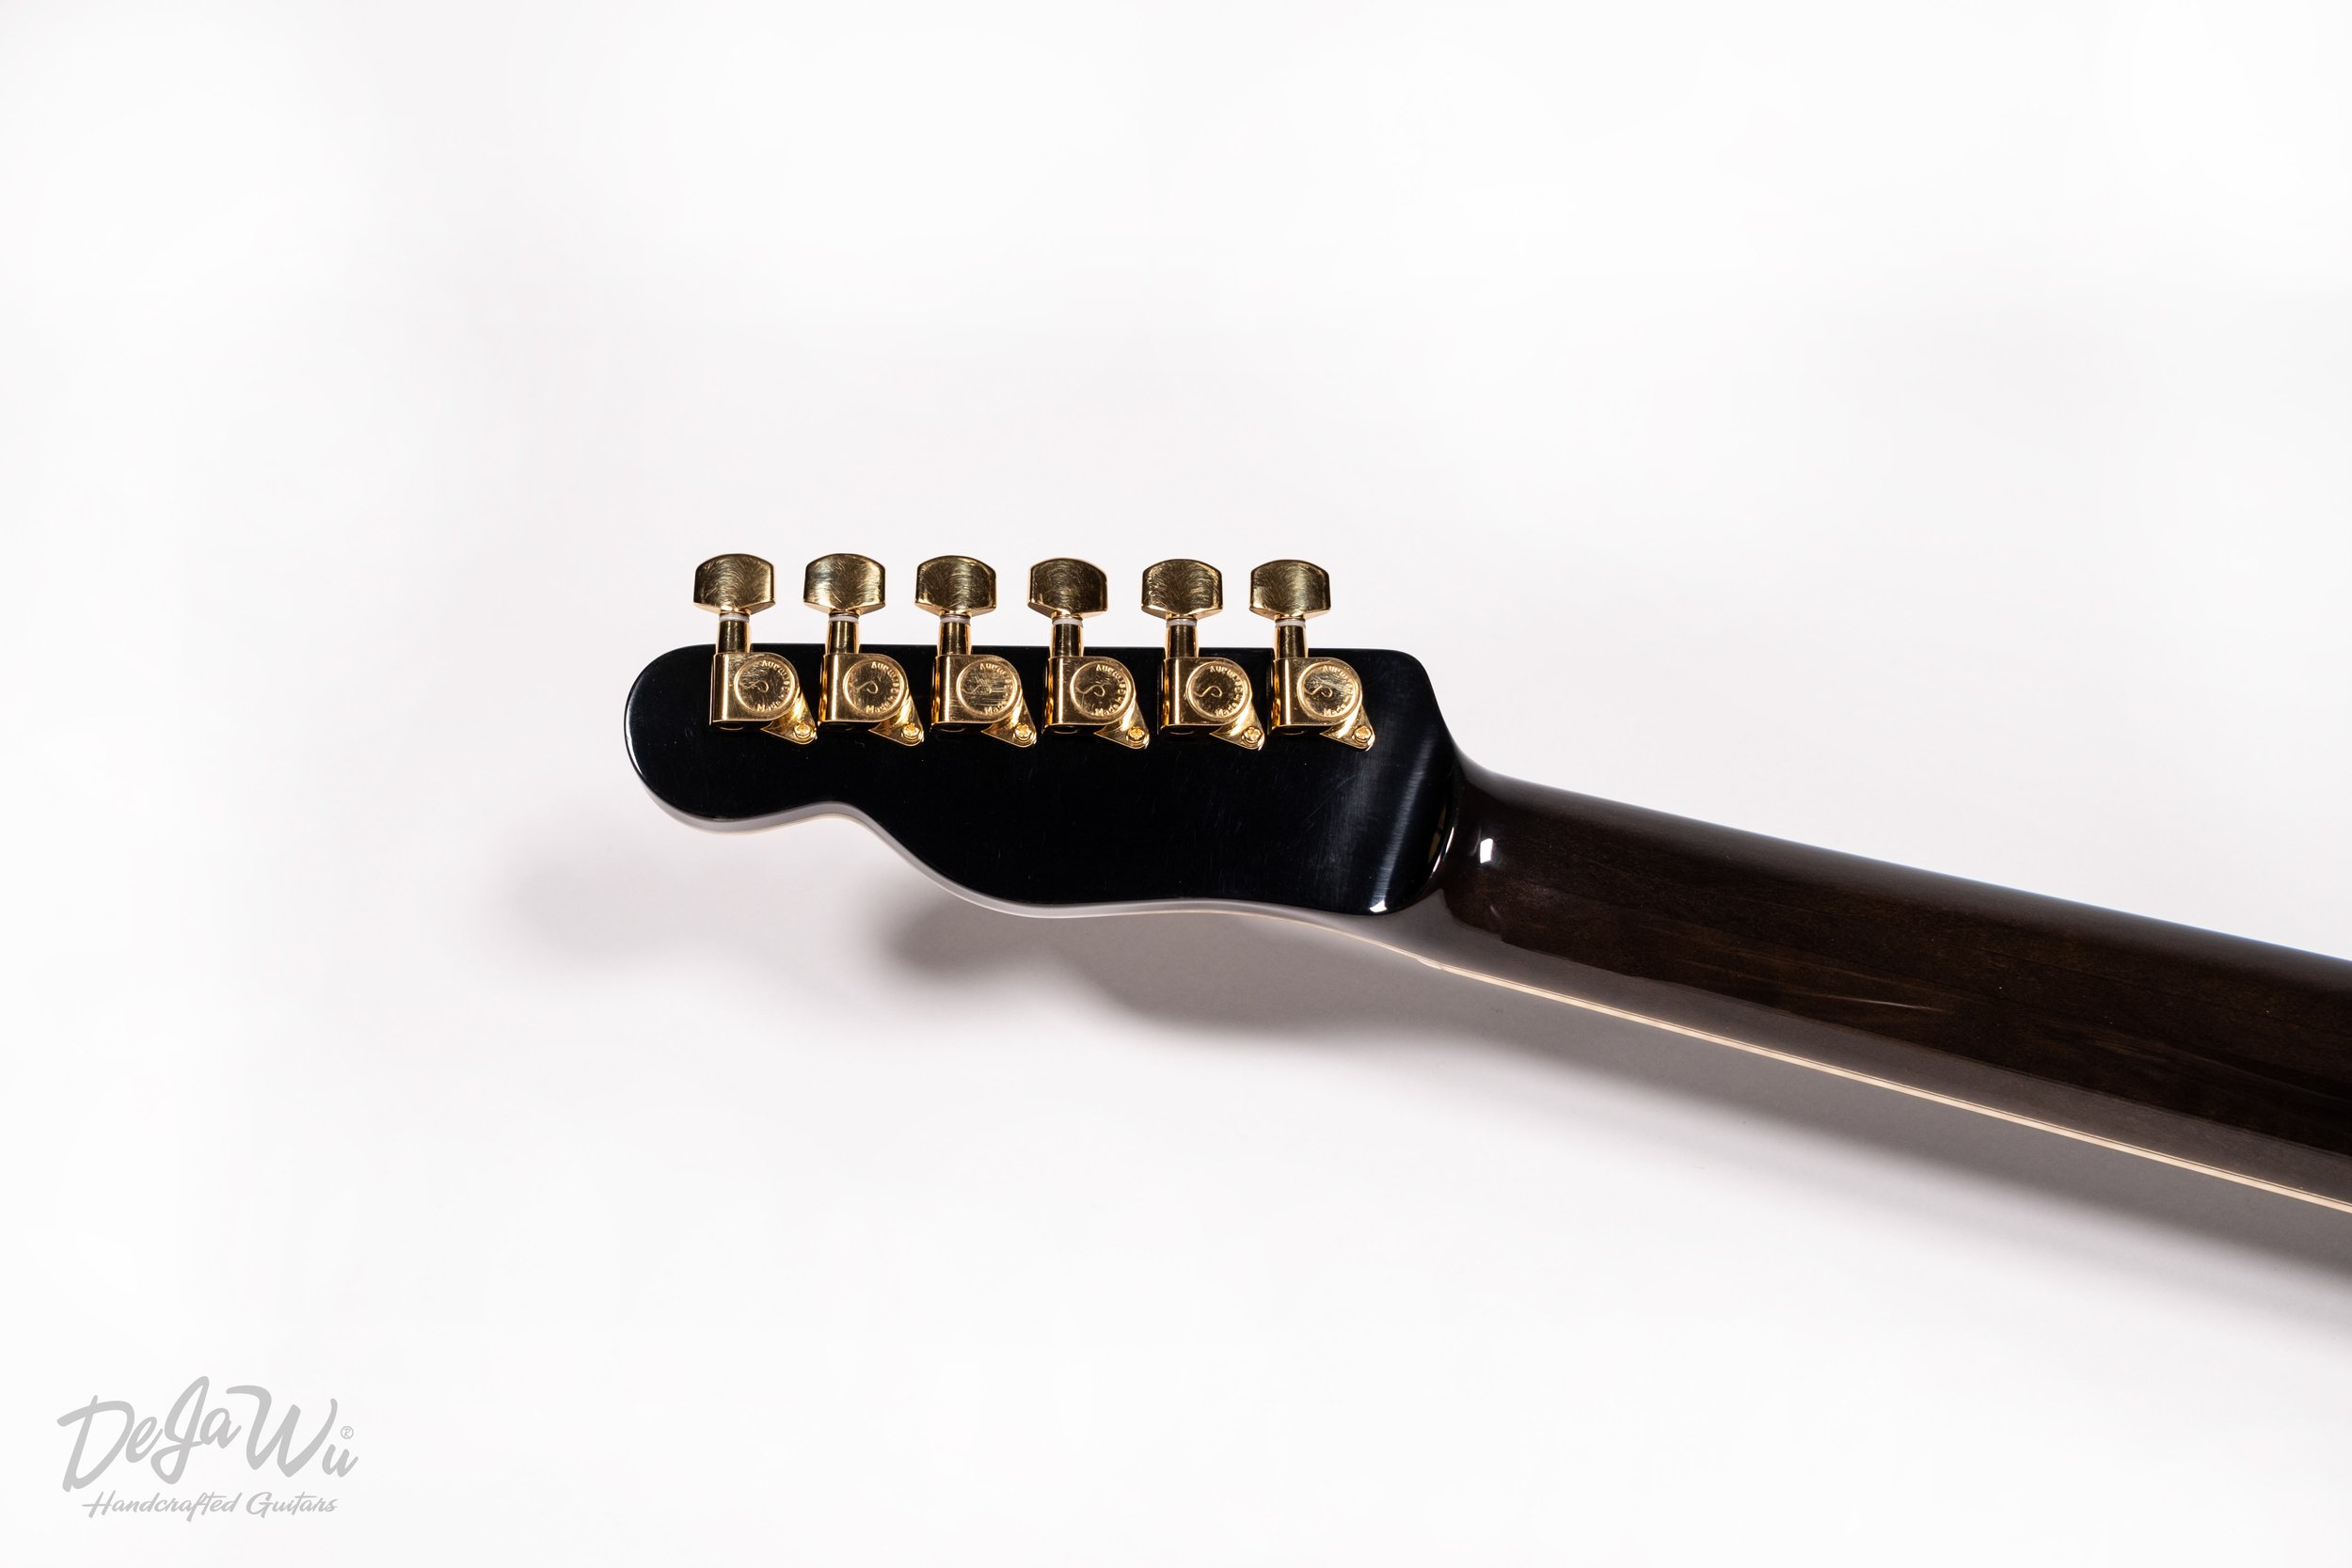
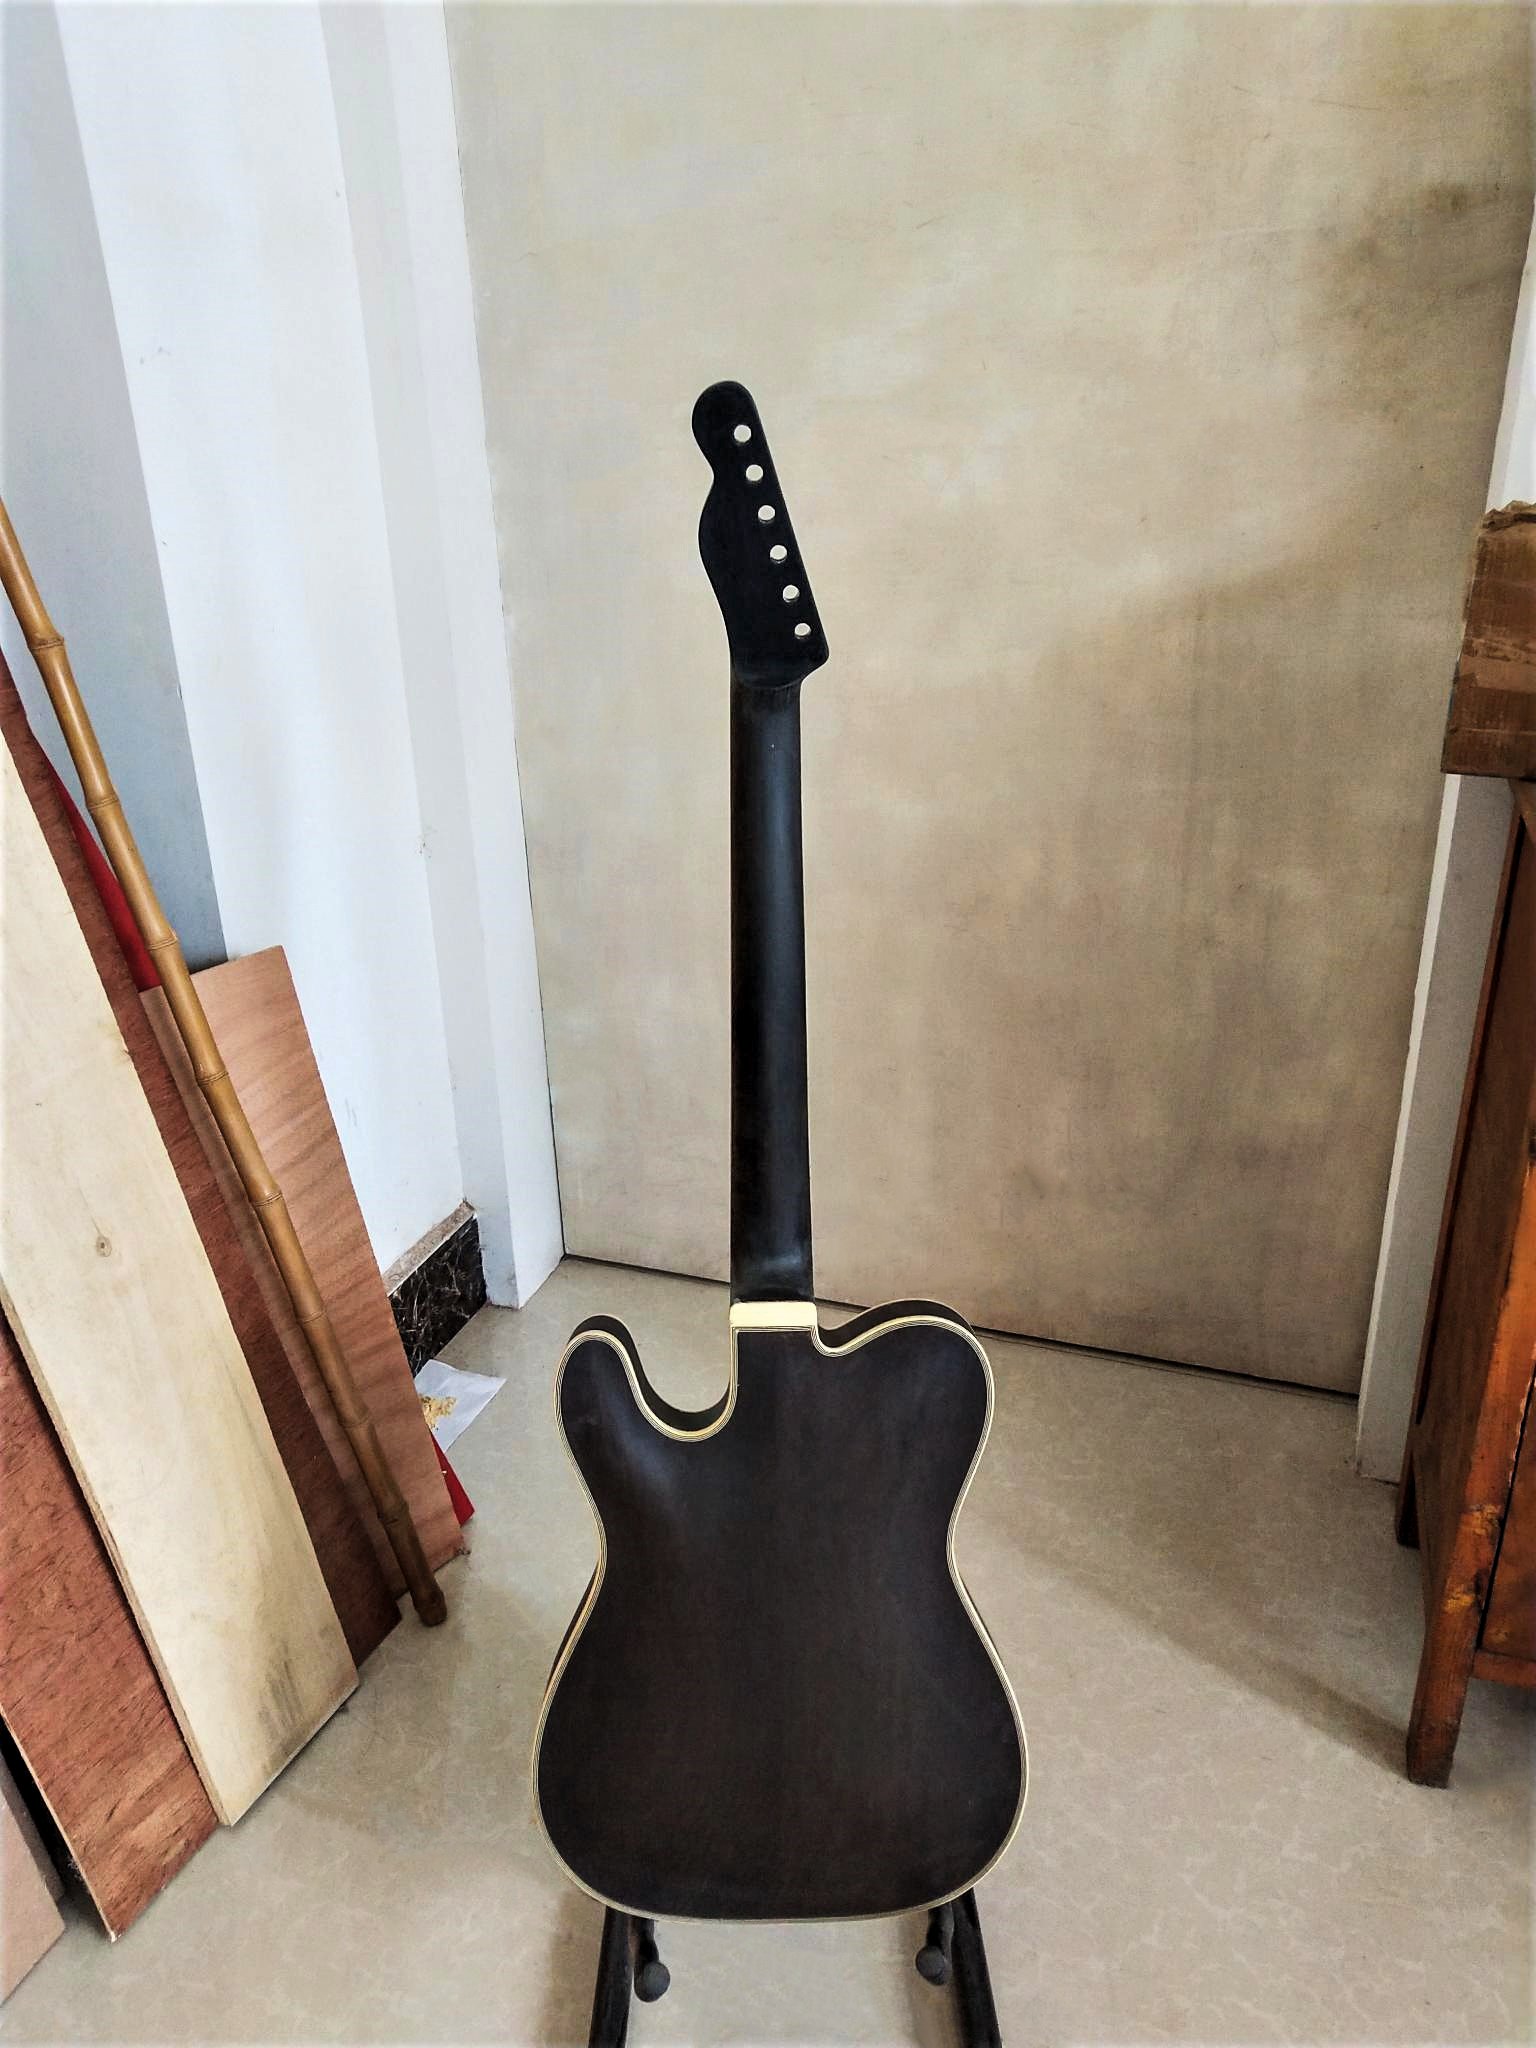
When this is all said and done, we continue with carving, planing and sanding the neck into its more definite shape. This process is also completely carried out by hand. Below you see the back of the neck and head stock.
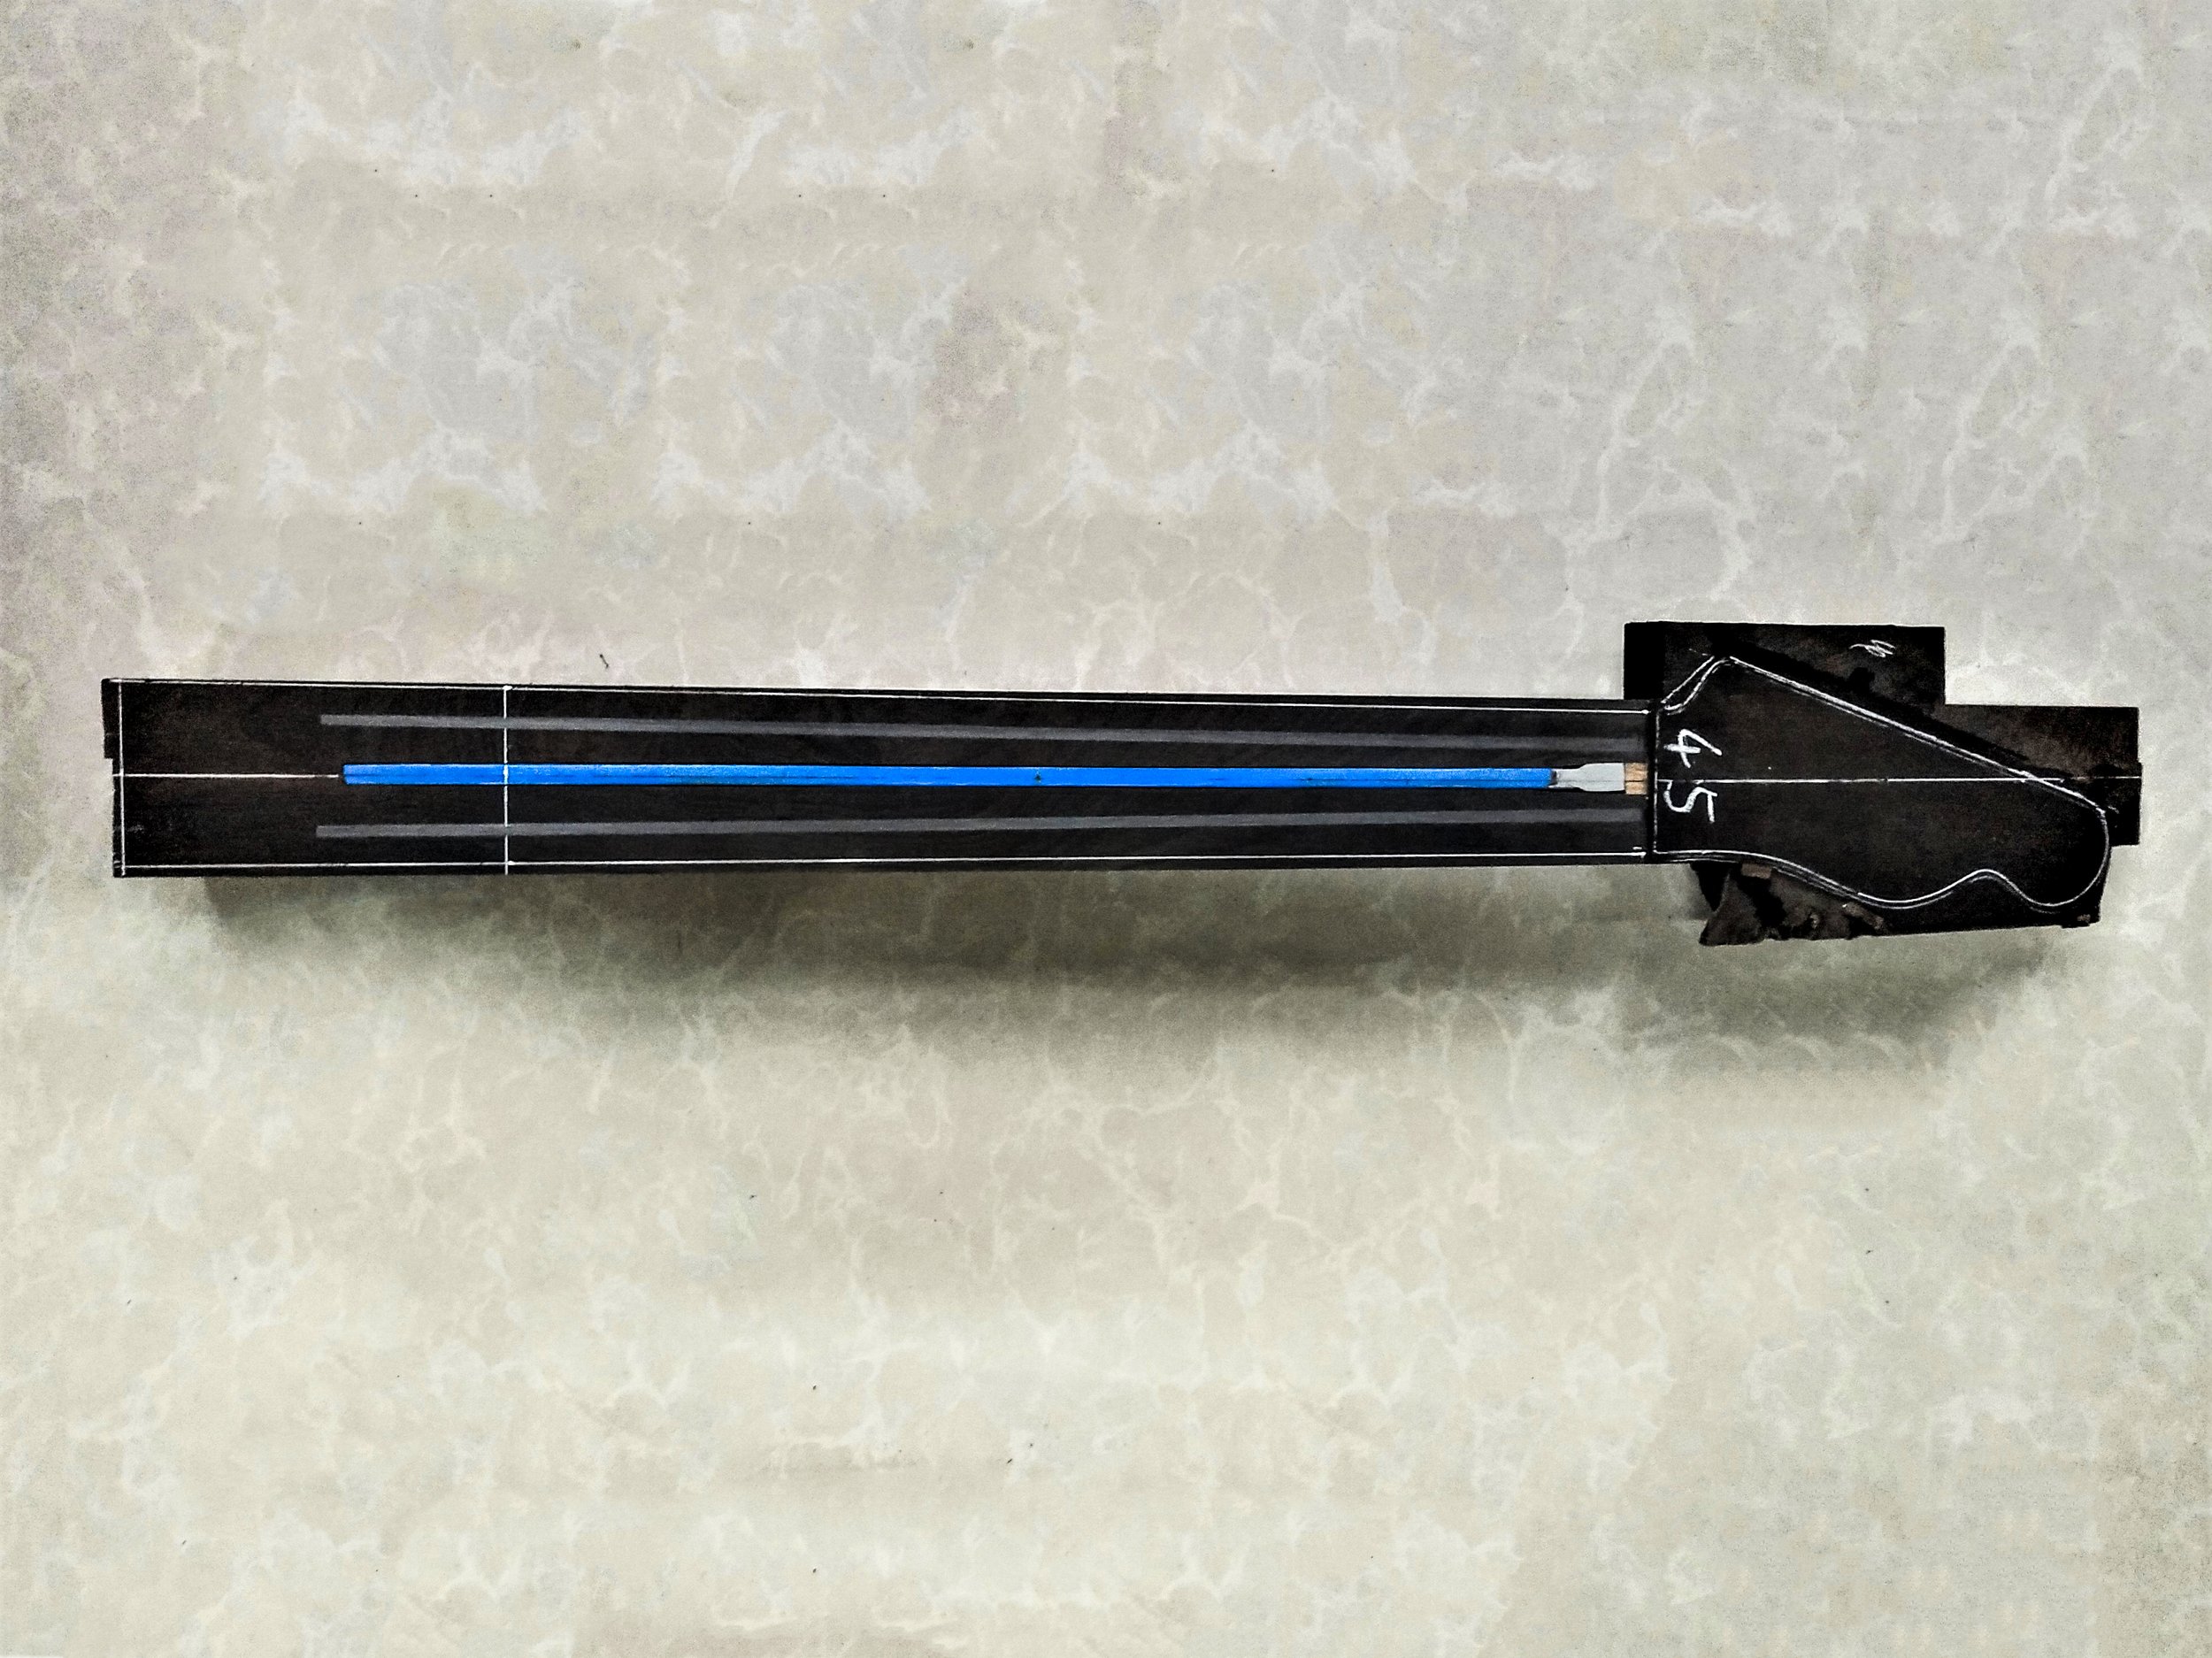
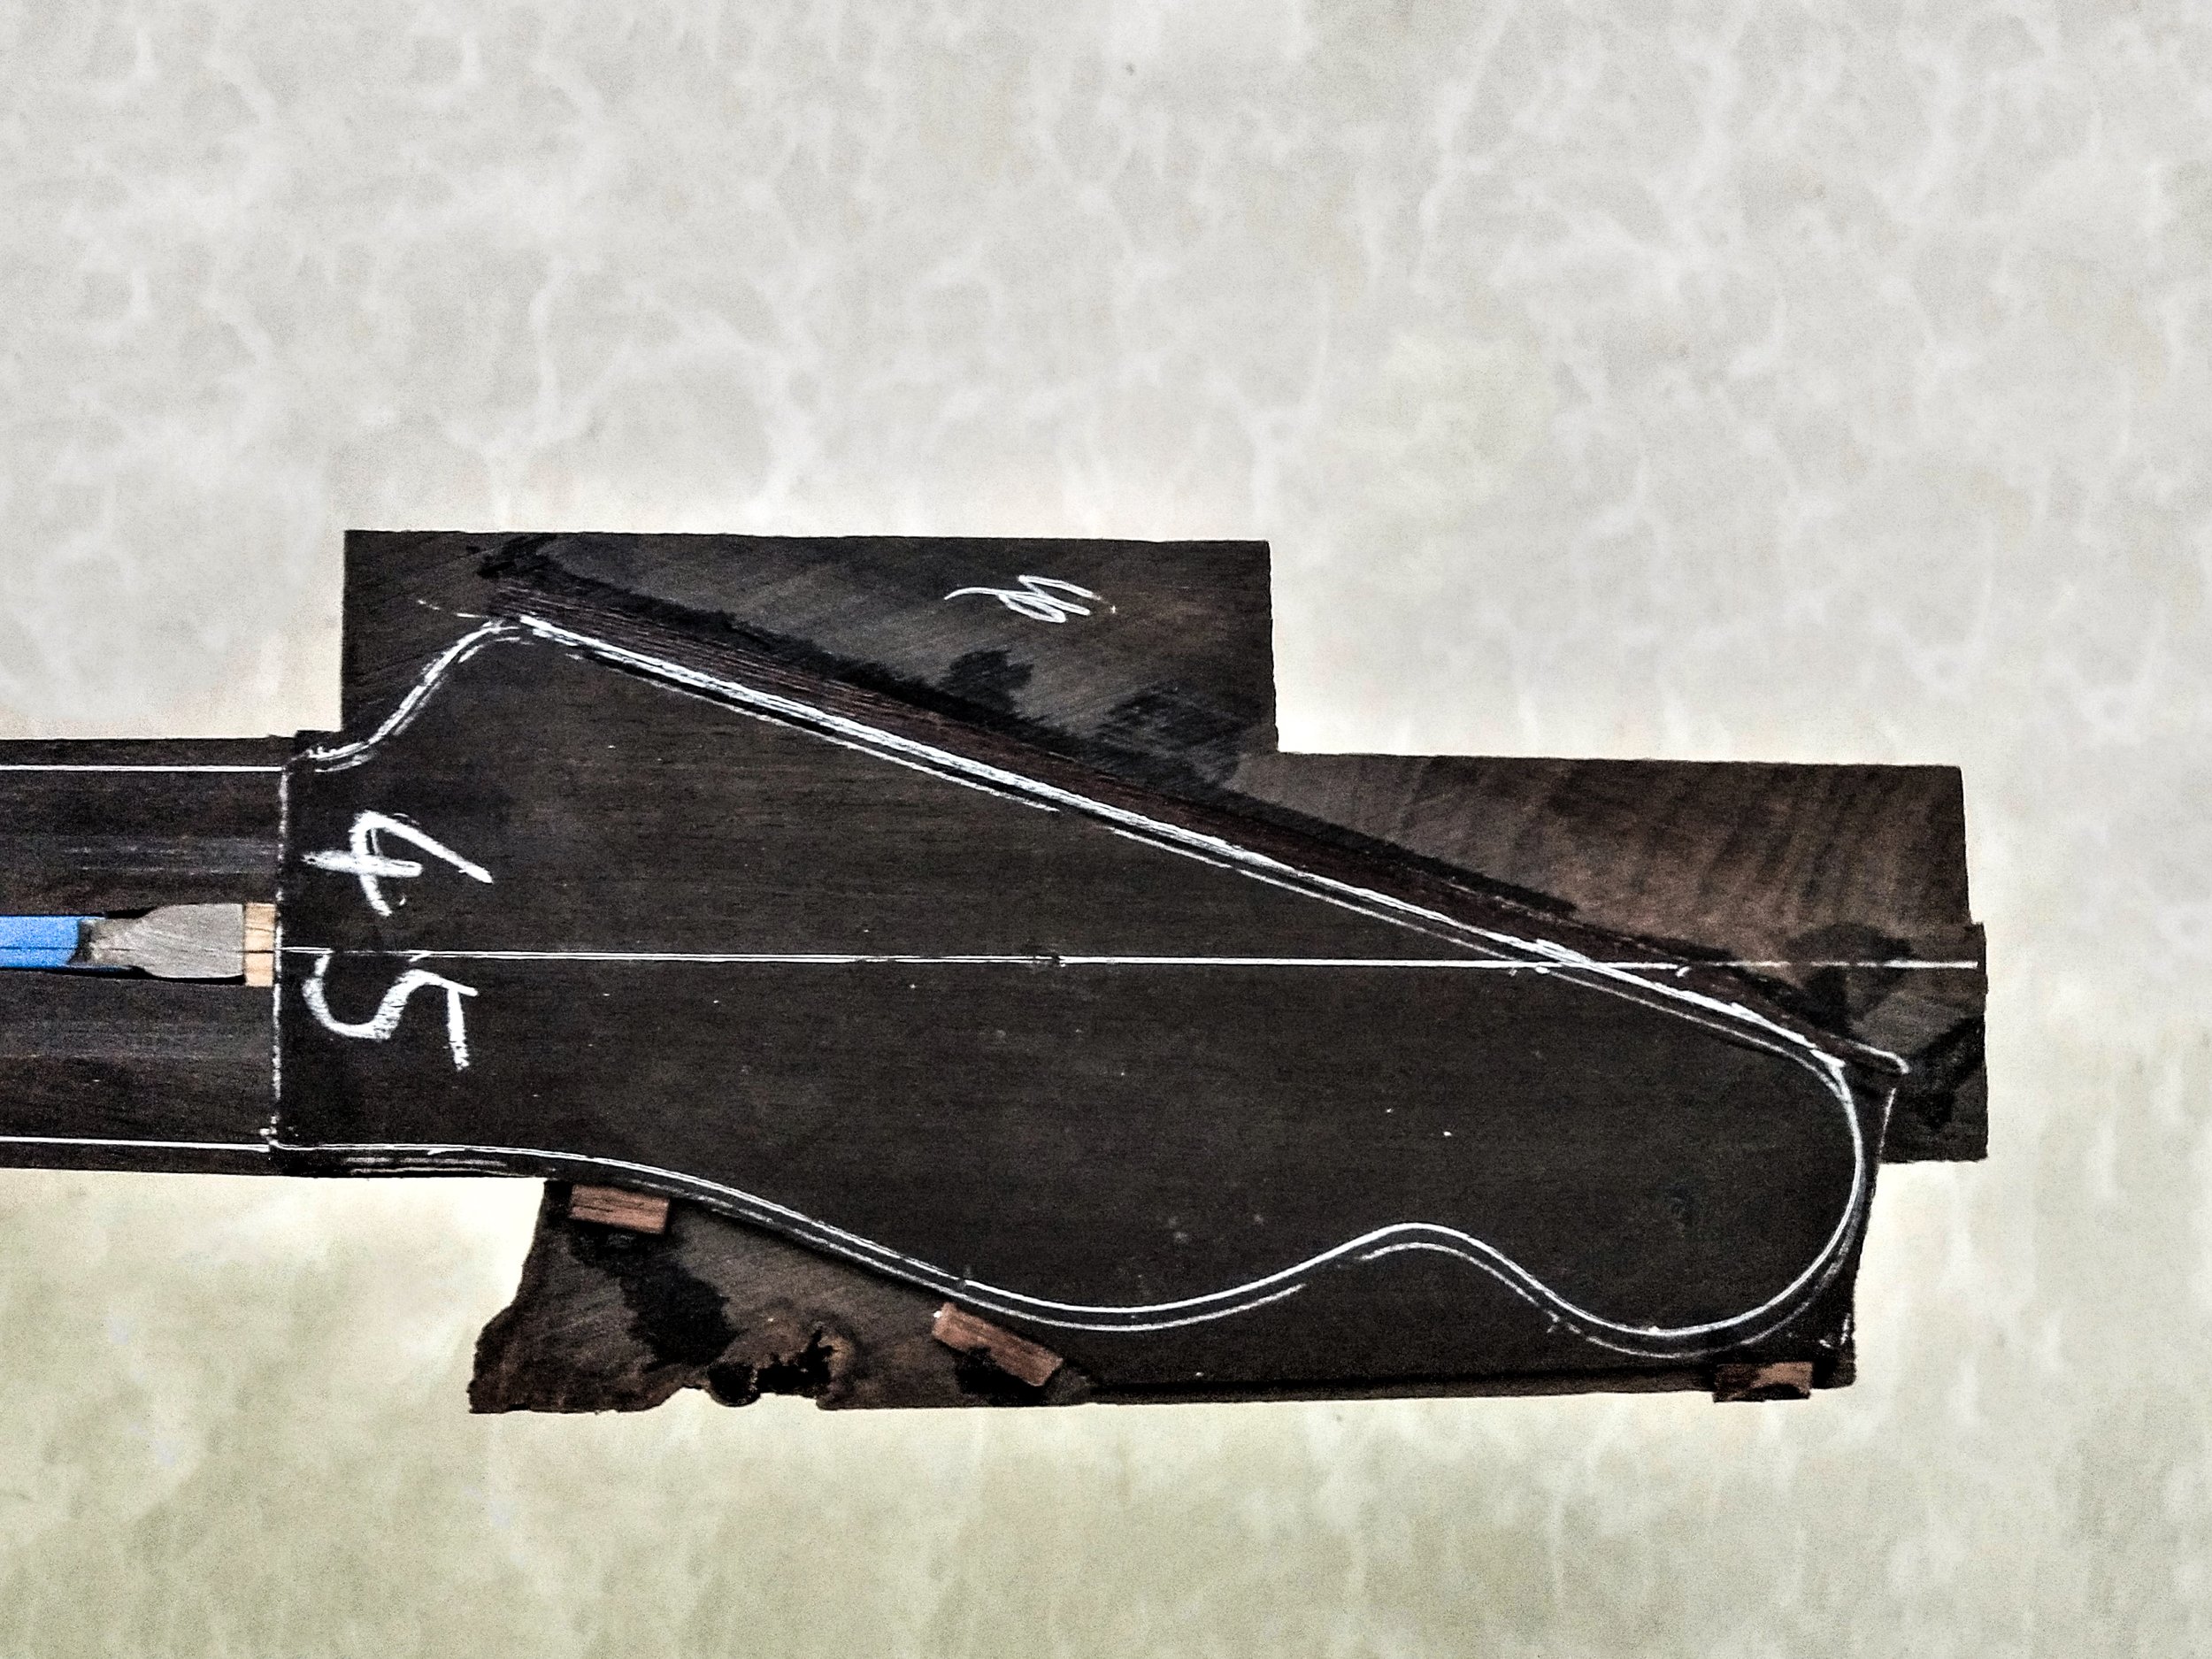
Truss Rod
When the neck has reached the right shape, we proceed by gluing on the head stock overlay and cutting it into raw shape. When this is all set, a middle line is drawn in the length of the neck. Then a slot for the truss rod is routed by hand. Next, we put the truss rod in place. It must fit perfectly, otherwise you might hear or feel it rattle while you play. Can’t have that of course. For reinforcement the neck also has two additional carbon rods alongside the truss rod.
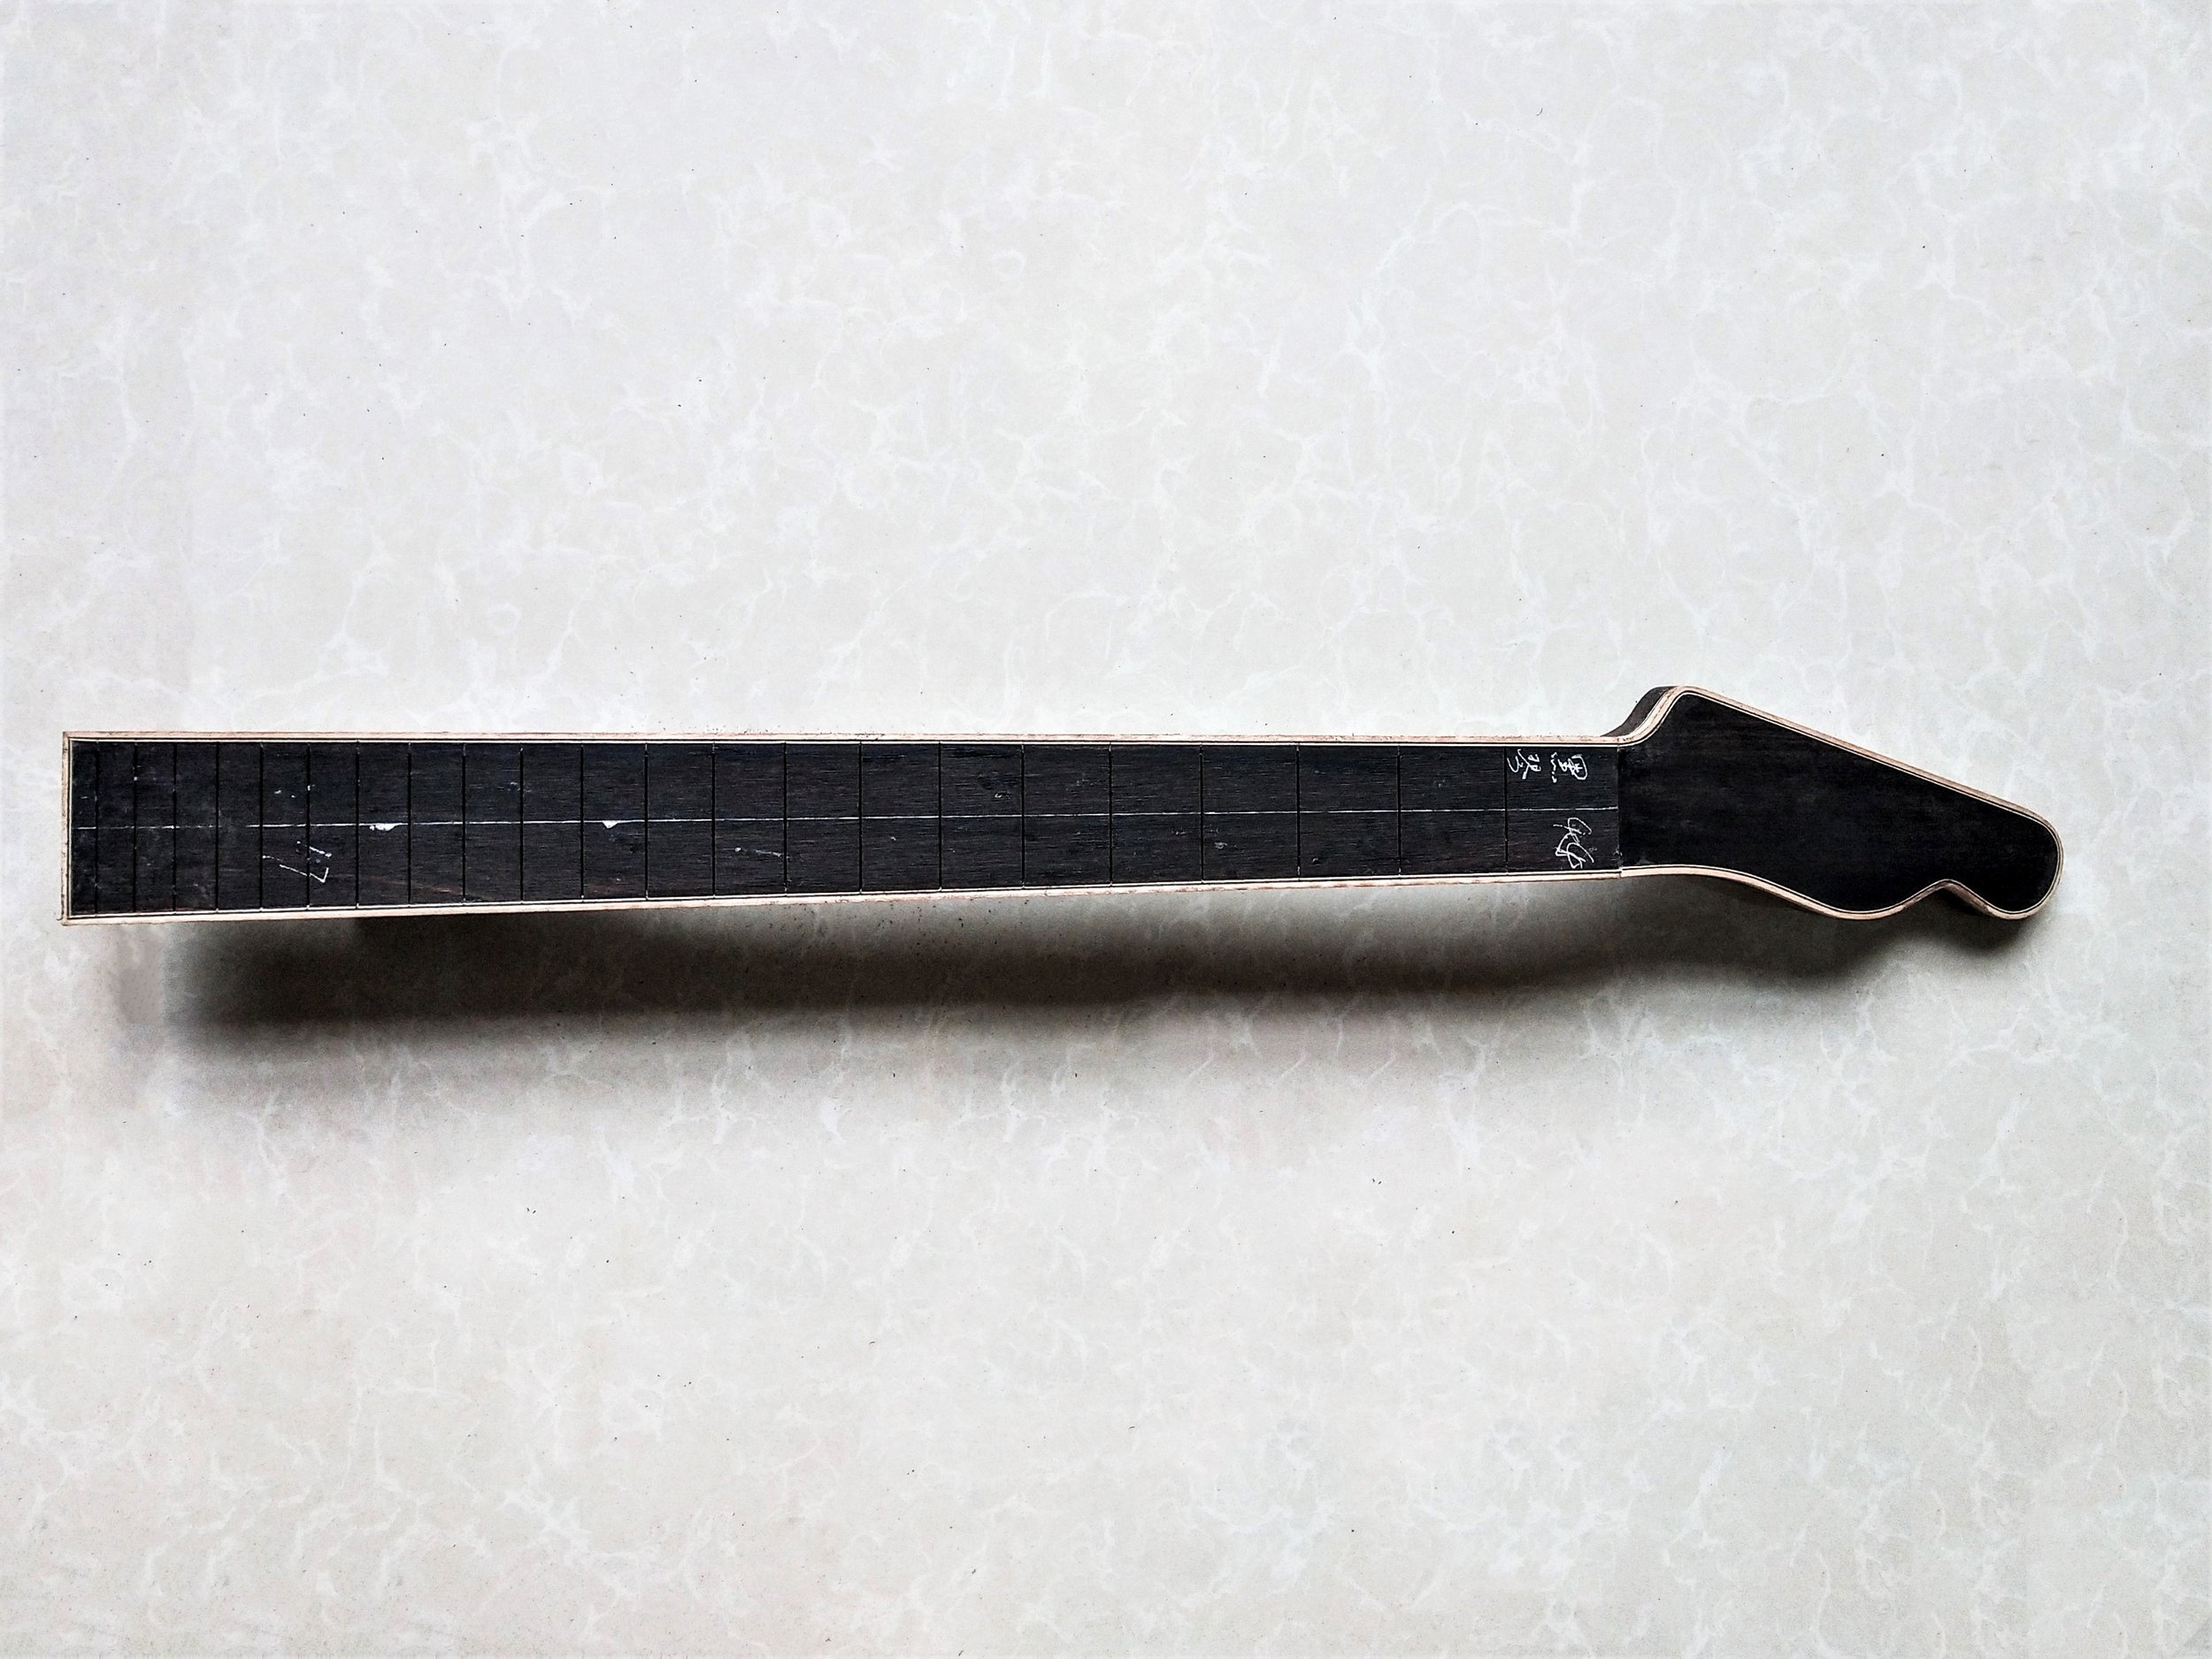
Neck binding & shape
We have now glued on the slotted ebony fingerboard and finished gluing on the flame maple binding of the neck (lowest one on the picture). We have put on quite a number of clamps and let it dry overnight. The neck is then carved into its definite shape. Of course, it is a matter of personal preference, but for the T-Ultimate Neolithic it felt right to go for a C-shape neck. The neck is now ready to be attached to the body!
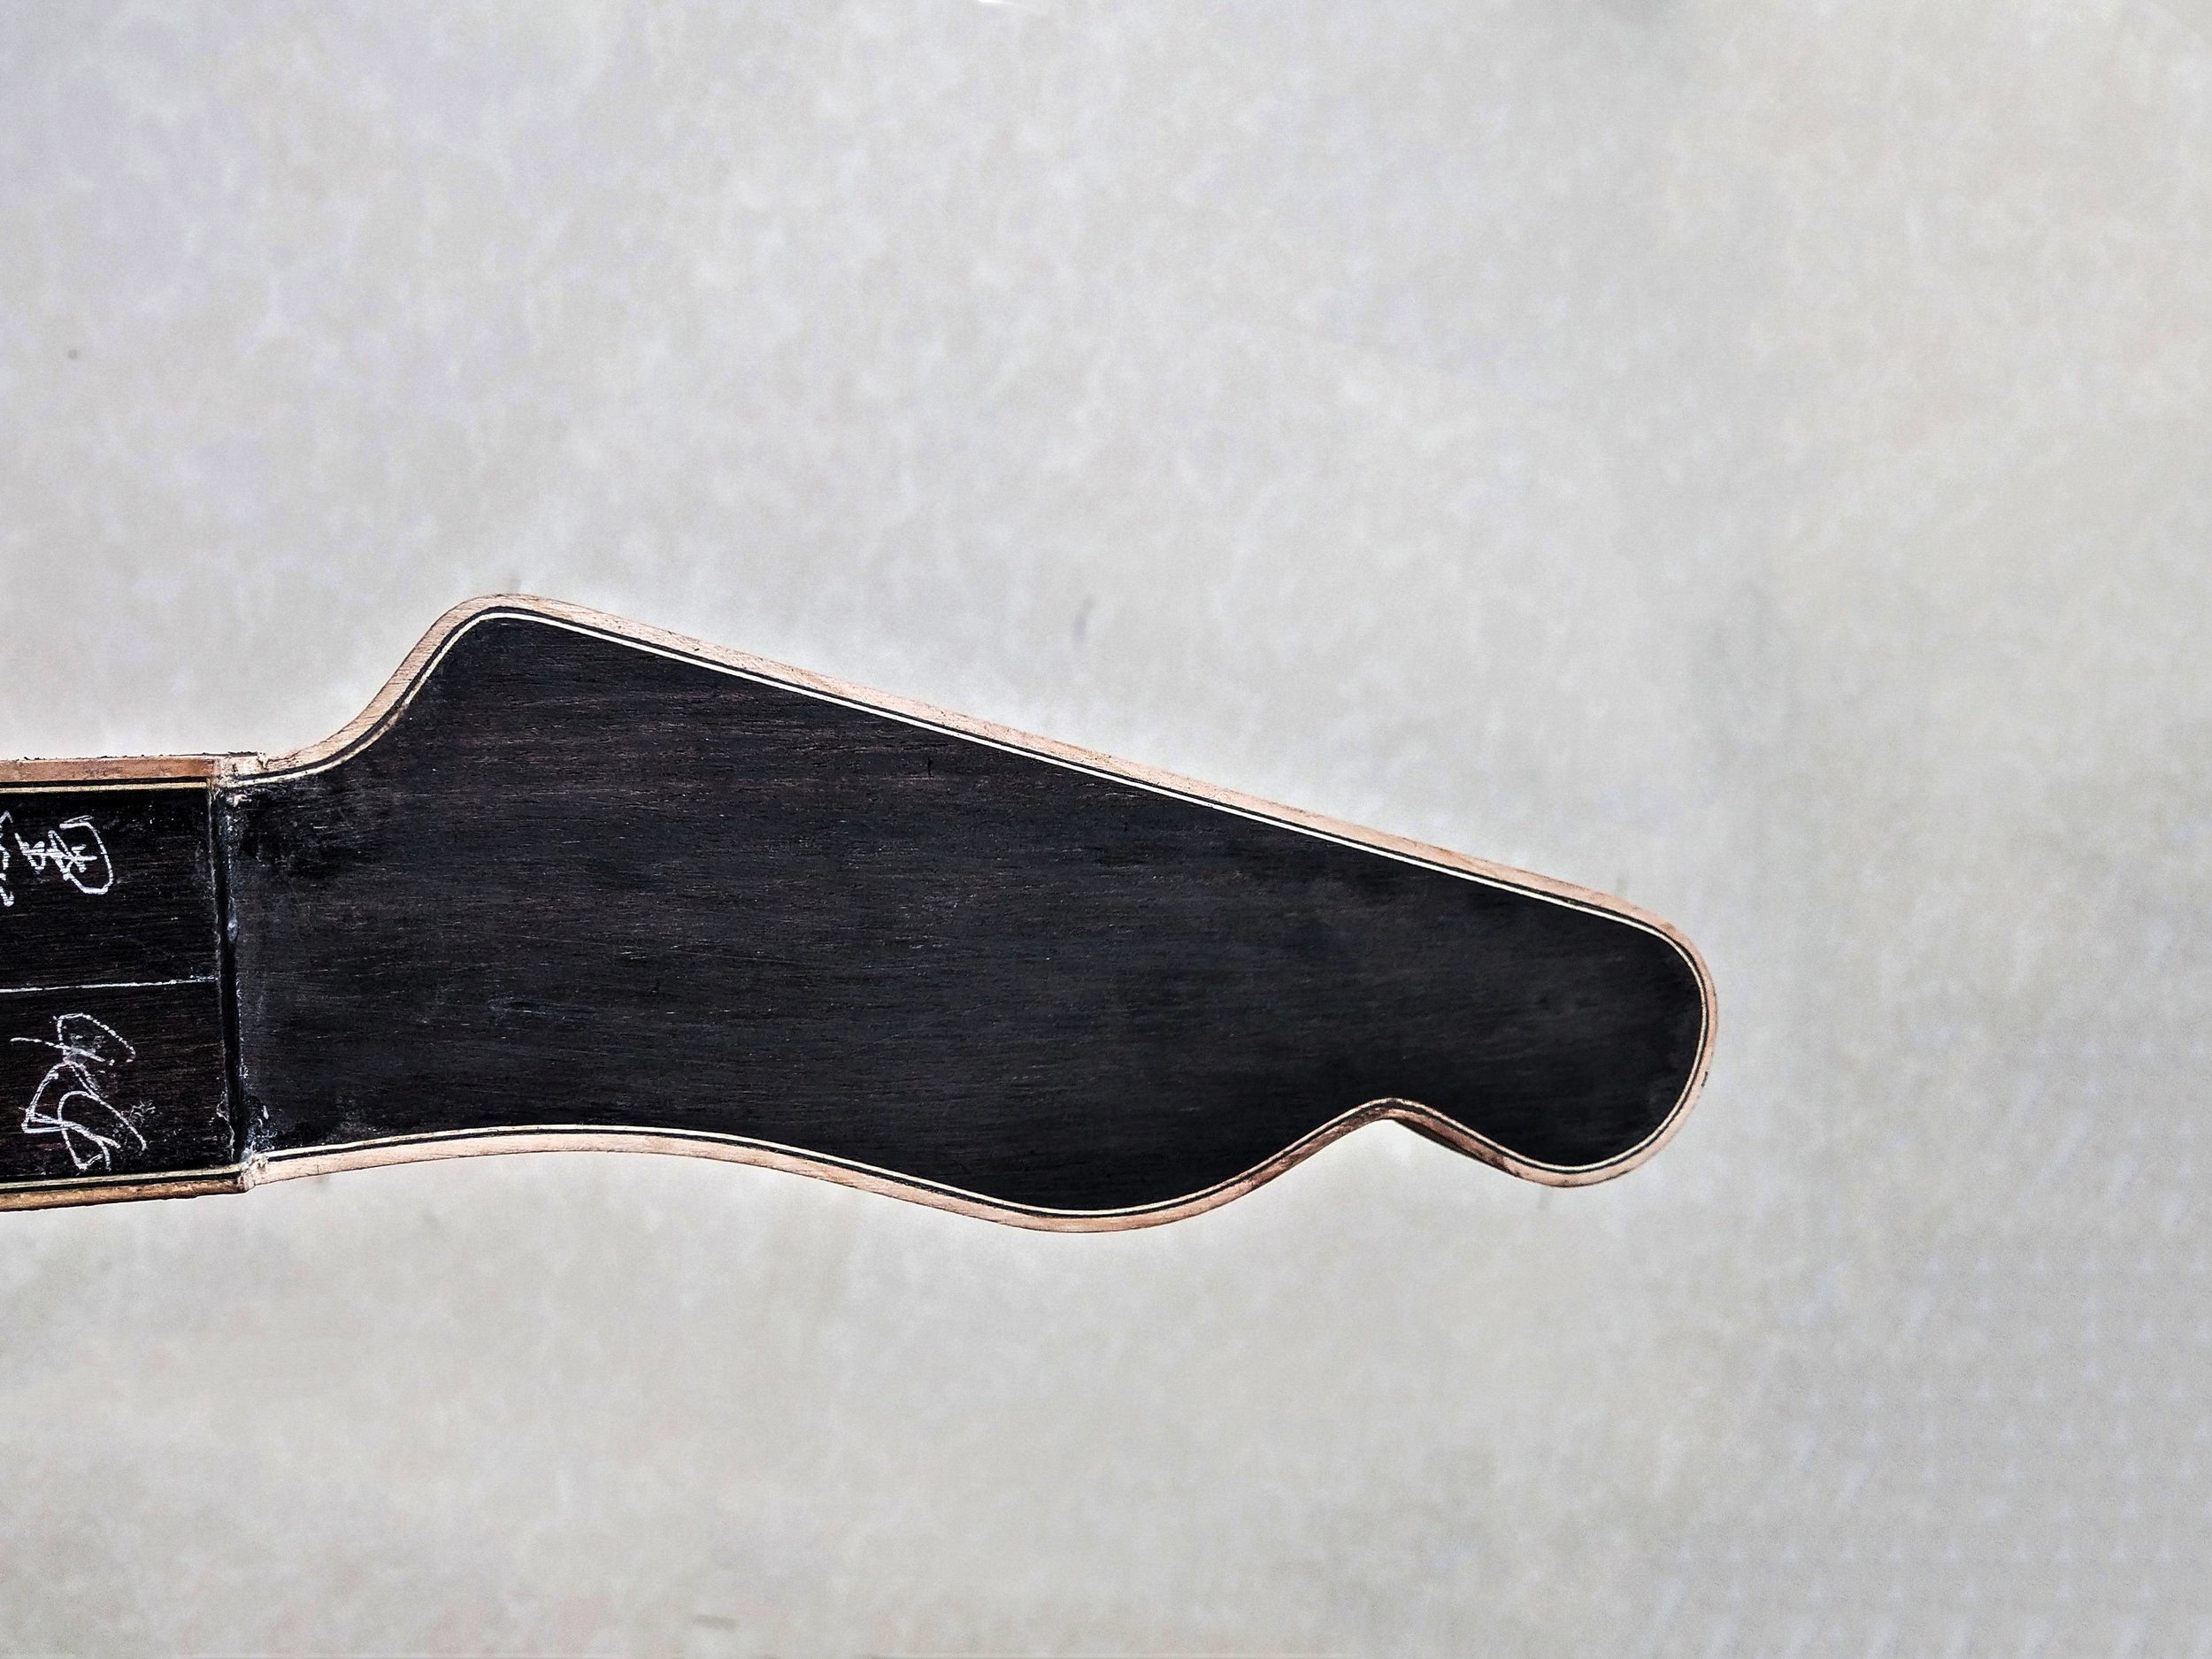
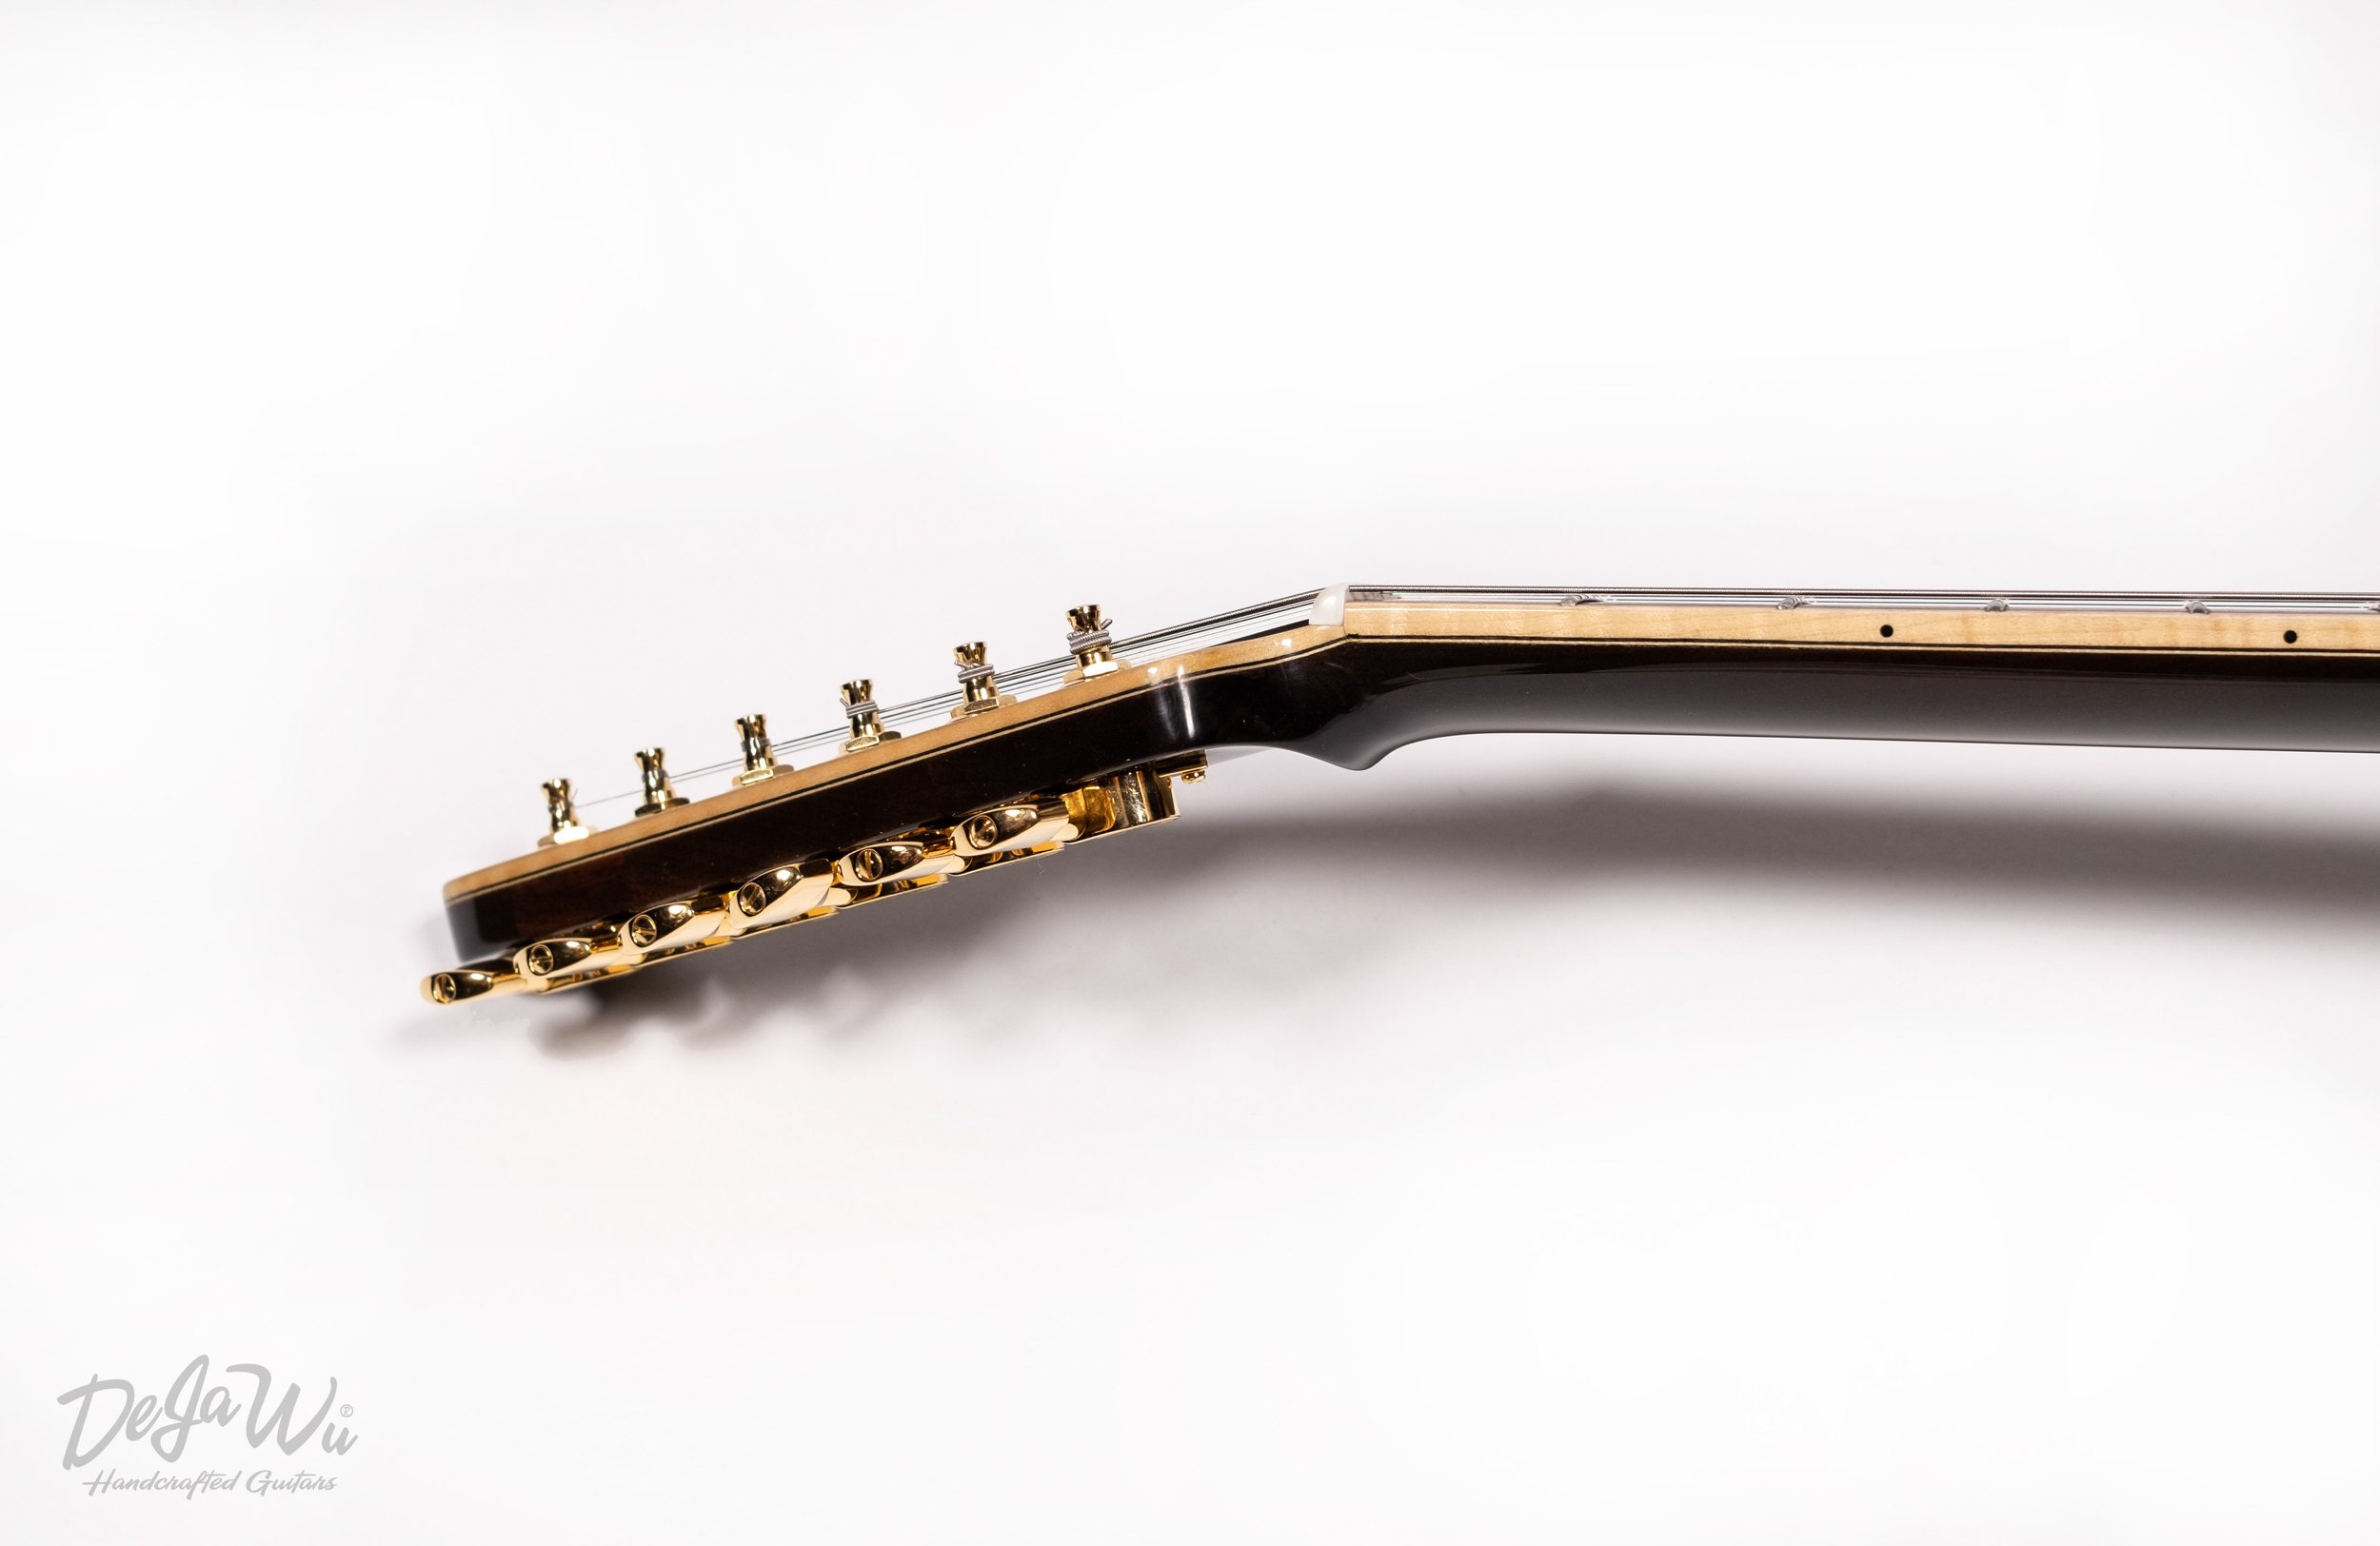
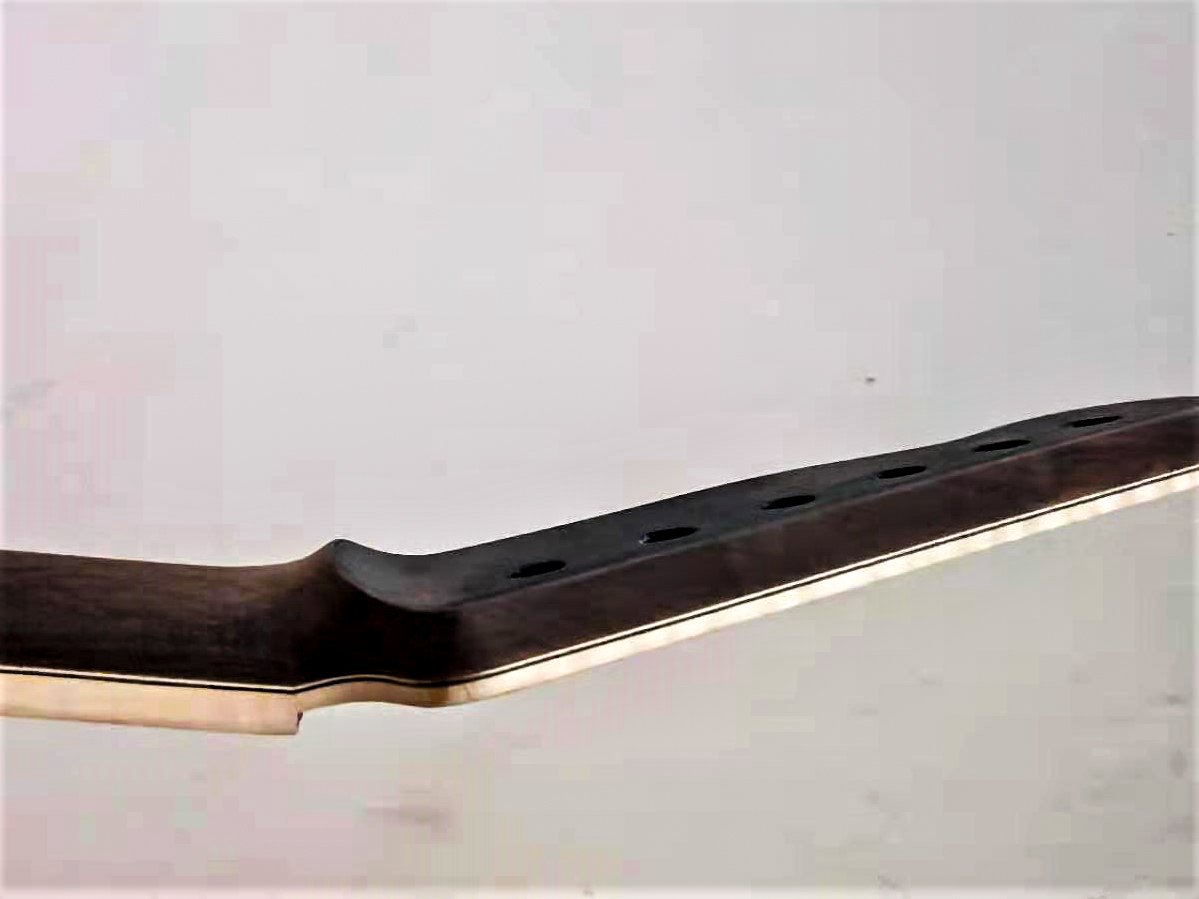
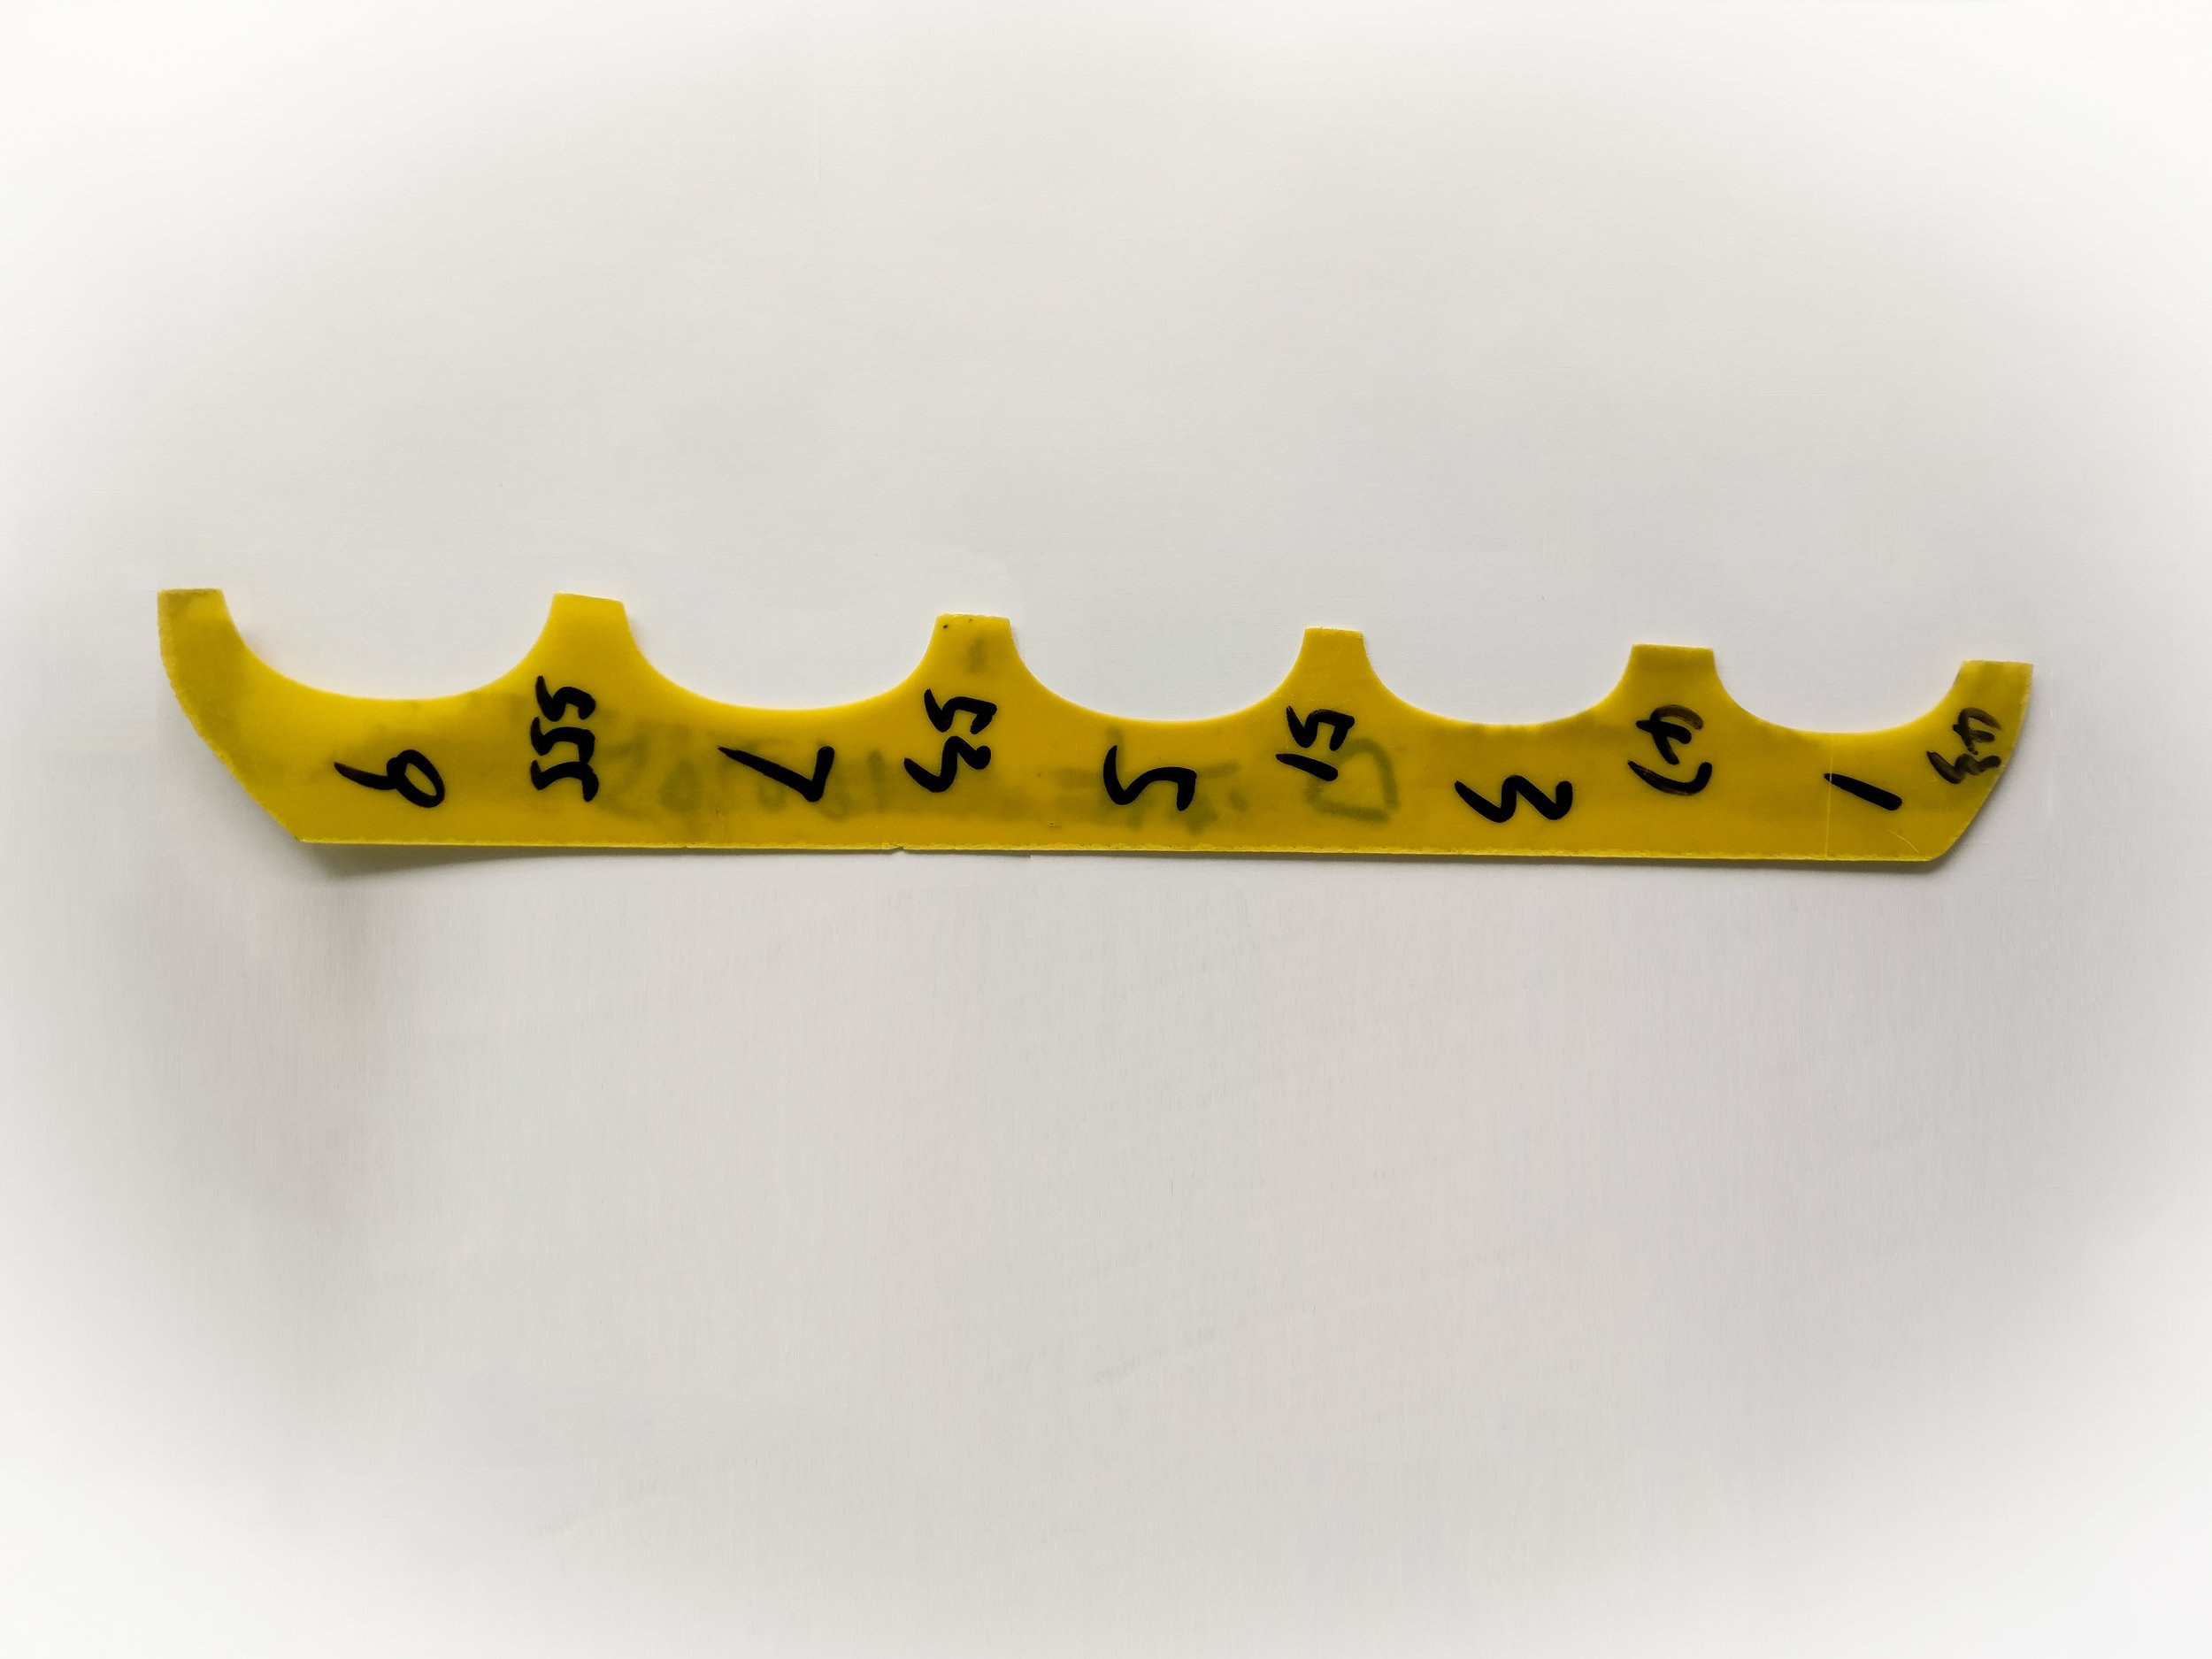
Neck-head stock angle
For most contemporary steel-string guitars, the neck-head stock angle usually lies between 15° and 17°. To a large extent, the angle determines the string tension. The larger the angle, the weaker the ‘joint’ will be (the place where the neck and the head stock meet) Of course, they are not joined (glued) together but rather hand carved from one piece. This head stock has a 15° angle. So as to reduce the risk of cracking, we made the neck-head stock joint slightly thicker. The yellow mold on the right is used to measure whether the neck has reached its right shape.
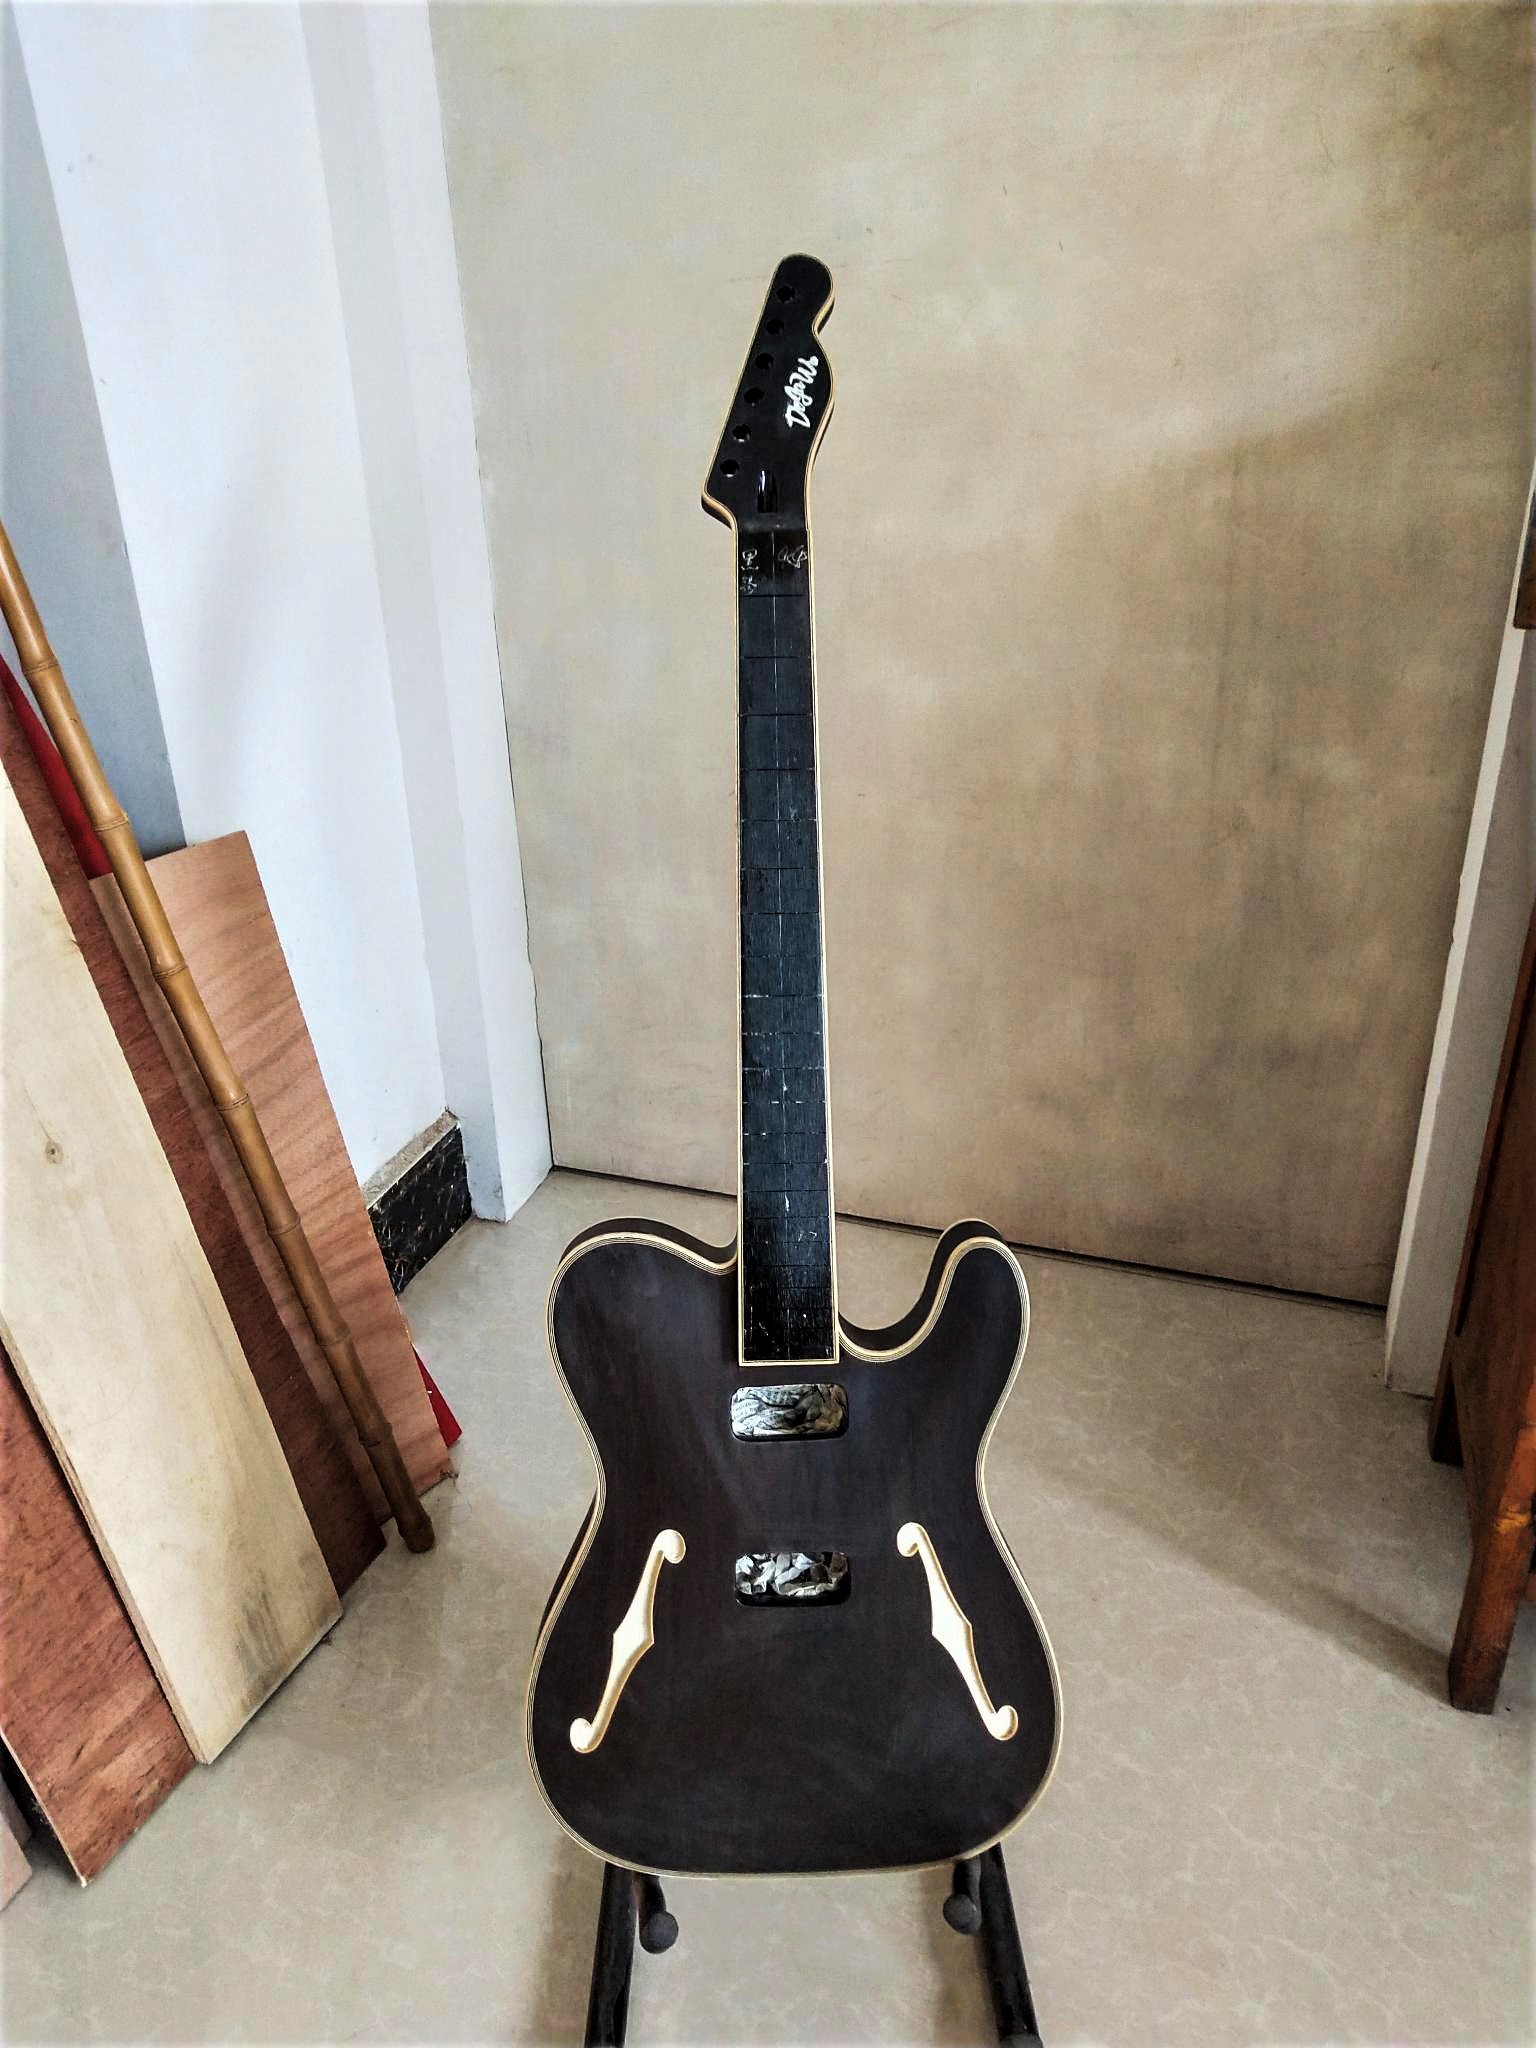
Assembling the body & Fret work
We continue by assembling the neck and body. A dovetail joint connects the neck and the body like a puzzle piece. Add some super wood glue and the two will never come apart! Next, the fret board is sanded to get its radius. When it is completely cleaned up and smooth, the fretting is done. One by one the frets are carefully cut off the fret-wire and filed by length to get them exactly in the slots, and then hammered into the fret board. The 25.5" scale of the T-Ultimate Neolithic has 22 frets. The sides of the frets are then finished to eliminate all sharp edges completely. A very precise work! We also applied our logo to the head stock and drilled holes for the pickups. The guitar is now ready for lacquering.
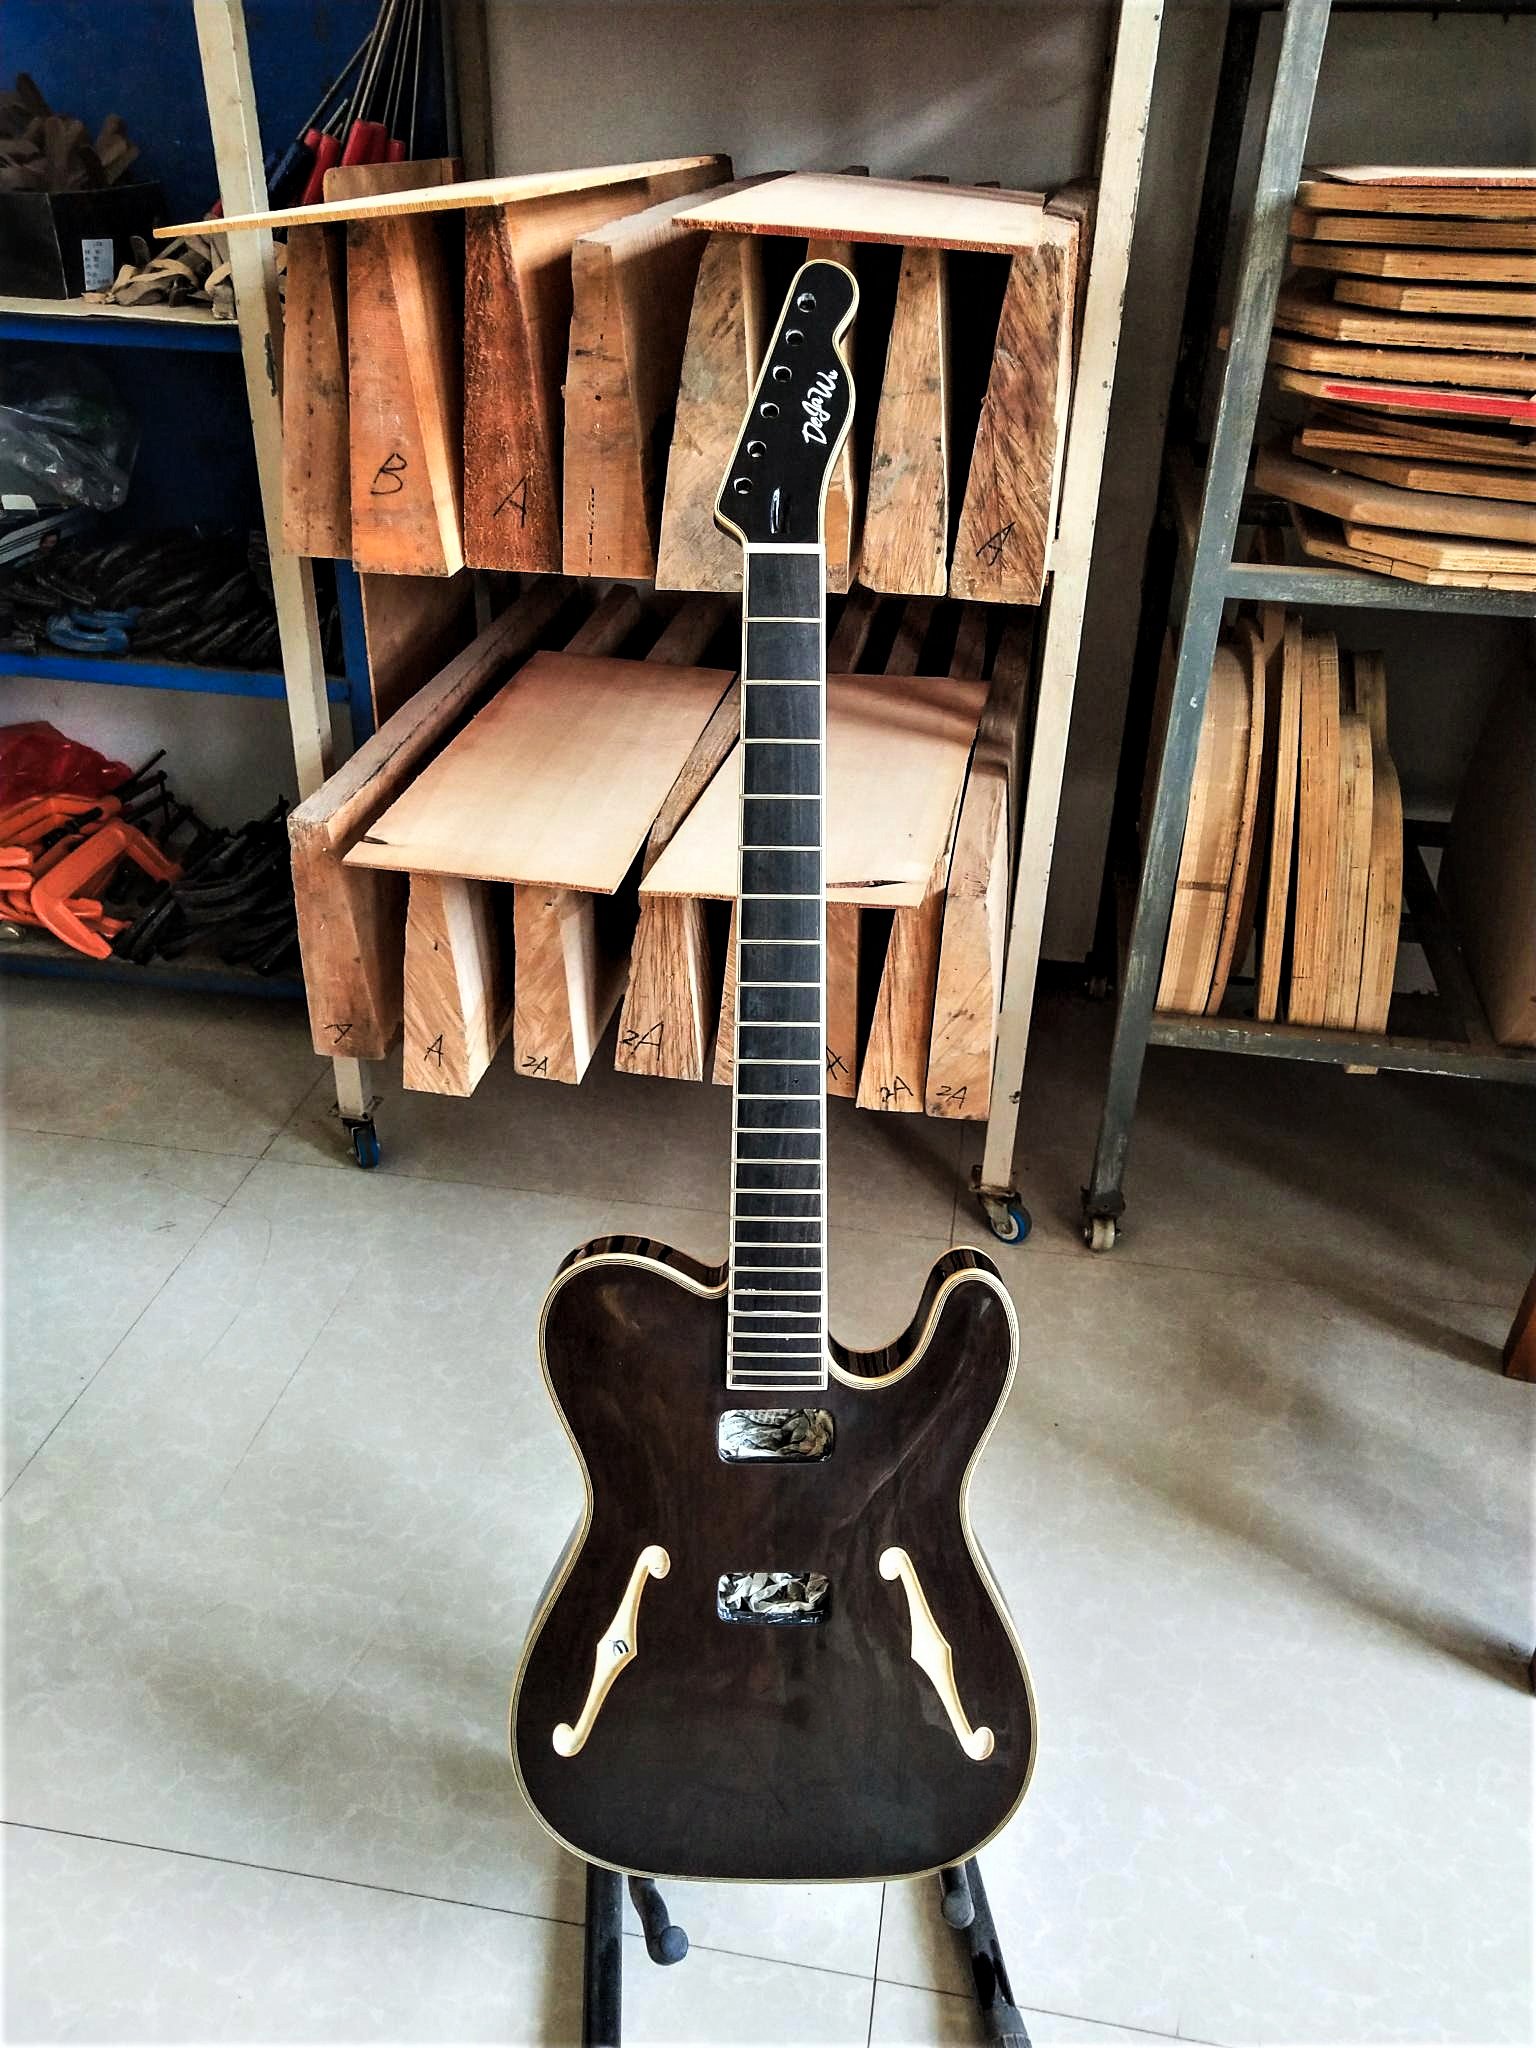
Lacquering
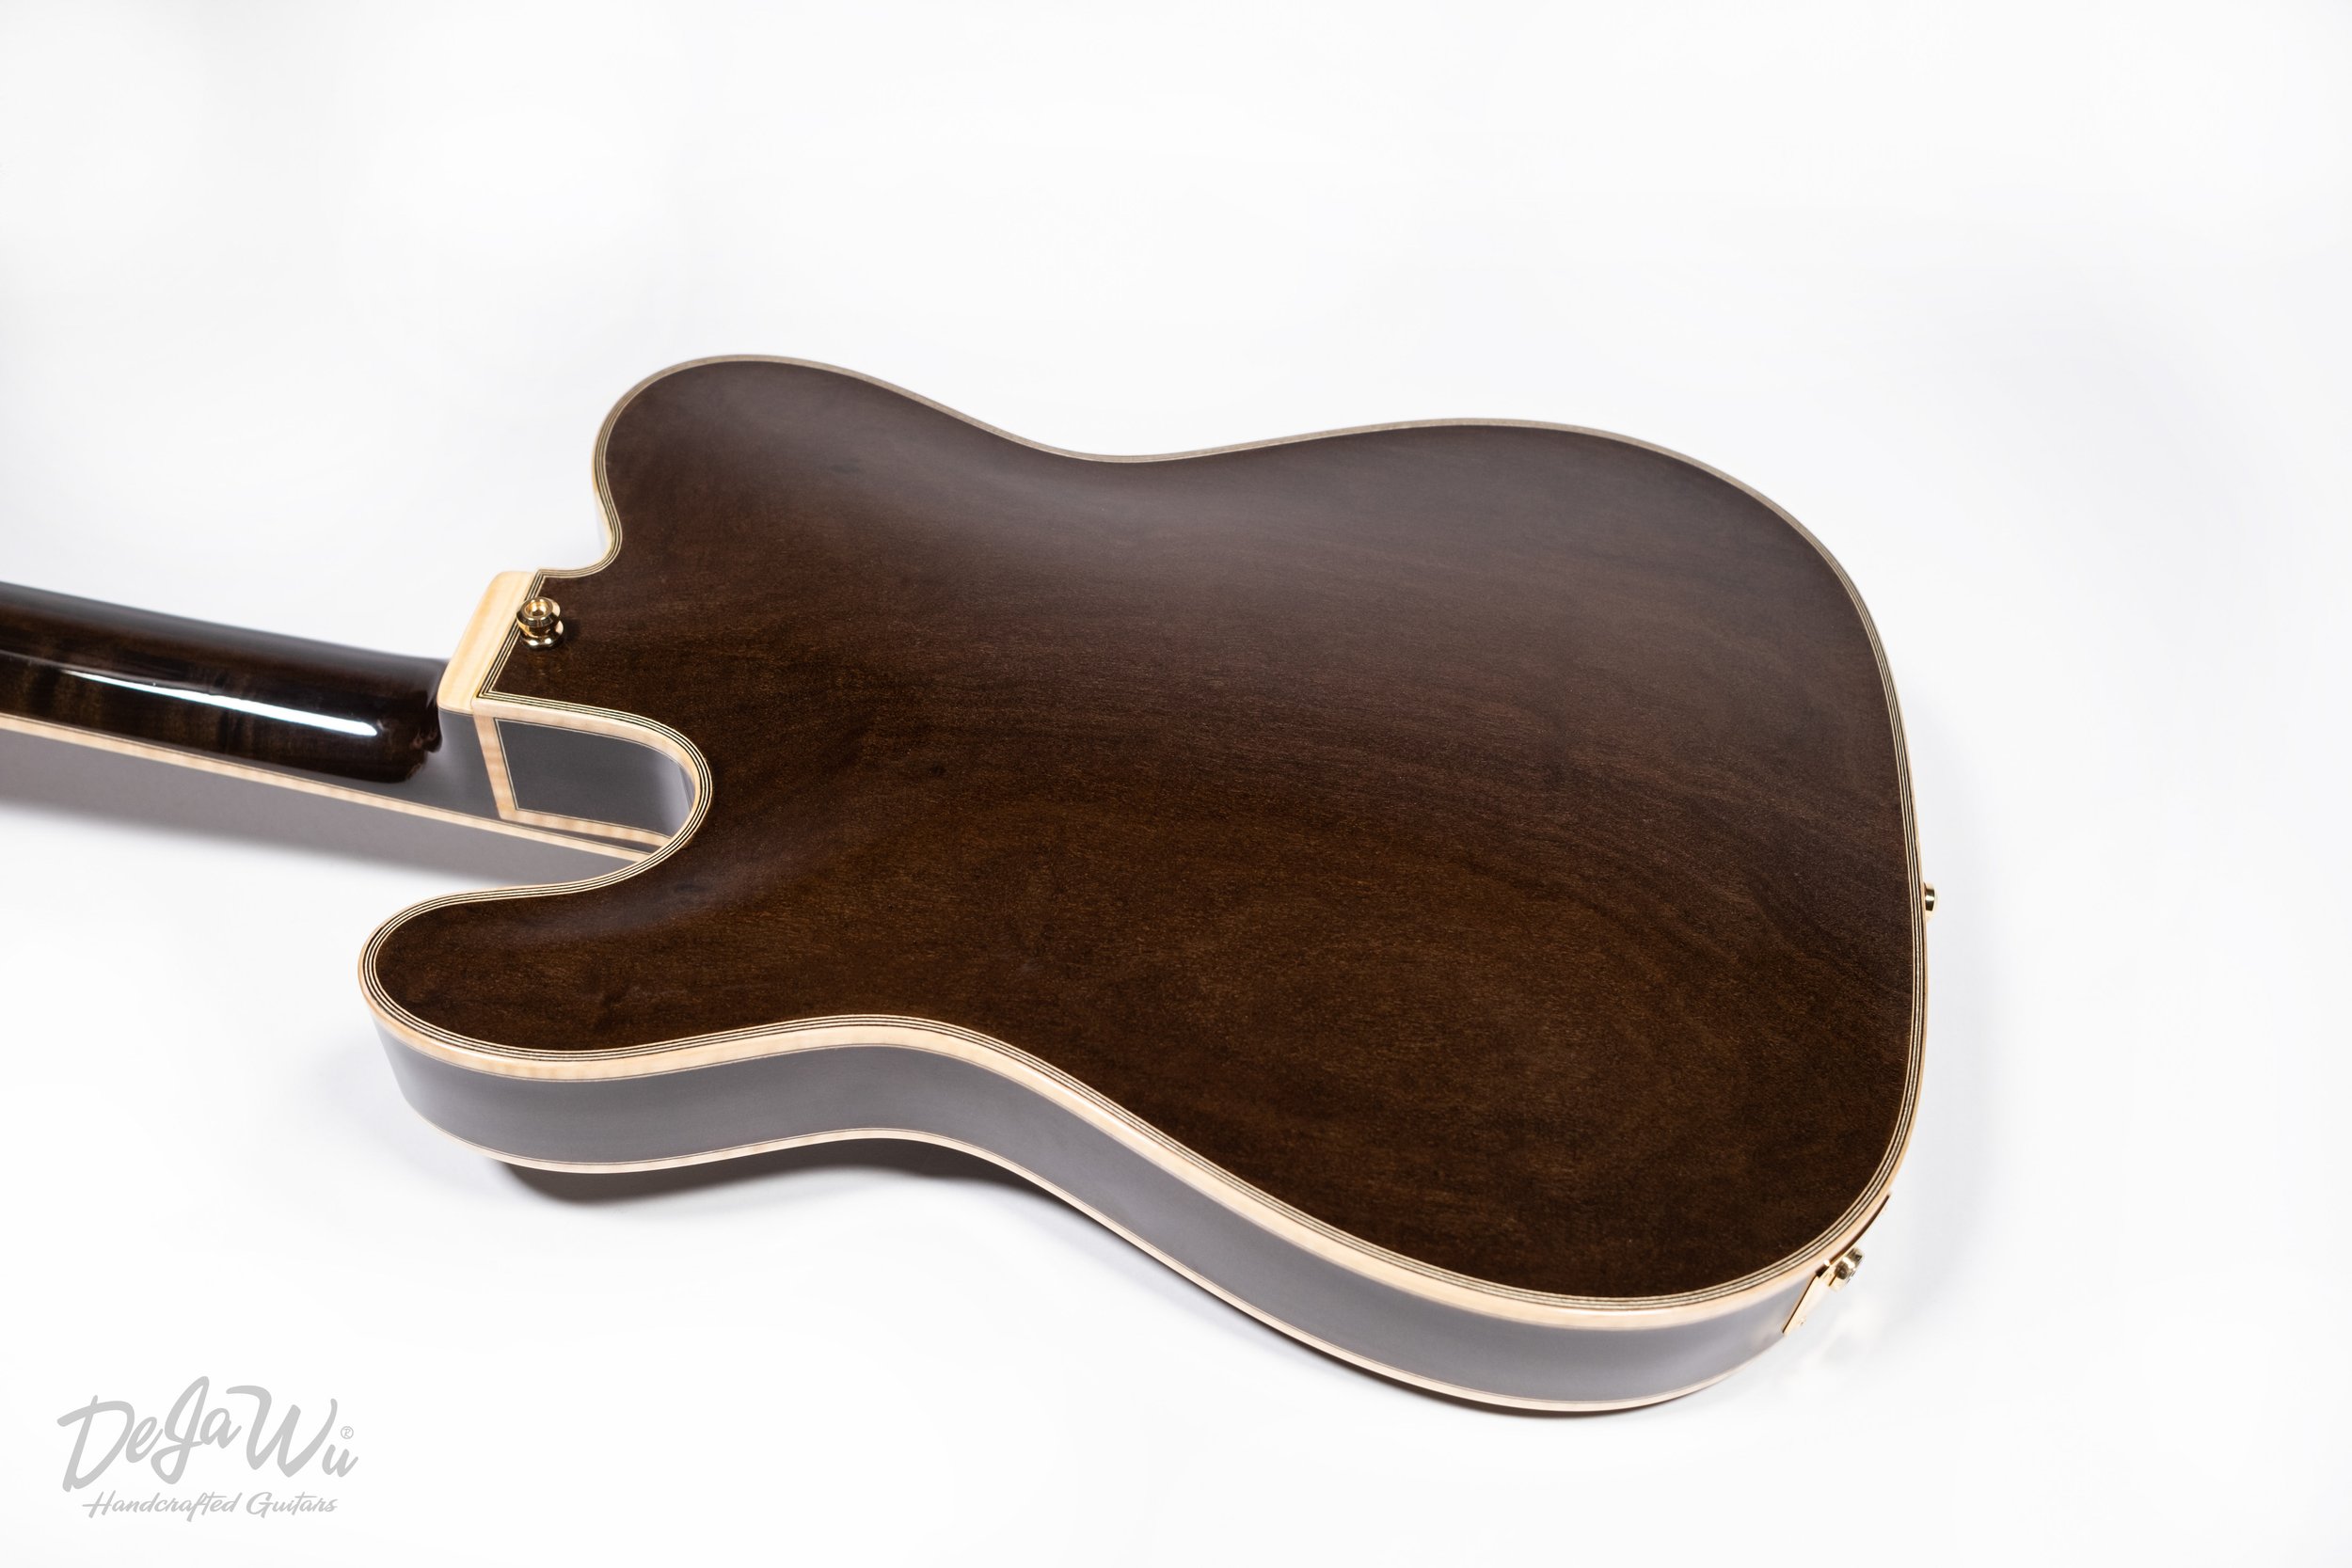
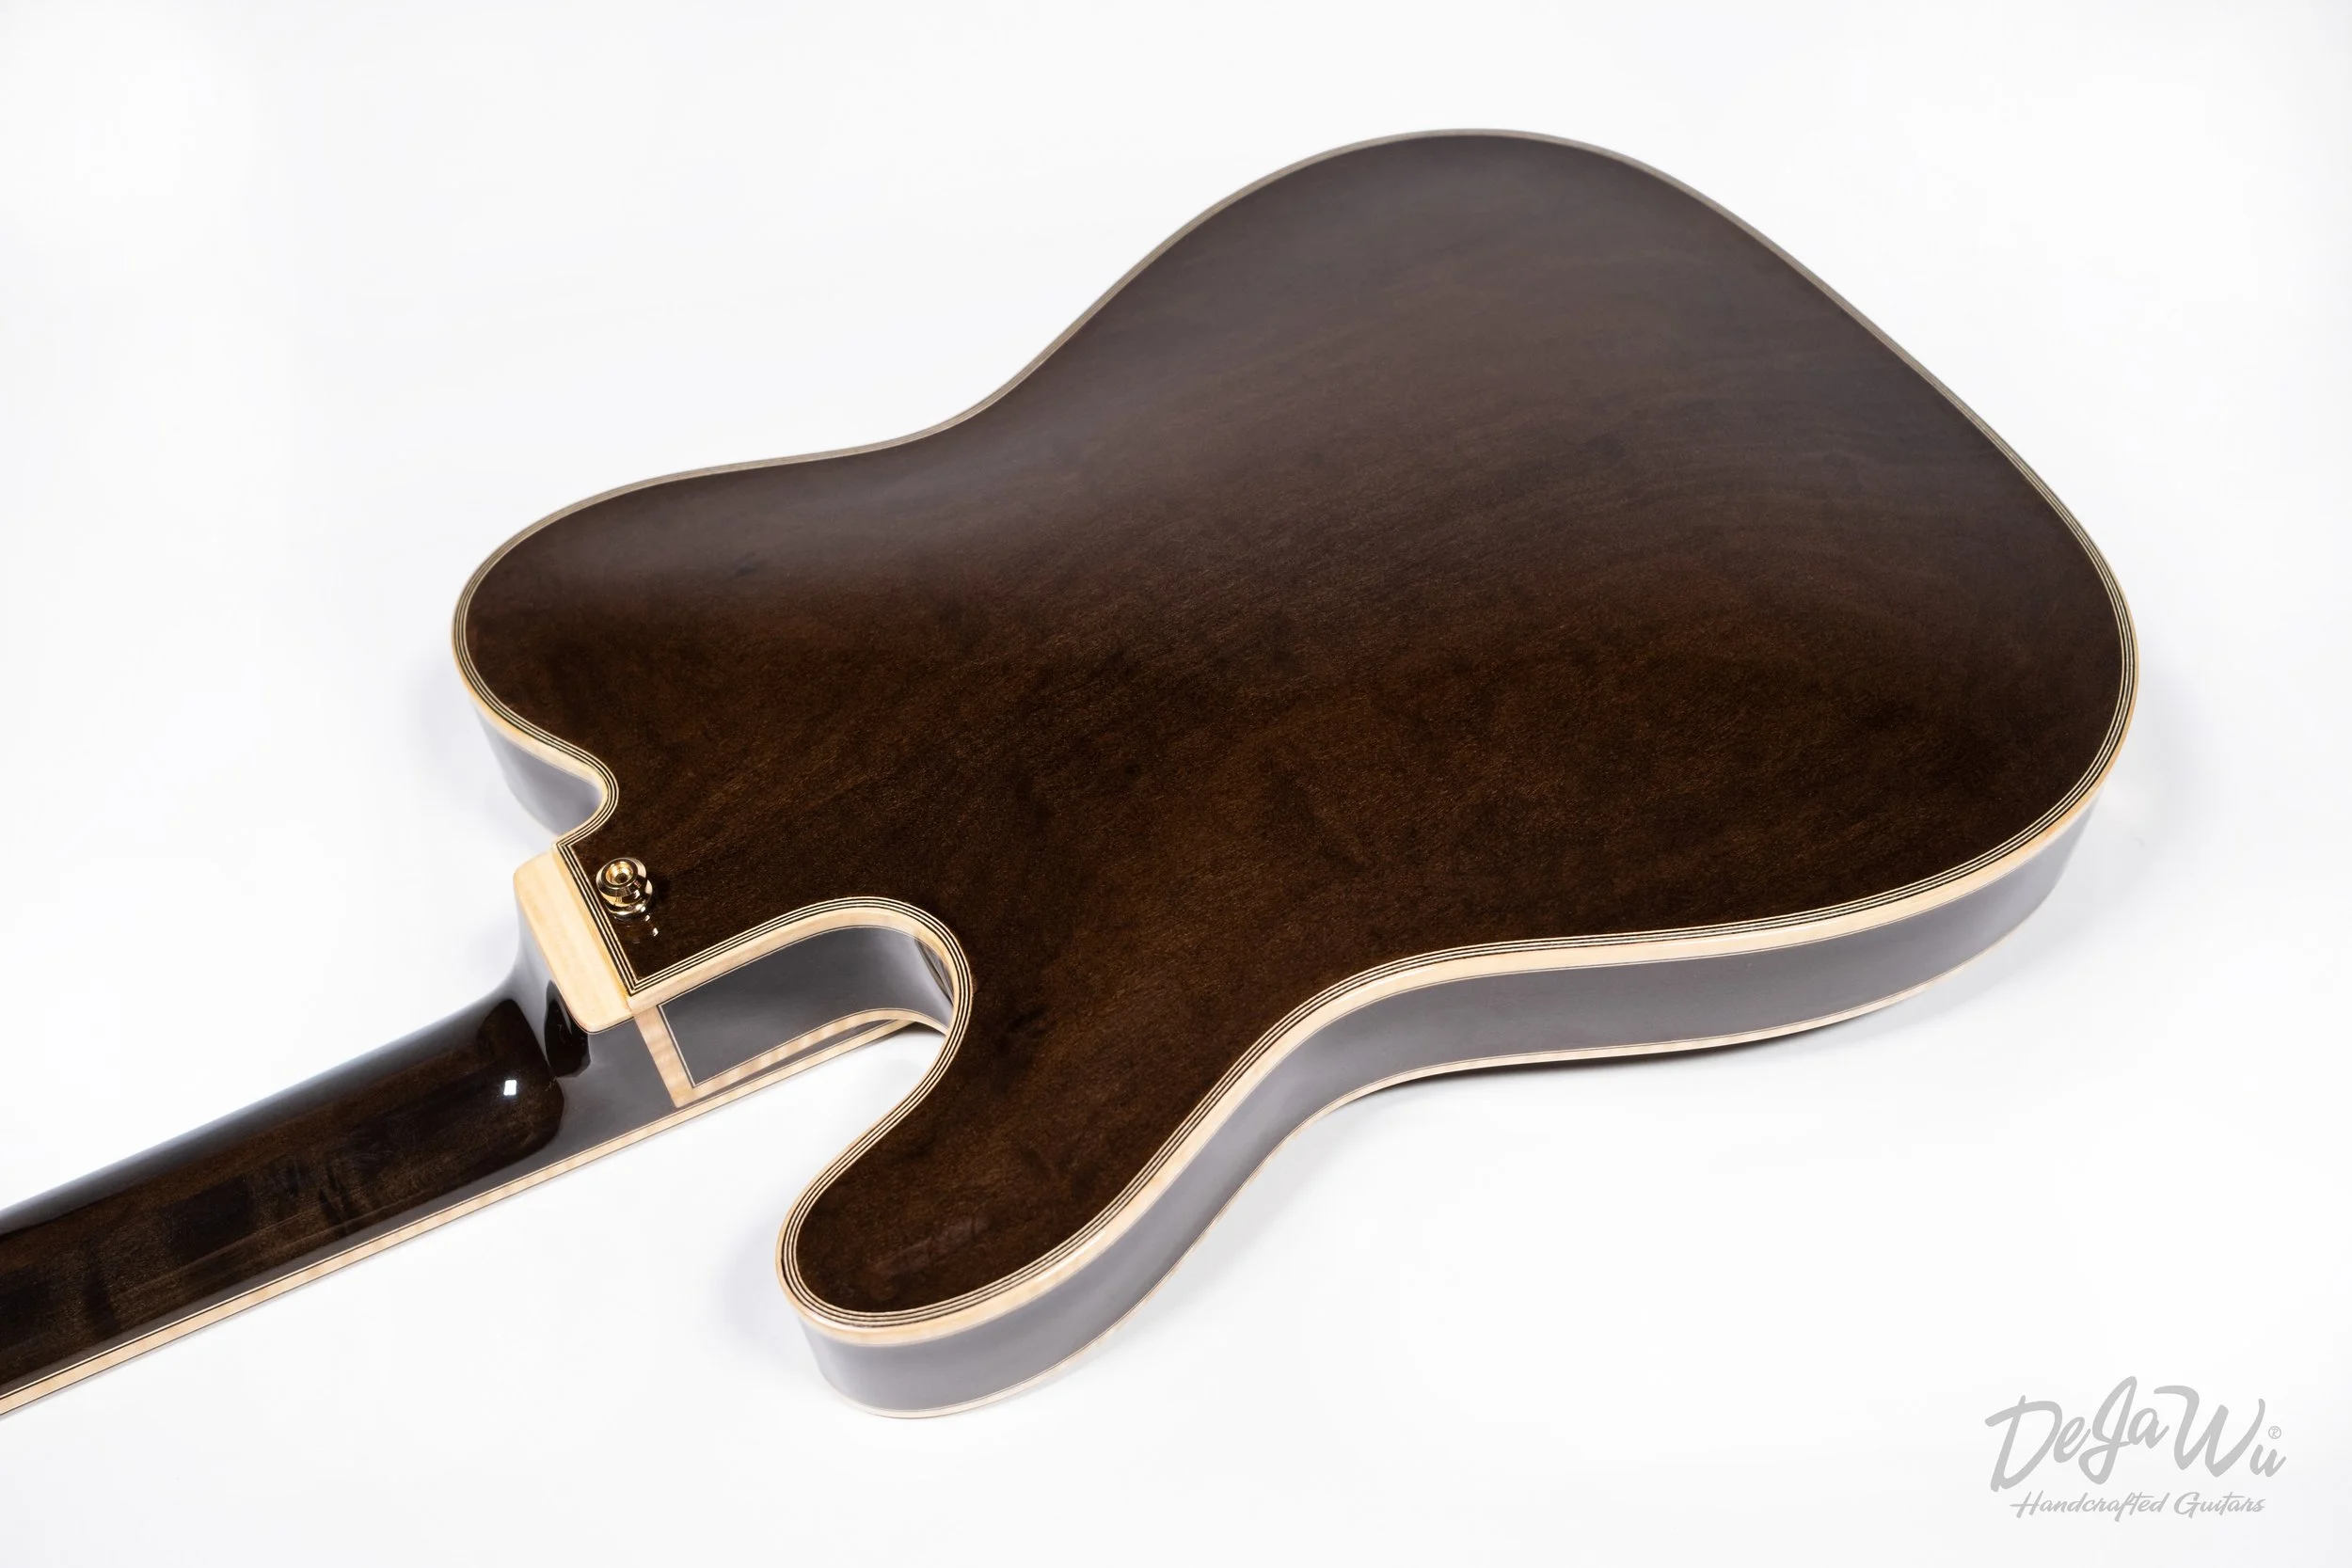
The T-Ultimate Neolithic has also now received multiple layers of lacquer and is beautifully hand polished by Youmei. We apply multiple very thin layers of nitro-cellulose lacquer, carefully hand polished between applications to highlight the natural color and grain. The darkness of the wood really comes out. What a beauty! We let the lacquer dry for a while, and as soon as the weather allows it, we send it to our workshop in the Netherlands.
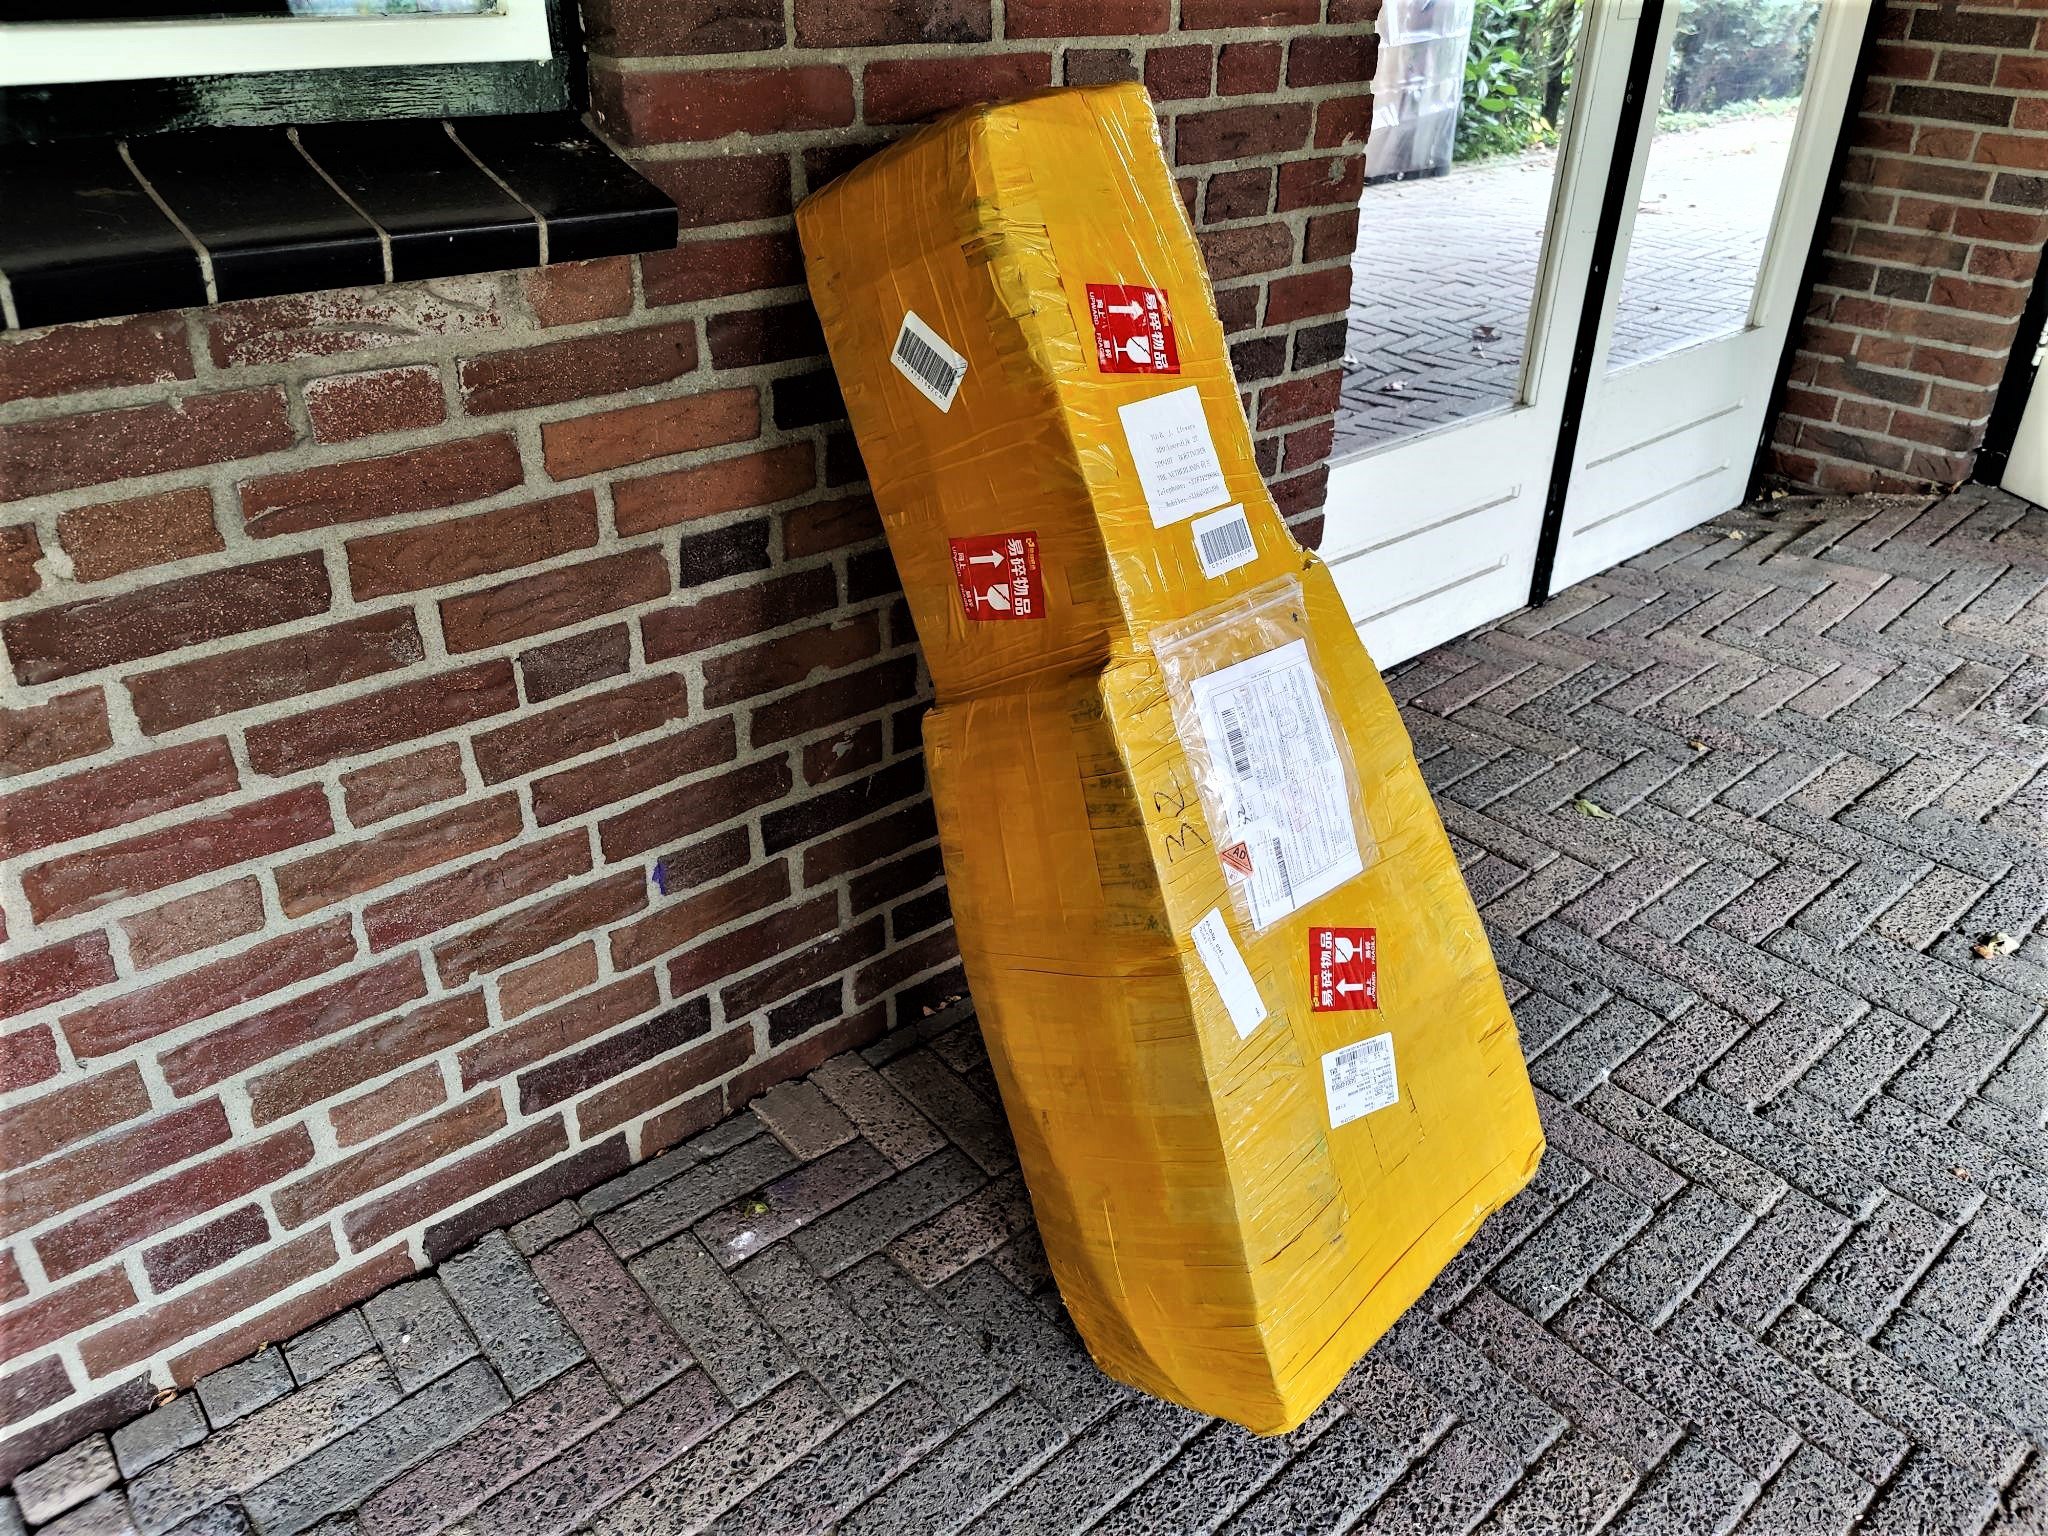
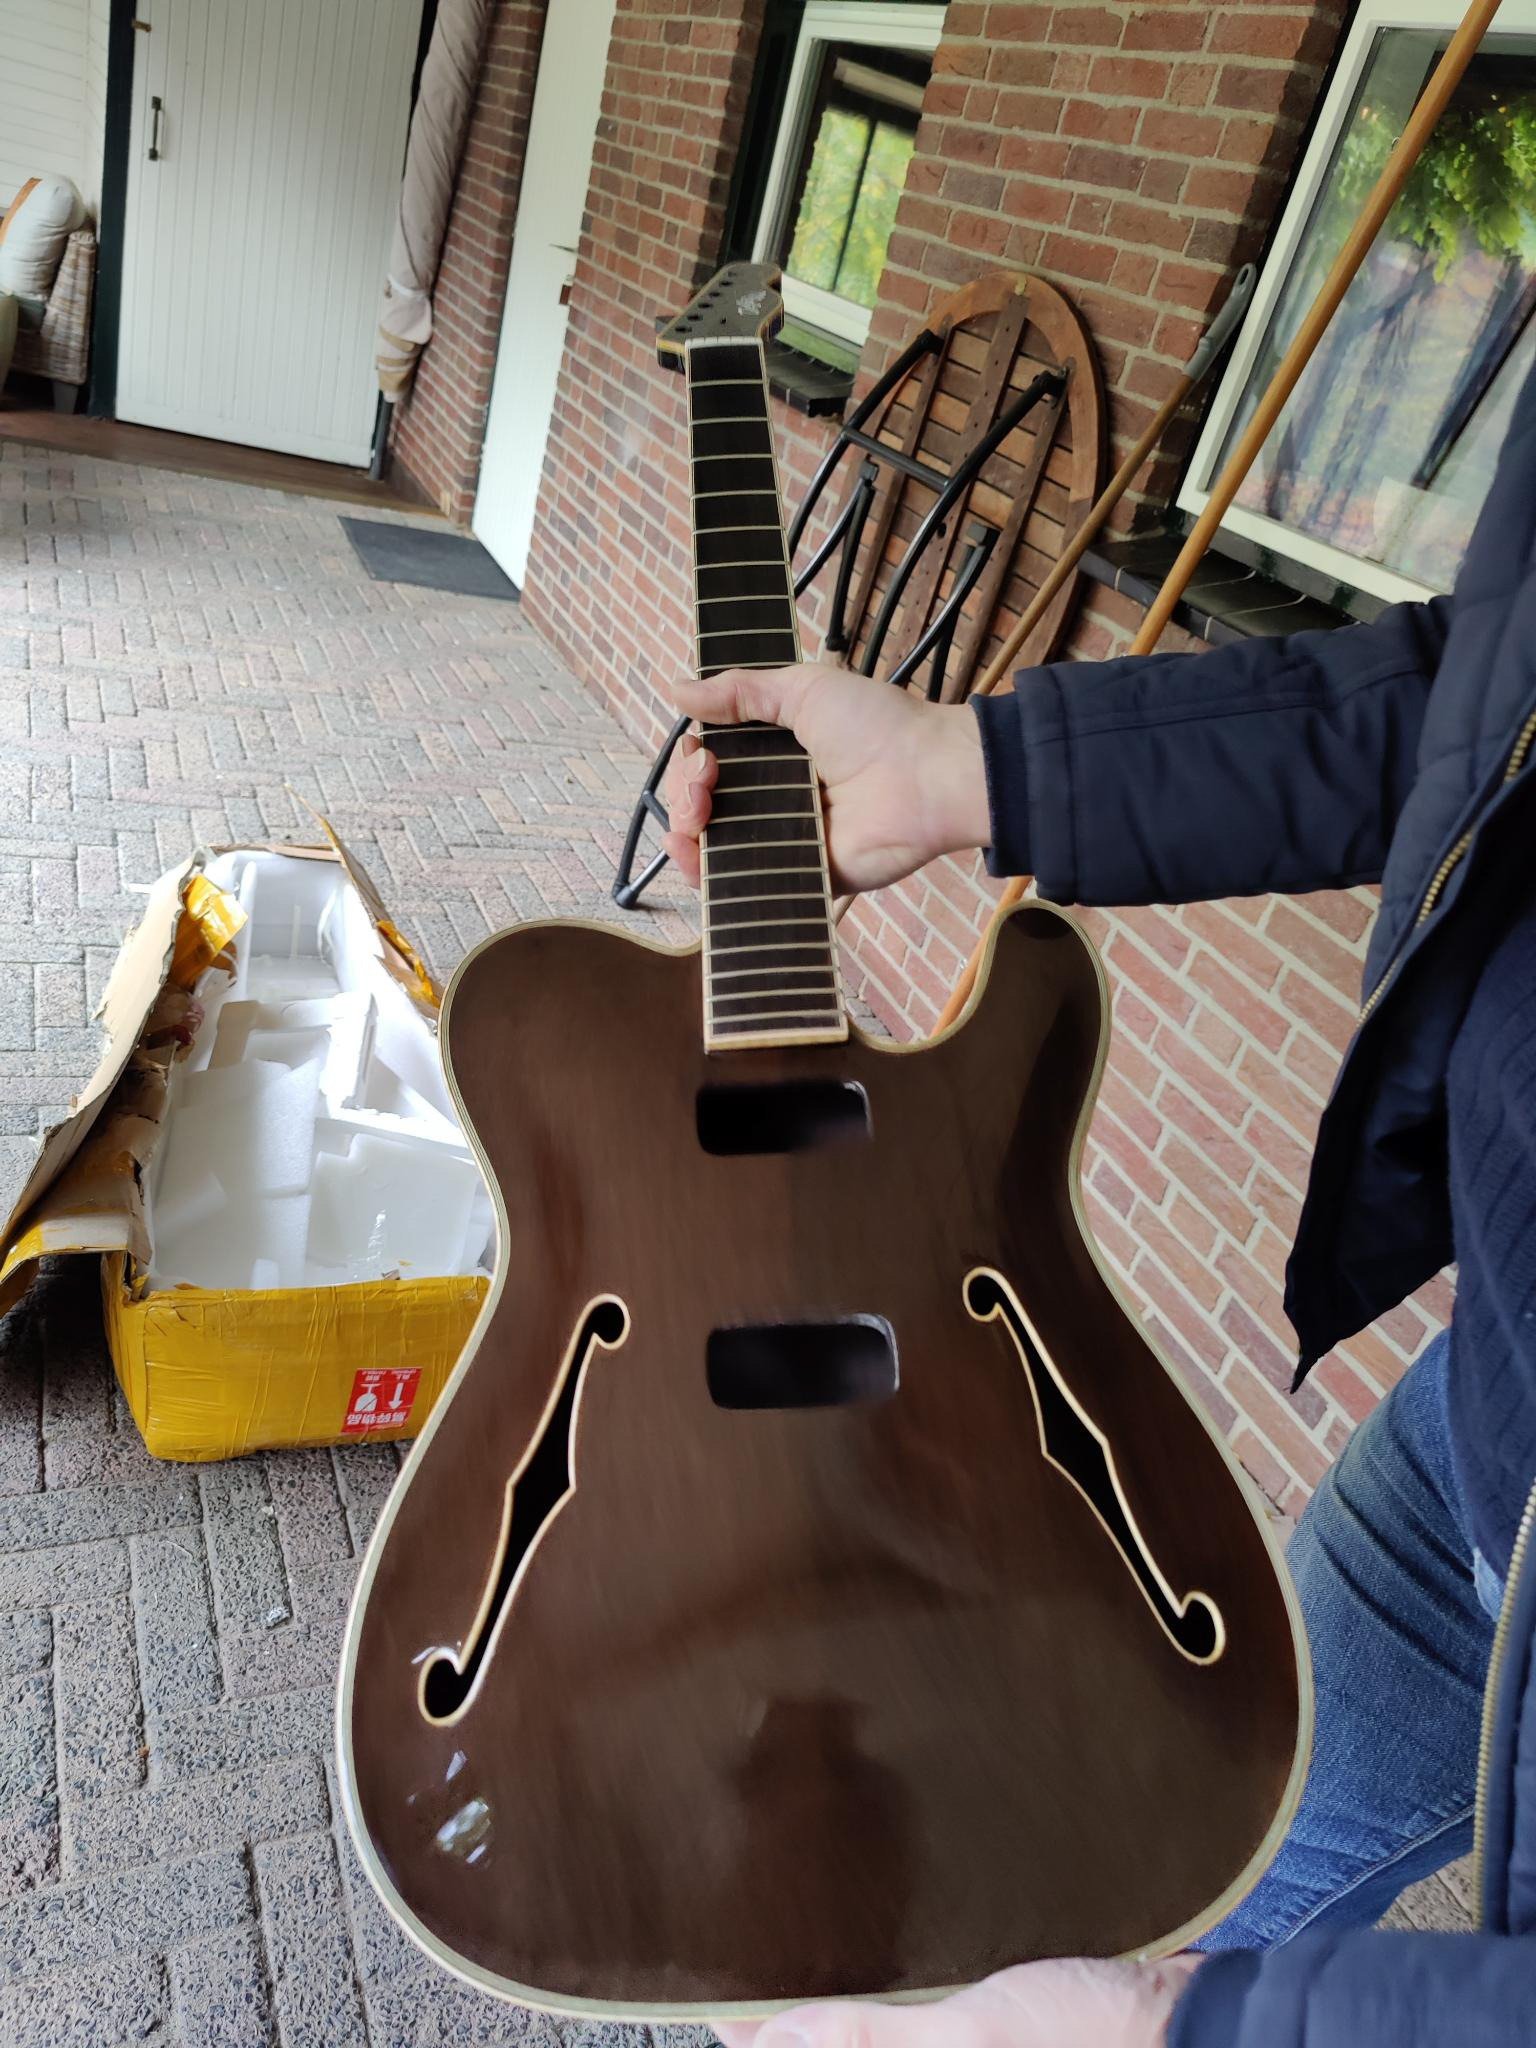
arrived!
After a couple of nerve wrecking weeks, the package has finally arrived. More importantly, the guitar is in one piece! Time to start working on the hardware and electronics.
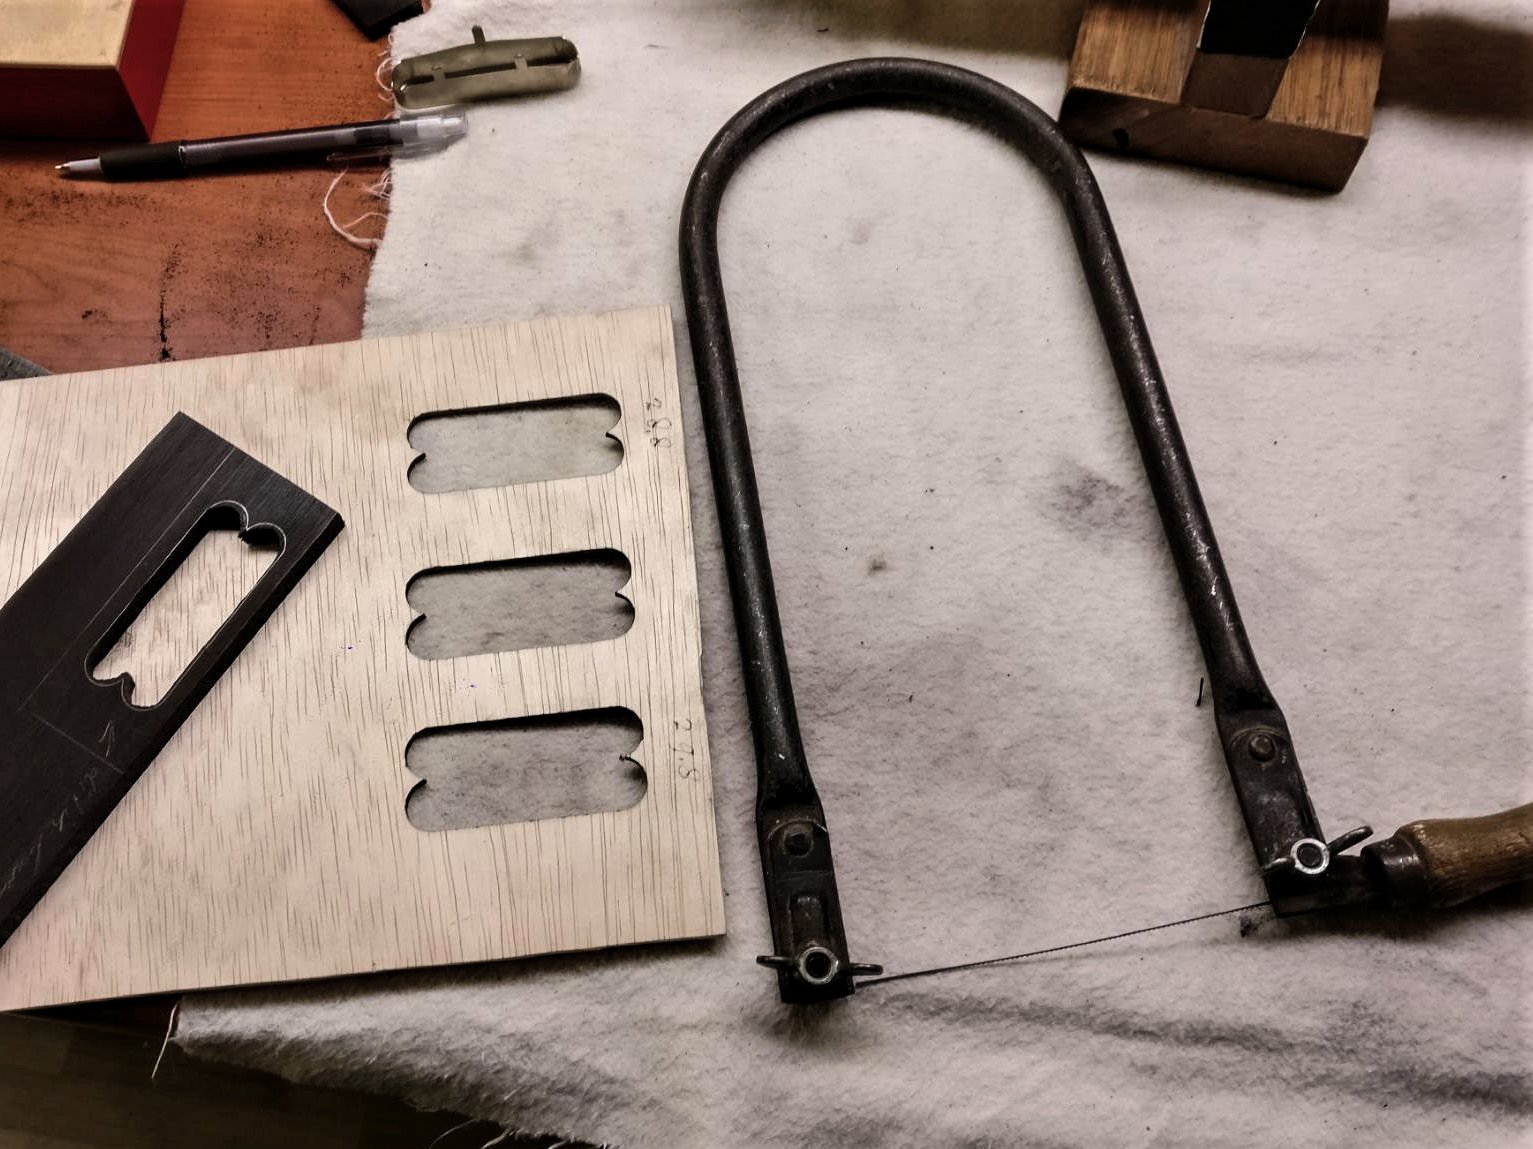
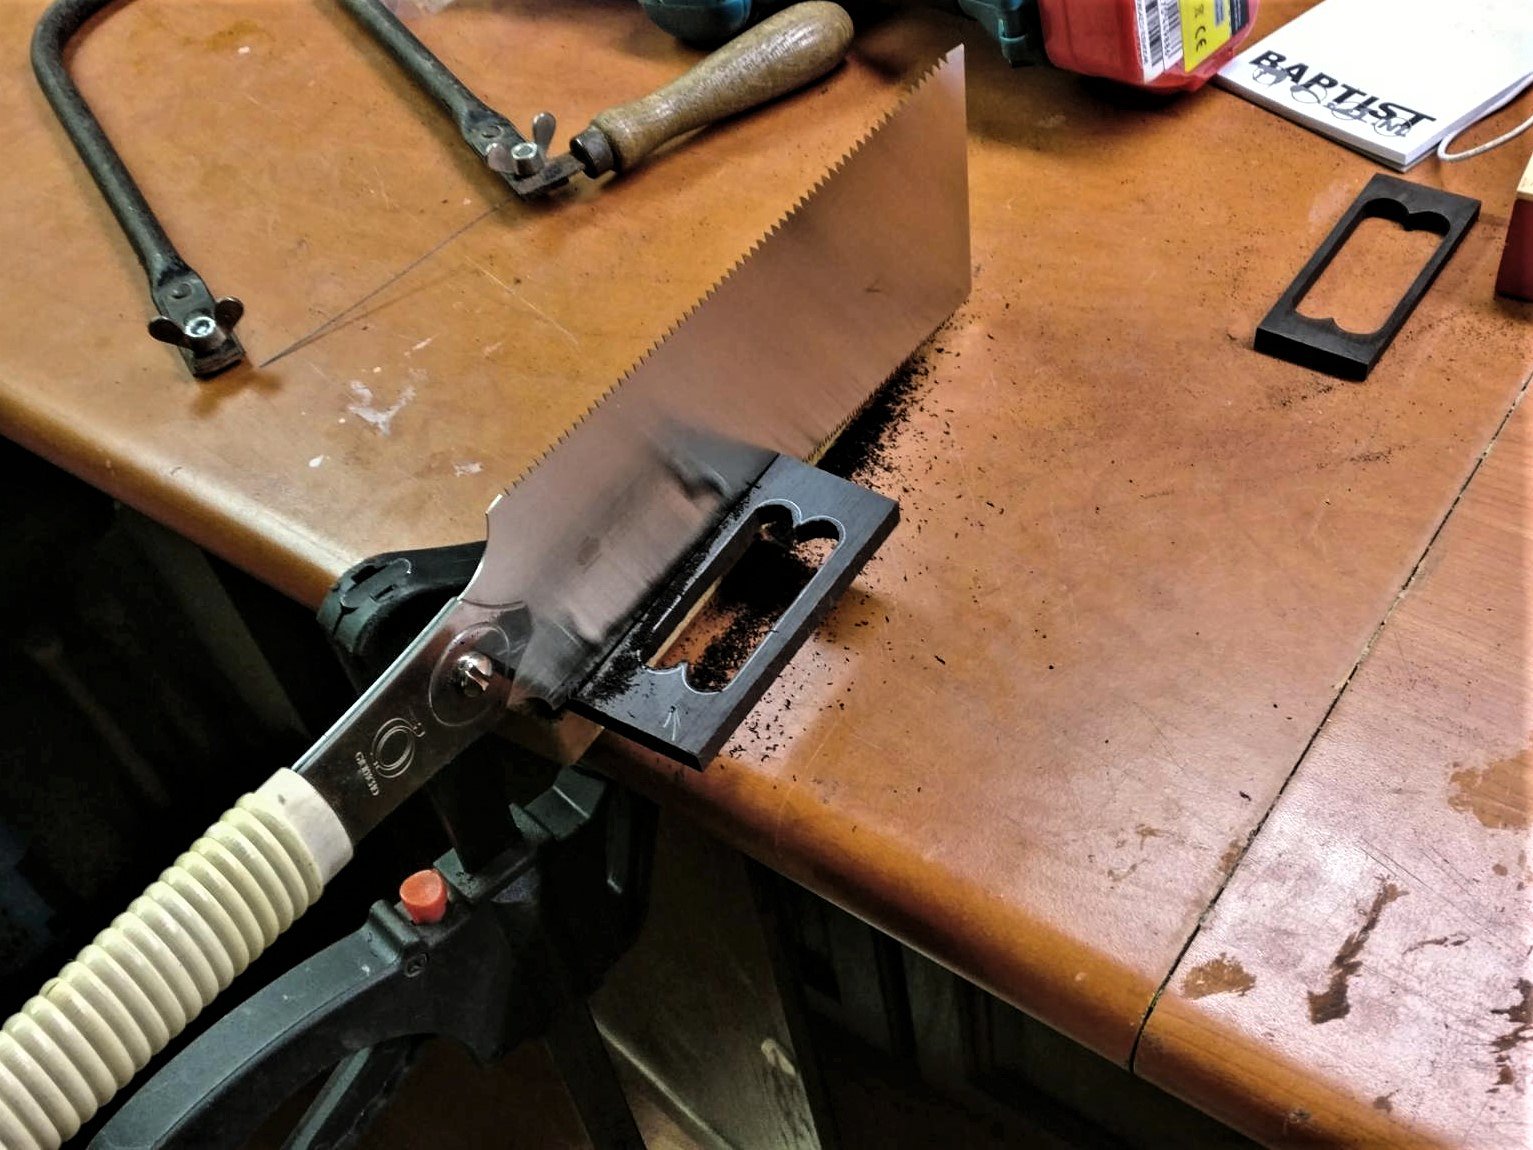
MAKING pickup rings
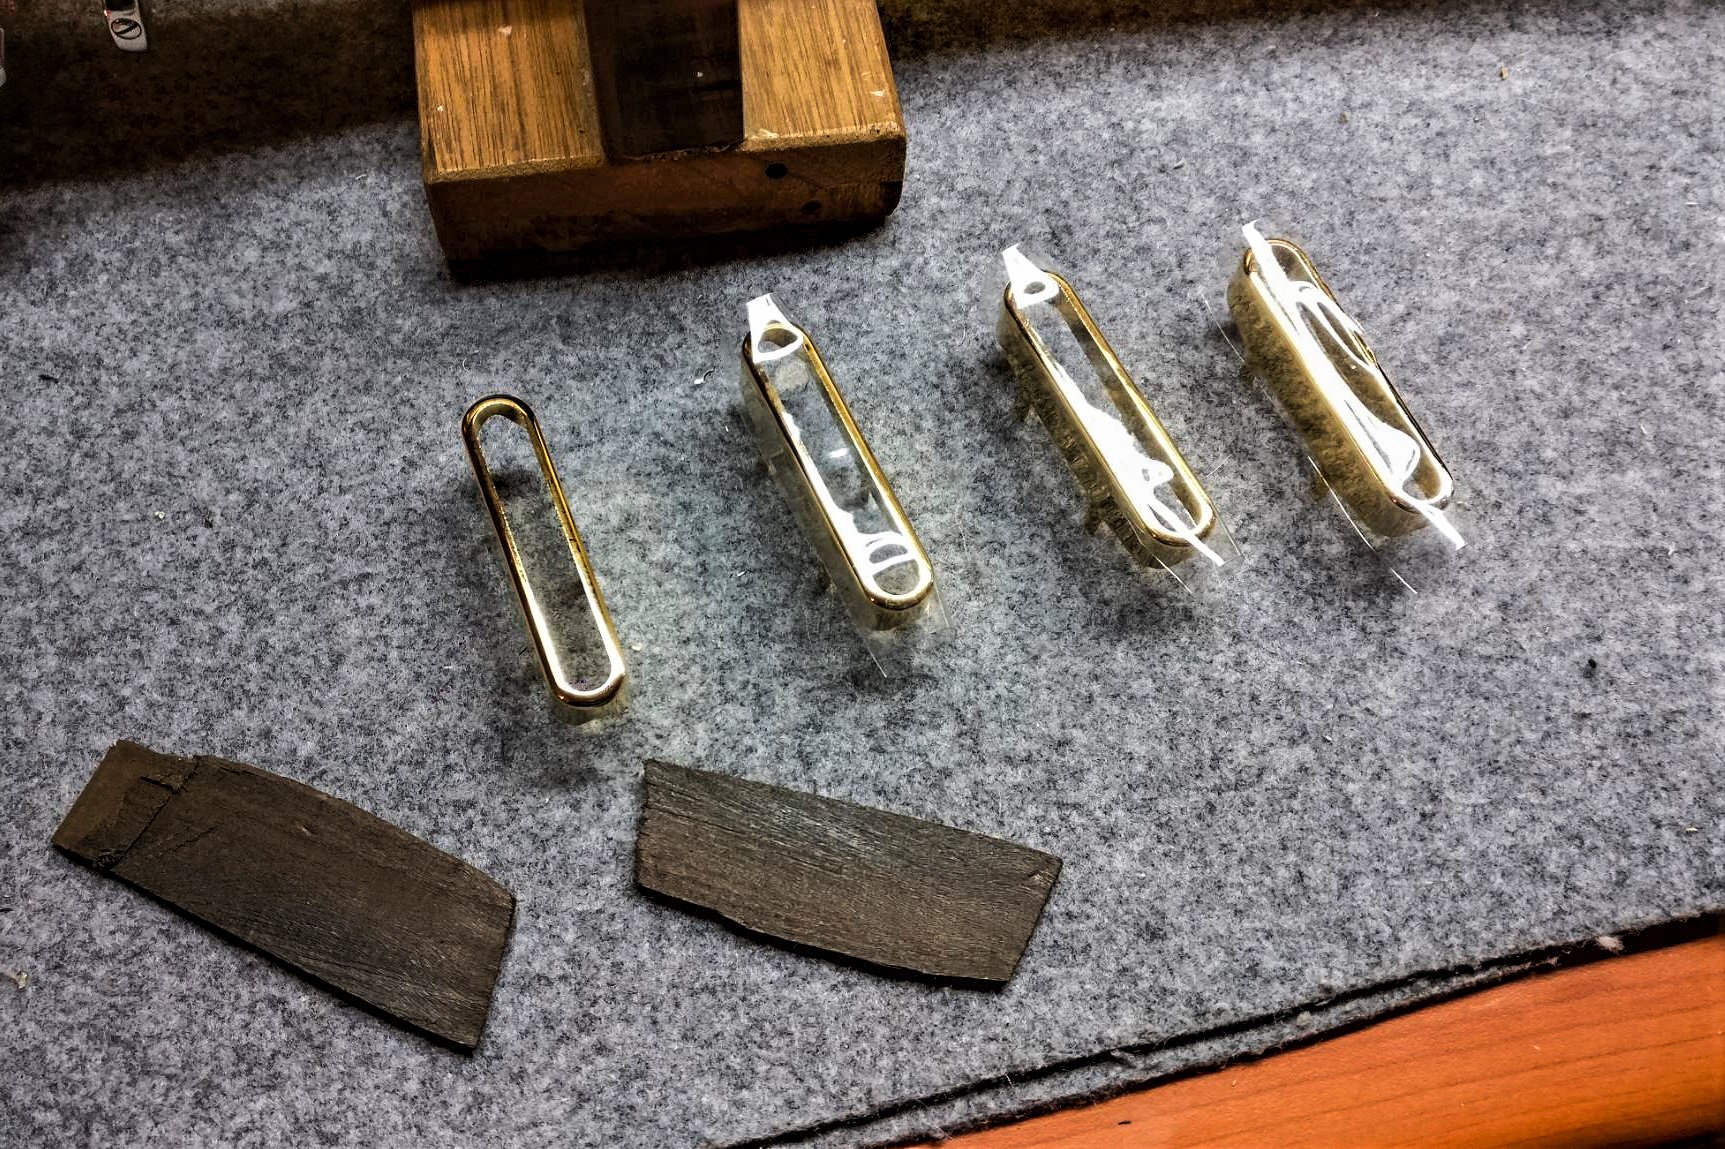
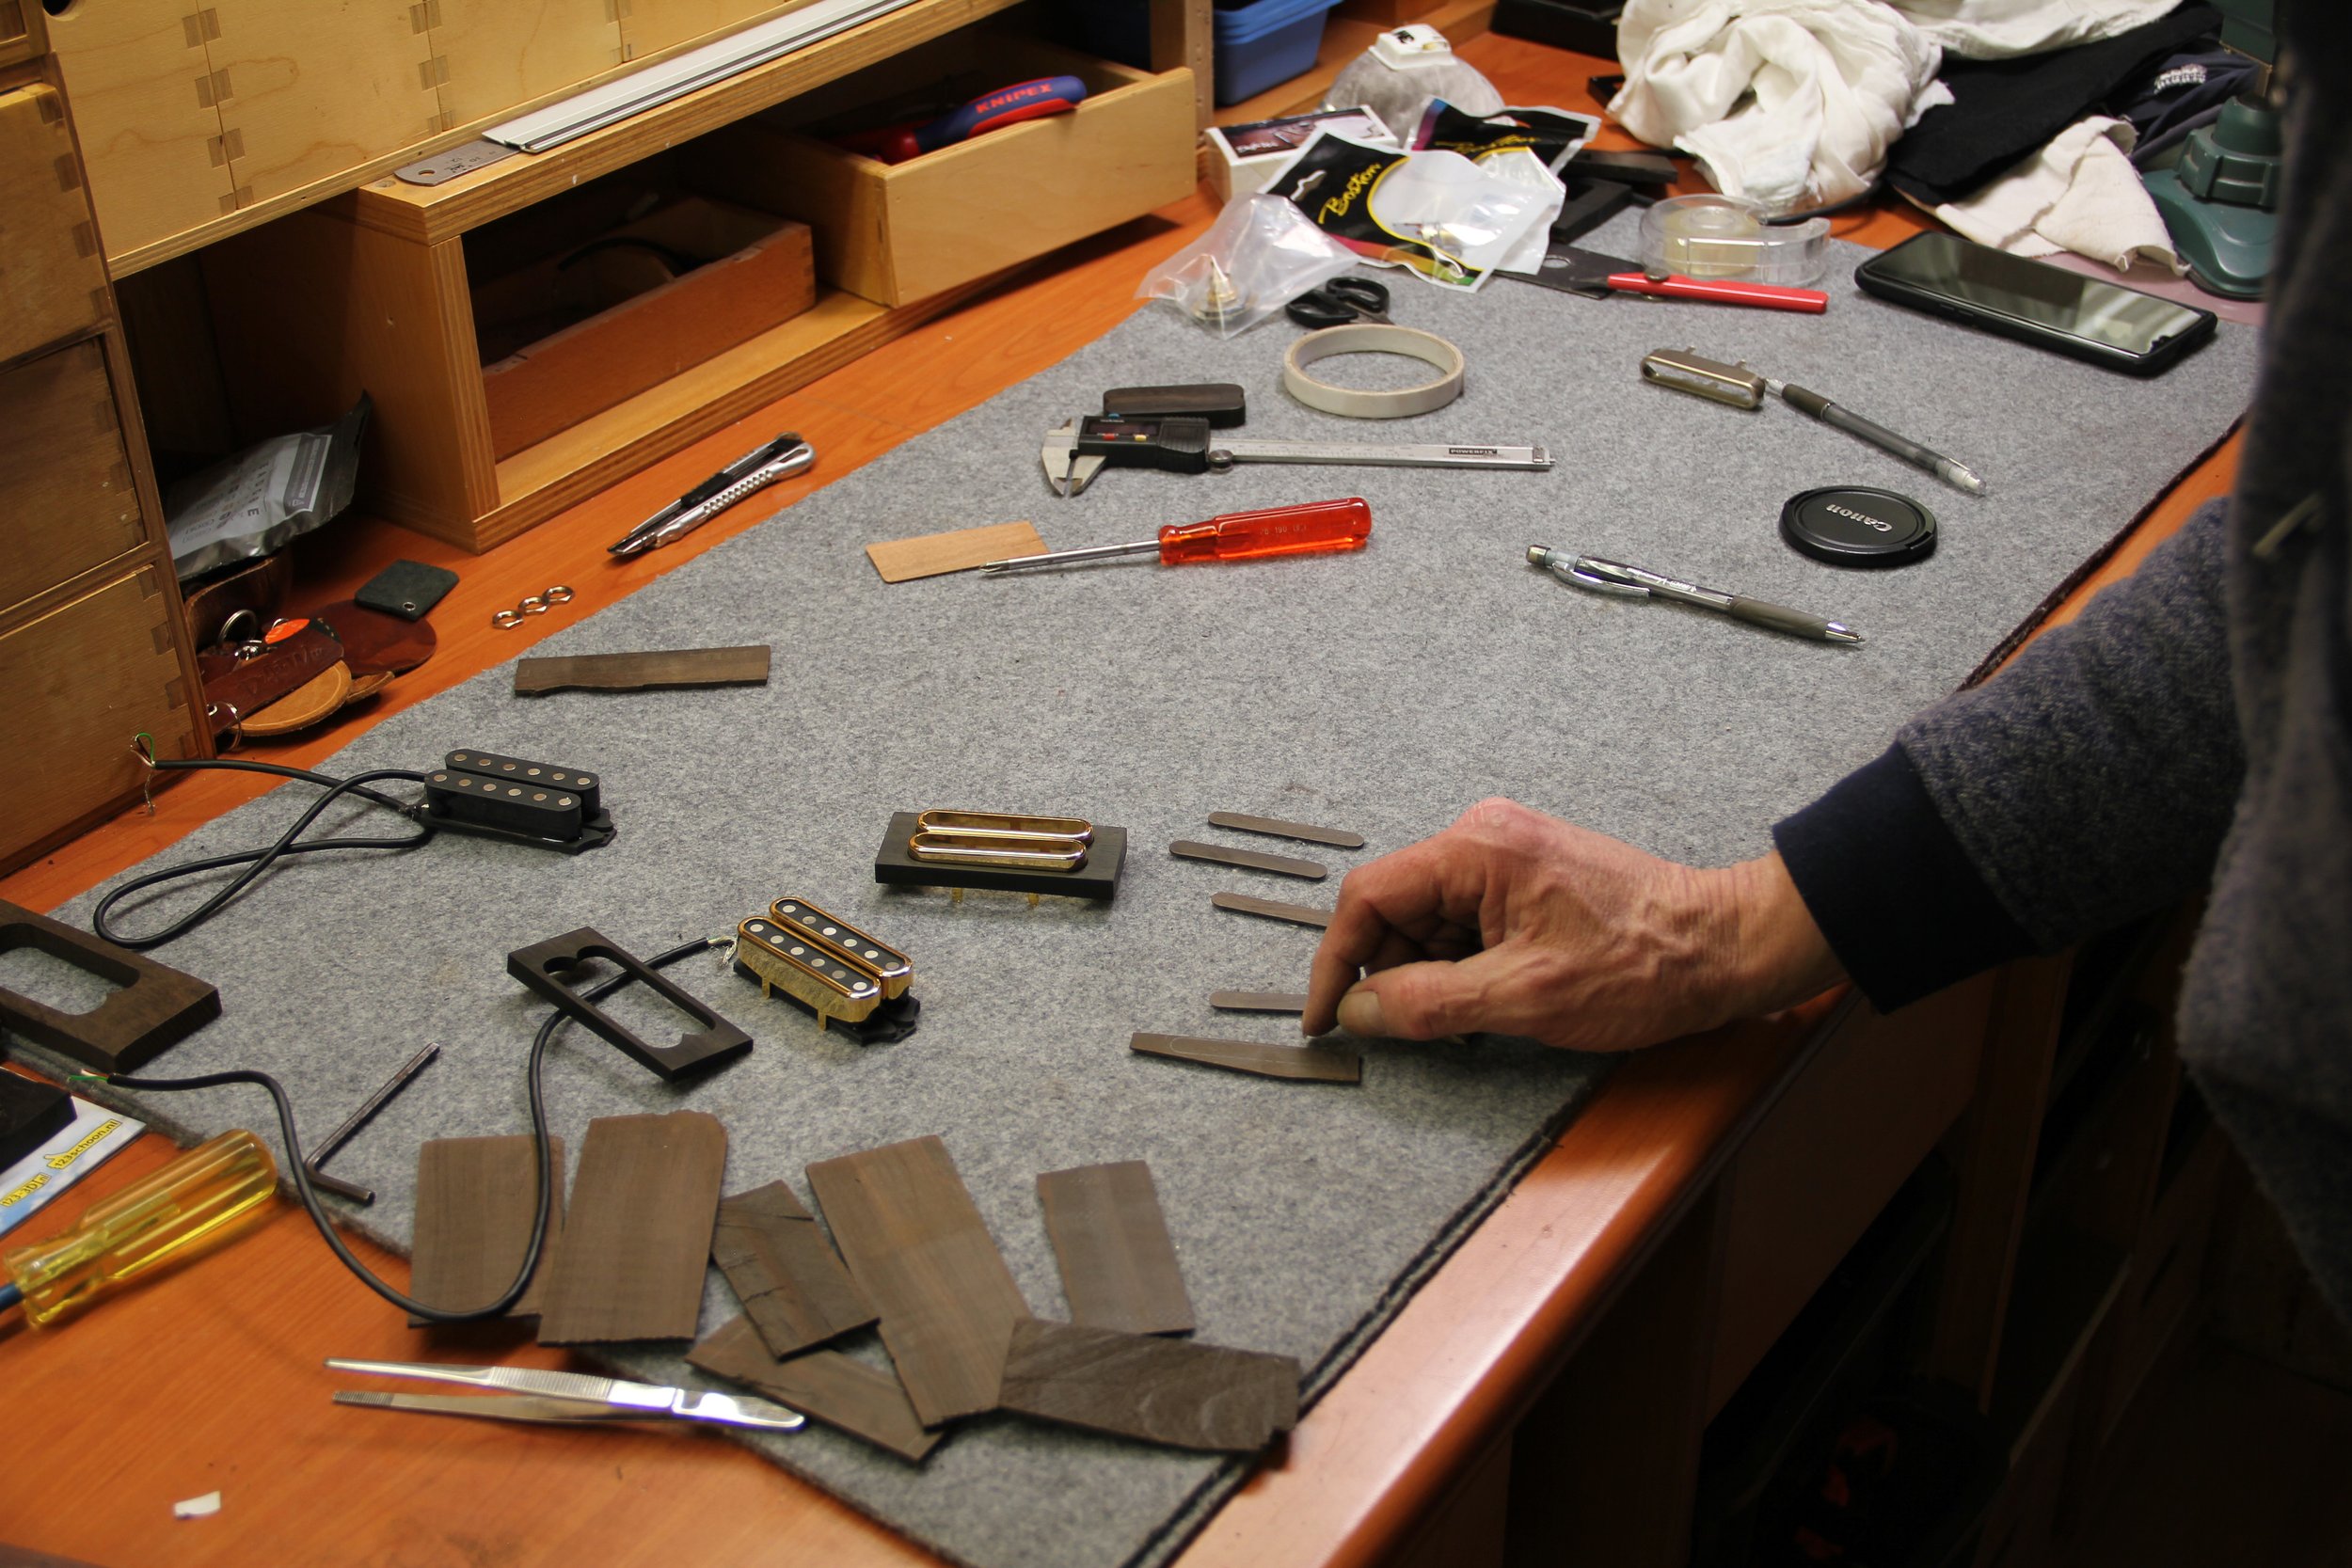
Because the curvature of a T-Ultimate body (which can't hardly be one hundred percent exactly the same on each guitar as it is hand carved) and the length and width of the pickups are not standard, there is no standard pickup ring that fits. We have only one option, and that is to make them by hand! This requires endless measuring and sanding. Because the rings are very thin and delicate, they must fit perfectly. Otherwise you run the risk of breaking them while tightening the screws. For esthetic reasons we chose to make the pickup rings from ebony.
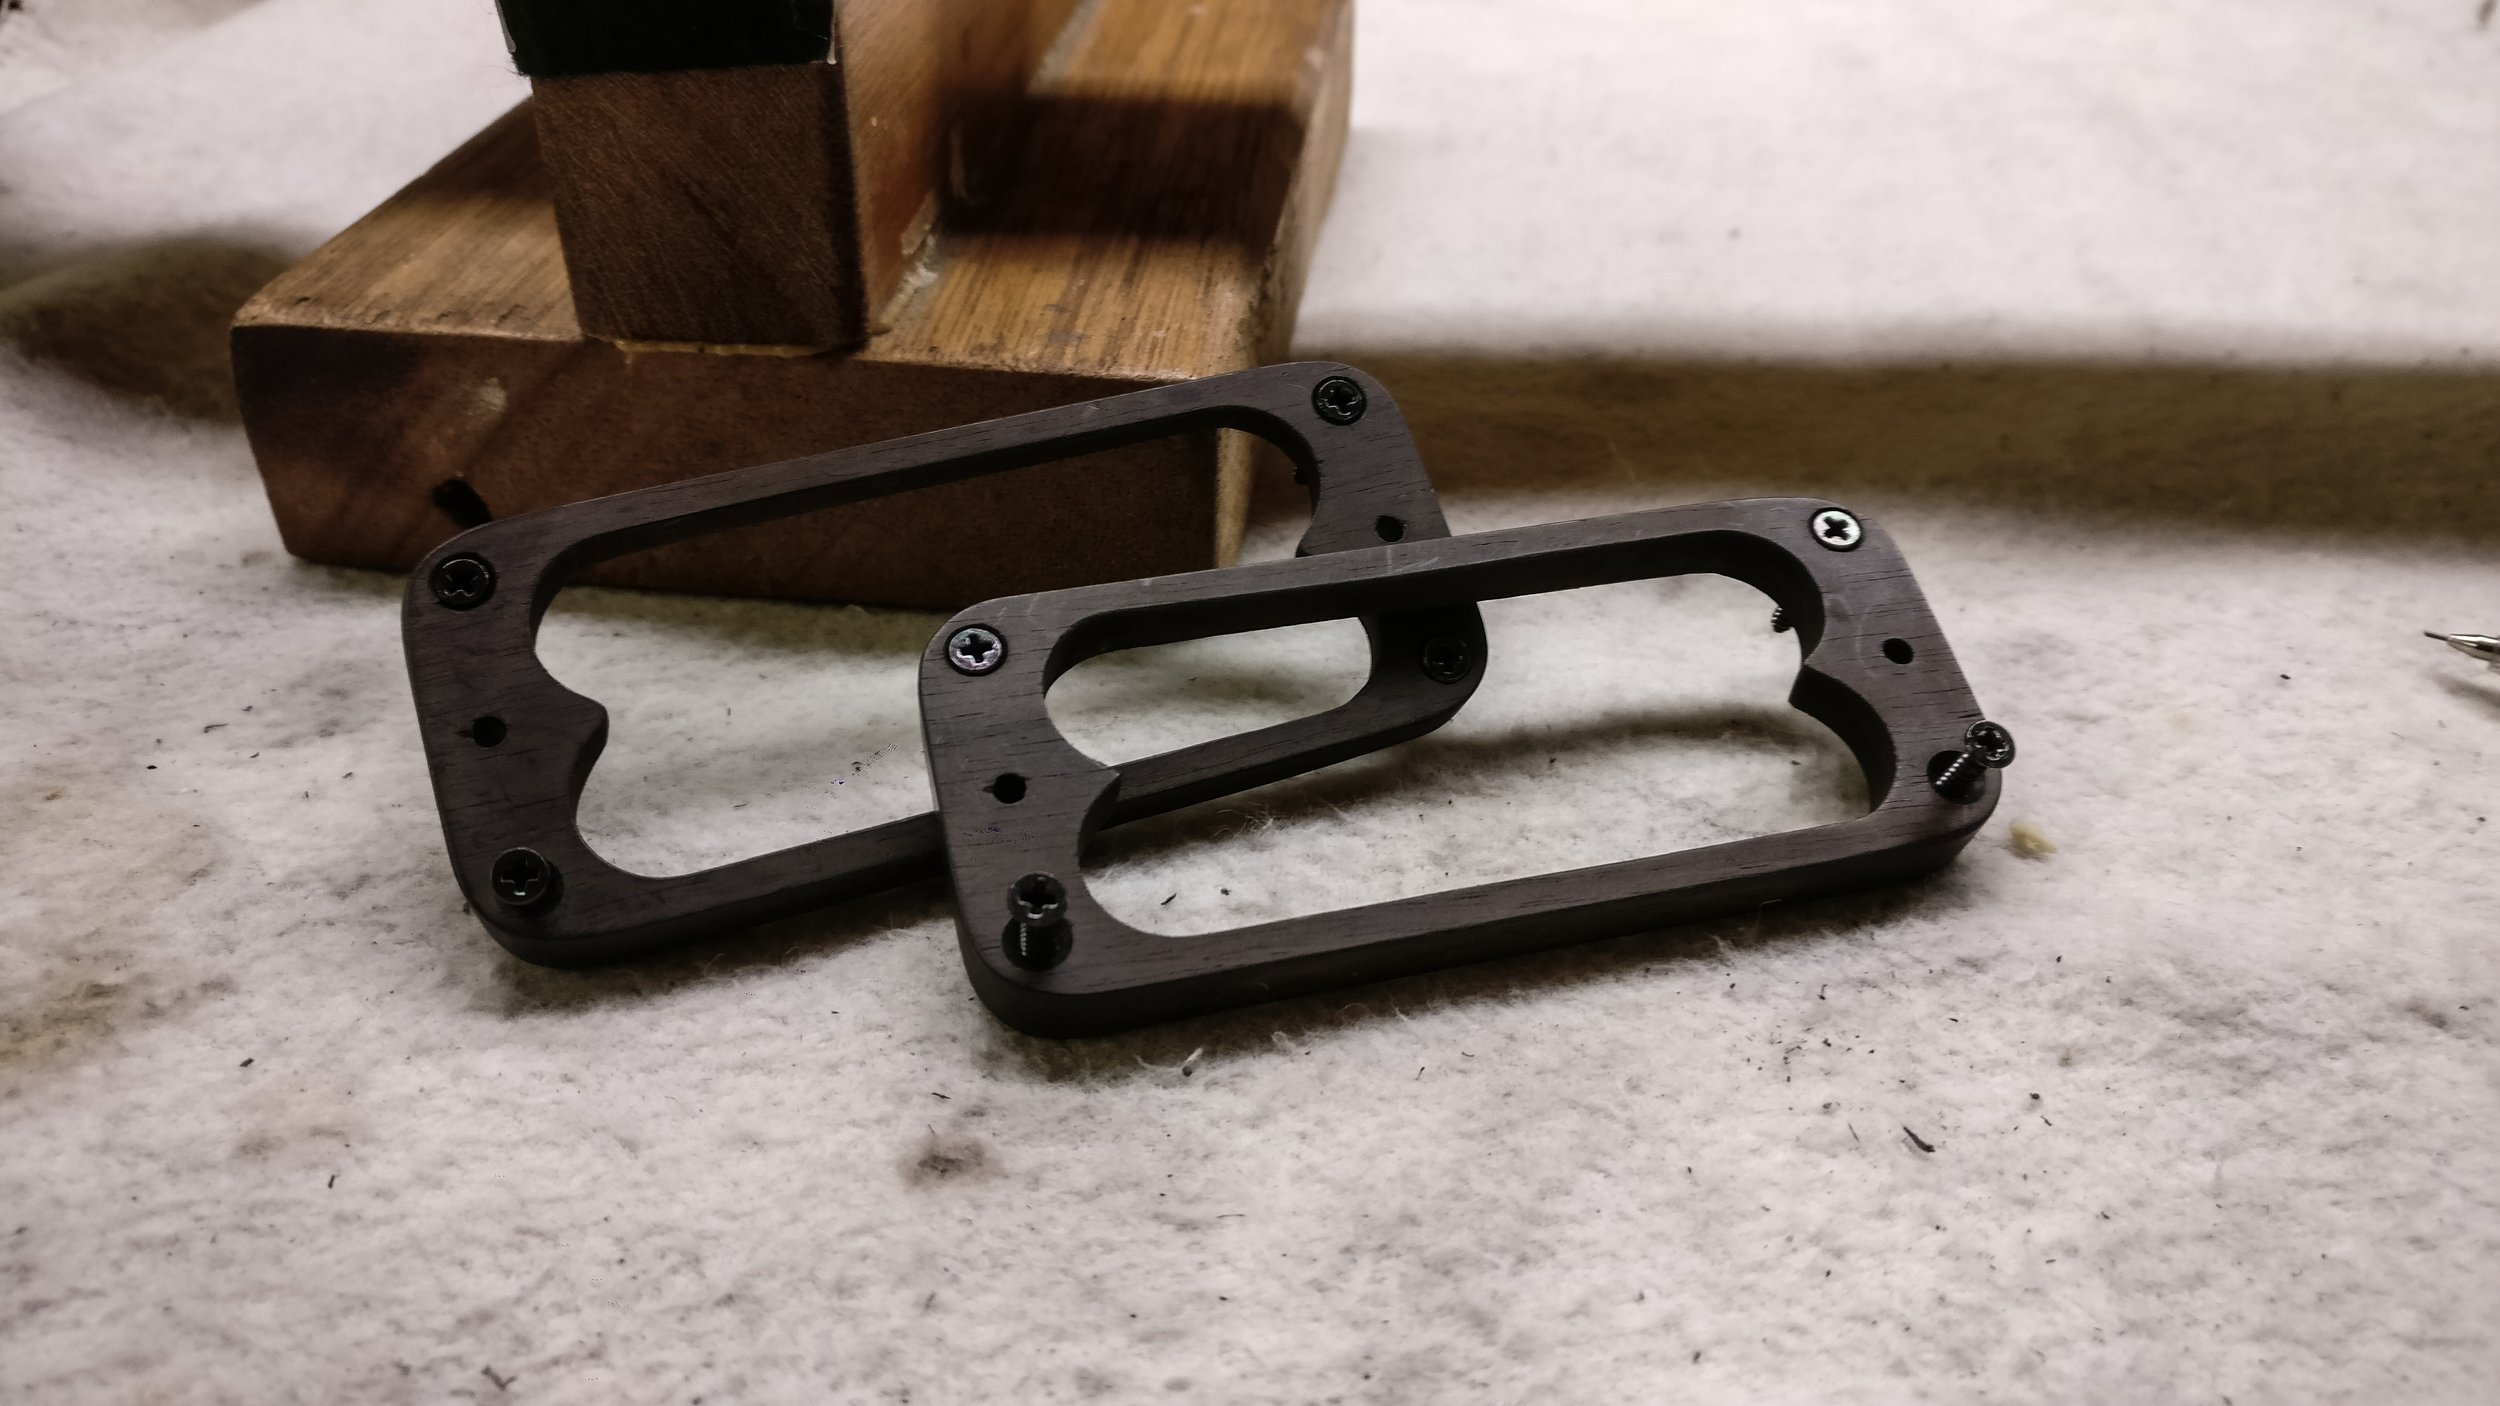
The pickup rings are submitted to a thorough quality check. First is checked if the pickup rings touch the top at all four corners. Yes, they do! Now it is time to mount the pickups in the rings. In order to avoid cracking of the rings we drill the screw holes with increasingly thicker drill bits until the screws fit. Then, the heads of the screws are reduced to 3.2 mm. This is necessary to make the rings narrower and reduce the gap between the pickups and the rings.
Lower left photo: Jan Ruland van den Brink.
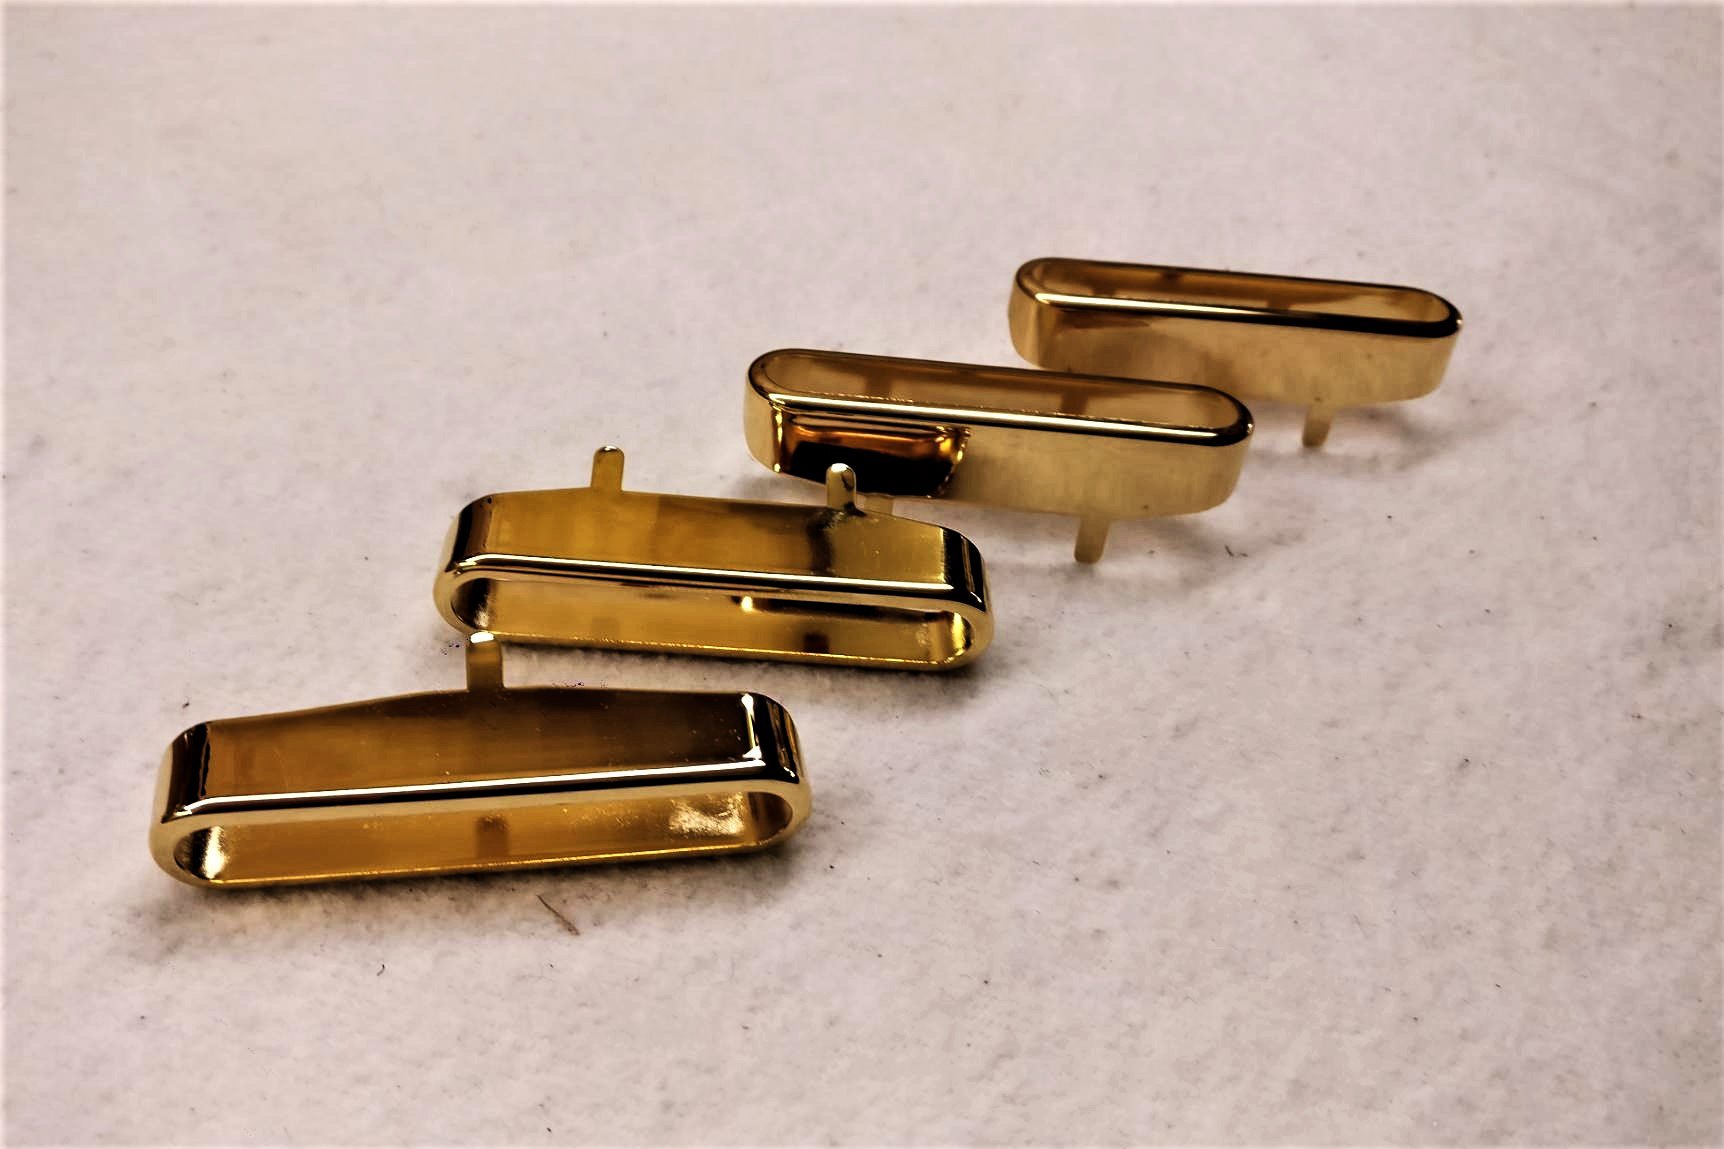
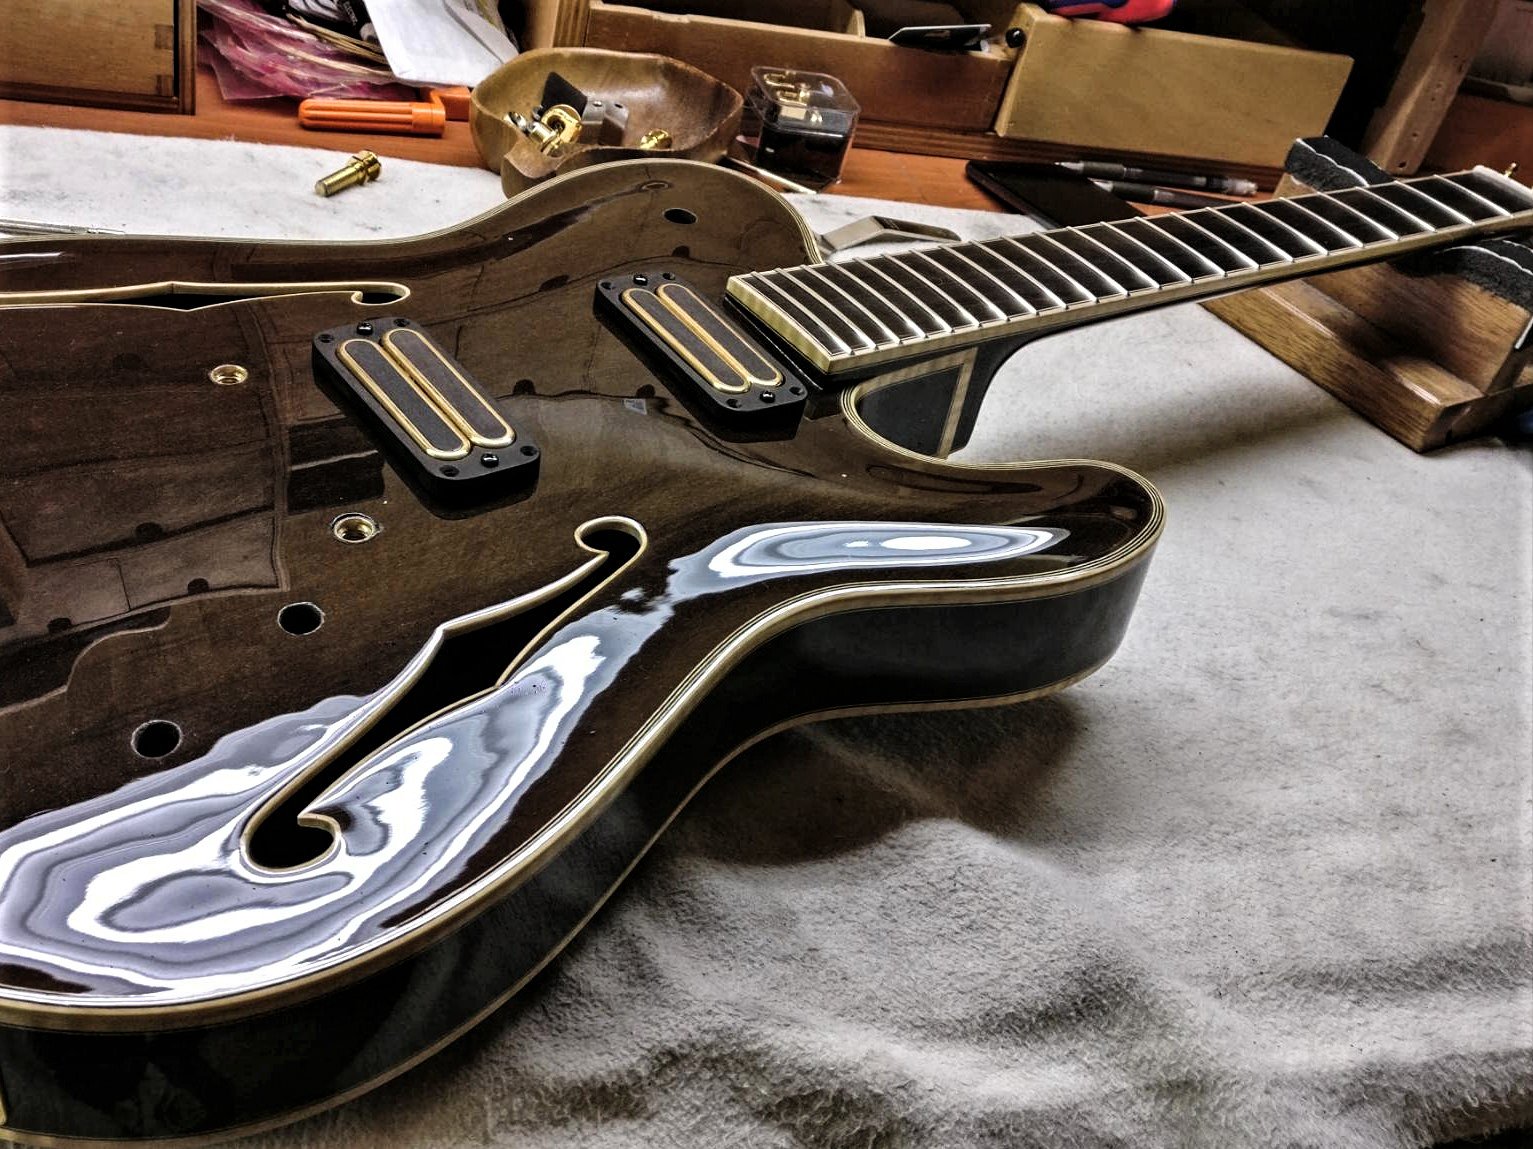
PICKup COVERS
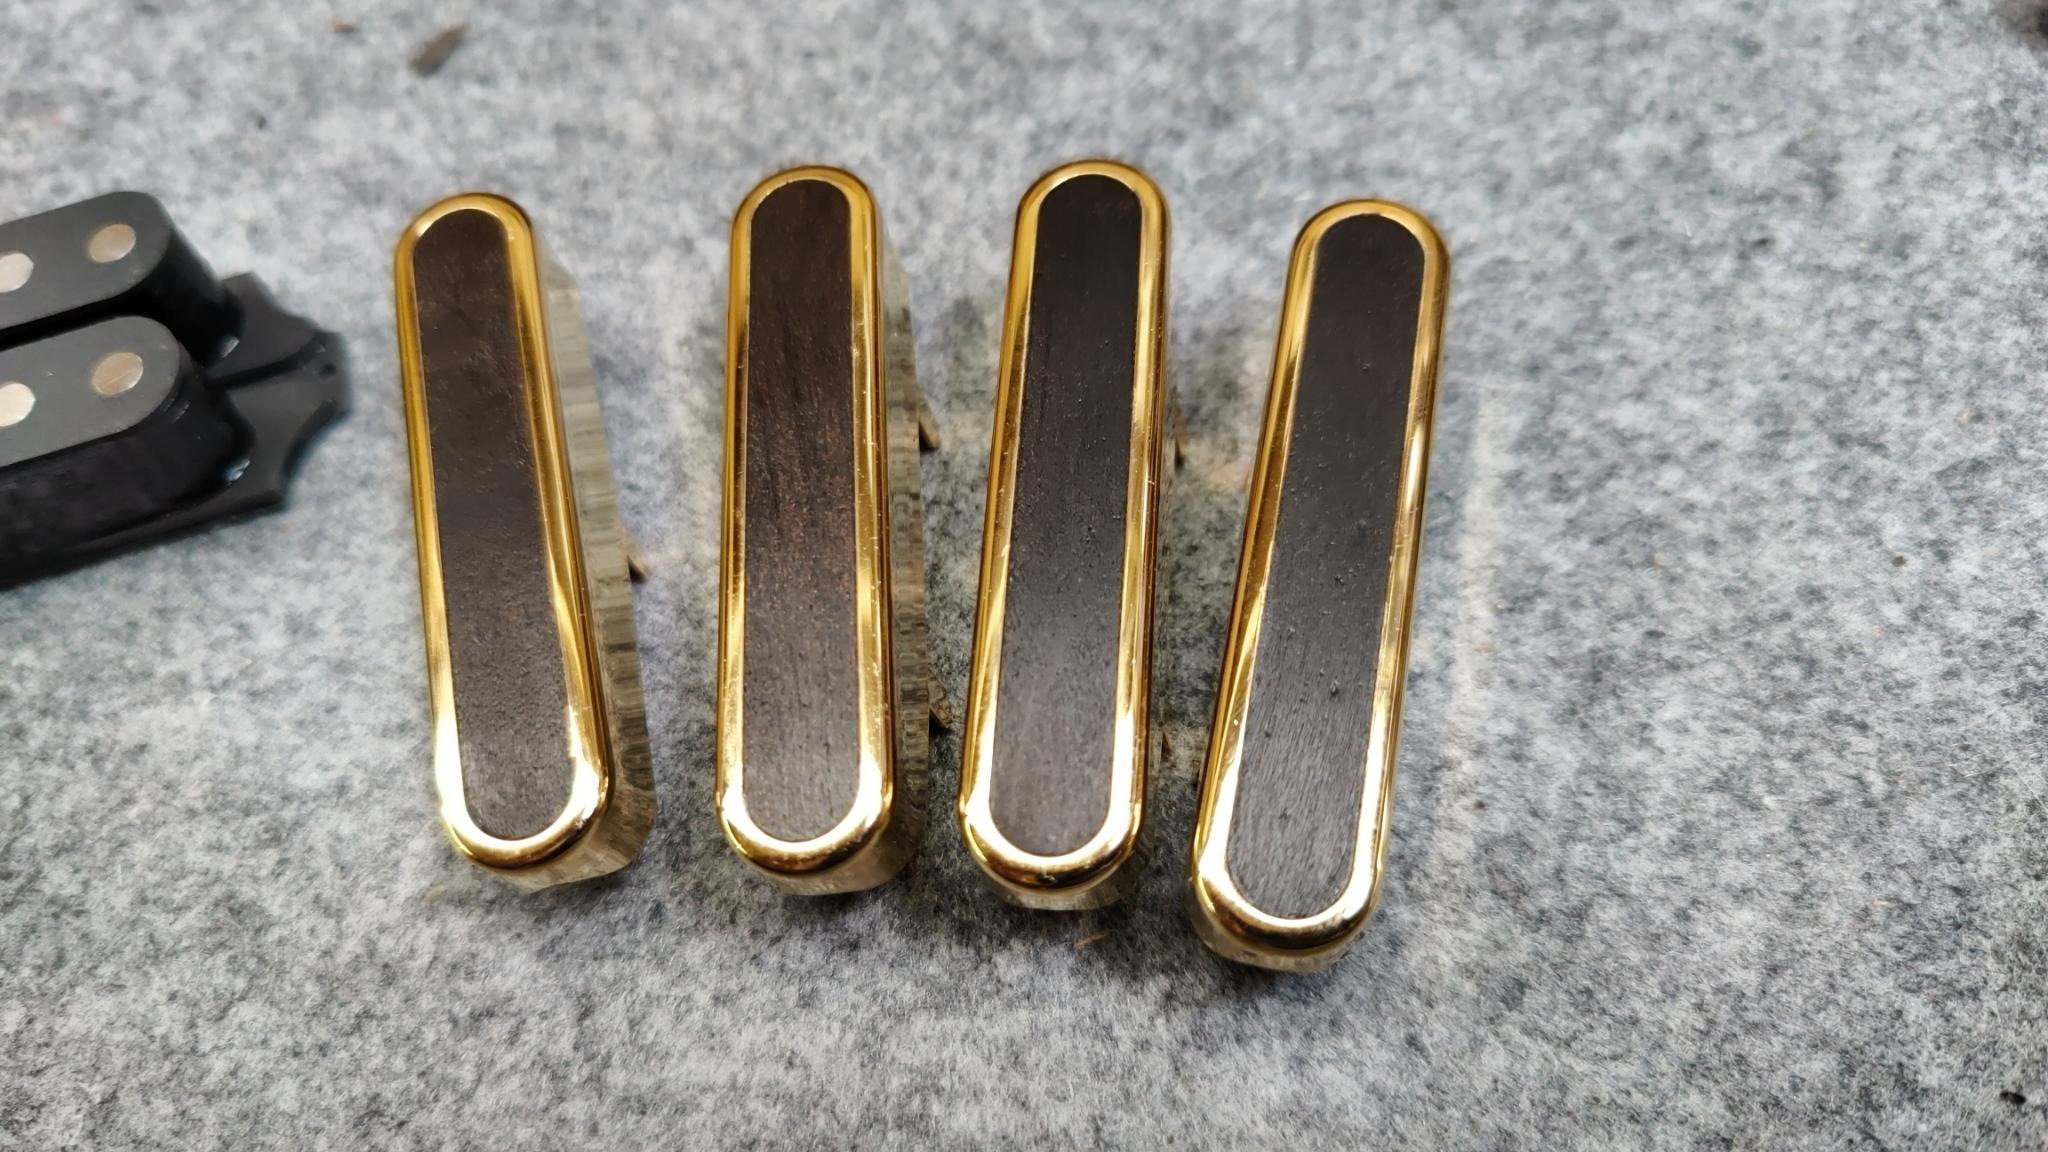
Before we can continue to mount the pickups in the rings, we need to put the covers on them. For the T-Ultimate Neolithic we decided to go for open pick covers. We chose open pickup covers to keep the sound as clear as possible. We finished them with the same old wood we used for this guitar. Generally, open covers are considered to give a brighter and (obviously) more open sound and feel more dynamic compared to closed covers.
We decided to fill the covers with very thin plates of prehistoric maple. Of course, we make these by hand as well.
Pickups
The covers are ready and now it is time to mount the pickups in the rings. To avoid cracking of the rings I drill the screw holes with increasingly thicker drill bits until the screws fit. Then, the heads of the screws are reduced to 3.2 mm. This is necessary to make the rings narrower and reduce the gap between the pickups and the rings.
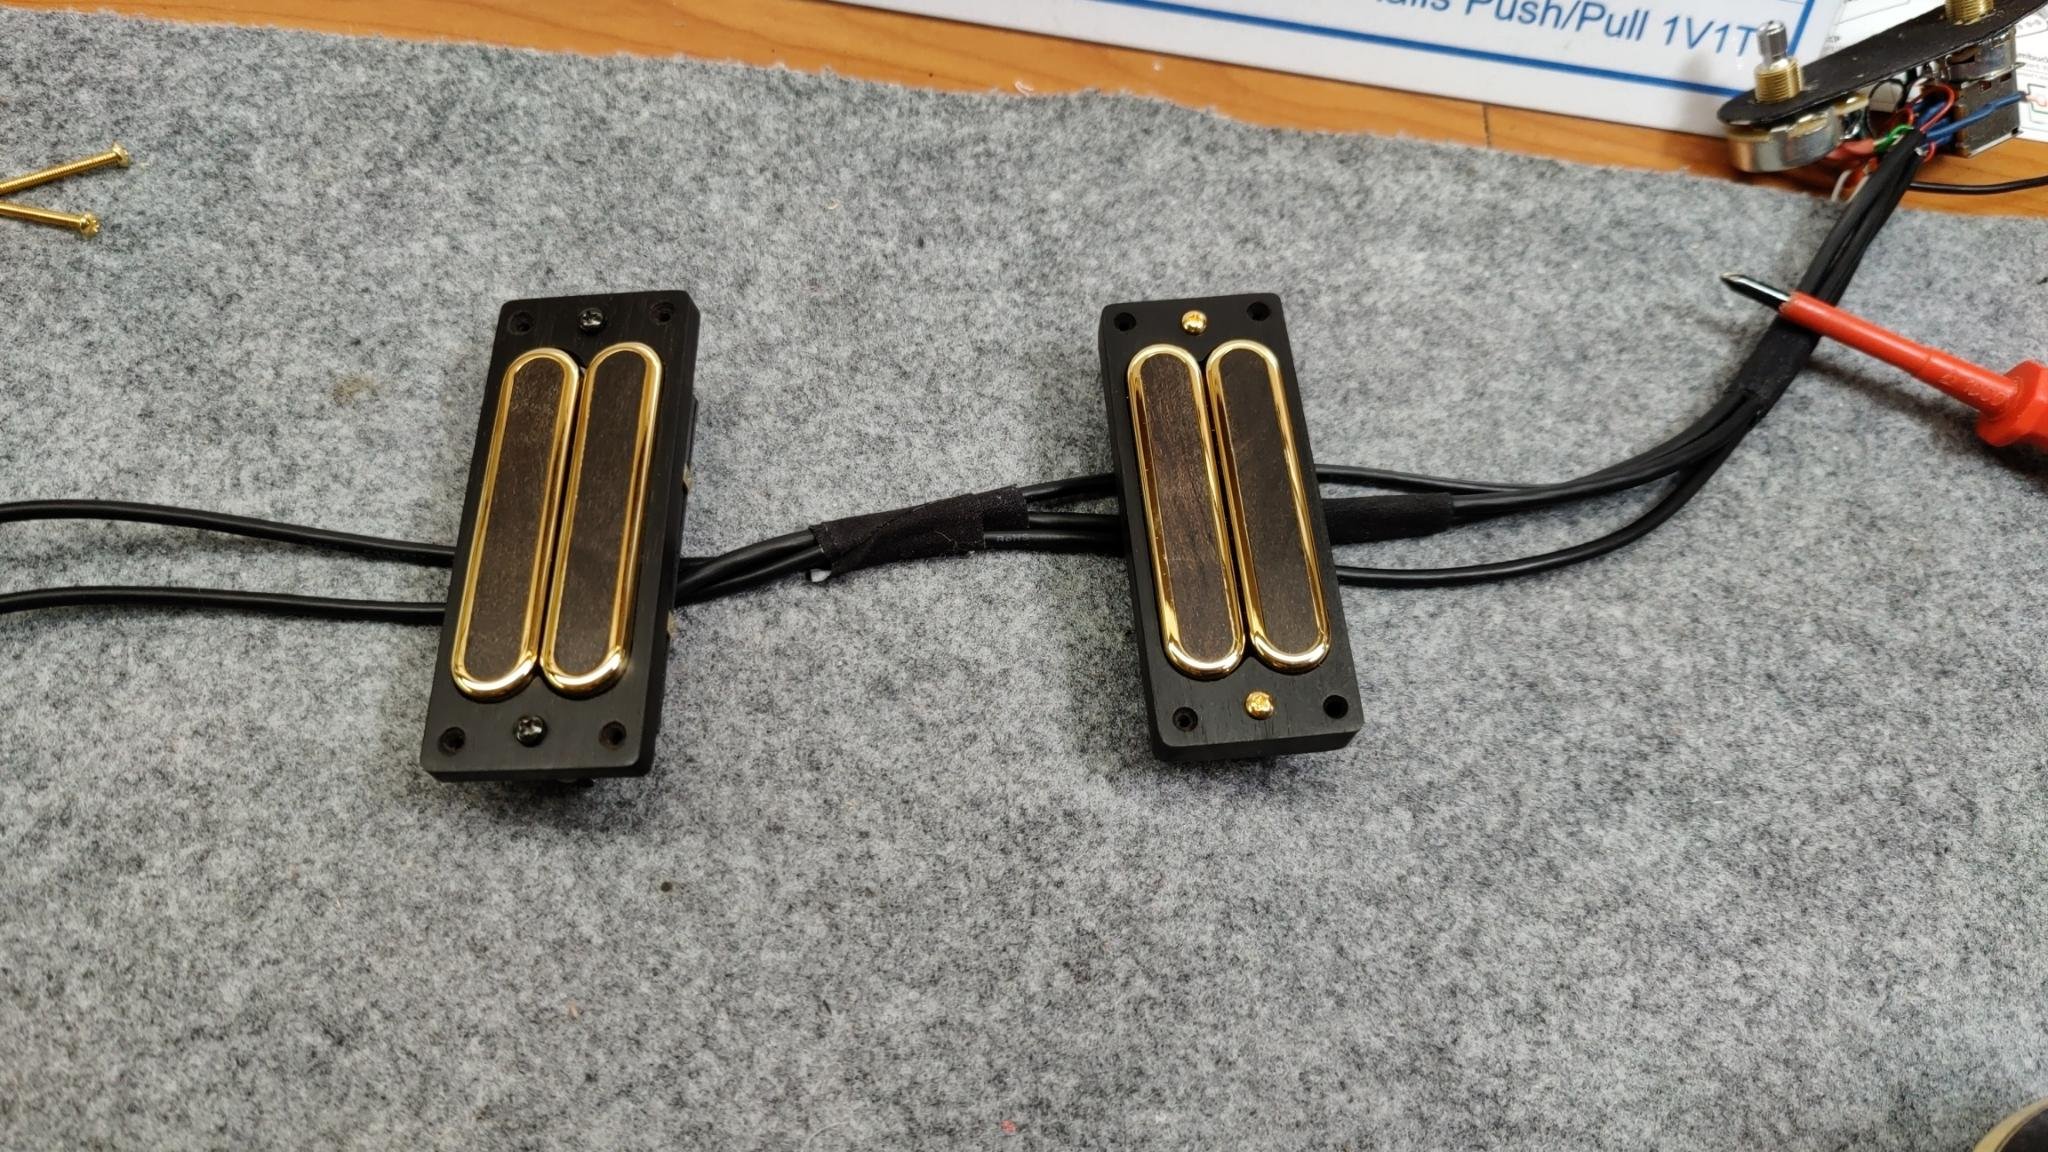

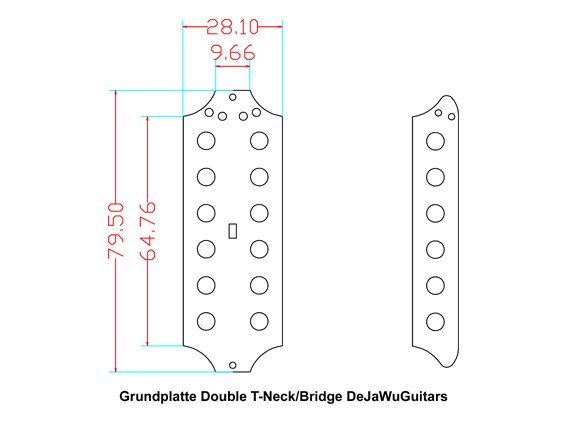
Harry Häussel has built Double-TE ST-A5 pickups for both neck and bridge positions with original strat classic wire and alnico 5 magnets. The basis of this pickup is a Telecaster neck pickup coil. Around this, wire is wound that is normally used for Stratocasters, the windings of a Telecaster have a thinner wire. Therefore, the pick-ups are slightly higher as strat wire is thicker than tele wire, so to increase output more windings are needed. This results in a very full, round and clear sound. Harry also designed special base plates for the bobbins to create more space for the screw holes in the mounting rings.
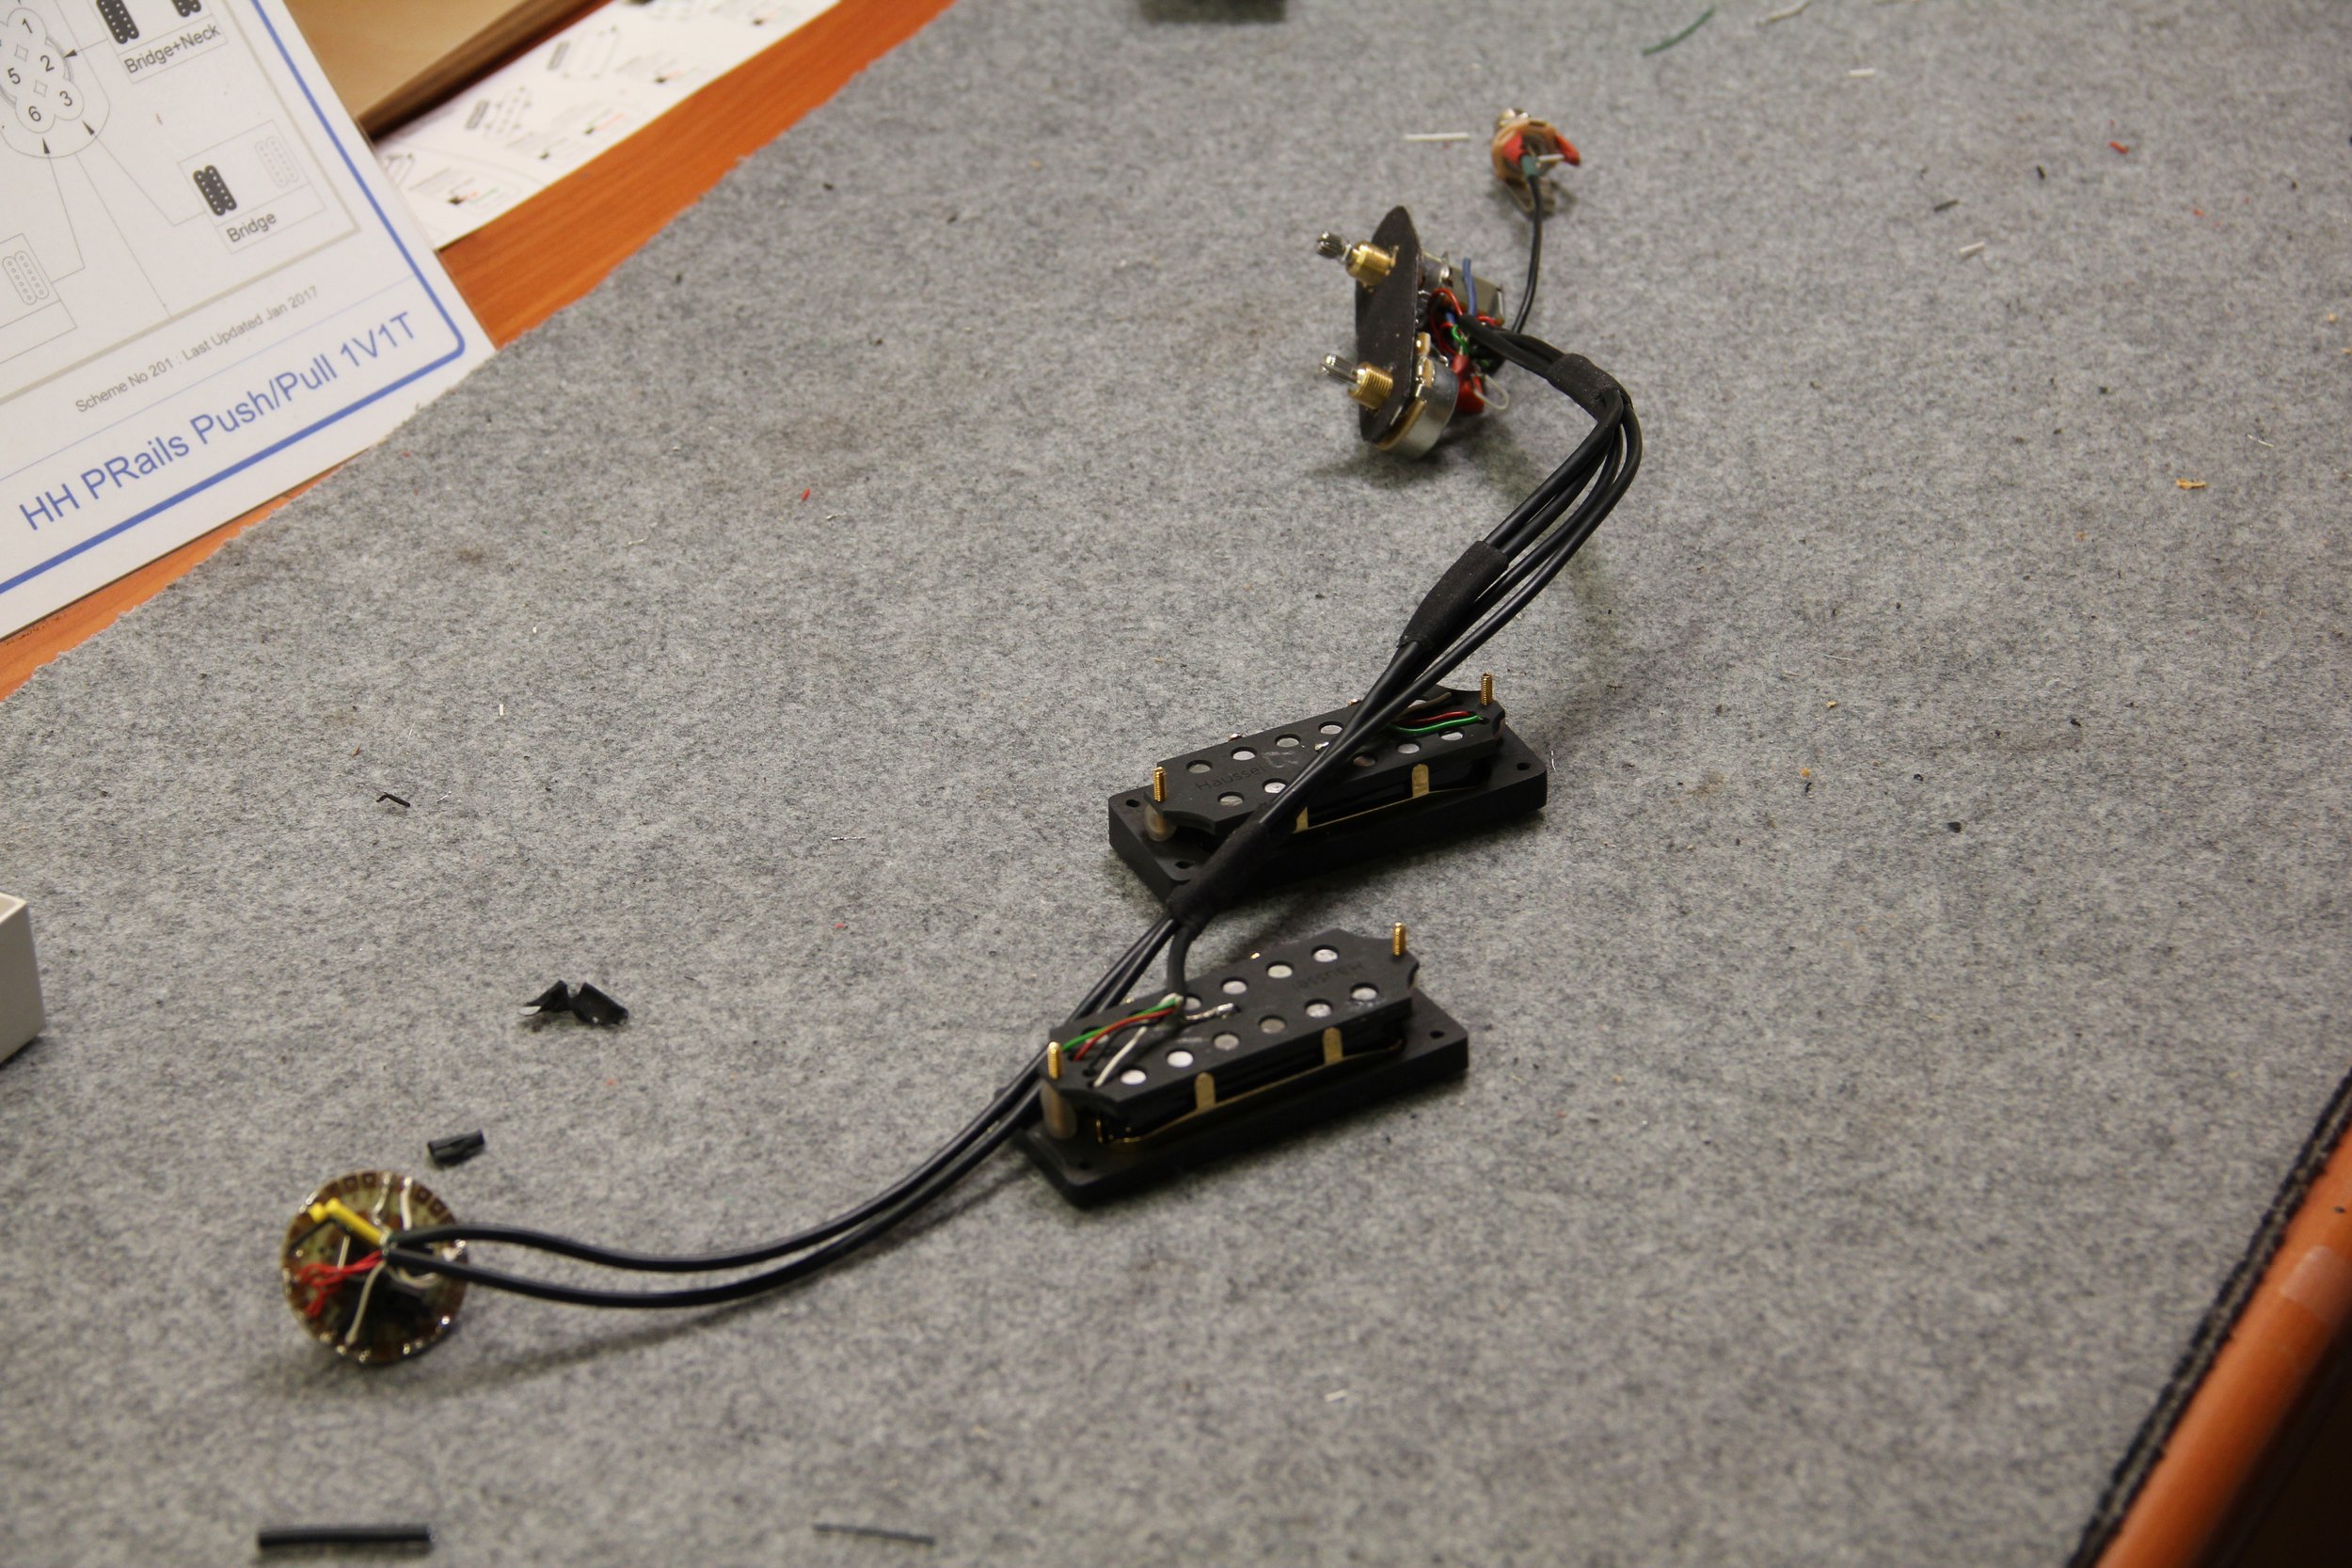
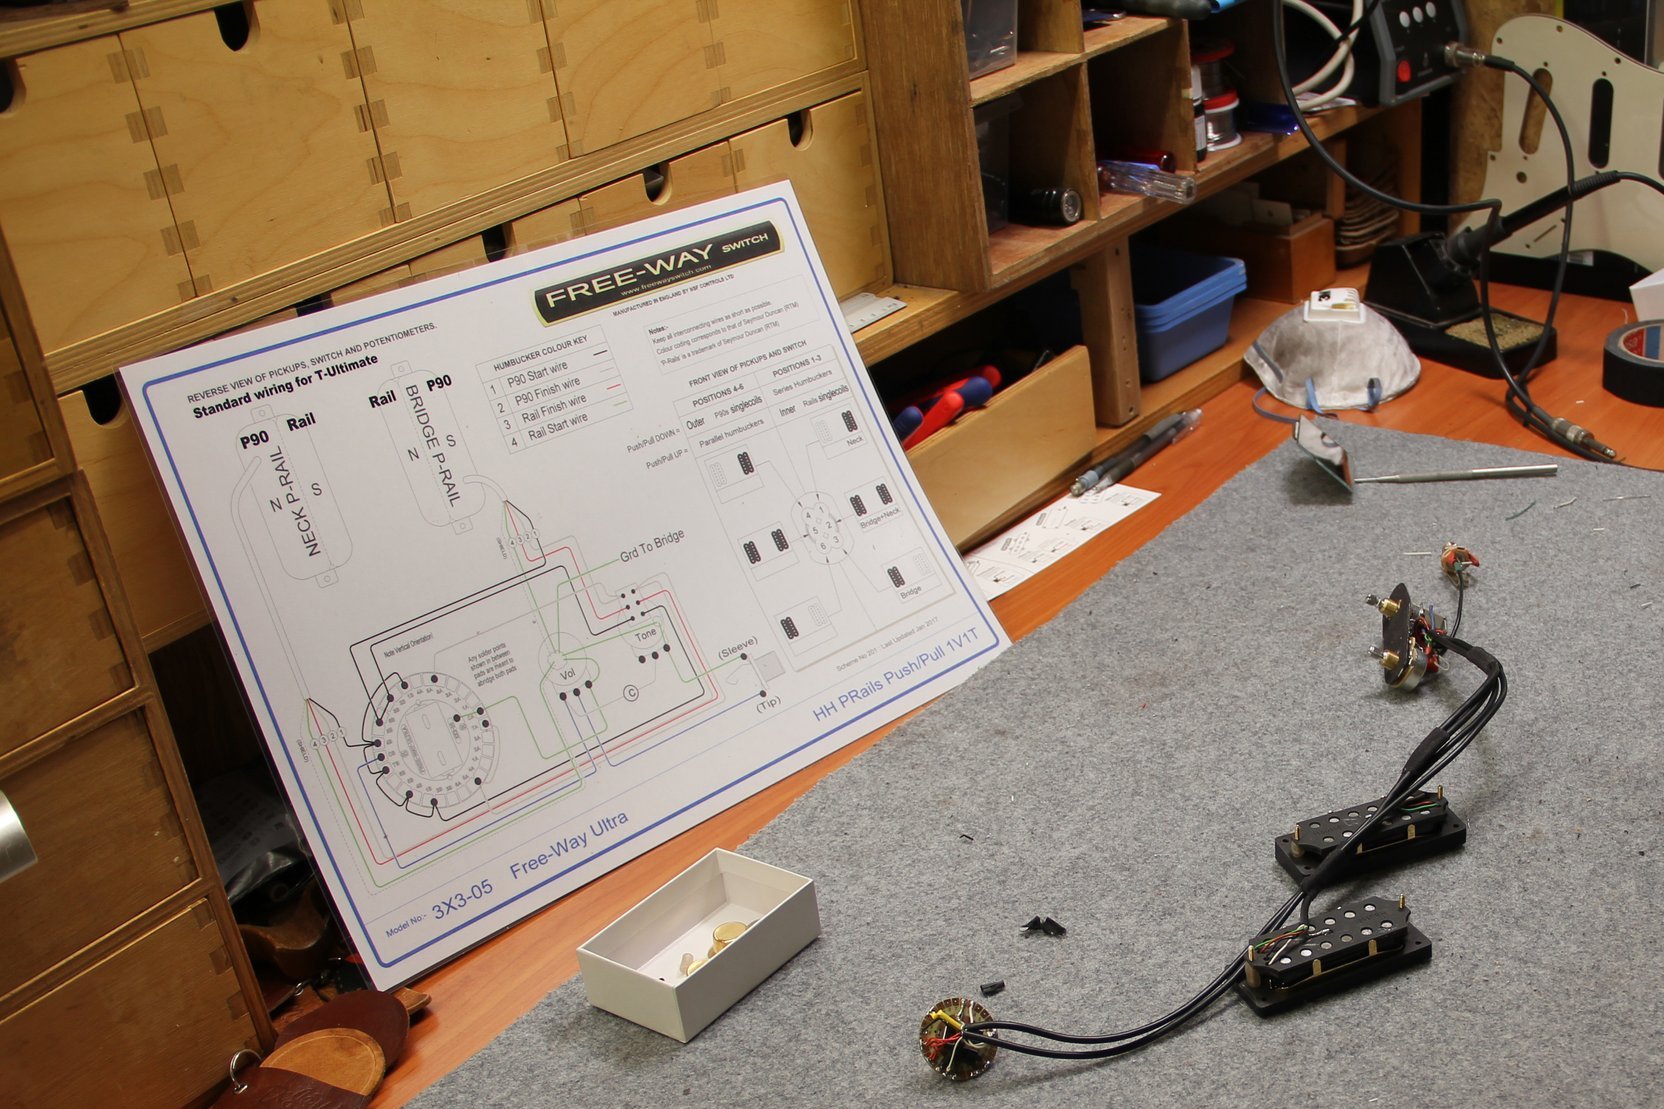
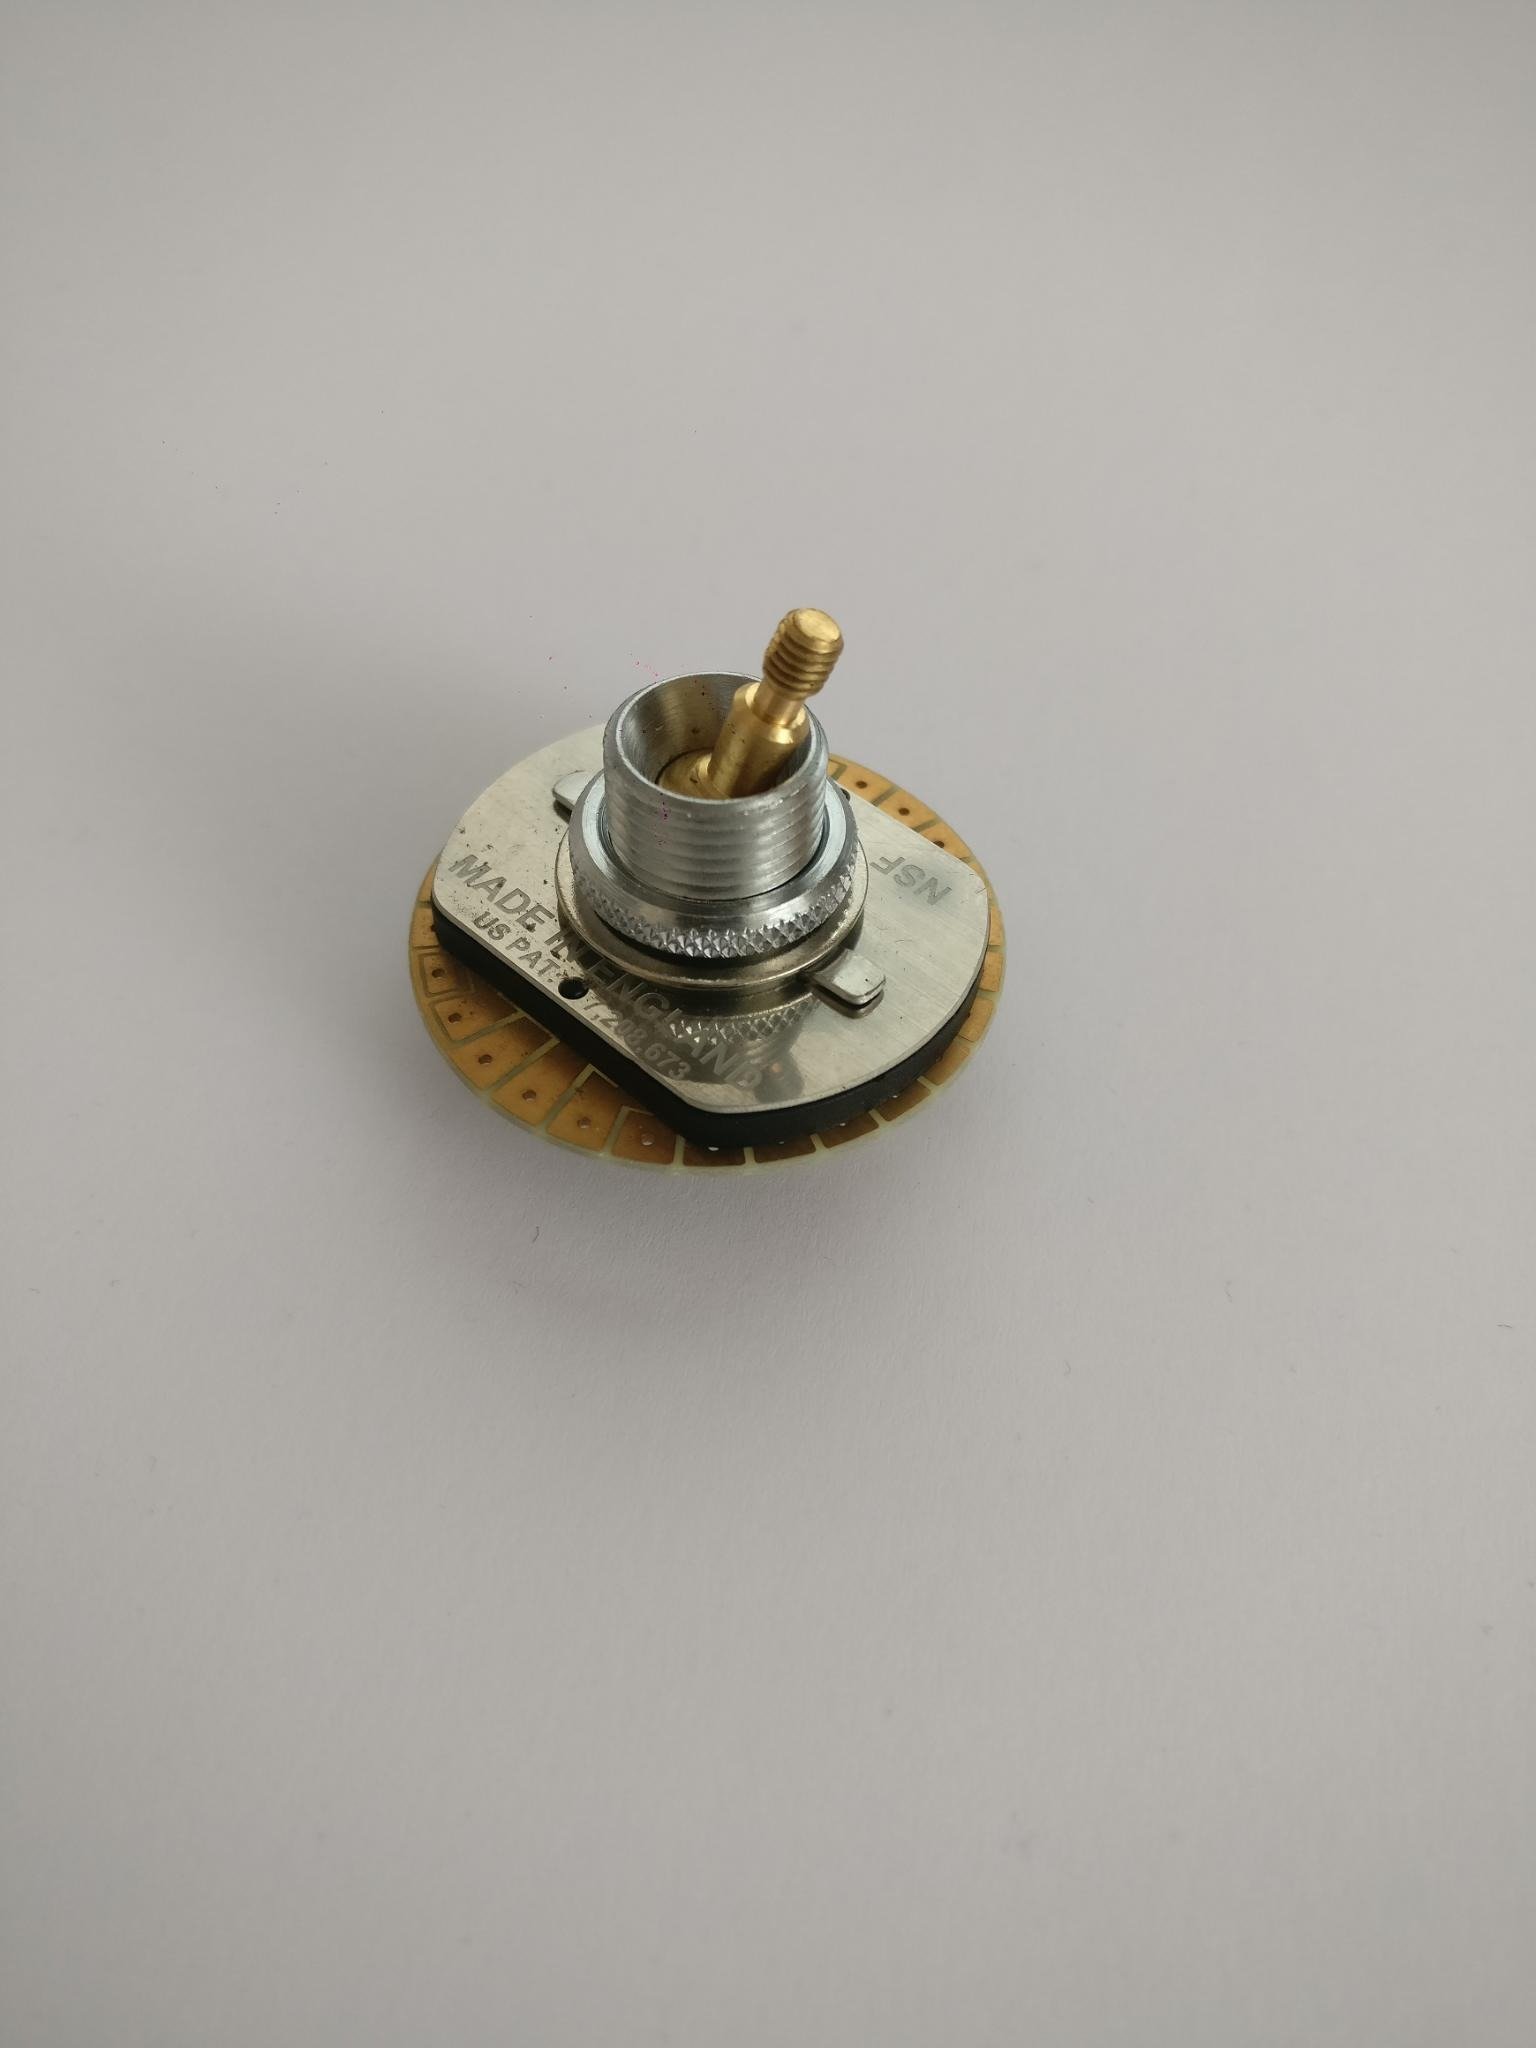
WIRING & Switch options
The Dejawu T-Ultimate Neolithic is equipped with a Free-Way Switch 3 x 3 – 05, Six position toggle switch and a Push/Push tone pot. With the switch in position 1, 2 and 3 the pot switches from series humbuckers to inner single coils. In position 4, 5 and 6 it switches from parallel humbuckers to outer single coils. Twelve different sounds at your fingertips. Soldering takes at least half a day.
Now the nerve wrecking works starts, getting it all in the body without any visible wires meanwhile avoiding making scratches on the not yet fully hardened nitro lacquer.
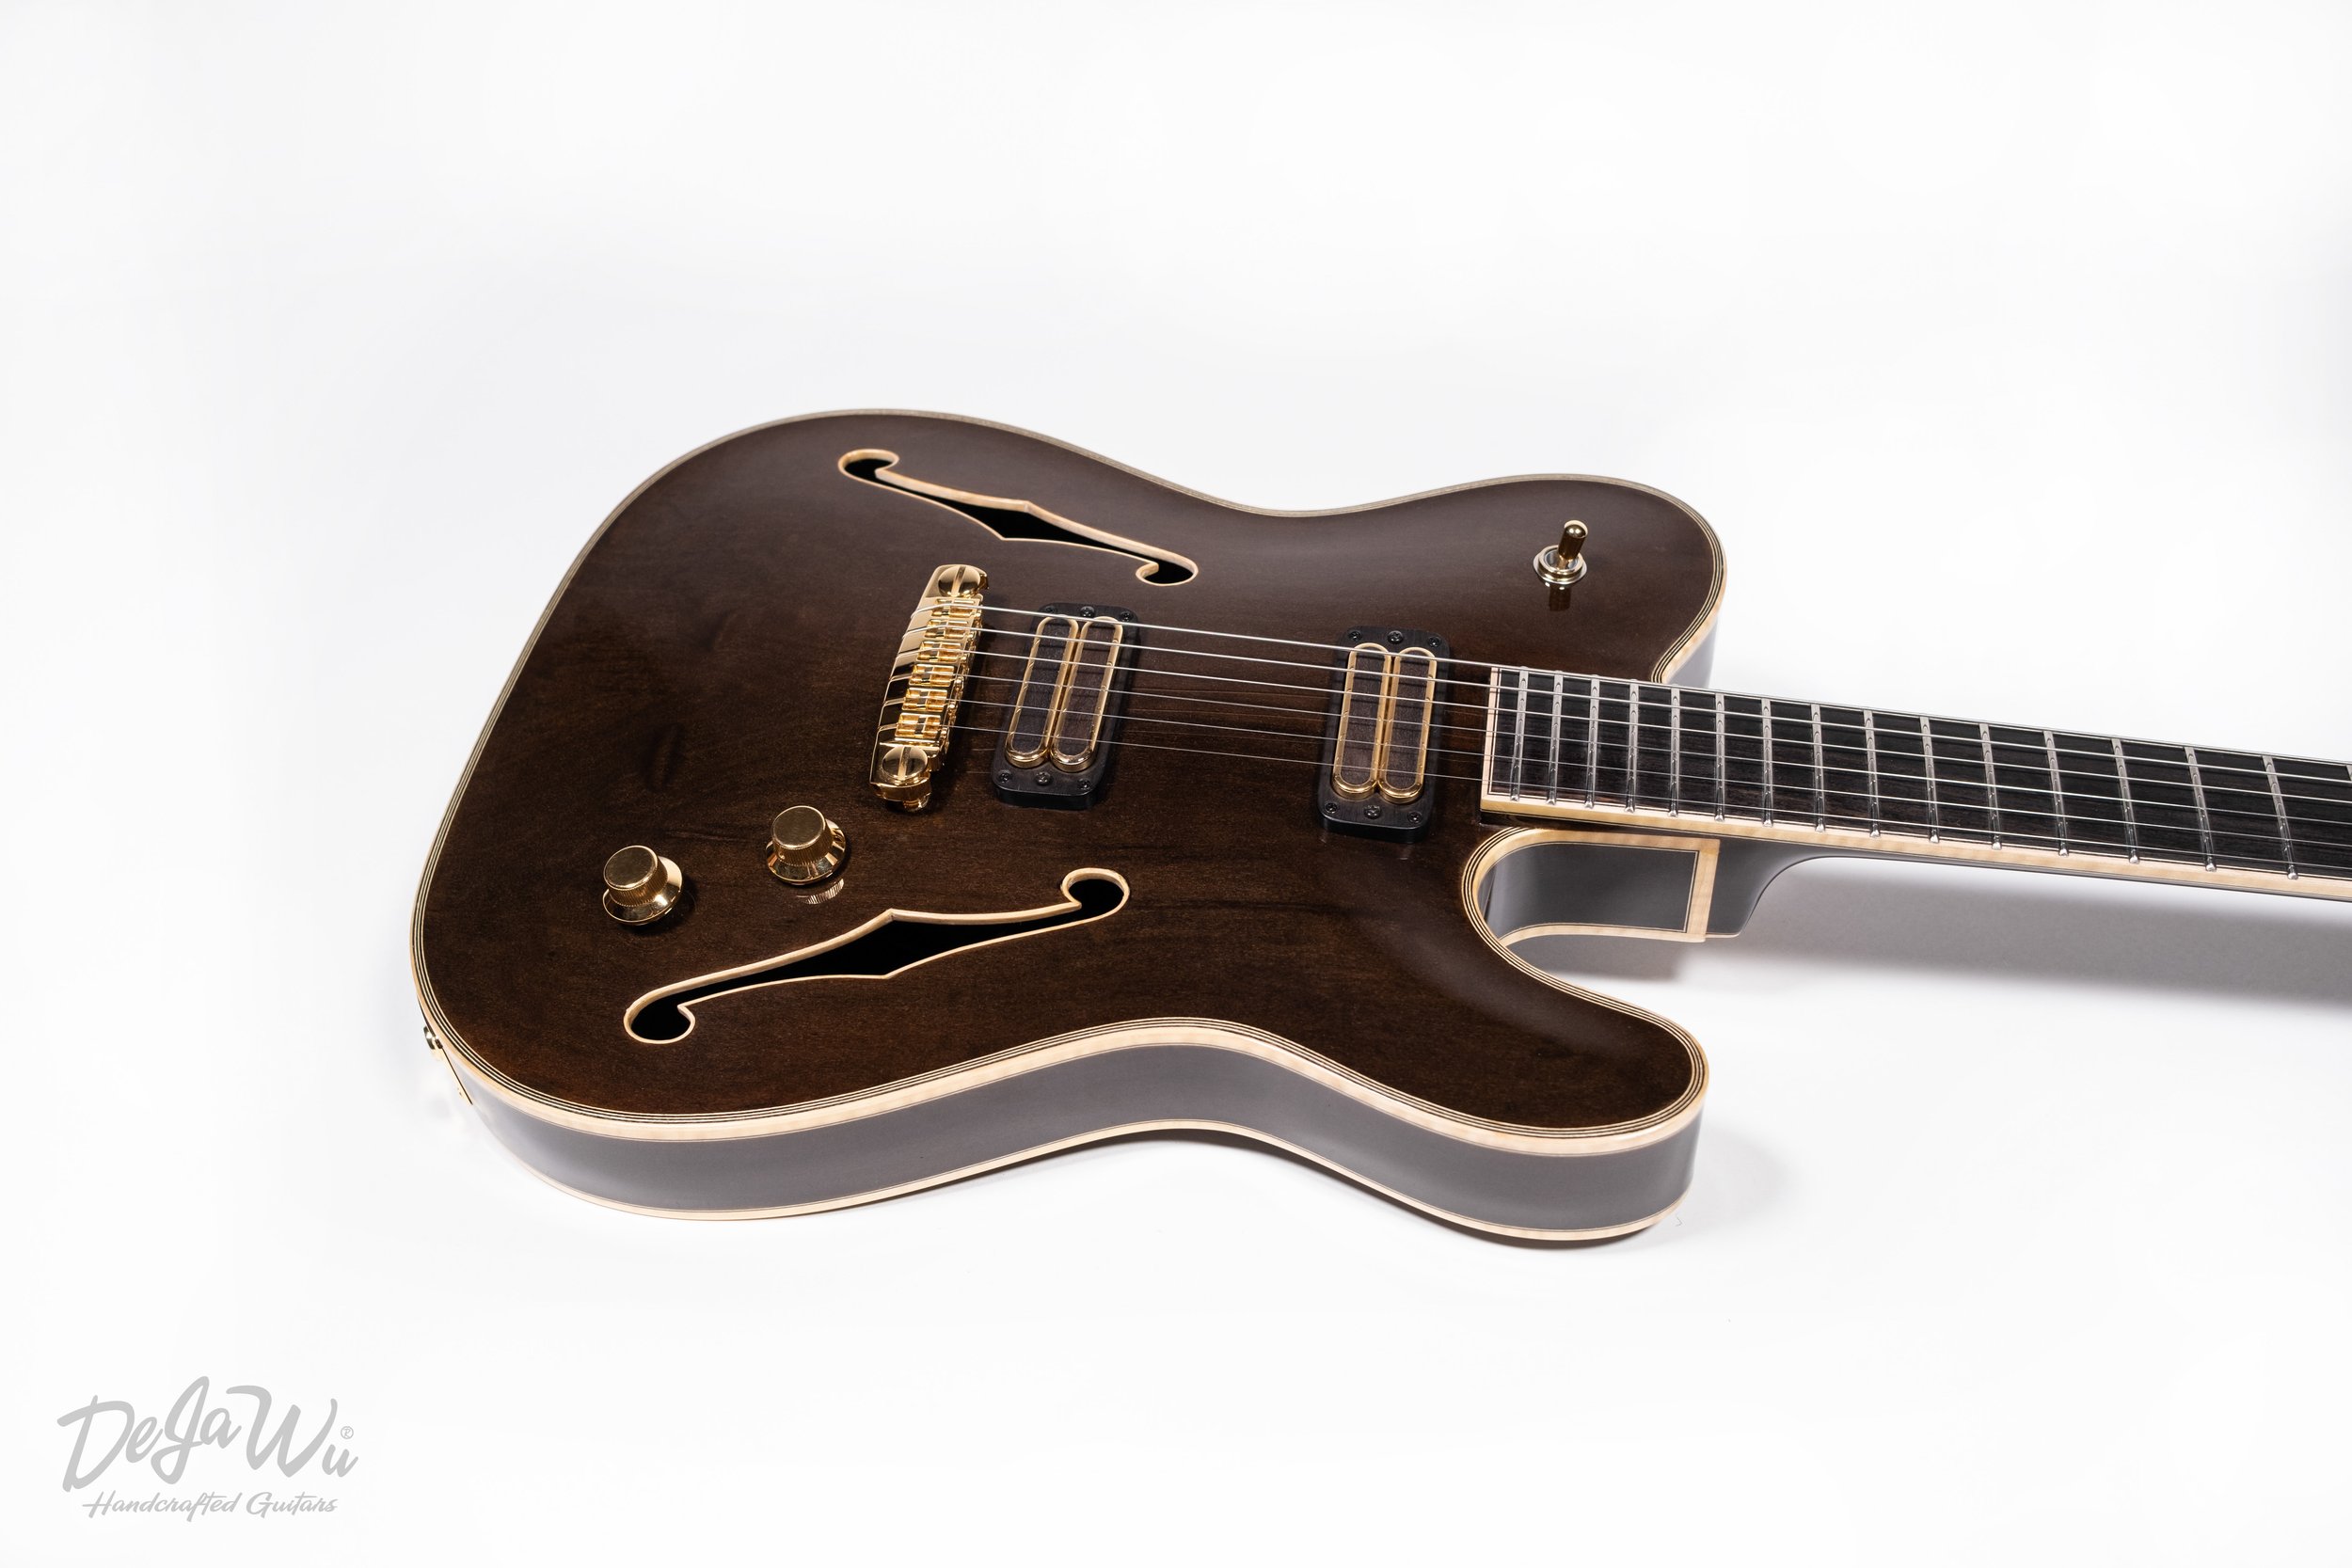
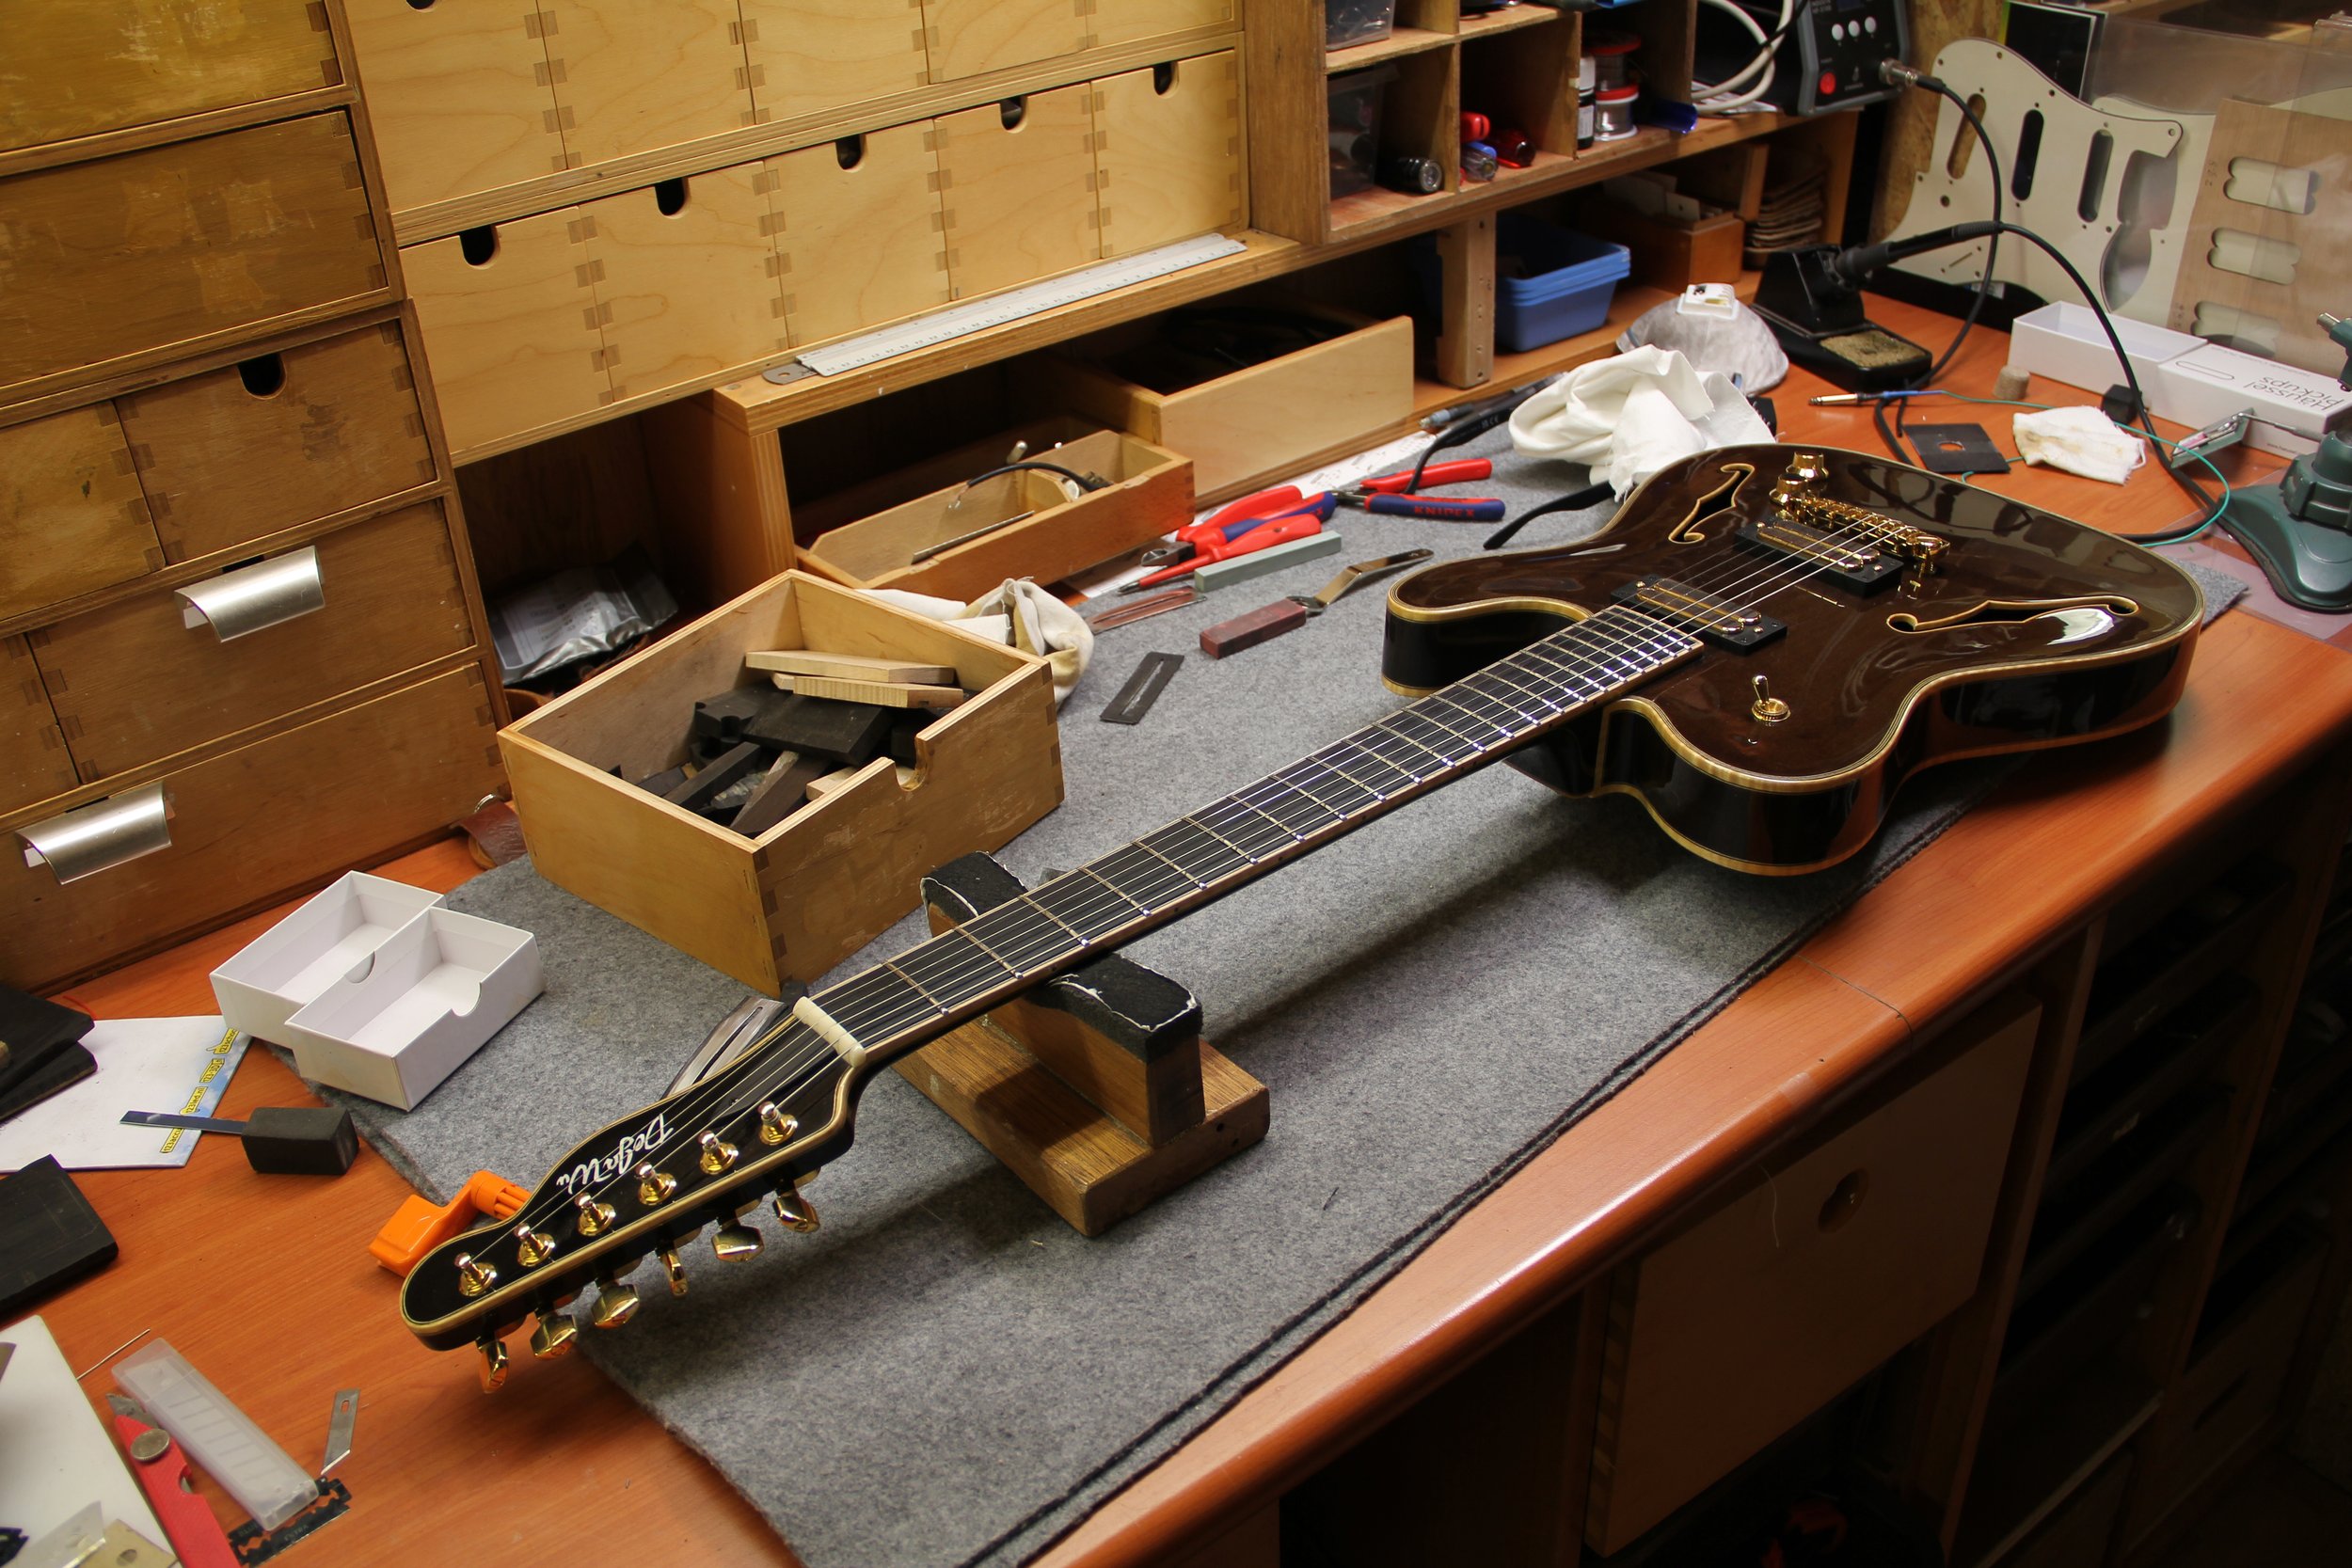
We managed to get all the electronics in place, without any visible messy wiring going on when looking though the f-hole! The pickups are pre-installed to see if they fit well. We can now continue putting on the hardware like strings, tuners, switch volume/tone knobs. This model is equipped with 1x Vol, 1x Tone push/push with Schaller strat knobs, a Schaller Signum Bridge, Schaller M6 mini tuners and Schaller strap locks.
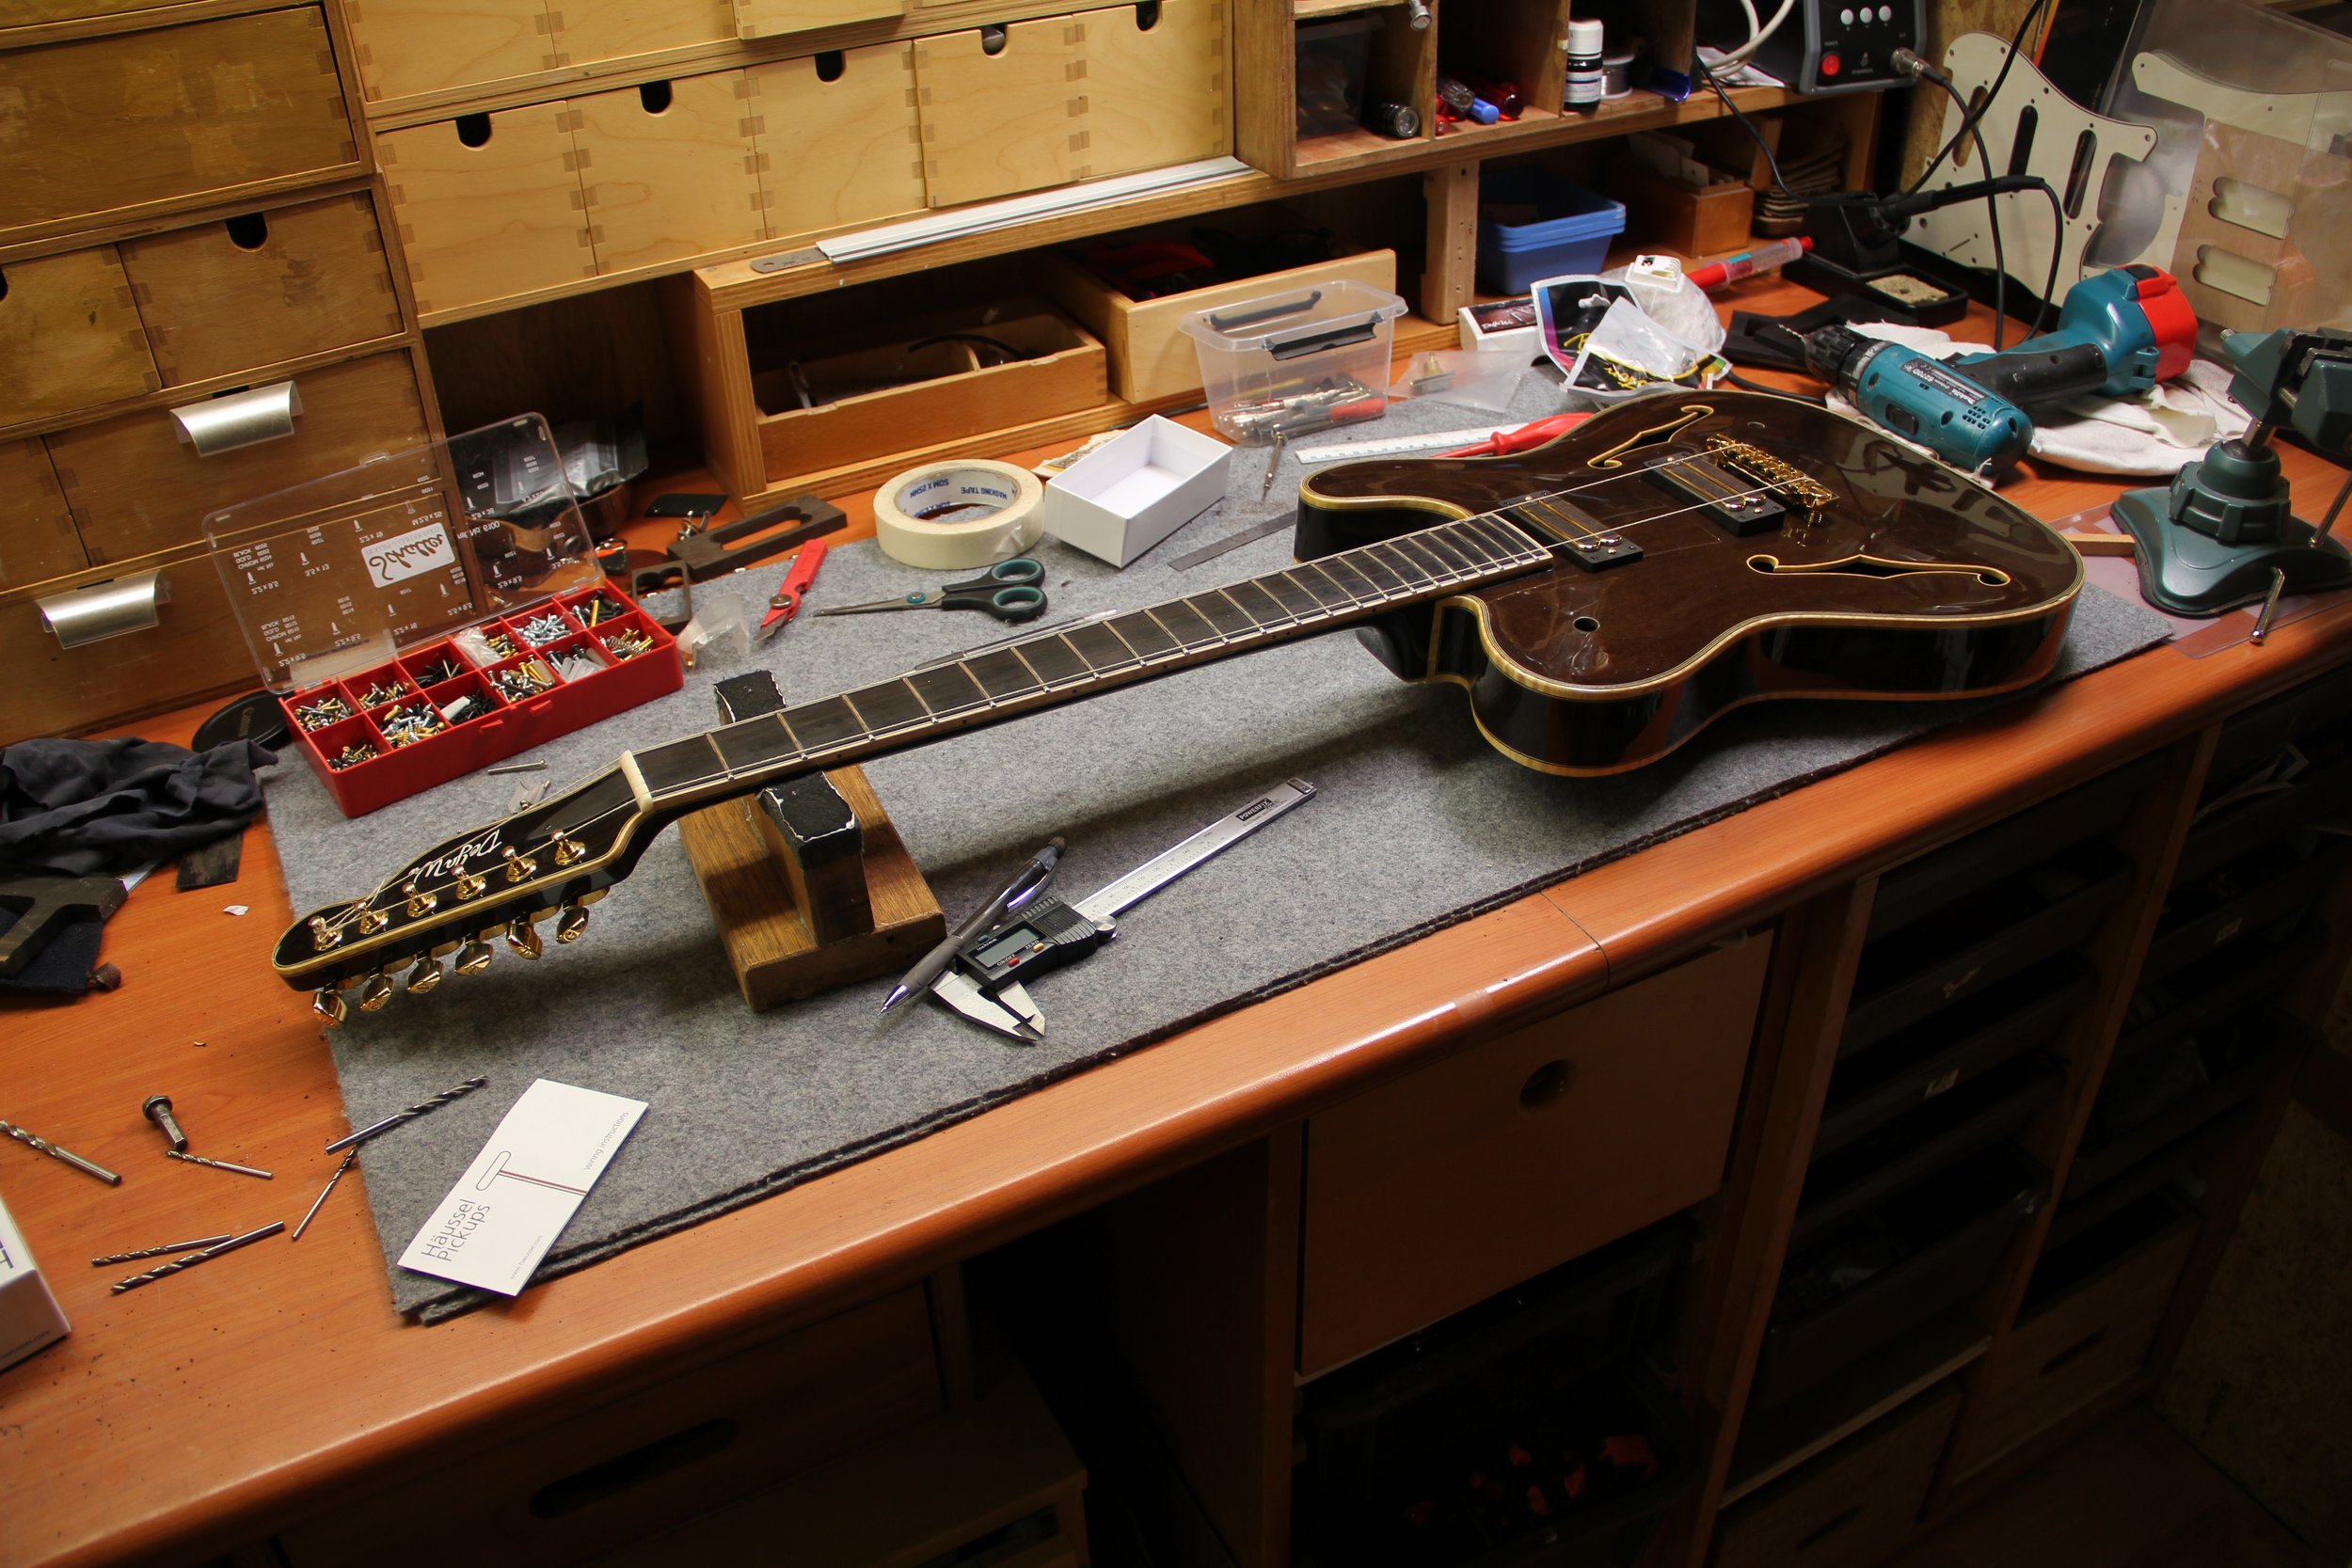
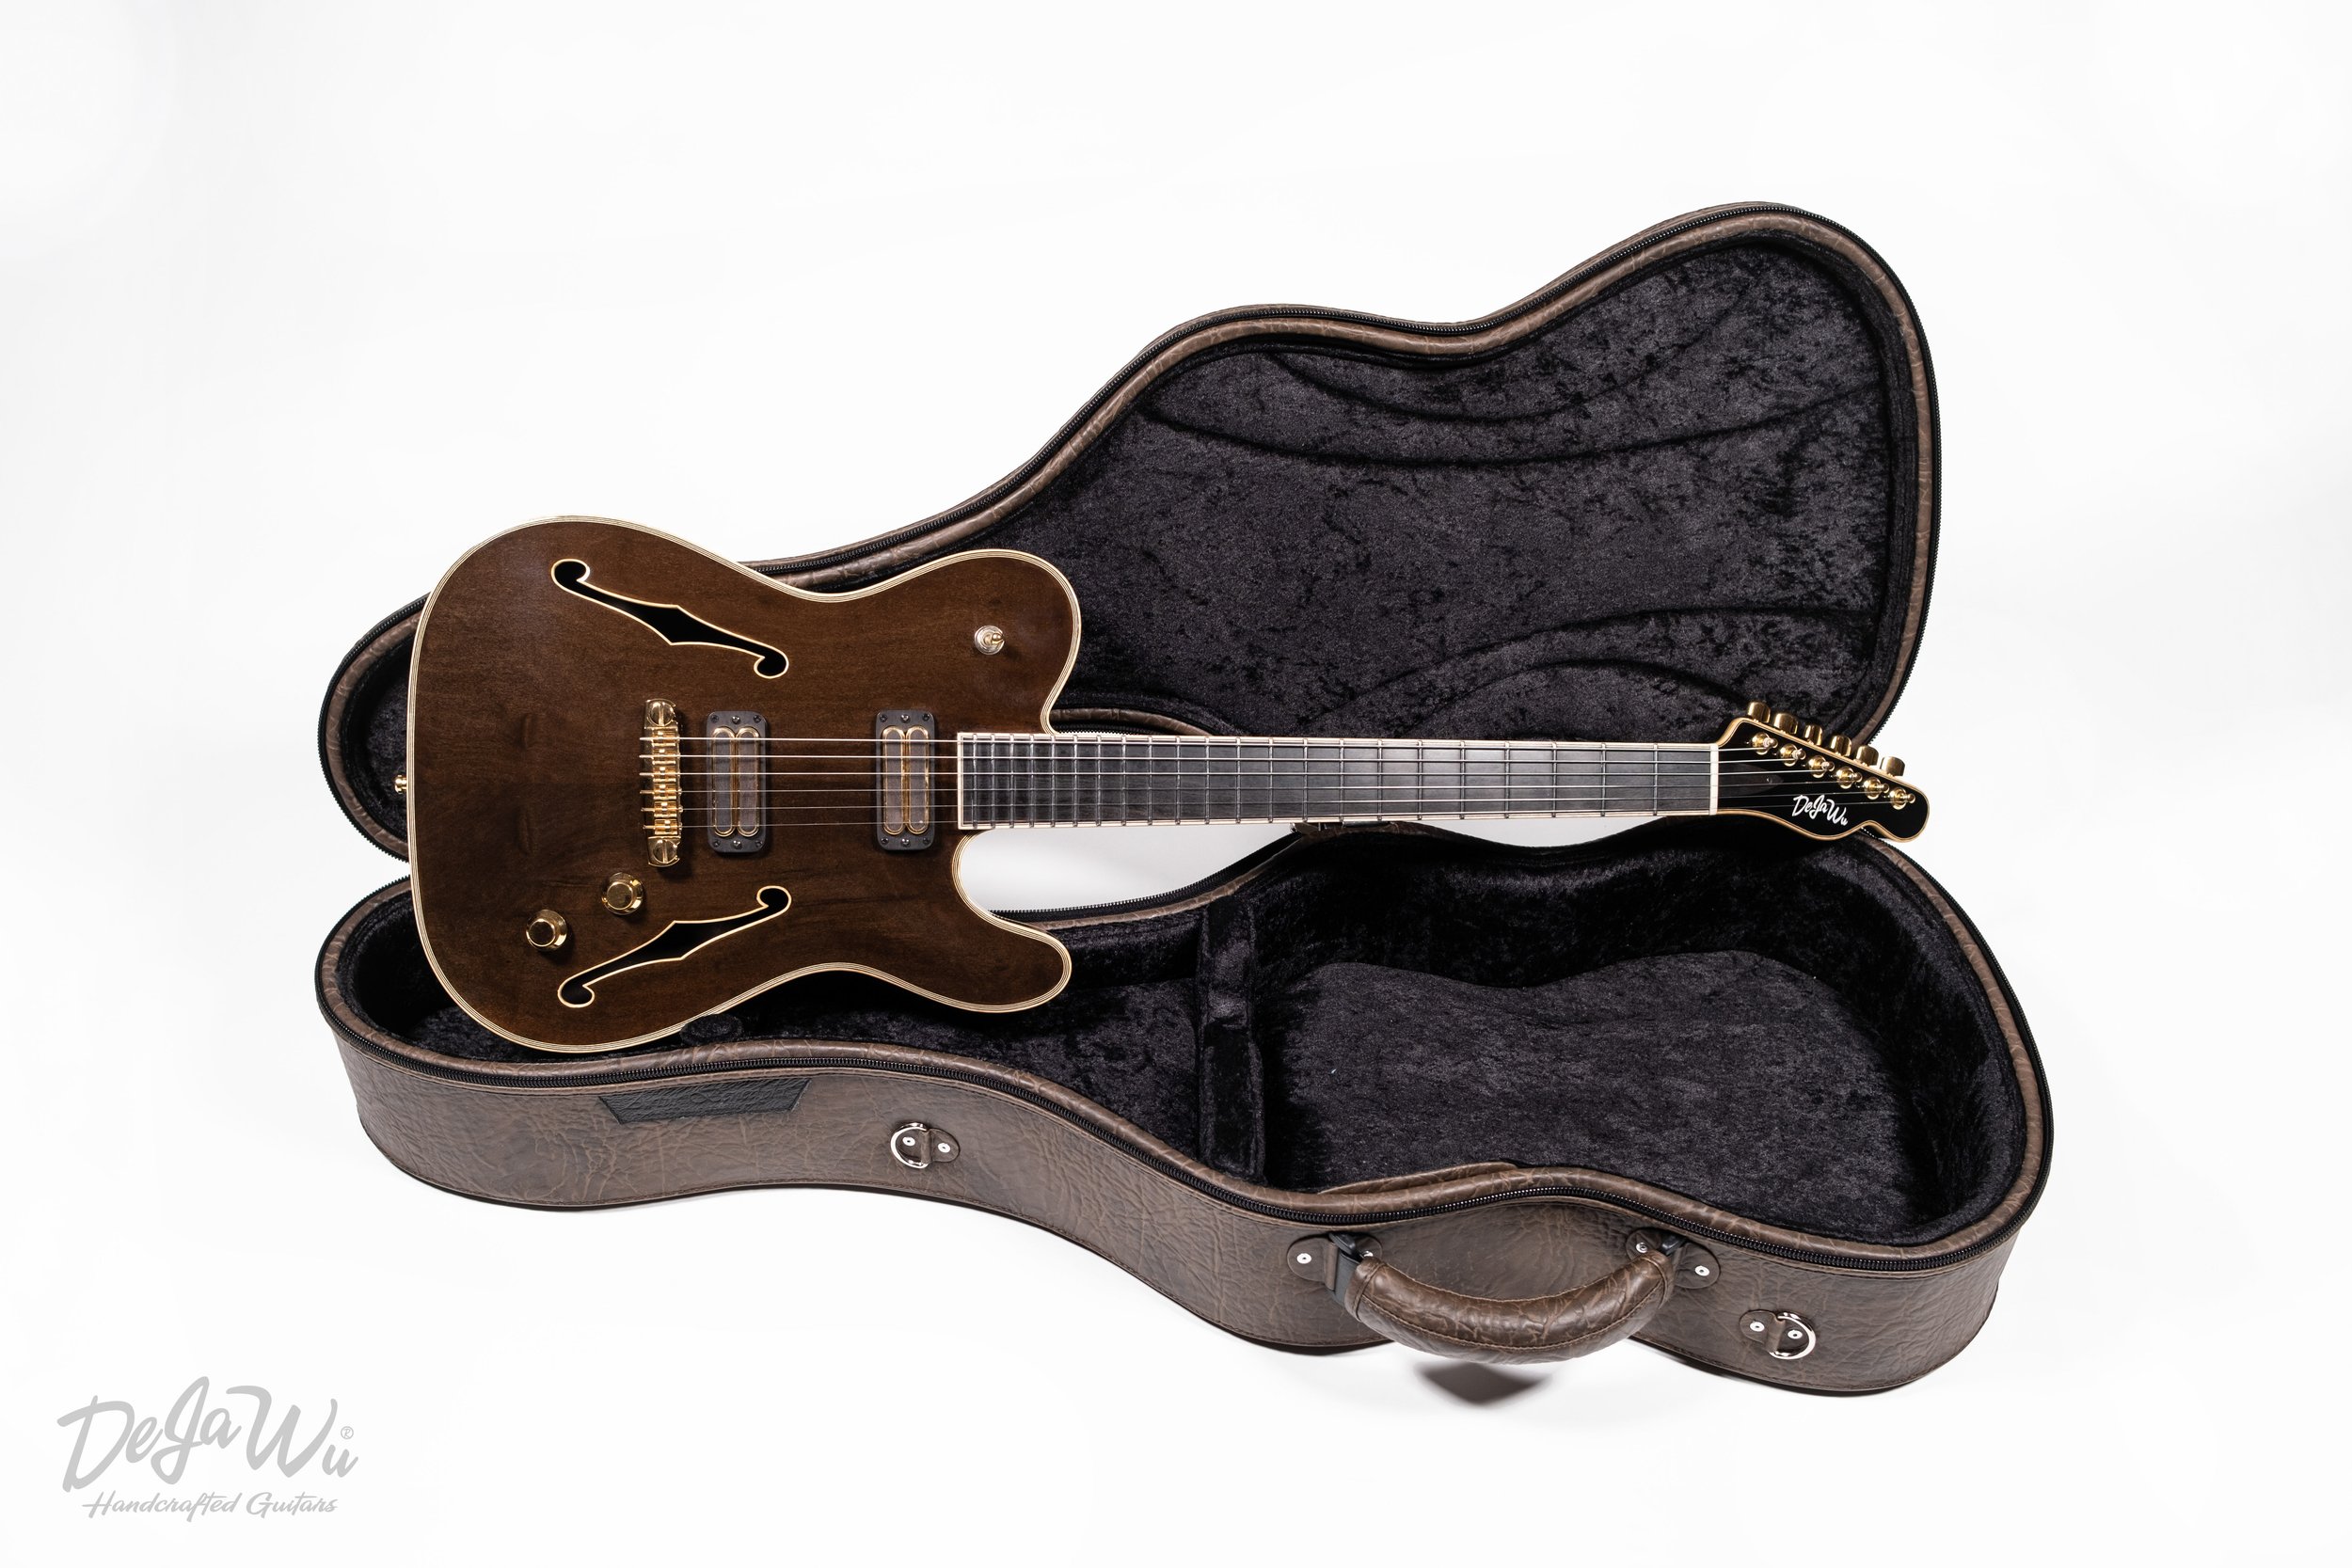
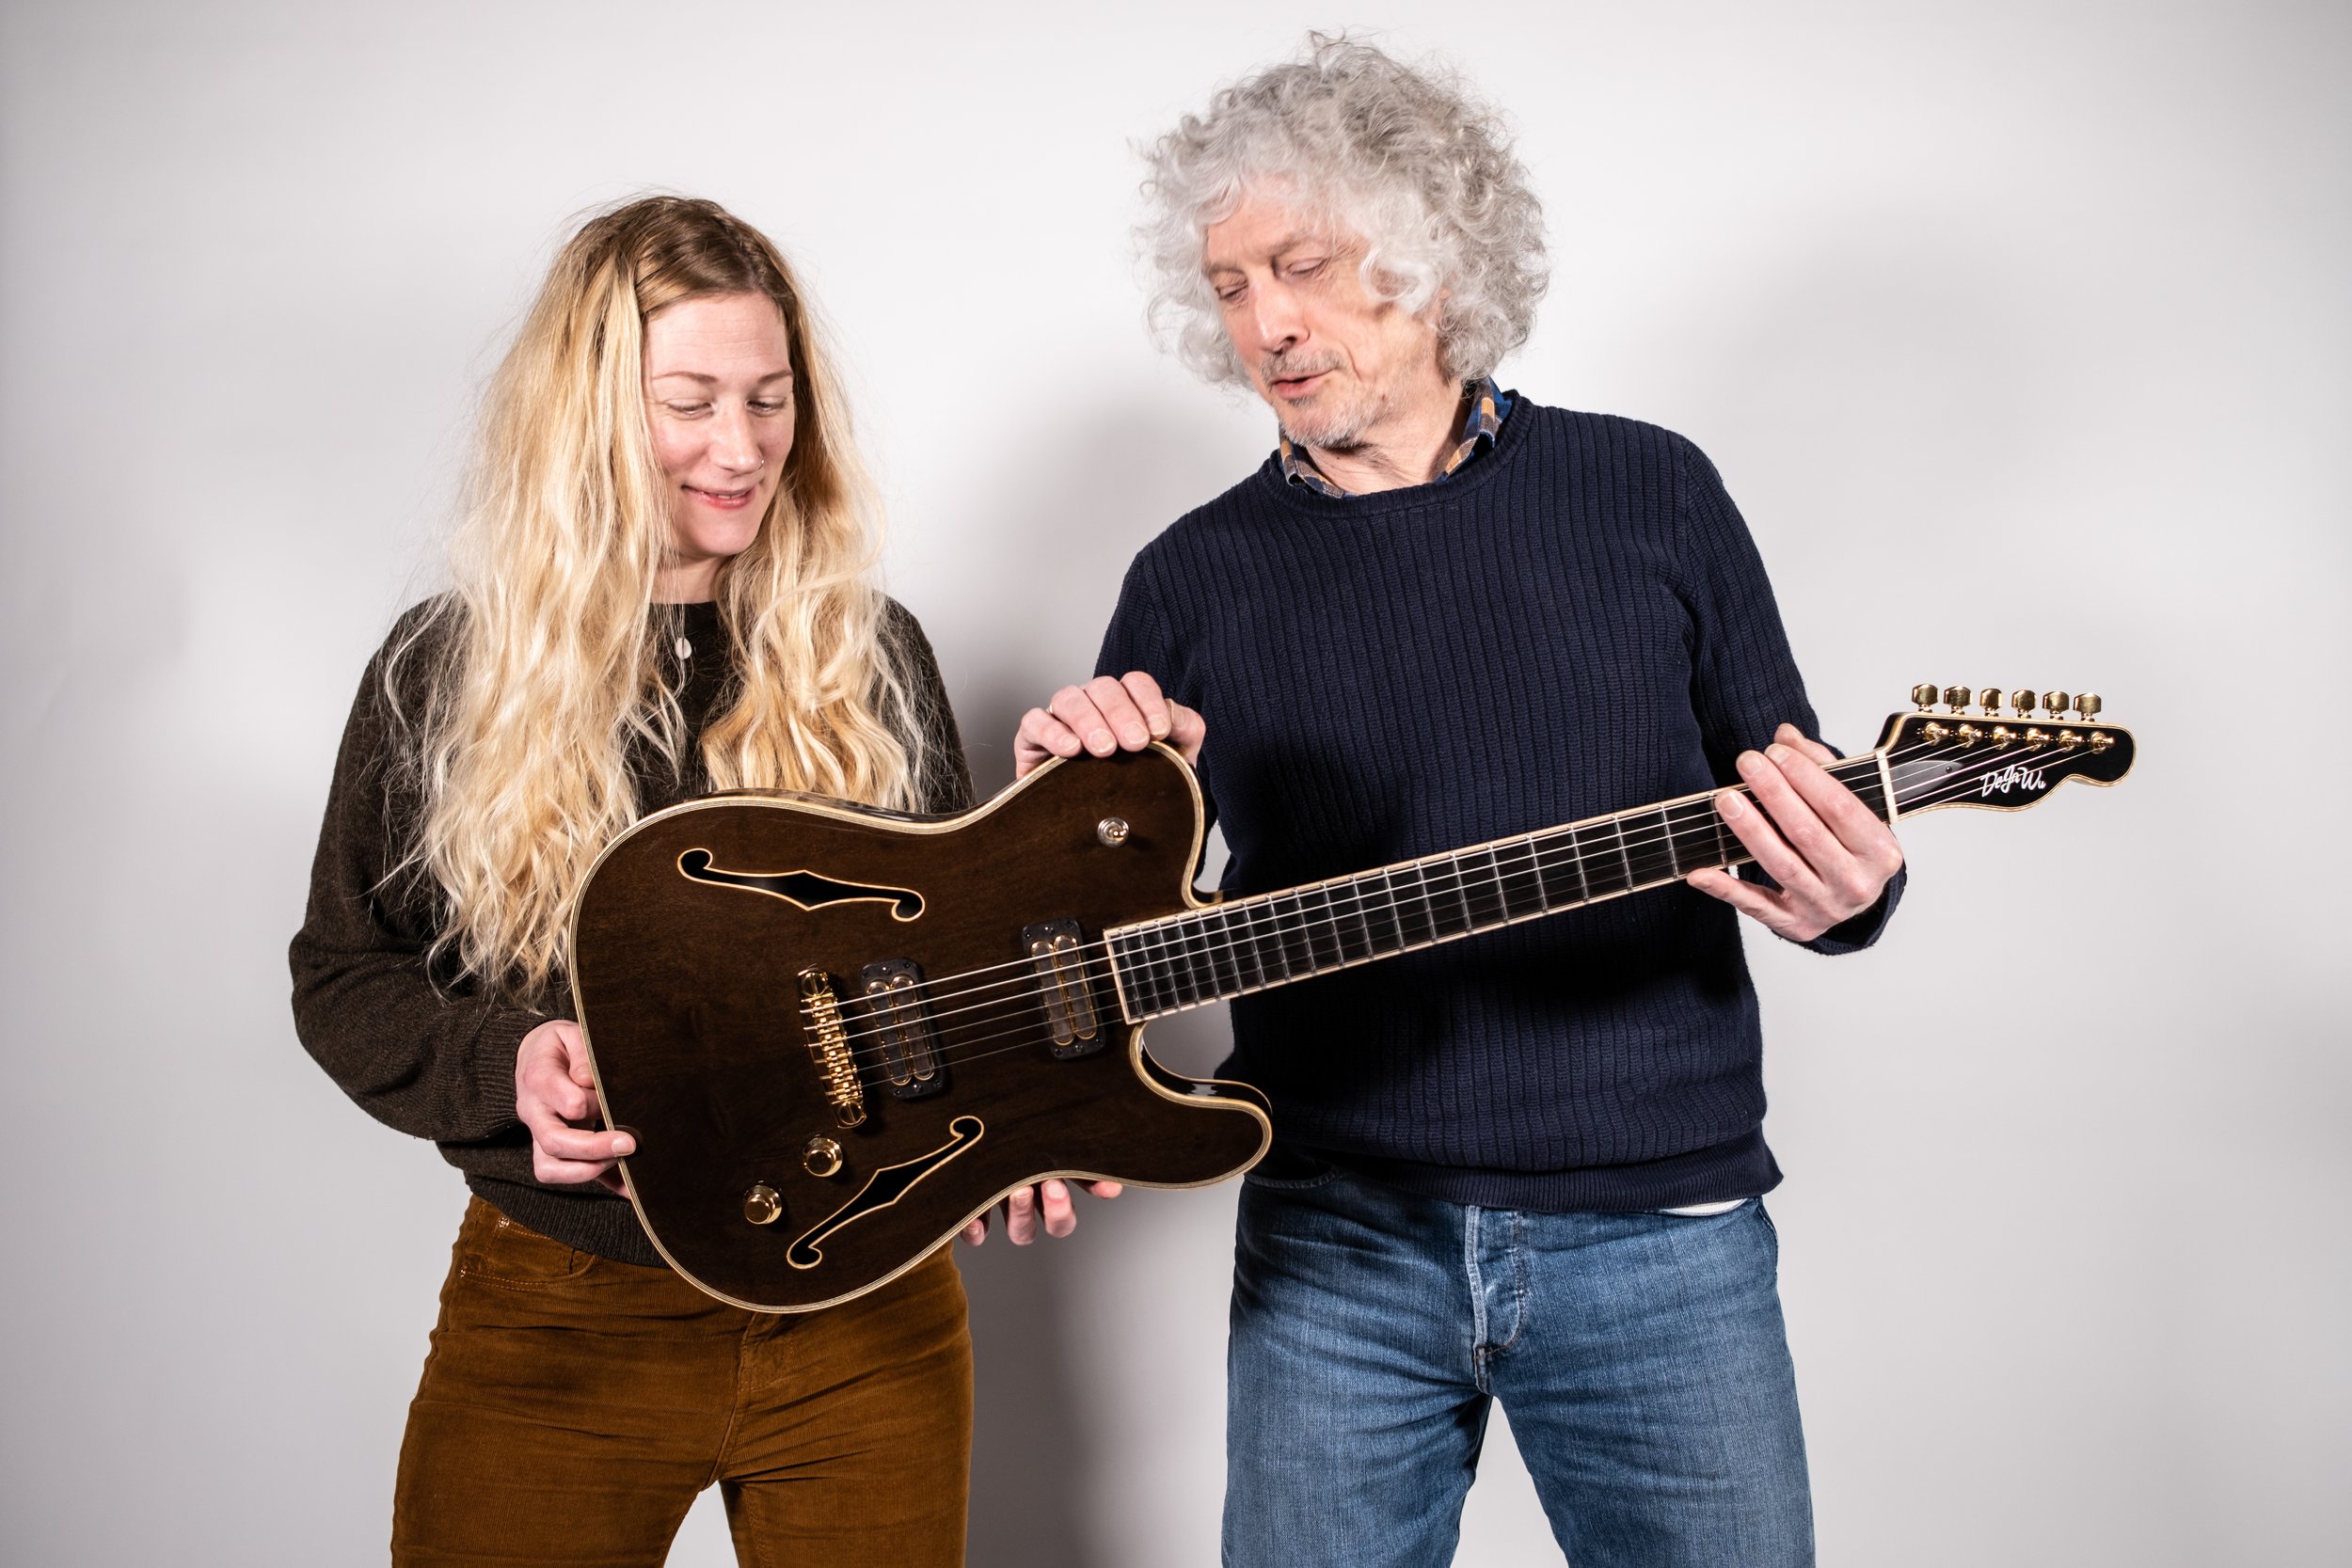
After so many years, the project we embarked on of hand carving a semi acoustic guitar from a muddy trunk we found in a riverbed, has finally come to an end. The T-Ultimate Neolithic is submitted to a thorough quality check to make sure every little detail is right. The hardware and electronics are installed, the strings are on, it is tuned...Now there is only one thing we want. Play!
Lower right photo: Jan Ruland van den Brink.

Meet the T-Ultimate Neolithic No.1